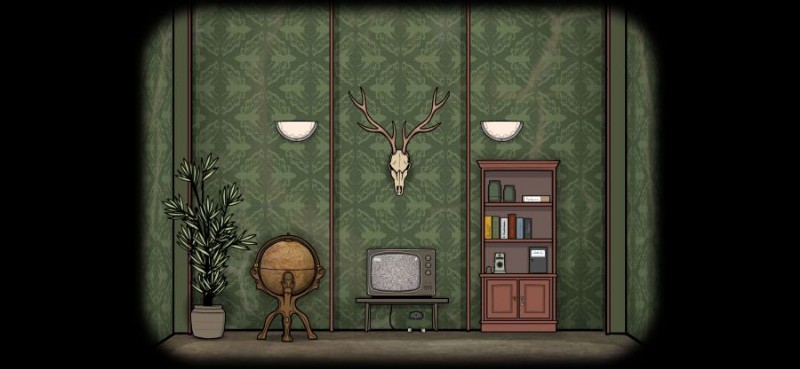
Cube Escape:Paradox ist da und wir sprechen von einem erstaunlichen Puzzle-Abenteuerspiel für Handys – eines, das schwer zu vervollständigen, aber auch charmant ist. Und wir wollen mit einer Cube Escape:Paradox Komplettlösung helfen !
Im heutigen Artikel teilen wir die Komplettlösung von Cube Escape:Paradox für Kapitel 1 – ein wunderschönes und manchmal gruseliges Abenteuer, an dem Sie gerne teilnehmen werden. Und da Kapitel 1 schwer zu vervollständigen ist, bin ich sicher, dass Sie auch unsere vollständige Lösung unten lieben werden.
Vergeuden wir also keine einzige Sekunde und sehen wir uns stattdessen die Komplettlösung für Cube Escape:Paradox Kapitel 1 an unten!
1. Tippen Sie auf das Kabel unter dem Fernseher und auf das Kabel rechts, um es anzuschließen.
2. Gehe zurück und nach rechts und tippe zweimal auf den roten Vorhang, um den Papagei zu enthüllen. Nimm den Schlüssel aus der braunen Kiste auf der Kommode unter dem Spiegel. Tippe zweimal auf den Spiegel, um zu sagen, dass dir kalt ist.
3. Gehen Sie zurück zur Kommode unter dem Fenster und tippen Sie auf das rechte Kästchen. Sie müssen das Puzzle so vervollständigen, dass alle Teile an der richtigen Position sind:
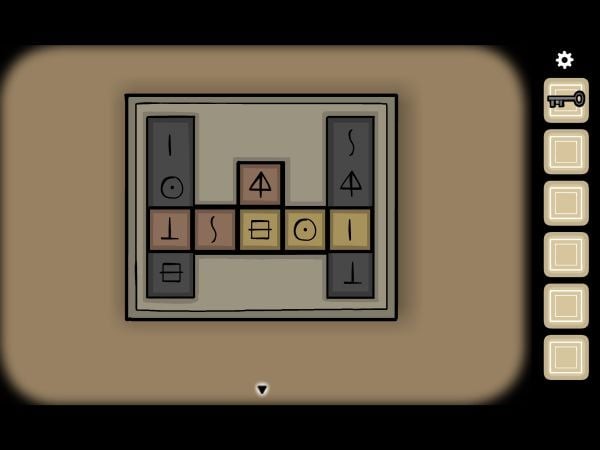
Das Puzzle ist zeitaufwändig, aber einfach zu vervollständigen. Verwenden Sie einfach die unteren Punkte und den mittleren, um die Quadrate zu vertauschen, bis Sie sie in der richtigen Position haben:
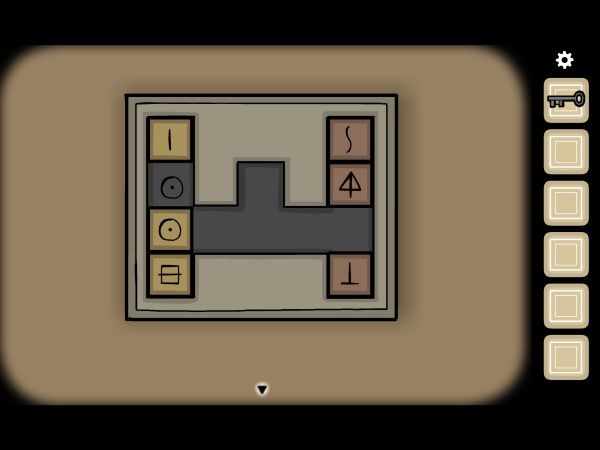
Nachdem Sie die Schachtel geöffnet haben, tippen Sie darauf, um das Fotostück aufzunehmen.
4. Gehen Sie zurück und nach rechts. Tippen Sie auf das Gemälde und heben Sie das Fotostück oben auf. Es gibt auch einen Hinweis unten links auf dem Gemälde.
5. Tippen Sie auf den rechten Nachttisch und lesen Sie die Notiz. Tippe auf den linken Nachttisch und nimm die Zigarre
6. Gehe zurück und nach rechts und tippe auf die Kommode neben der Tür. Nimm alles aus jeder Schublade und benutze den Schlüssel, um die unterste zu öffnen.
7. Nimm den Mantel vom Kleiderbügel und tippe dann rechts auf die Pflanze. Benutze die Schere, um einen Zweig zu bekommen.
8. Tippen Sie zweimal auf die Schreibmaschine, um die Notiz zu lesen:

9. Geh zurück in den Raum mit dem Spiegel und ziehe die Jacke an. Gruselig! Tippen Sie erneut auf den Spiegel und es heißt, wir sollten die Lichter überprüfen.
10. Bewegen Sie sich zweimal nach rechts und ein Teil des Fotos fällt herunter. Abholen.
11. Gehen Sie nach links und legen Sie die Fototeile auf den Rahmen, der sich auf dem linken Nachttisch befindet. Ein Teil muss noch gefunden werden!
12. Gehe wieder nach links und platziere den Holzwürfel auf der mittleren Kiste auf der Kommode unter dem Spiegel (der zwischen den Kisten).
13. Gehe zweimal nach links und tippe auf den Lichtschalter neben der Tür. Tippen Sie erneut darauf, um es zu aktivieren.
14. Gehen Sie nach rechts und tippen Sie auf das linke Licht – holen Sie sich das letzte Stück des Fotos von dort. Gehen Sie in den Raum mit dem Fotorahmen und platzieren Sie ihn dort, wo er sein soll. Ein neuer Hinweis:
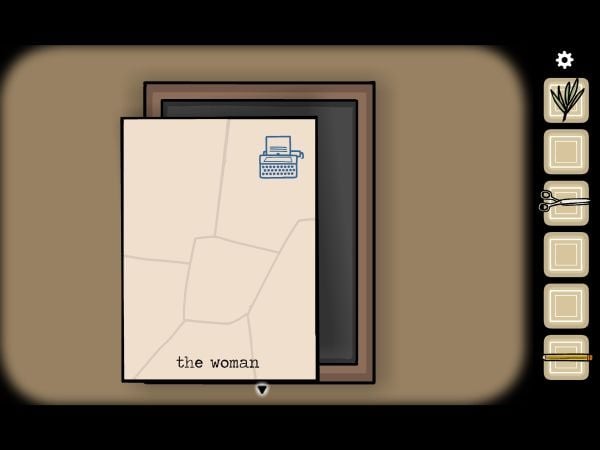
15. Gehe nach rechts und tippe zweimal auf die Schreibmaschine. Tippen Sie mit den Tasten der Schreibmaschine „Die Frau“. Nimm das Blatt Papier und verwende den Bleistift in deinem Inventar, um die Zeichnung darauf fertigzustellen. Wischen Sie einfach, nachdem Sie den Stift ausgewählt haben, über die Kleidung des Mannes.
16. Als nächstes färben Sie mit dem Bleistift die Tür und schließlich die Dame. Färben Sie die Linie über ihrem Hals und färben Sie schließlich den Schlüssel. Tippen Sie darauf, um das Original auszuwählen:
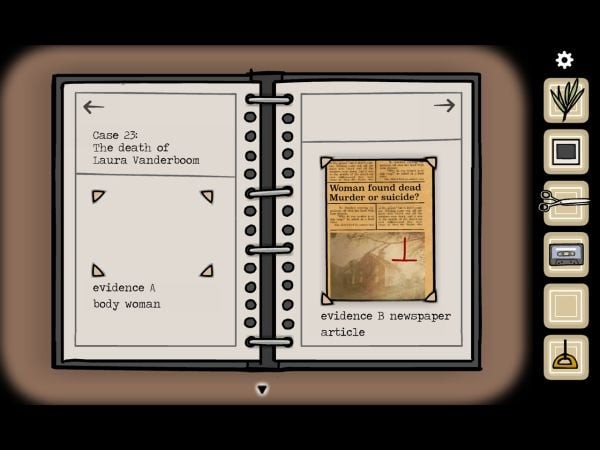
16. Gehe nach rechts und tippe auf den großen Schrank. Use the key on the top lock and swipe it up. Tap the upper part and tap the Evidence file, then pick up the photo, cassette and page. Go back and from under the Evidence file, pick up that yellow handle.
17. Move to the bottom side of the cupboard and tap the Case 23 file. Add the piece of paper under the “evidence B” area:
18. Tap the projector to the left of the Case 23 file and place the frame inside. Turn it on by tapping the switch at the top.
19. Move right twice and tap the line over the painting. Add the handle to it and draw downwards to reveal your next clue:
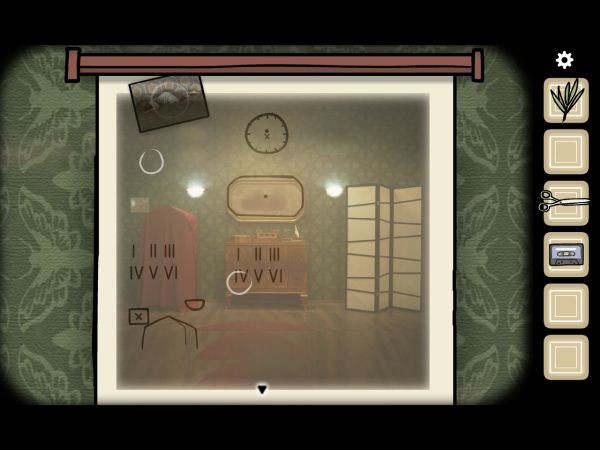
As you can see, by sliding it up and down and following the on-screen clues, we’ll get the V in the upper left circle, and the IV in the other one. Tap the photo as well in order to pick it up.
20. Go right and tap the top of the left night stand near the door. Tap the Cassette player, then tap the eject button (to the right), put the cassette inside and tap the cover to place it in. Tap play.
The man says that he was watching TV and said “enin xis xis lennahc” – which must be read backwards as per the clue to reveal the channel (669).
21. Before heading towards the TV, let’s tap the clock on the night stand. Drag the short hand at IV and the long one at V, then pick up the matches.
22. Go back to the room with the mirror and tap it. use the matches on the mirror, then tap it, paying attention to the smoke shapes:circle, S, square cut in the middle, Z and spiral.
23. Go left twice and tap the doors under the projector. Tap the left one to open it and use the signs we’ve seen in the mirror to open it. Pick up the tape.
24. Tap under the TV and use the tape to fix the broken cable. Then plug it in. Tap the buttons to the left until you get 669, then tap the square at the bottom. A man will give you a new channel:

Switch to channel 12 and the same man will now tell us to switch to Channel 67. Let’s do it! We hear the man quoting the things written on the new piece of paper on the typewriter, and we get the answer:“the lake”.
25. Go back and left and tap the typewriter, then write:the lake. Use the scissors to cut the paper, then drag the bottom part up to the indicated marker to reveal the phone number:
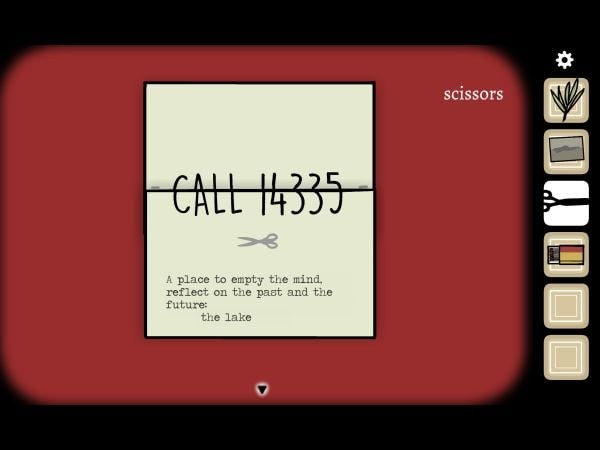
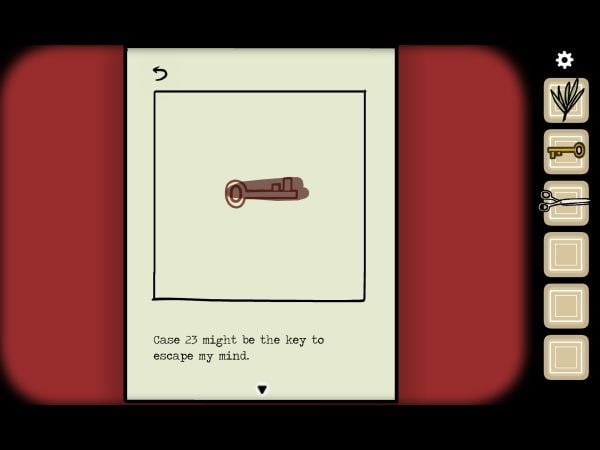
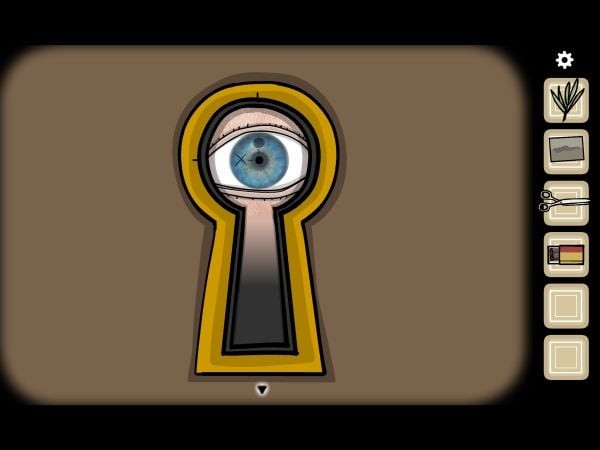
26. Go left and tap the phone, then dial 14335. The man tells you to look through the key hole, so go to the door and tap to the keyhole until you get this spooky clue (a new setting for the clock):
27. So tap the clock to the left and set it to the indicated hours:small one at XII and long arm at IX. Pick up the triangle.
28. Go left and tap the night stand to the left. Use the triangle key to open the bottom drawer. Then do the same with the top drawer, and swipe through all the files to find the clues to the books similar to the one below:
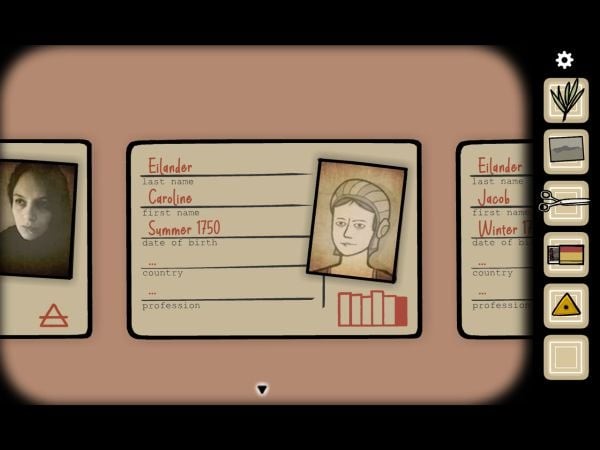
Also notice that some files have some symbols. Finally, from the bottom drawer, swipe all the way to the right to Laura Vanderboom’s profile and pick up the prescription.
29. Next, go to the right night stand and use the key to open the top drawer to get the Slide 2, and then get the handkerchief from the bottom one. Fortunately, no more scrolling needed!
30. Go left and tap the mirror. Take the cigar from the man’s hand.
30. Now go left again and place the photo in the Case 23 evidence folder. Put the prescription there as well.
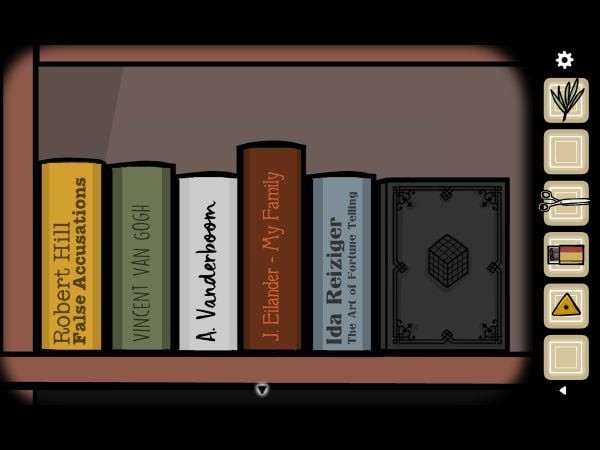
Now arrange the books in the order shown by the files:Robert Hill – False Accusations, Vincent van Gogh, A. Vanderboom, J. Eilander – My Family, Ida Reiziger – The Art of Fortune Telling, C. Eilander:
Tap the book and read through it, then pick up the glass eye and the wooden block.
And this is it for now. We’re working on completing the Chapter 1 in Cube Escape:Paradox and we’ll update this article with the rest of the walkthrough soon. So make sure to come back soon for the updated version.