Vollständige Komplettlösung durch das Spiel.
Kapitel 1 – Die Ventile
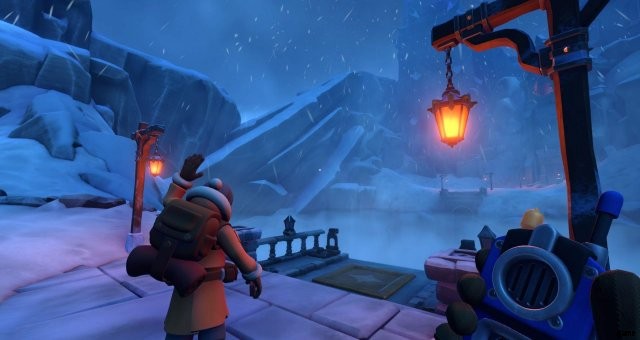
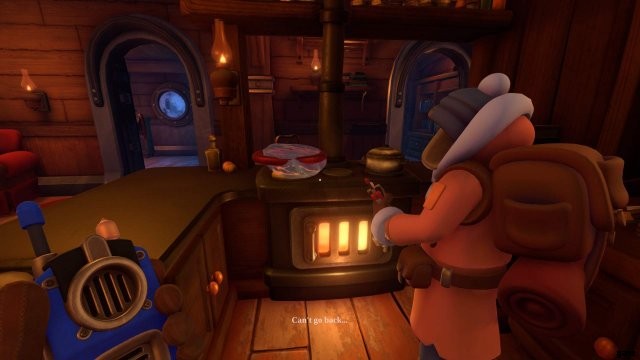
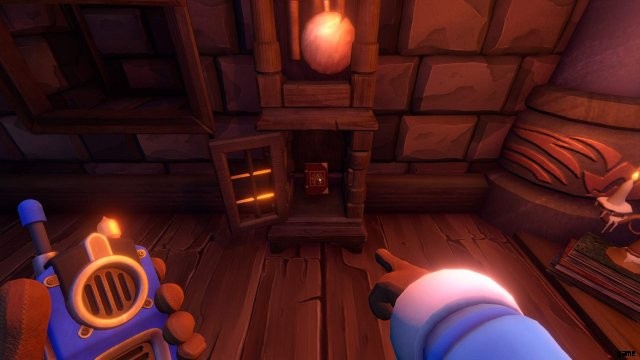
Du wachst in einem kleinen Haus mitten im Nirgendwo auf. Verlasse dein Zimmer und finde deinen Freund.
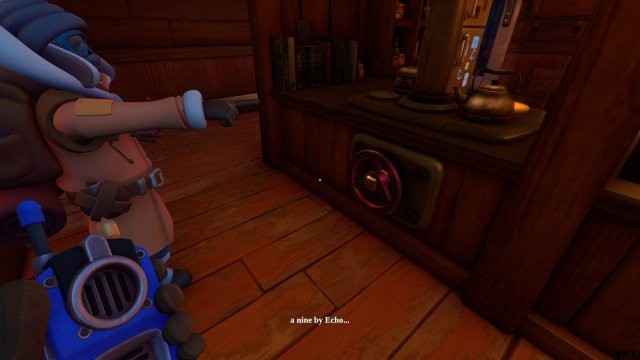
Unsere erste Mission ist es, 5 Ventile zu finden, um alle Türen im Haus zu öffnen. Also los!
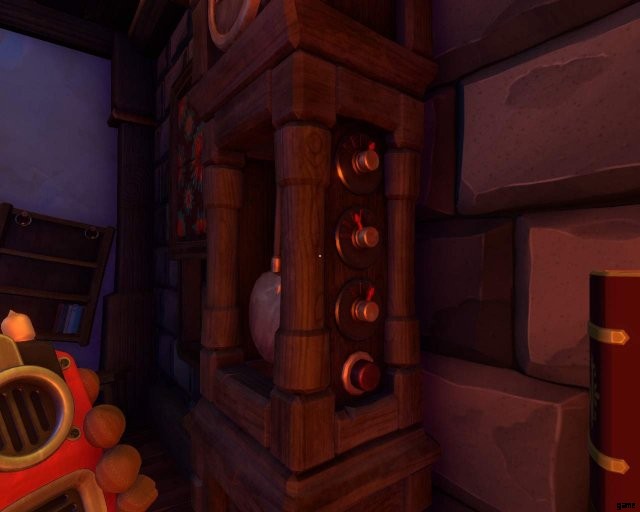
Erstes Ventil
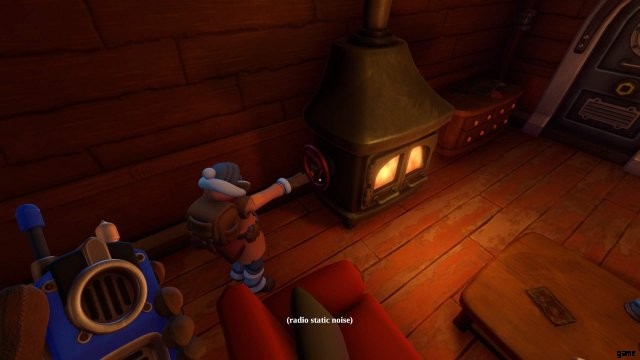
Zweites Ventil
Drittes Ventil

Viertes Ventil

Fünftes Ventil

Kapitel 1 – Das Signal
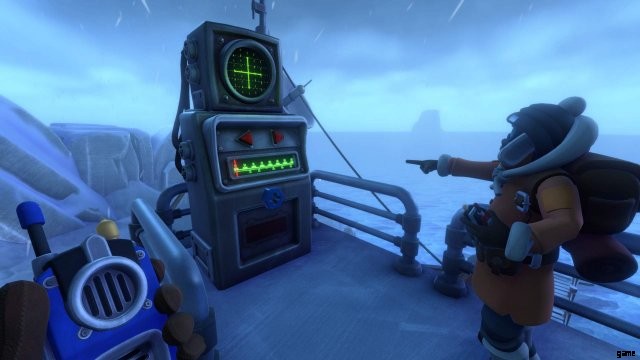
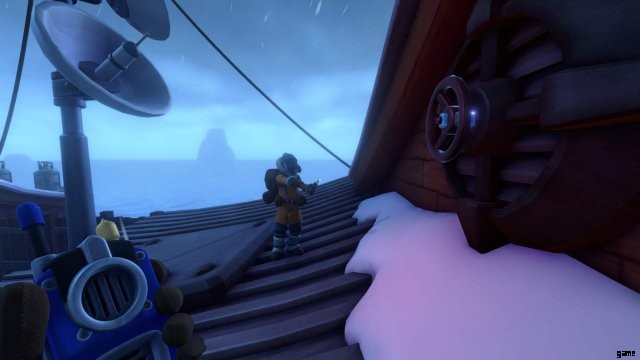
Gehen Sie jetzt auf das Haus und Sie können einen Signalsender finden. Das ist das gleiche, das Sie im Haus finden können. Einer von euch bleibt also oben, der andere geht nach unten ins Haus.
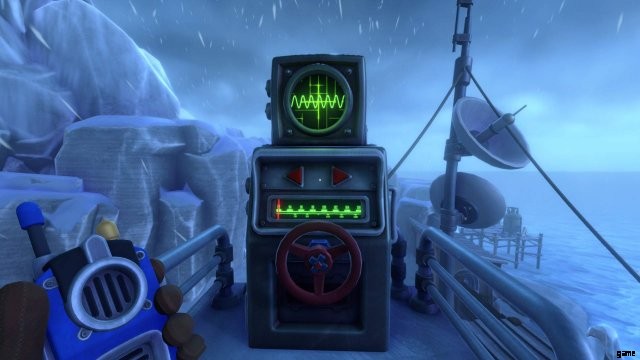
Der Spieler auf dem Dach muss die Frequenz auswählen, bei der eine andersfarbige Linie auf dem Bildschirm angezeigt wird. Dafür gibt es nur zwei Schaltflächen. Wählen Sie eine Welle, auf der es eine weitere Linie geben wird, und teilen Sie dem zweiten Spieler unten mit, wie sie aussieht und wie viel sie geändert werden muss.
Der Player unten hat vier Tasten. „Up“ und „Down“ sind für die Höhe der Welle verantwortlich. Und „Links“ und „Rechts“ für seine Breite. Mit diesen Knöpfen muss er diese Welle bauen, die der darauf liegende Spieler in einer anderen Farbe anzeigt.
Zwei Spieler müssen nur 4 Wellen zusammenbringen. 3 wird musikalisch sein, und letzteres ist nur mit einer Stimme, die Koordinaten überträgt. Danach gehen beide Spieler in den Raum mit der großen Karte an der Wand.
Kapitel 1 – Die Karte
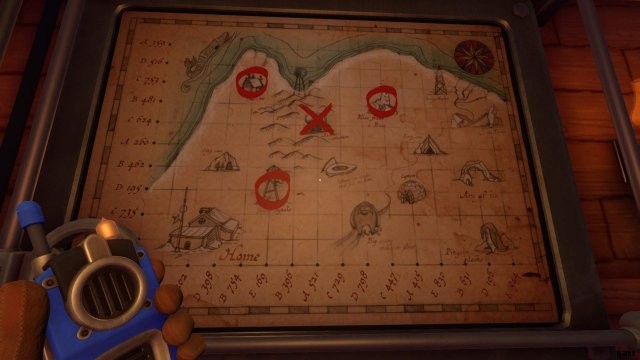
Wenn Sie vor der großen Karte stehen, denken Sie an die Funksprüche, die Sie die ganze Zeit im Haus hören.
- Charly 753
- Beta 754
- Delta 195
- Echo 469
- Beta 481
- Charly 447
Vor der Karte sieht man zwei Hebel, die für die Koordinaten zuständig sind. Ein Hebel pro Spieler. Wenn Sie den Hebel gedrückt halten, bewegen Sie den Schieberegler, der sich in der unteren linken Ecke der Karte befindet. Sie müssen diesen Schieberegler auf die drei mit einem Kreis markierten Stellen erweitern (Sie haben sie noch nicht markiert).
Wenn der Schieber eine Markierung erreicht, bewegt er sich wieder zum Anfang. Wenn Sie eine unnötige Stelle markieren, hören Sie ein charakteristisches Fehlersignal und alle Markierungen verschwinden.
Wenn ein Spieler die Kamera vom Hebel wegdreht, kehrt der Schieber zum Anfang zurück.
Kapitel 1 – Schneemobil
Es ist Zeit, Ihr Fahrzeug zu starten!
Der erste Spieler muss zum Tank in der Nähe des Autos gehen und der zweite zu den anderen beiden Tanks, die sich außerhalb des Hauses befinden (Sie haben diese Tür mit Ventil Nummer 4 geöffnet).
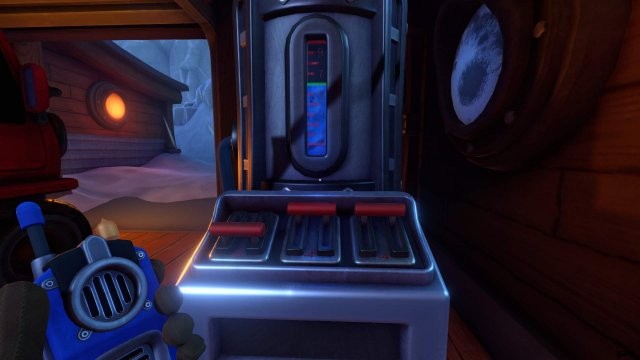
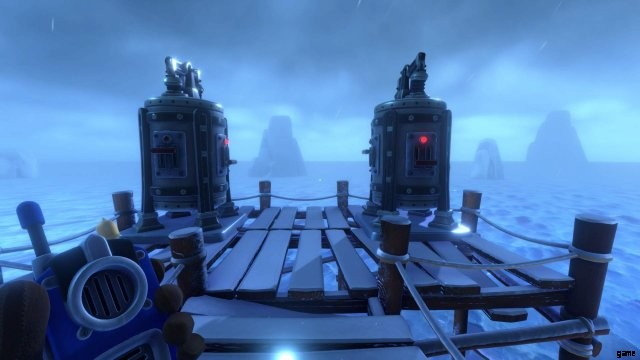
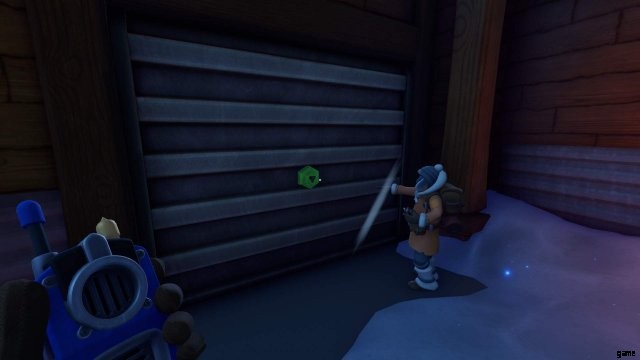
Ihr müsst beide die Nummer 6 an der Maschine in der Garage erreichen.
Darin befinden sich die folgenden Nummern
- -8
- -4
- -4
Draußen auf den Abgängern können Sie die folgenden Nummern ziehen
- 8
- 5
- 5
- 8
- 7
- 4
Der Spieler auf der Straße sollte den Hebel mit der Nummer 7 an beiden Panzern ziehen. Und der Spieler neben dem Auto zieht den Hebel mit der Zahl 8.
Kapitel 2 – Die Mauer
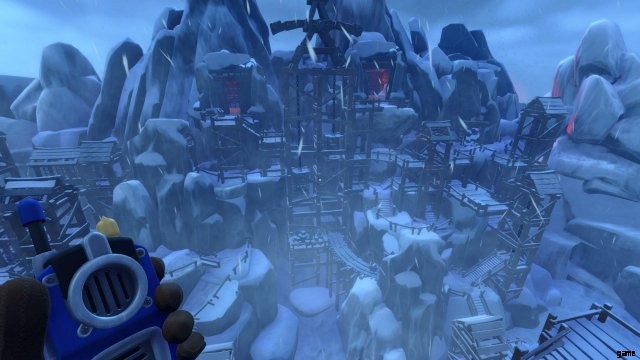
Sie sehen jetzt eine alte, kaputte Mine mit vielen hölzernen Aufzügen.
Das Besondere daran ist, dass sie auf beiden Seiten gepaart sind und ihr Merkmal ist, dass Sie den einen Aufzug auf der linken Seite anheben und den anderen auf der rechten Seite absenken.
Führen Sie die folgenden Schritte aus, um dieses Rätsel zu bestehen:
- Zwei Spieler nähern sich zuerst zwei Aufzüge (Diamantmarkierung) und biegen ab. Diese Aufzüge werden benötigt, um die Spieler mit der Regel des Puzzles vertraut zu machen.
- Als nächstes betritt der Spieler rechts den Fahrstuhl mit der Dynamitmarkierung. Der Spieler auf der linken Seite betritt den Dynamitaufzug von seiner Seite und fährt zweimal nach unten, wobei er den gleichen Aufzug auf der rechten Seite anhebt.
- Der rechte Spieler geht weiter am Dach des Fahrstuhls entlang und biegt links zu diesem Fahrstuhl ab und nimmt ihn 1 Mal mit nach oben. Er verlässt es und geht mit Dynamit zurück zum Aufzug.
- Der Spieler auf der linken Seite hebt den Fahrstuhl mit Dynamit an und senkt den rechten ab. Der rechte Spieler geht in den Fahrstuhl mit der Grubenwagenmarkierung und steigt ganz nach oben. Mit der Spitzhacke geht es am Dach des Fahrstuhls entlang zum nächsten Fahrstuhl mit dem Dinosaurierschädel. Senkt es 1 Mal. Als nächstes kehrt der rechte Spieler mit einer Spitzhacke zum Aufzug zurück, senkt sie 1 Mal und kehrt mit einem Dinosaurierschädel zum Aufzug zurück.
- Der Spieler auf der linken Seite geht zum Fahrstuhl mit der Markierung und steigt ganz nach oben und geht mit der Spitzhacke durch das Dach des Fahrstuhls zum Fahrstuhl mit dem Dinosaurierschädel.
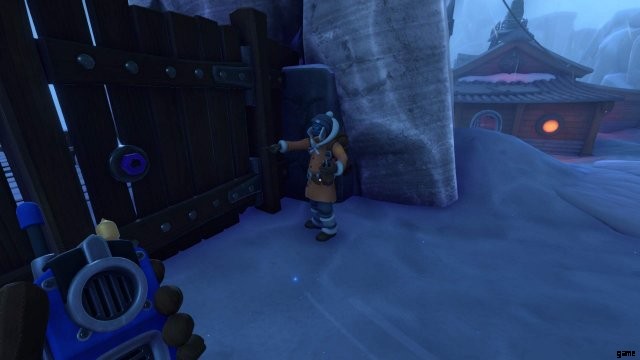
Beide Spieler gehen abwechselnd zu den Höhlengängen hinauf und finden 2 Hebel. Sie müssen gleichzeitig gehalten werden, um das Tor zur Höhle zu öffnen und zum nächsten Kapitel zu gelangen.
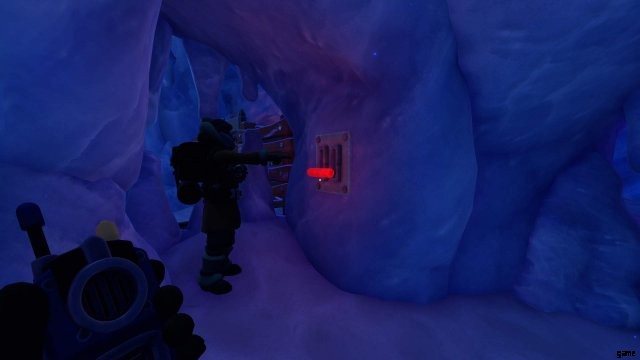
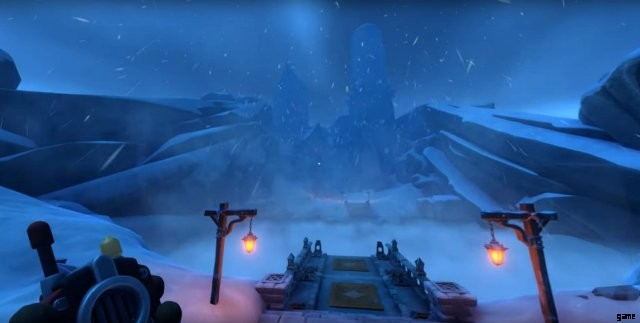
Kapitel 3 – Eingefrorene Spuren
Du bist jetzt in einer Höhle gefangen!
Sie sehen viele Hebel, um verschiedene Tore zu öffnen. Jeder Leaver öffnet nur Tore mit der gleichen Farbe.
Führe die folgenden Schritte mit deinem Freund aus, um zu entkommen.
Um es einfach zu halten, nennen wir beide Spieler P1 und P2
- P1 geht in den Durchgang nach links und P2 schließt ihn, indem er den roten Hebel auf der rechten Seite zieht. P1 geht zum blauen Hebel.

- P1 zieht den Hebel und tritt seinerseits auf die Plattform in der Nähe des ersten Tors. P2 macht dasselbe mit seinem eigenen. Beide machen eine allgemeine Drehung gegen den Uhrzeigersinn.
- P1 geht den Korridor nach rechts hinunter zur nächsten Plattform durch das blaue Tor (P2 steht noch am Hebel und kann ihn drehen) dreht die Plattform gegen den Uhrzeigersinn vorbei zum gelben Hebel und aktiviert.
- P1 geht denselben Weg zurück und bittet P2, den blauen Hebel zu ziehen.
- P1 geht in den Durchgang nach links und P2 schließt ihn, indem er den roten Hebel auf der rechten Seite zieht. P1 geht zum blauen Hebel.
- P1 geht in den Durchgang nach links und P2 schließt ihn, indem er den roten Hebel auf der rechten Seite zieht. P1 geht zum blauen Hebel.
- P1 geht in den Durchgang nach links und N2 schließt ihn, indem er den roten Hebel auf der rechten Seite zieht. P1 geht zum blauen Hebel.
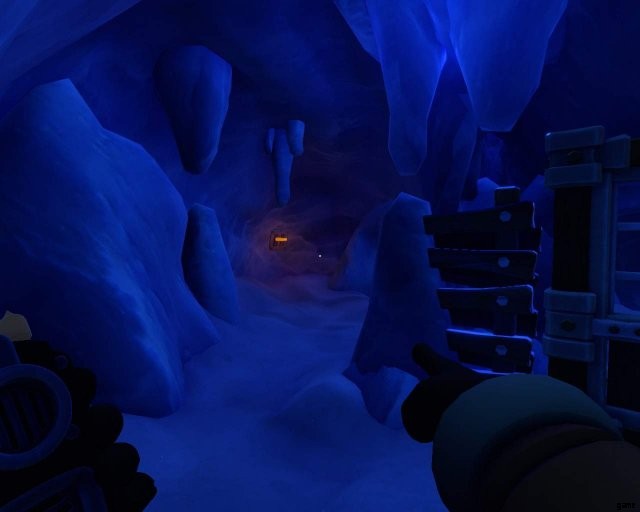
Kapitel 4 – Nebeltal
Endlich frei, aber das nächste Rätsel ist nicht mehr weit.
Das Einzige, was man sieht, ist ein großer Abgrund und der Anfang einer Brücke. In diesem Puzzle baut einer der Spieler eine Brücke durch den Mechanismus in der Höhle und der andere tritt darauf.
Gehen Sie den richtigen Weg und Sie können eine kleine, dunkle Höhle betreten. Nachdem Sie die Höhle betreten haben, betätigen Sie den Hebel auf der linken Seite, damit der Mechanismus funktioniert. Klicken Sie danach auf den Mechanismus selbst.
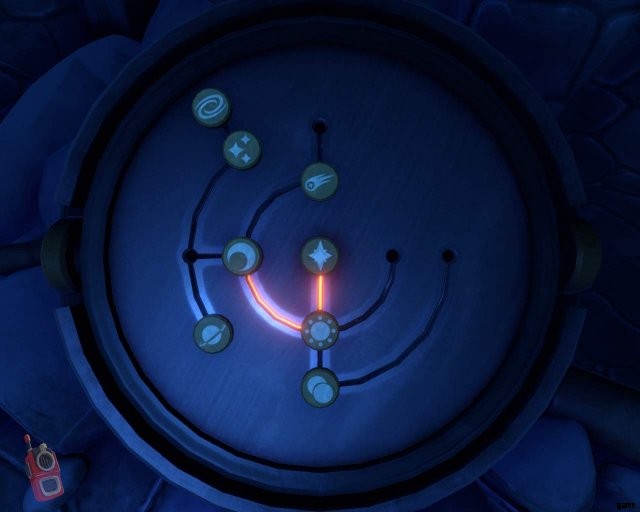
Die Brücke wird mit der richtigen Anordnung der Zeichen nacheinander gebaut. Die gleichen Symbole befinden sich auf jedem Teil der Brücke. Zuerst muss der Spieler in der Höhle die Schilder so ausrichten, dass eine Linie hindurchgezogen werden kann.
Stern (Mitte) -> Sonne -> Mond -> Jupiter -> Sterne -> Universum
Der Spieler auf der Brücke geht darauf und tritt nacheinander auf jedes Schild.
Denken Sie daran, dass die Brücke nach dem Teil mit den Sternen in zwei Teile geteilt ist. Der Spieler auf der Brücke muss nach links zum Teil mit dem Universum gehen und dort stehen bleiben, bis der Spieler in der Höhle die Brücke wieder aufgebaut hat.
Der Spieler muss nun gedanklich eine Linie ziehen, die vom Universum ausgeht.
Universum -> Sterne -> Komet -> Sonnenfinsternis -> Mond -> Sonne
Der Spieler startet vom Universum aus zu den Sternen und wendet sich dem Teil der Brücke mit dem Kometen zu. Wenn der Spieler in der Höhle die Charaktere richtig platziert hat, wird der Spieler auf der Brücke keine Schwierigkeiten haben, die Brücke bis zum Ende zu passieren.
Achtung, wenn du die Linie unterbrichst, indem du das Symbol zur Seite bewegst, senkt sich die Brücke und der Spieler fällt darauf!
Kapitel 5 – Zwei Wege
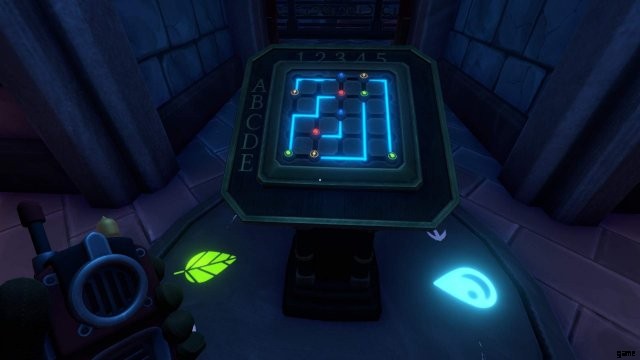
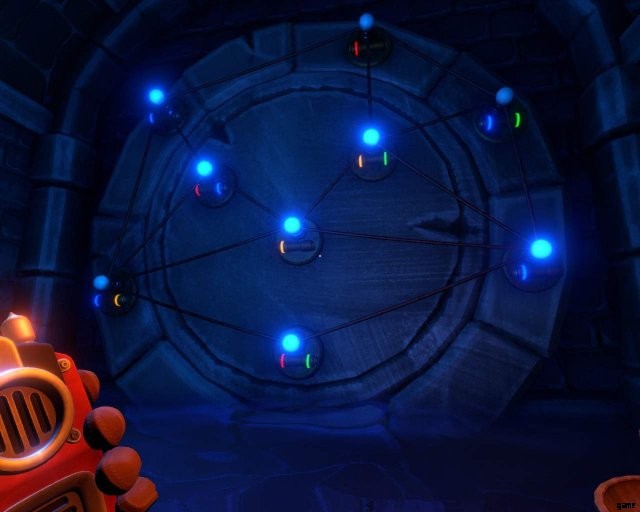
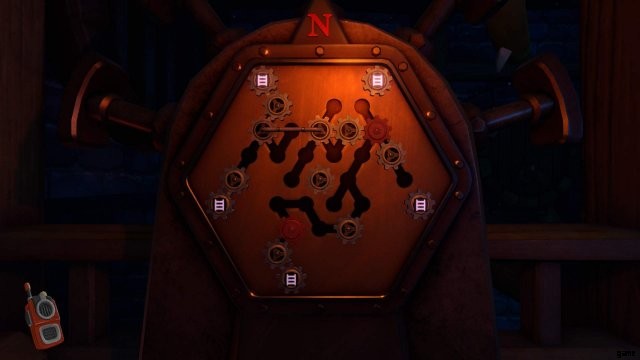
Jeder Spieler beginnt an verschiedenen Orten, von denen jeder das Bild eines Schachbretts hat. Sie werden kombiniert.
Einer der Spieler kann Kugeln mit Elementen auf das Brett legen und der zweite kann Linien zwischen ihnen ziehen.
Auf der linken und rechten Seite der Wand finden Sie eine Notiz mit Kombinationen zum Lösen des Rätsels.
Um es zu lösen, müssen Sie wie im Screenshot gezeigt vorgehen.
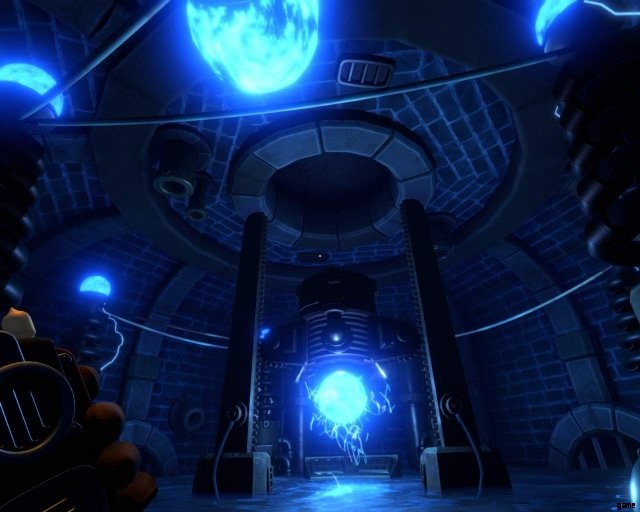
Kapitel 6 – Seltsame Begegnungen
Um weiter zu gehen, muss einer von euch eine Kerze vom Tisch nehmen und nach unten gehen. Es wird ein Rätsel mit elektrischen Drähten geben.
Ein Spieler hat einen runden Teller und Einstellungen, die mit farbigen Linien an der Wand markiert sind. Der zweite Spieler hat dort Stangen, die verdrahtet sind. In der Mitte befindet sich ein Tisch mit einem Hebel, der Strom und Kapseln mit den gleichen farbigen Linien wie der zweite Spieler liefert.
Sie müssen in der richtigen Reihenfolge in die Post eingefügt werden.
Der Spieler mit den Säulen muss die Kapseln vom Eingang bis zum Ende so platzieren, dass die Reihenfolge dieselbe ist wie beim zweiten Spieler auf der Platte.
Beginnend mit blau blau .
- blau blau
- rot blau
- 1 gelb
- gelbgrün
- 1 blau
- rot grün
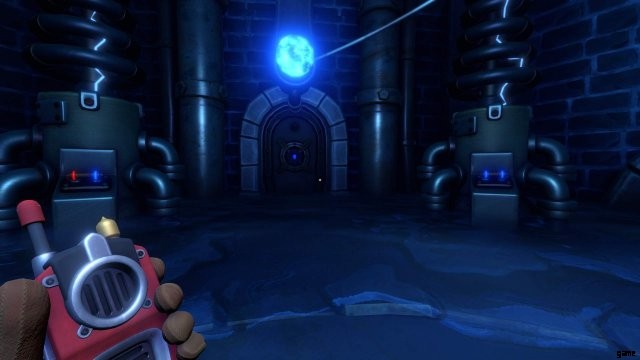
Seien Sie vorsichtig, dieses Rätsel ist zeitlich begrenzt. Je länger Sie sich entscheiden, desto tiefer fällt die große Kugel im Säulenraum. Wenn es das Wasser berührt, stirbt der Spieler in diesem Raum und das Rätsel muss neu begonnen werden.
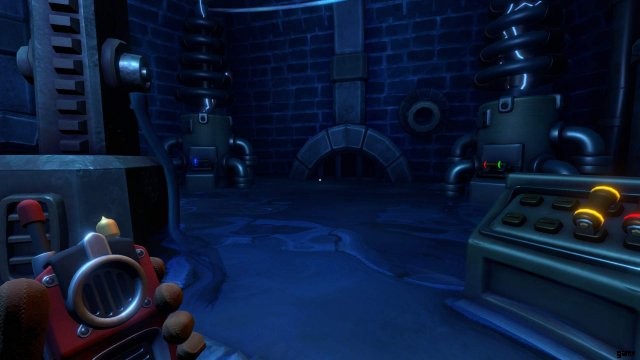
Kapitel 7 – Überwuchert
Schauen Sie sich zuerst für beide Räume um und sammeln Sie 4 Rohrstücke. Diese sind für die Installation erforderlich, da Flammen einer bestimmten Farbe übertragen werden müssen. Die Aufgabe besteht darin, die Rohre so anzuordnen, dass in keinem der Räume Leckagen auftreten.
Es ist auch notwendig, drei Tanks mit grünen, orangen und violetten Flammen zu füllen. While in one of the rooms there is a lever for supplying a red flame, and in the other two levers for yellow and blue .

Begin with what color you like.
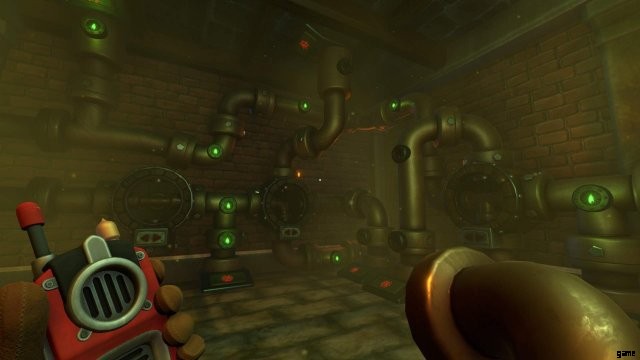
Green
To do this, pull the yellow and blue levers and arrange three slots in two rooms of the pipe. Slots can be rotated, and pipes can be changed among themselves. This will be needed in the future.
The symbols below indicate the types of pipes and their location in the slots.
- Single lever room: ┫┛━
- Room with two levers: ━ ┓┣
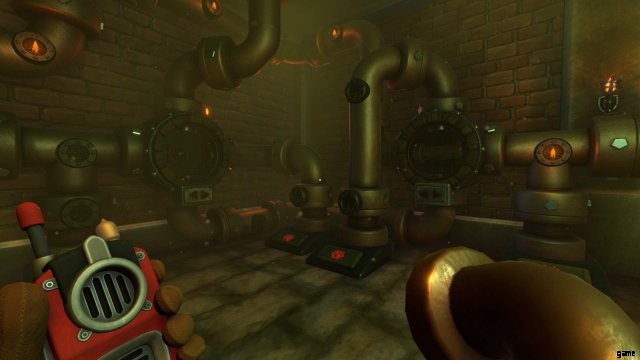
Orange
We turn off the blue lever in one room, and turn on the red in the other room. After that, we change the pipes in the slots.
- Single lever room: ┓x ━ (x =no pipe)
- A room with two levers: x┏ ━ (x =no pipe)
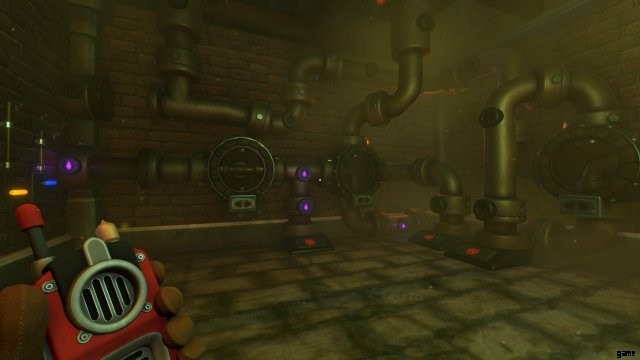
Purple
Turn off the yellow lever and turn on the blue. We change the pipes.
- Single lever room: ┻ ┛━
- Room with two levers: ━ ┓┏
Chapter 7 – The Fountain
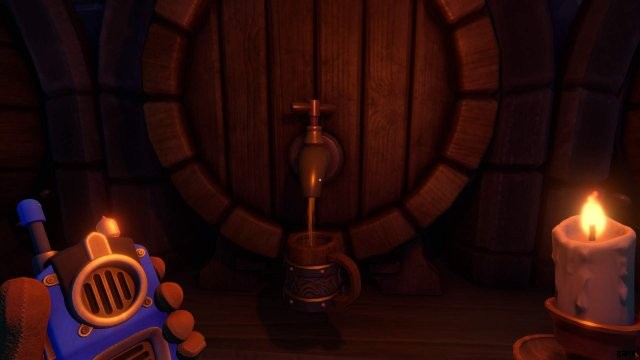
The player of the two-lever room must go to the empty fountain and go down the stairs to turn the valve, which will launch the puzzle. It is limited in time and should be prepared for it.
If you activate the valve, water flows in and the stairs on the side turn.
Tip: If you can not see well because of the water level, hop! That can help for a short time.
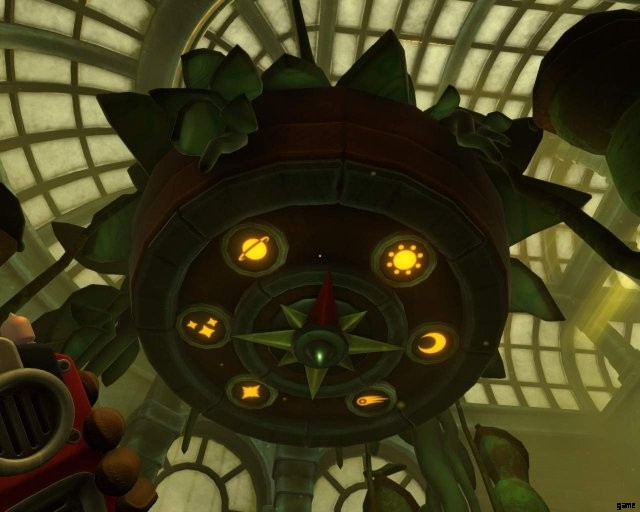
The player in the fountain needs to gradually climb the stairs, which the second player will rotate in parts in his room through a special mechanism (First screen).
Each of the stairs refers to a specific symbol.
These symbols are also indicated on the ceiling above the fountain. This is a symbol of the Comet.
As a result, we have the following arrangement on the mechanism:
- Top Left → Jupiter
- Left → Stars
- Upper Right → Sun
- Bottom Left → Big Star
- Right → Moon
It is in this sequence that they will need to be rotated. This is done by laying a line of gears from the center to the desired ladder. If this line touches the red gears, the line will not rotate the ladder.
Listen to the second player, he will talk when it will be necessary to rotate the ladder, and when it will be necessary to stop.
There are fixed tiers between tiers with symbols, they must be reached on the stairs of the marked tier. The last tier will need to be tightened before exiting the reservoir.
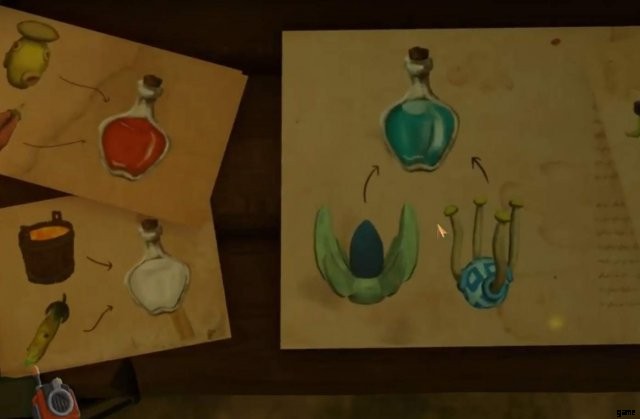
Chapter 7 – Poisons
On the right of the room you stand in a old greenhouse. So its time to brew a few potions!
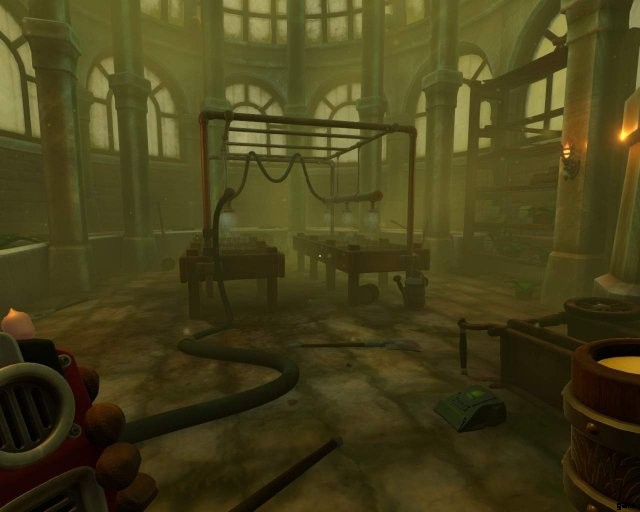
In one room with a reservoir there are three taps with fluids of three colors:green, orange and purple. There is also a small garden where you need to grow fruits, seed bags and scoops are scattered throughout the garden. You must take the necessary seeds and plant them on the bed and watered it with the correct liquid.
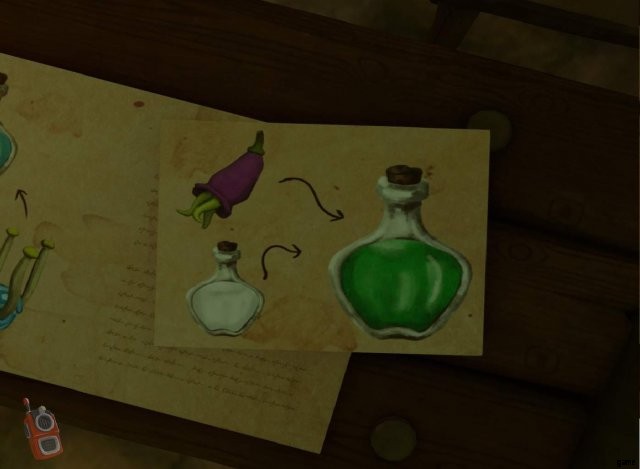
Here are the recipes from another player’s room:
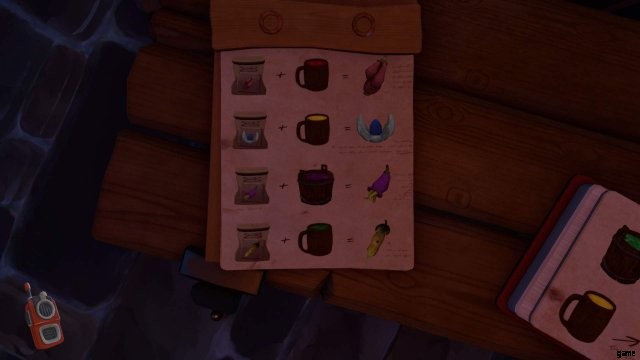
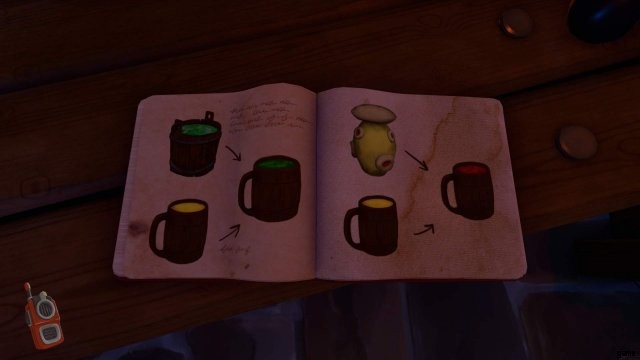
In the other room can you find all the equipment. One device with two slots and the other with three. We need a dual-slot. Based on recipes, combine the ingredients here.
The rooms of two players are connected by rails with trolleys. They are needed to transfer resources for potions to each other. One puts objects in a trolley and presses a lever. Another picks up these items and uses them for their intended purpose.
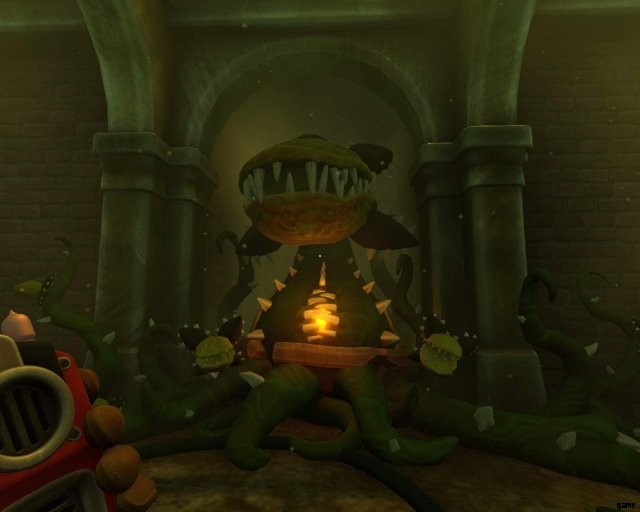
You need to brew the following poisons to create one, deadly poison to defeat the carnivorous plant.
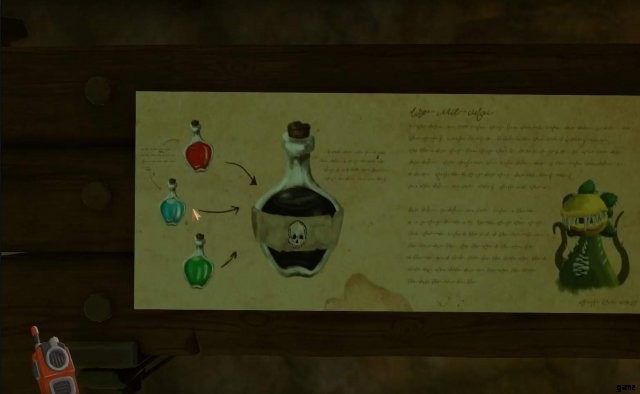
Having received all three potions, they need to be folded into another device with three slots. After receiving the black potion, you need to fill it in the sprayer, which lies on the table next to the recipes in the same room in which you received the potion. The device must be transferred to another player, and he, in turn, must spray them on a huge plant that stores a second stone. The stone must be taken.
Chapter 8 – Hidden Answers
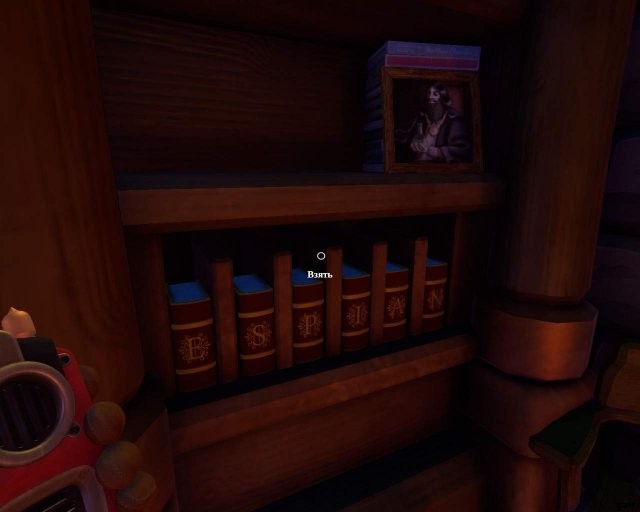
In this chapter, you both find yourself in rooms that are similar to each other, but there are significant differences. The goal is to find 6 books hidden throughout the room. All these books have a big letter on the front, so you can find them maybe a litte bit easier.
The order in which the books must be found does not matter!
Book #1
At first, one player can find 4 objects in his room to collect. These 4 objects are:
- sand clock
- Globus
- cube
You can not do anything with these objects except to place them seemingly randomly in the room.
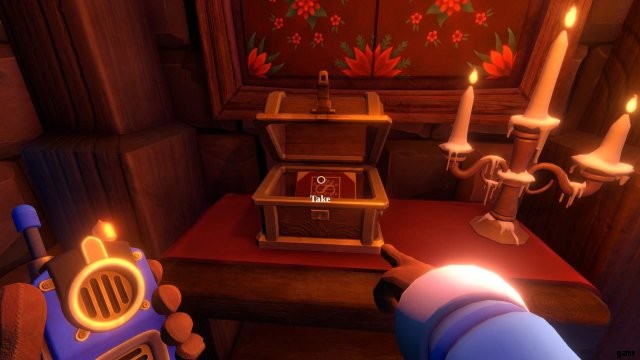
Your partner have also this items in his room. Place all 4 at the same position as in the other room. After that, a box will open on the second floor of both rooms in the corner. Both players must take a book from there.
Book #2
One of you can collect paintings that depict strange animals. The second player must explain where they are located. The first player must place the collected pictures in the indicated places.
One of the paintings does not contain an animal, but a man (the portrait differs from that in the other room). Put it in place to the left of the door.
After completing the task, one picture on the stairs will open. There will be a book.
Book #3
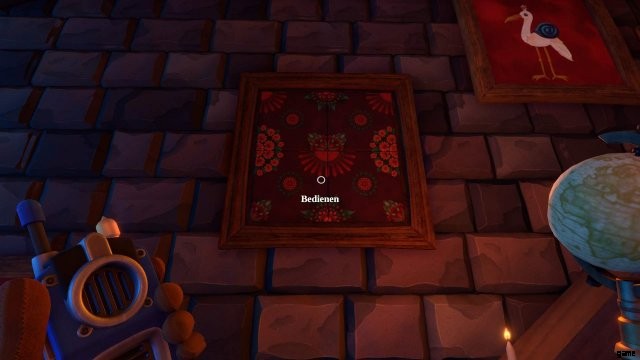
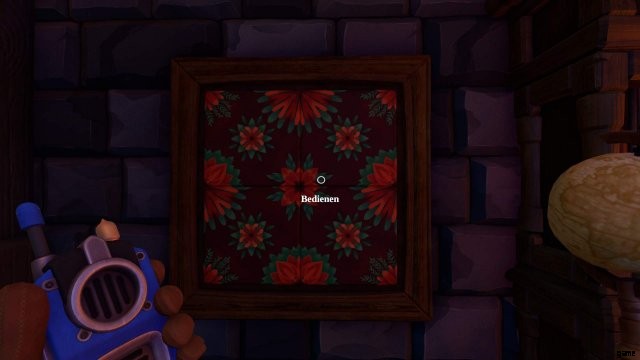
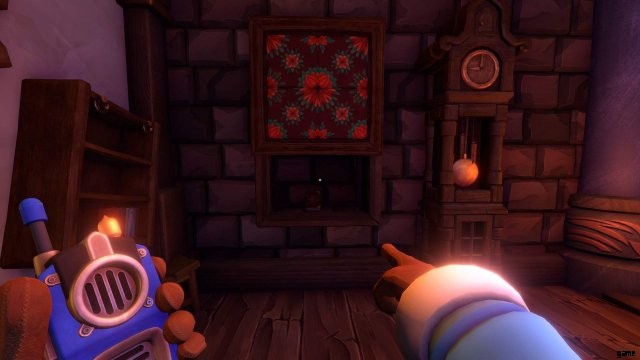
In addition to 6 “strange” animal paintings, there are also 3 paintings with floral ornaments. Each picture is divided into 4 squares, which the second player can rotate. Squares should be set so that the drawings in all three paintings coincide with the image of the same paintings in another room.
After that, the picture to the left of the clock will open. There will be a book.
Book #4
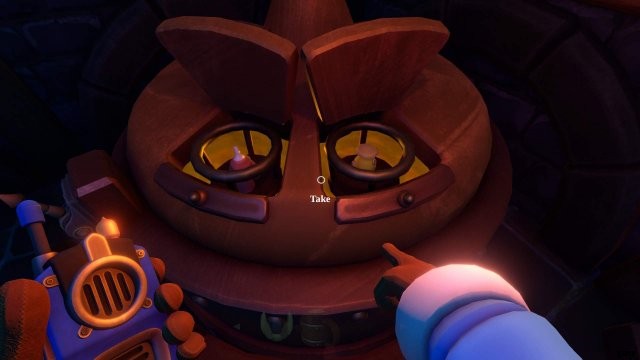
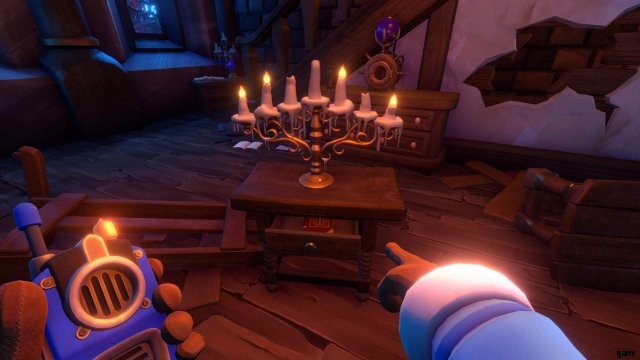
In the middle of the rooms there is a candle holder. Only one player can light candles. The second player should tell what candles they have on.
After that, the box with the book under the candle holder will open.
Book #5
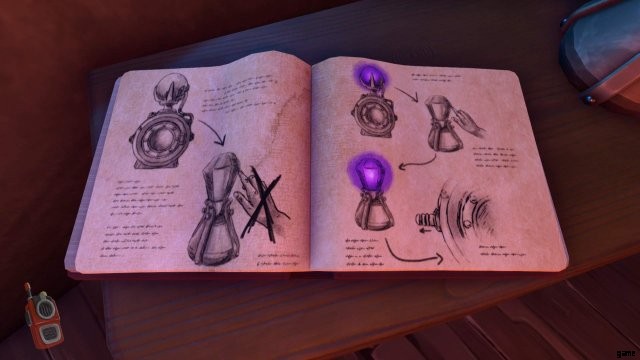
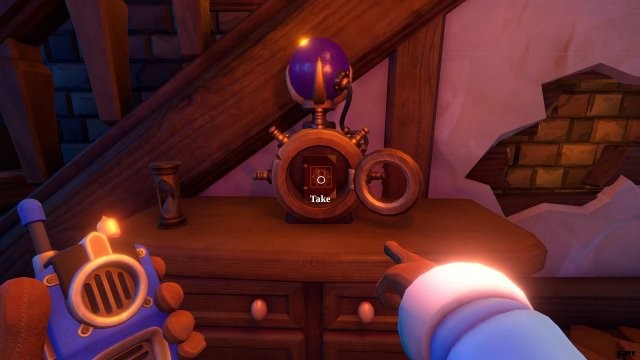
On the pedestal near the stairs there is a spherical purple device, it glows when the first player approaches certain crystals. There are 5 of it in the room and you need to light them all.
If the first player approaches the crystal, and the second ball flashes quickly, it means that it must be activated. If you activate the wrong crystal, then all others will be canceled.
After execution, a box with a book will open under the ball.
Book #6
The first player has divisions to the right of the clock, and the second has switches in the same place. They are responsible for the sound of the clock, the beat frequency and the sound of the cuckoo.
The first player must explain this to the second player, and he must adjusts the parameters of his watch to the clock of the first player, and then clicks on the button below.
After execution, a door with a book will open under the clock.
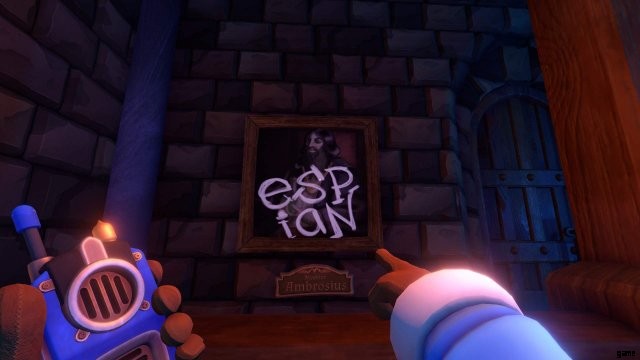
Now you’ve collect all 6 Books. Go down in the corner to the left of the fireplace. You must set in your book now in the correct order. Remember the picture next to the entrance door.
A player with a picture of a bearded man looking to the left should make up the word ESPIAN.
A player with a picture of a man looking to the right – NEPIAS.

Chapter 9 – The Soulstone
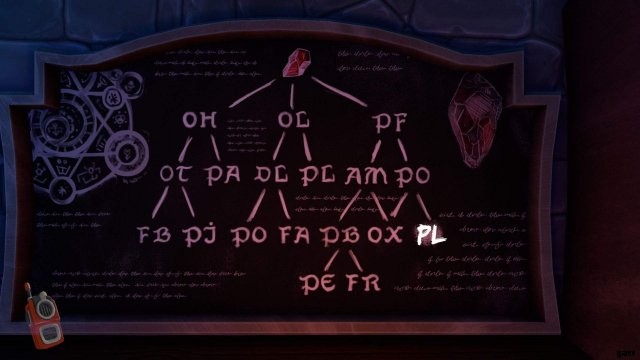
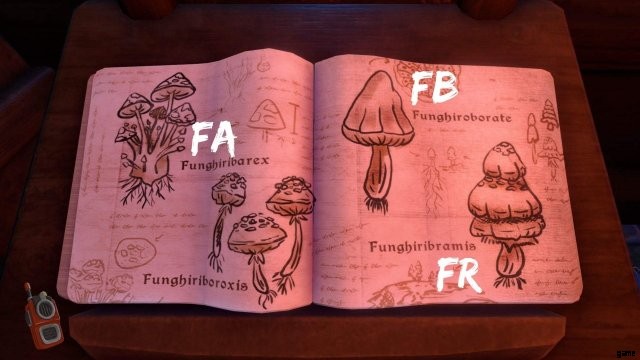
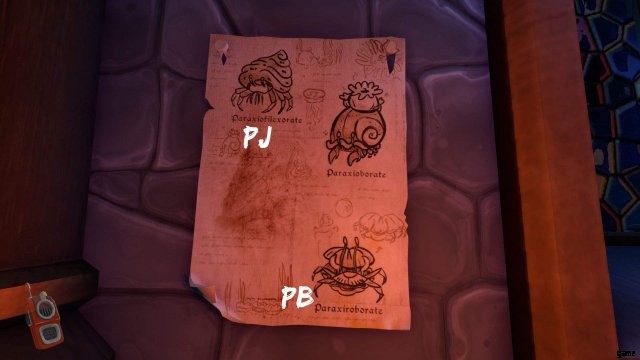
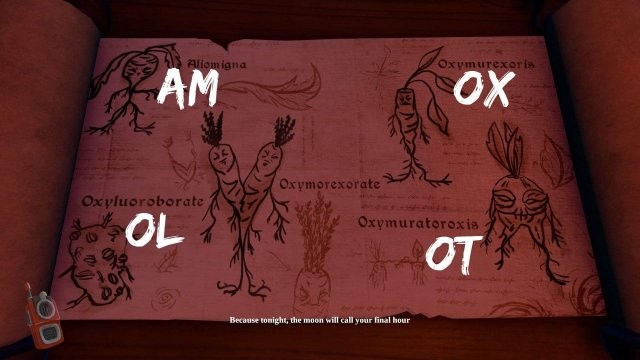
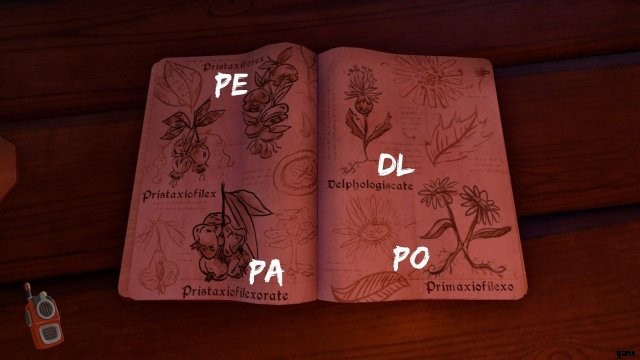
Both players together must create a third stone. One player has a board with a table (screen below), on which you need to create a stone, and entries around which the components are shown and named.
On the table, these components are indicated as abbreviations.
These abbreviations must be decrypted by the second player, since he has a book with decryptions. Also in the room of the second player there are components with images. And three devices.
One combines two components into one, the second disconnects one component into two, and the third is needed to connect the 3 components that are indicated below the stone in the table (OH, OT, PF).
Chapter 10 – The Betrayal
After receiving the alchemical stone, one of the players gets into the cage, and the second goes through a secret passage instead, which is divided into two corridors.
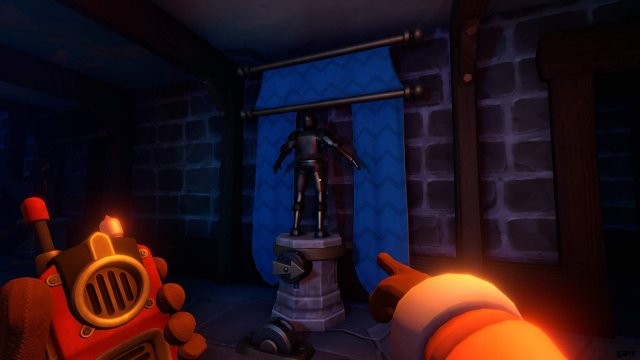
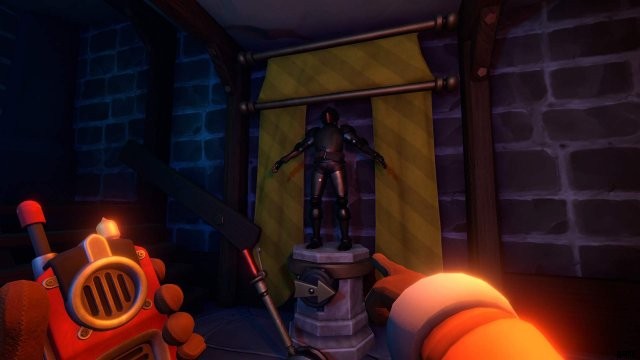
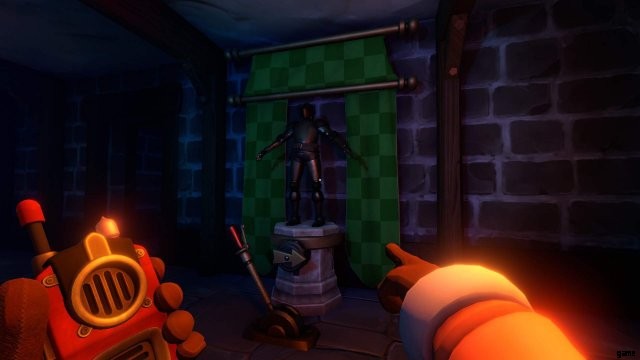
In both hallways knights stand in front of colored curtains.

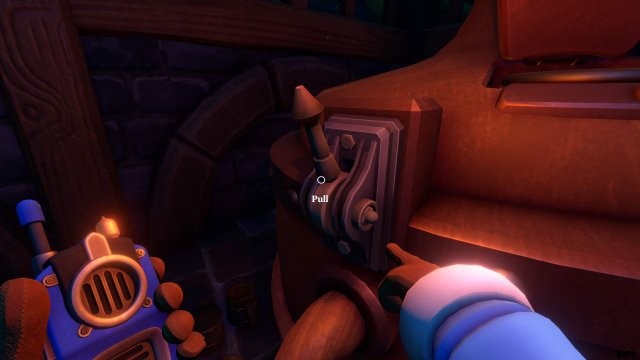
First you need to release a friend using the lever that is next to the window.
The released player will find a hall in which there are 4 of the same statues of knights infrront of colored curtains. In the middle of the hall there will be a button that will rotate all knights 90 degrees.
The player in the hall can move the curtains behind the knight to highlight it. You can only move one curtain at once.
In one corridor there is a knight whose lever is broken. His curtain is blue. The next knight at the window will be with a yellow curtain. And in the other corridor both levers work. The one closest to the window will be with a red and white curtain. The last knight of that corridor stands in front of a green curtain.
To solve the puzzle you need to perform the following sequence of actions:
- The player in the corridors must turn the knight’s lever with the yellow curtain.
- The player in the hall presses the button once.
- The player in the corridors turns that yellow lever again.
- The player in the hall presses the button once again
- The player in the corridors runs to the other side and turns the knight’s lever with the red curtain.
- The player in the hall presses the button once.
Chapter 10 – The Betrayal (2)
After the previous knights, the next riddle will be around the other four knights along the royal throne. One player is in the hall, and the second must approach the other knights from the other side through the iron doors.
Each knight holds in his hand a certain weapon and shield with an image of an animal on his back. Weapons and shields must be arranged based on the tips that are written on the tablets. These plates are on each side.
One player places weapons, and the second shields.
The player who placed the weapons do the following.
From left to right if you stand in front of the throne with the king.
Axe → Hammer → Sword → Mace
The player behind the wall do the following with his shields. Again from left to right if you lokk straight to the wall.
Dragon → Deer → Phoenix → Bear
After solving the riddle, a cutscene sets in, in which the player who placed the shields runs out through the throne to another player in the great hall.
Now its time for the final decision! you can choose between:
- You sacrifice yourself.
- You kill your friend with the dagger.