Dies ist die Anleitung für Dread X Collection:The Hunt. Es wird wichtige Fortschrittspunkte für den Launcher berühren! Spoiler voraus!
Leitfaden für die Jagd
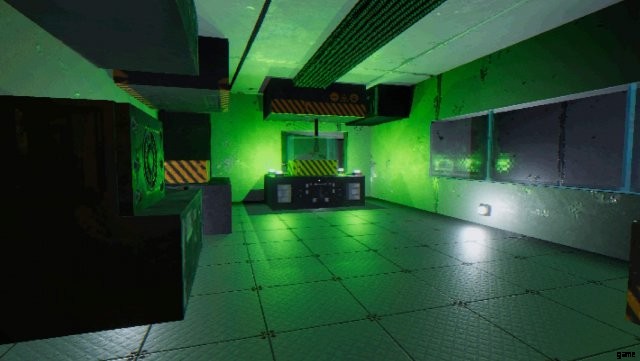
Der Bunker
Der Bunker dient als zentraler Launcher für alle Spiele der Collection und ist gleichzeitig ein Spielerlebnis für sich! Sie werden die kalten Innenräume des Gebäudes sowie seine Umgebung durchqueren, Räume aufschließen und Proben aus dem Kellerlabor holen, nachdem Sie Codes aus Fallberichten (Spielen) erhalten haben.

Der erste Schlüssel
Der erste Schlüssel befindet sich über der Eingangstür der Einrichtung, begleitet von einem Blinklicht. Rüsten Sie Ihr Gewehr (standardmäßig M2) aus und schießen Sie auf das Licht. Der Schlüssel fällt auf den Boden, sodass Sie den Bunker betreten können.

Der Kantine-Schlüssel
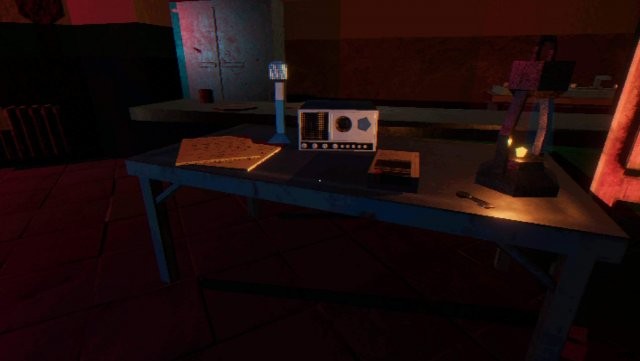
Nachdem Sie den Bunker betreten haben, müssen Sie den Generator aktivieren, der sich im Hauswirtschaftsraum befindet. Zu diesem Zeitpunkt sind alle Türen verschlossen. Gehen Sie in Richtung Mess Hall, wo ein Rekorder, der Mess Hall-Schlüssel und eine Notiz der Fallberichte auf einem Tisch liegen. Verwenden Sie den Schlüssel, um die Tür zum Flur aufzuschließen, der Generatorraum befindet sich gleich den Flur hinunter …
Die Laborschlüsselkarte
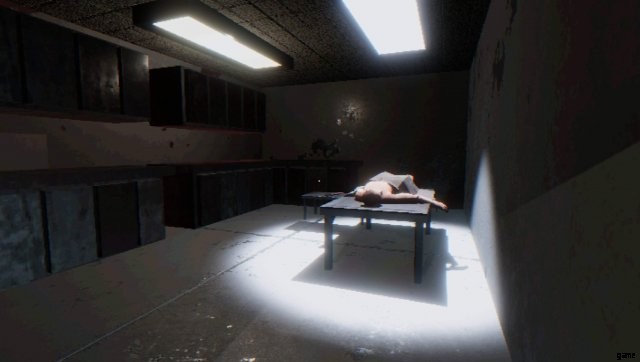
Sobald der Generator hochgefahren ist und läuft, ertönt ein angenehmer Alarm, der Sie auffordert, den Keller des Geländes zu überprüfen. Gehen Sie die Treppe hinunter, an der Sie auf dem Weg zum Hauswirtschaftsraum vorbeigekommen sind, und lesen Sie die Notiz an der Tür. Gehen Sie in den zweiten Stock und finden Sie die Tür mit der Aufschrift Roof Access. Draußen auf dem Dach finden Sie eine Leiche mit der Schlüsselkarte auf dem Boden in der Nähe. Gehen Sie mit der Schlüsselkarte im Schlepptau zurück in den Keller und verwenden Sie sie am Kartenleser neben der Tür. Sobald Sie sich im Labor befinden, deaktivieren Sie den Alarm an der Wand und interagieren Sie mit dem Computer in der Nähe.

Neustart der Pumpe
Ihre erste Interaktion mit dem Beispielcomputer ist kurz und fordert Sie auf, eine bestimmte Pumpe zu besuchen, um sie neu zu starten. Gehen Sie die Treppe zurück in den ersten Stock und nehmen Sie die nahe gelegene Tür zum Kühlhaus. Folgen Sie dem Graben nach draußen, bis Sie das Kühlhaus erreichen. Sobald Sie drinnen sind, finden Sie die Pumpe, die neu gestartet werden muss, sowie einen eingefrorenen Freund.

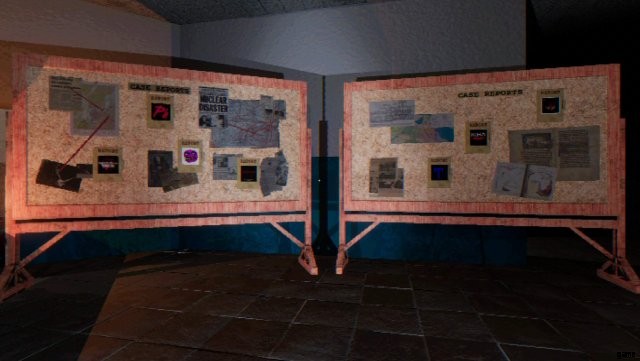
Die Fallakten
Gehen Sie für eine Zwischensequenz den Weg zurück, den Sie zum Labor gekommen sind. Wenn alle Lichter und Doo-Dads aktiviert sind, werden Ihnen die Fallakten präsentiert. Jeder enthält einen Beispielcode, den Sie nach Fertigstellung erhalten, um ihn in den Computer im Kellerlabor einzugeben.
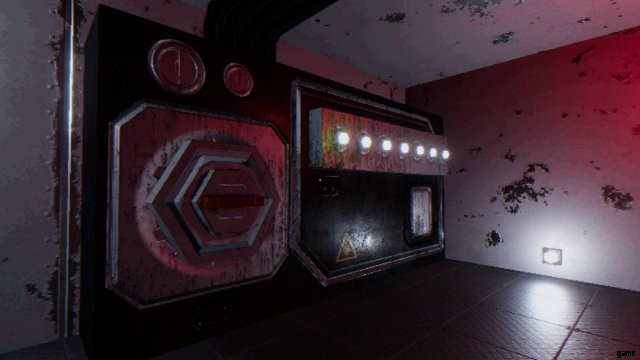
Der Probenanalysator
Wie im letzten Teil erwähnt, gibt Ihnen jedes Spiel nach Abschluss einen Beispielcode. Nachdem Sie den Code in den Computer im Keller eingegeben haben, erhalten Sie eine Probe. If you hadn’t noticed already, there’s a large device next to the computer, where you’ll drop the sample in. On the machine are lights to mark your sample-snagging progress!
The Third Sample
After putting in the code for your third sample, the case for it will drop except it’ll be short one sample. Instead, there’ll be a note and a Storage Key inside of it. The storage room is located on the second floor so head up there next. Search the room for a tape deck recorder on one of the shelves. You’ll find the third sample next to it behind a blood-stained box.

The Fourth Sample
The fourth sample, much like the third, will require extra finesse to acquire. After entering the code you’ll be given a proximity tracker and a note from the holder of the fourth sample. Go out the door leading to the trench, make a sharp left, and follow your tracker into the snowstorm until you come across a chilly fellow.

The Fifth Sample
Like it’s predecessors, the fifth sample’s container will be empty, except for the key to the Bunk Room located upstairs. Inside the bunkroom you’ll find a knife on one of the tables that you can make use of. Go downstairs and use the knife on the rope holding the Medical Room door shut. Utilizing the tools available (Scalpel, Bonesaw, Scalpel, Tweezers in that order), you’ll obtain the fifth sample.
The Sixth Sample
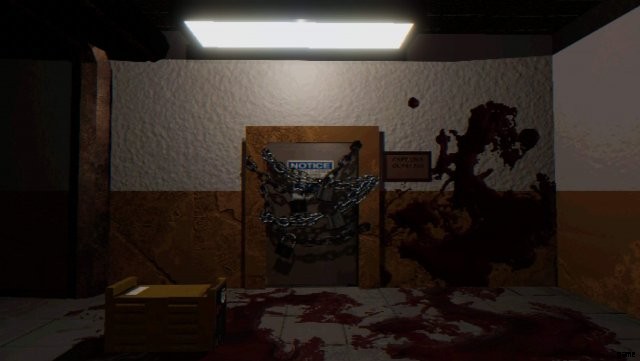
Almost a running gag at this point, the container for the sixth sample will only contain a note and key to a footlocker in the Bunk Room. Inside the footlocker lies a space heater and plasma cutter base. Take the space heater down to the garage to melt the ice off the frozen door. Grab the plasma cutter torch and go back upstairs to the Captain’s Room. After two passes on the chains with the cutter the power will shut back off, prompting you to return to the utility room and restart the generator again. After the power is restored, head back up to find out that someone finished the job for you. Inside the Captain’s Quarters is the sixth sample, as well as a tape and note.
The Seventh Sample
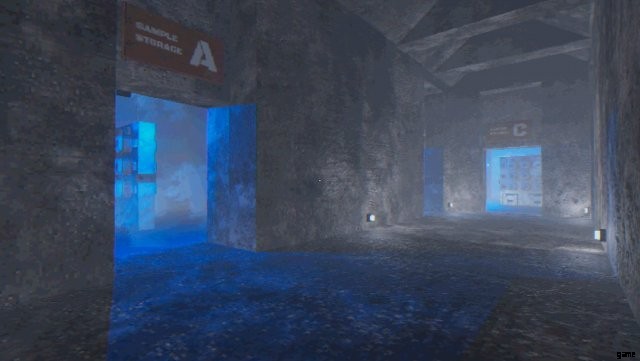
With the computer unavailable to give out any more samples, you’ll have to go to Cold Storage and find it yourself. Make sure to pick up the Cold Storage Key from the broken box on the floor before you leave the computer room. While crossing the icy trench the creature will give chase, leaving you no choice but to close the first door of Cold Storage behind you to stop it. Behind the second door lie shelves of samples that you’ll need to use the final sample code to navigate. (D6C3) Go into the Sample Storage D section, and locate the shelf side adorned with the number 6. From there, look through the samples until you come across the seventh sample.
The Experimental Weapon
After placing the seventh sample into the Sample Analyzer, you’ll be able to enter the lab itself. Once you interact with the experimental weapon, the creature will break in, forcing you to shoot it. Upon its death, you’ll find a tape recording that’ll activate once you leave the lab area.