In Wandersong stecken? Diese exemplarische Vorgehensweise wird Musik in Ihren Ohren sein. Lesen Sie weiter, um herauszufinden, was im fünften Akt im Land Chaandesh zu tun ist.
- Wandersong Story Walkthrough – Prolog &Erster Akt
- Wandersong Story Walkthrough – Akt Zwei
- Wandersong Story Walkthrough – Akt Drei
- Wandersong Story Walkthrough – Pause &Vierer Akt
- Wandersong Story Walkthrough – Akt 5 (Teil 1)
- Wandersong Story Walkthrough – Akt 5 (Teil 2)
- Wandersong Story Walkthrough – Akt Sechs (Teil 1)
- Wandersong Story Walkthrough – Akt Sechs (Teil 2)
- Wandersong Story Walkthrough – Akt Sieben
Willkommen zur exemplarischen Vorgehensweise von „Into Indie Games“ von Wandersong!
Wandersong wird, wie die meisten Abenteuerspiele, am besten gespielt, indem man es selbst frei erkundet. Aber wenn Sie nicht weiterkommen oder vergessen haben, was Sie tun müssen, sehen Sie sich diese Anleitung an!
Weitere Informationen zu Wandersong findest du hier auf der offiziellen Website.
Akt Fünf:Der Krieg zwischen zwei Königreichen (Fortsetzung)
Teil 2 (Chaandesh)
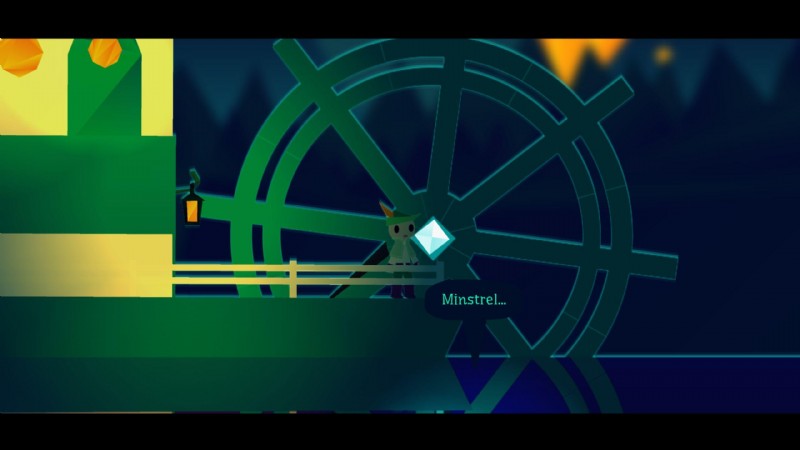
Auf dem Paddelboot unterhalten Sie sich zuerst mit Miriam. Gehen Sie nach dem Gespräch nach links, um mit der blauhaarigen Frau mit einem Monokel zu sprechen. Wie du von ihr erfährst, gibt es eine andere Band auf diesem Boot, und obwohl sie durchaus in der Lage ist, Musik zu spielen, braucht sie die richtige Musik, um zu spielen.
Gehen Sie nach drinnen und sprechen Sie mit den Leuten, um die drei Musiker an Bord zu treffen. Komponieren Sie Musik für jeden von ihnen. Sie müssen die Musik nicht selbst spielen, also machen Sie sich keine Gedanken darüber, was Sie für sie komponieren.
Sobald sie alle ihre Musik haben, gehen Sie zurück und sprechen Sie erneut mit der blauhaarigen Frau. Es ist Zeit für die Show, also lauschen Sie den Früchten Ihrer kreativen Arbeit. Es folgt ein weiteres Gespräch und dann wirst du feststellen, dass sich das Boot deinem Ziel nähert.
Der Barde wird vom Geist der Prinzessin kontaktiert, die ihm die Nachricht früher in der Handlung überbracht hat. Sie hat Ihr nächstes Ziel:mit der Königin von Chaandesh zu sprechen. Nach dem Gespräch legt das Boot an und Sie erhalten vom Schiffskapitän eine kostenlose Karte.
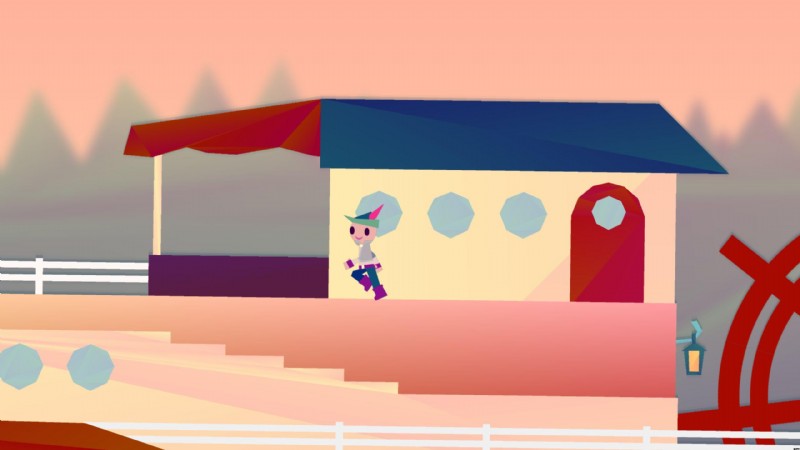
Von hier aus können Sie die Stadt Mohabumi erkunden, die ein sehr weitläufiger Ort ist, der sich über eine ganze Reihe von Spielbildschirmen erstreckt. Die Karte wird sich als nützlich erweisen.
Um mit der Geschichte fortzufahren, gehen Sie so weit wie möglich nach links in die Bibliothek. Hier triffst du Candra. Sprechen Sie mit ihr und nach dem Gespräch haben Sie Zugang zu einem musikalischen Zauber. Singe den Zauber, um die Kristallkugel hüpfend zu machen. Mit diesem Zauber kannst du neue Gebiete in Mohabumi erkunden, also vergiss nicht, eine Runde durch die Stadt zu drehen und zu neuen Orten aufzuspringen.
Ihr nächstes Ziel wird auf der Karte markiert, also gehen Sie darauf zu. Am Rand der Klippe finden Sie ein Gebäude, in dem Sie Badriyah treffen. Hala wird mit ihr sprechen und Sie erhalten Zugang zu einem anderen Zauber, mit dem Sie auf den Kristallwänden laufen können. Wie zuvor können Sie so auf neue Orte zugreifen.
Du kannst immer nur einen Zauber aktiv haben, aber du kannst die Zauber beliebig oft wechseln. Sie müssen den Zauber jedoch jedes Mal neu singen, wenn Sie einen neuen Bildschirm betreten.
Mit dem Wall-Walking-Zauber wird empfohlen, dass Sie The Crater besuchen, einen Hotspot des Nachtlebens, wo Sie ein Konzert besuchen und ein sehr wichtiges Gespräch mit Miriam führen können.
Wenn Sie bereit sind, fortzufahren, folgen Sie der Karte, um zur nächsten Schwester zu gelangen:Amaris. Um zu ihr zu gelangen, müssen Sie abwechselnd die beiden Zaubersprüche anwenden, die Sie bisher gelernt haben. Sprich mit Amaris und du erhältst Zugriff auf einen neuen Zauber, mit dem du durch die Kristallblöcke gehen kannst.
To reach the next objective, follow the map and use the three spells you have learnt as necessary. Once you reach the outdoor walkway, go left and use the walk-through spell to pass the crystal block in the way. You’ll find Mohabumi Palace on the other side, so enter it and go all the way left to find another of Hala’s sisters, Purnima.
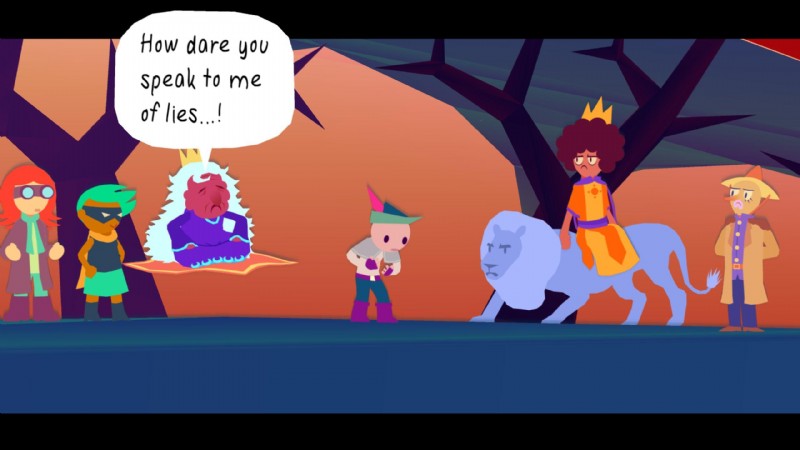
After talking to Purnima, talk to the Queen of Chaandesh and convey Hala’s message by singing the marked notes. At the end of it all, the Bard will be on the floor and another conversation will follow.
After the conversation ends, exit to the right and keep going until you’re stopped. You will be taught the Overseer song here, so head out and go back the way you came. Keep going until you meet Miriam and talk to her to return to the nexus point.
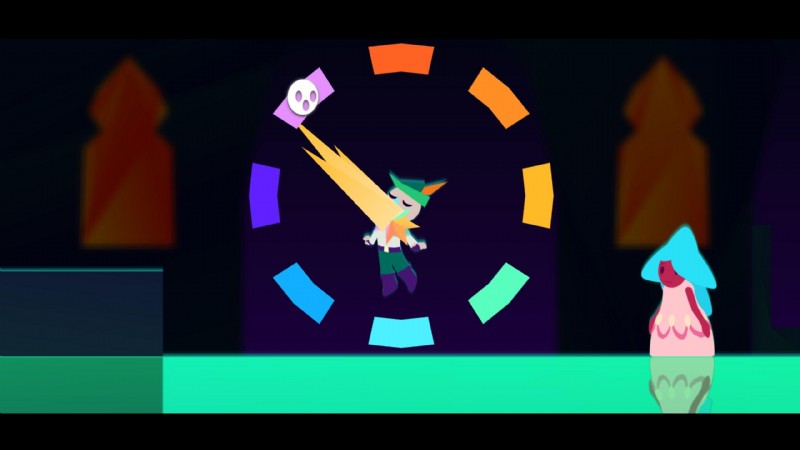
At the nexus point, feel free to ask any questions you have, and then sing the Overseer song to enter the spirit world.
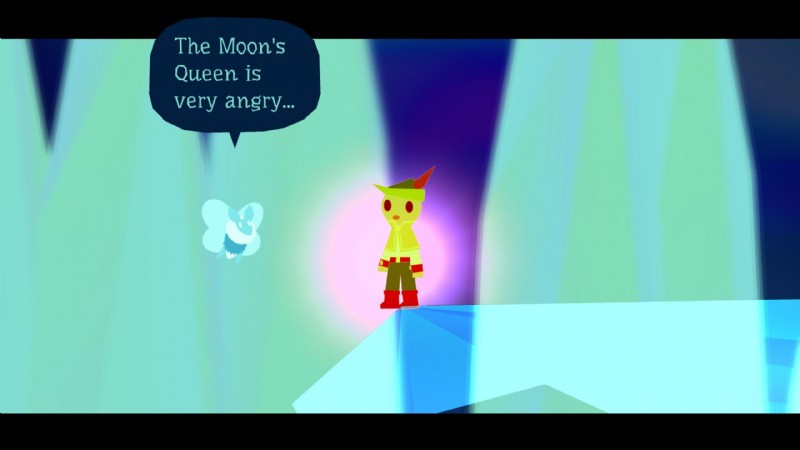
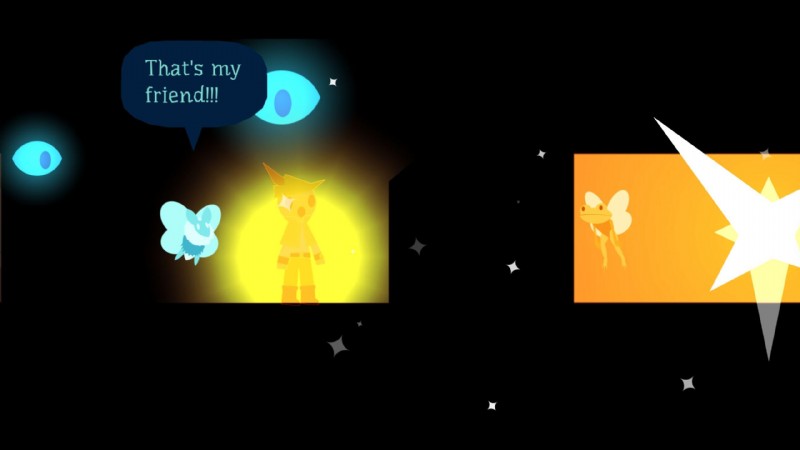
In the spirit world, you’ll end up on an icy platform with no way off. Run around to the left and right until you meet a new character:the Moon Fairy. She’ll tell you what you need to do here and open up the path for you, so head right.
The mechanic here consists of glowing orbs that you can sing to in order to expand them into giant bubbles. Once you enter a bubble, you can fly freely within it and if you exit it, you will be launched at speed.
Keep singing at the bubbles and jumping from one bubble to the next. As you may have noticed, your singing now illuminates a cone of light that you can use to aim for the bubbles. It may take some practice to jump from one bubble to the next, so keep trying!
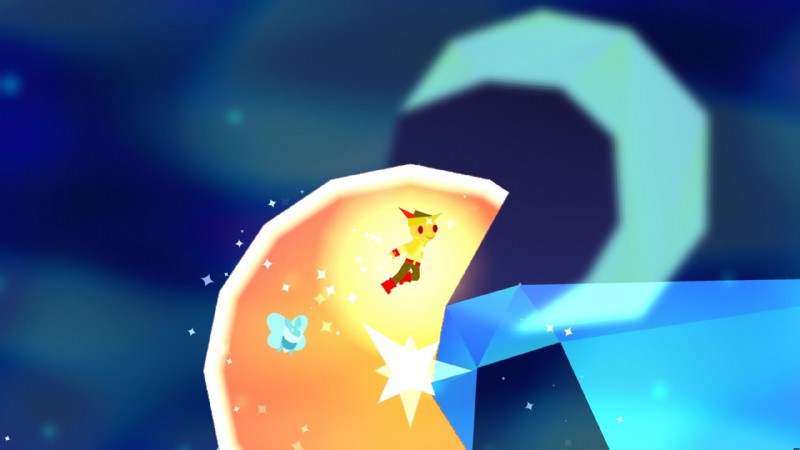
At the very end of this sequence of puzzles, you’ll find a shaft with orb that activates a beam of light when you sing to it. This beam will carry you far to the right and into the Sun King’s Palace.
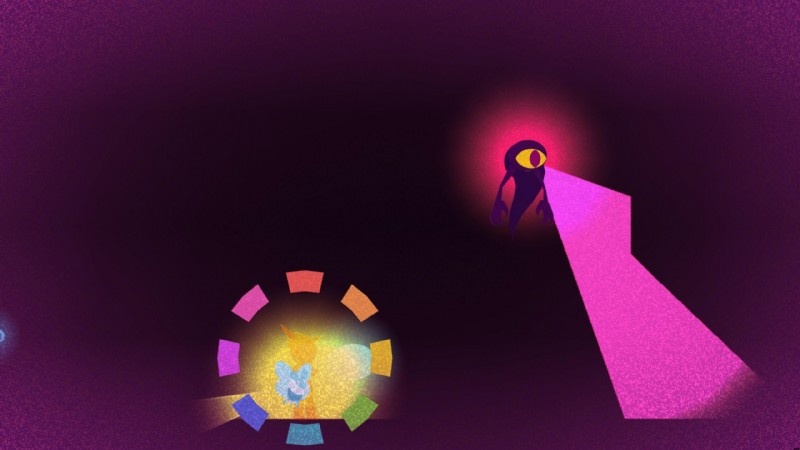
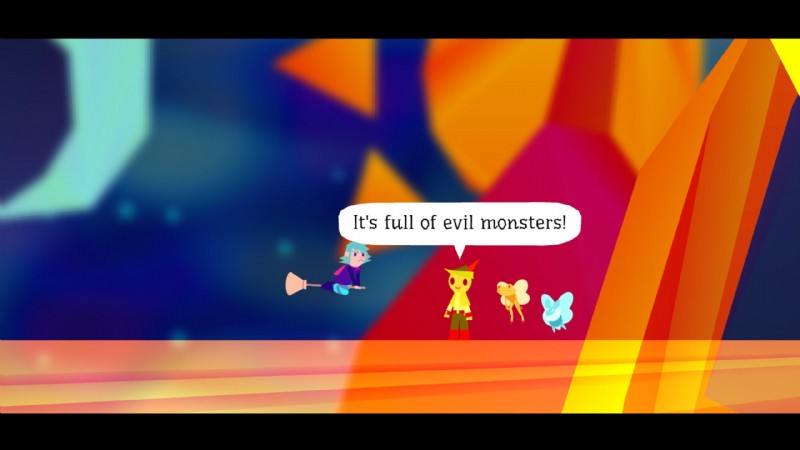
Enter the place to find yourself in pitch darkness. You can use your singing-light to spot ledges and platforms, but otherwise, you’ll have to walk around in the dark. Head right and up as required, until you find a purple monster. The monster has a pink cone of vision that you want to avoid at all costs. Thankfully, the monster can’t see your singing-light, so feel free to sing as you wish.
For the first monster, you’ll notice that his vision snaps 90 degrees anti-clockwise. When he’s looking to the right, jump on to the platform he’s on and walk underneath him. When he looks up, head past the monster to the right.
The second monster cannot be avoided. Wait until his cone of vision goes to the right and run straight into it. The monster will spot you and chase you, so keep running to the right while singing and you’ll expand a light bubble. As it turns out, the monsters are repelled by the light bubbles.
Proceed onwards and upwards to find another monster. This time, there is a platform below the monster that is blocking its cone of vision. When the monster looks right, run under the platform and wait. If you stand in the shadow, the monster won’t spot you. When it looks left, make a run for the right.
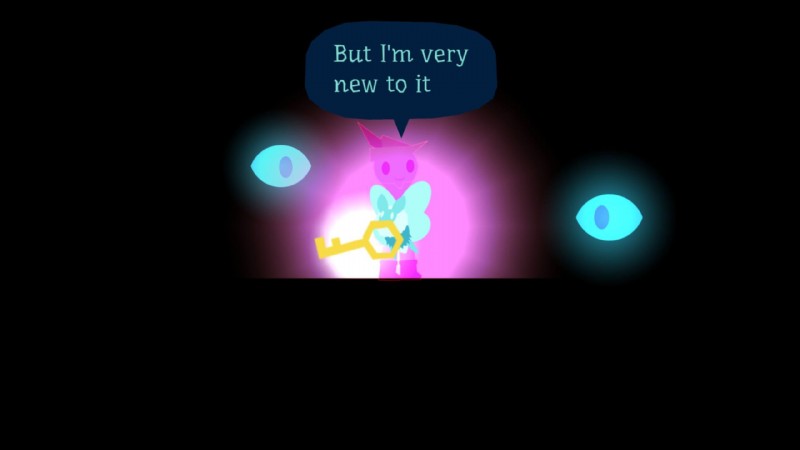
Here, you’ll find a lock. Proceed upwards and to the left, and you’ll find a key for the lock. Proceed to the right from the lock, past the gap. Here, there’s another monster with a shadow platform underneath. Grab the key when it isn’t looking, use the platform for cover as required, and return to the gap we ignored before. Jump down to find the lock and unlock it to proceed.
Continue to the right, past another gap, to find a set of two locks above and a monster to the right. For the first key, you’re going to have to jump straight into the monster’s gaze. Jump into the gap, grab the key, and run left to the light bubble. Once the monster is gone, take the key back up to the locks to unlock the first gate.
After the first lock is done with, jump over the monster who chased you, onto the next platform. Proceed right to find another monster, who looks left and up.
As before, you can use shadows to avoid his gaze. First, jump onto the platform to the monster’s upper-left, then grab the key on your way to the platform to the monster’s upper-right. Of course, you’ll have to time your jumps for when the monster isn’t looking. Repeat the jumps to return to the locks and unlock the first gate. If the monster does spot you, try and make a beeline for the light bubble located in the gap before the locks.
With the second gate unlocked, head up and right. Continue jumping up ledges to the right and you’ll find Sunny, the Sun Fairy. He’s very chill, but he’s also locked in a cage. Jump over his cage and head to the right to find a monster. Run past the monster to the shadow in the right (while avoiding his gaze, of course), and then jump up the platforms to find another monster.
As before, you have to use the platform’s shadow to get past the monster. The only difference is that the platform is above the monster instead of below it. Jump onto the platform and then to the right while the monster isn’t looking.

Yet another monster appears to the right. This one looks slowly from left to right before snapping its attention to the left again. Jump across the obstacle and when the monster is looking to the right, run under the monster (when it snaps to the left, it will look anti-clockwise, so it won’t spot you).
Drop down the ledges from here and proceed right to find the most intimidating monster yet. It doesn’t seem to let up its eye on the key below, so you have no choice but to run into its vision. Wait for it to look to the right, grab the key, and run as quickly as you can all the way back to Sunny’s cage. The other monsters will be gone, so you don’t have to worry about them.
Once you make it to Sunny’s cage, the light bubble will expand and knock away the monster that was chasing you.
Use the light bubble to jump upwards, to the next bubble. Continue jumping from bubble to bubble and exit to the left.
Finally, you’re out of the castle, and you’ll meet a familiar face here.
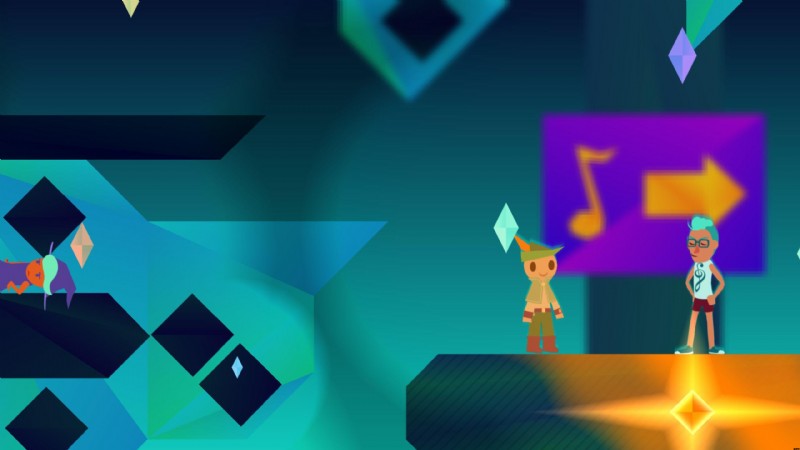
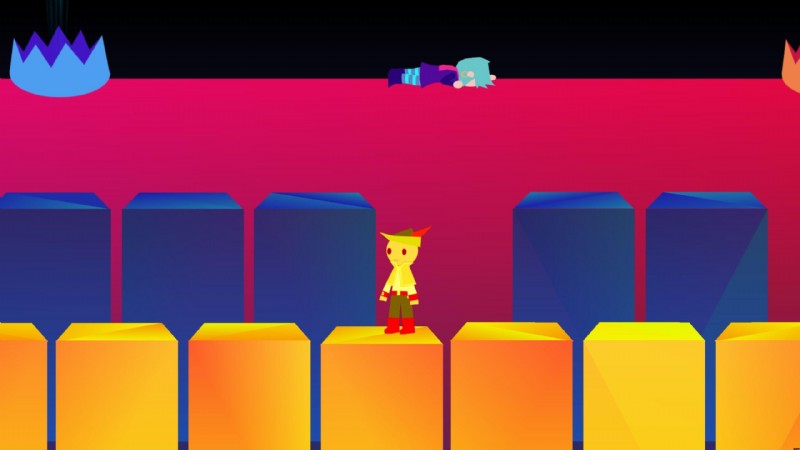
After the long conversation, talk to Miriam and then you’ll be free to learn the next piece of the Earthsong. For this one, you need to jump on the right piano keys, as marked by the white glow.
This one’s a bit tricky, so take your time and watch the order of the keys before jumping. You don’t have to do them within a time limit, just in the correct order. Also, a key only sounds when you jump on it, not when you simply step on it. Keep this in mind for when you need to reach keys that are further away.
Once you play your keys right, you’ll learn the next part of the Earthsong and return to the normal world. Watch the conversation unfold and then head right (at a snail’s pace). Descend the Sky Temple (or what’s left of it), and you’ll find a situation going on at its base. Once you’ve descended far enough, the Bard will get involved.
Another song will burst forth from the Bard. Sing the notes marked by the sun and moon symbols until the song ends. After the conversation, you’ll enter another conversation, this time with Miriam. After this conversation ends, hop onto Sandra’s broom and you’ll be whisked away to Act Six.