In Wandersong stecken? Diese exemplarische Vorgehensweise wird Musik in Ihren Ohren sein. Lies weiter, um herauszufinden, was im sechsten Akt zu tun ist, nachdem du die Höhlen verlassen hast.
- Wandersong Story Walkthrough – Prolog &Erster Akt
- Wandersong Story Walkthrough – Akt Zwei
- Wandersong Story Walkthrough – Akt Drei
- Wandersong Story Walkthrough – Pause &Vierer Akt
- Wandersong Story Walkthrough – Akt 5 (Teil 1)
- Wandersong Story Walkthrough – Akt 5 (Teil 2)
- Wandersong Story Walkthrough – Akt Sechs (Teil 1)
- Wandersong Story Walkthrough – Akt Sechs (Teil 2)
- Wandersong Story Walkthrough – Akt Sieben
Willkommen zur exemplarischen Vorgehensweise von „Into Indie Games“ von Wandersong!
Wandersong wird, wie die meisten Abenteuerspiele, am besten gespielt, indem man es selbst frei erkundet. Aber wenn Sie nicht weiterkommen oder vergessen haben, was Sie tun müssen, sehen Sie sich diese Anleitung an!
Weitere Informationen zu Wandersong findest du hier auf der offiziellen Website.
Akt Sechs:Die Bestie am Ichor-Berg
Teil 2
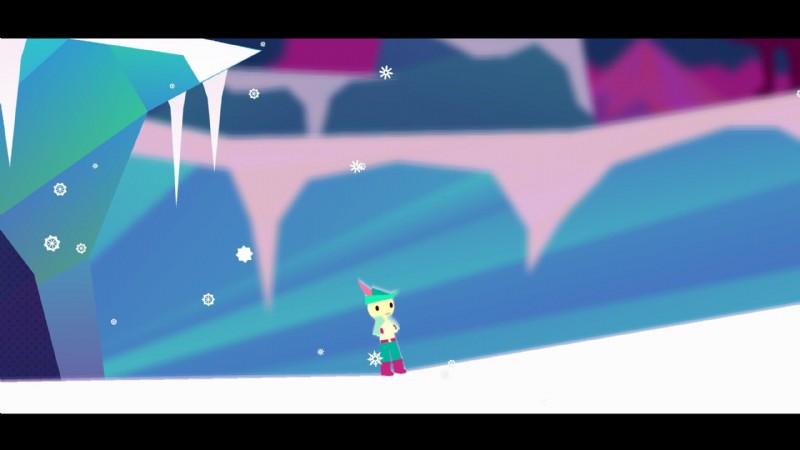
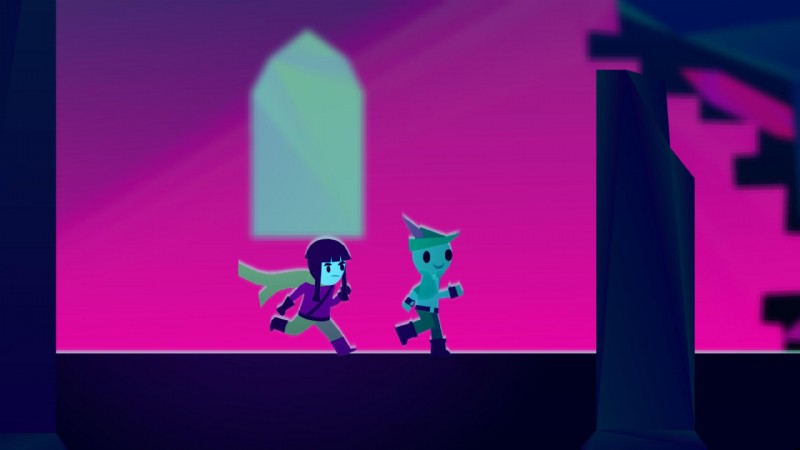
Sobald Sie die Höhlen verlassen haben, gehen Sie direkt zu einer weiteren finsteren Zwischensequenz. Gehe weiter nach rechts und hier triffst du deinen ersten fliegenden Seehund. Dafür kannst du noch nichts tun, also mach weiter nach rechts.
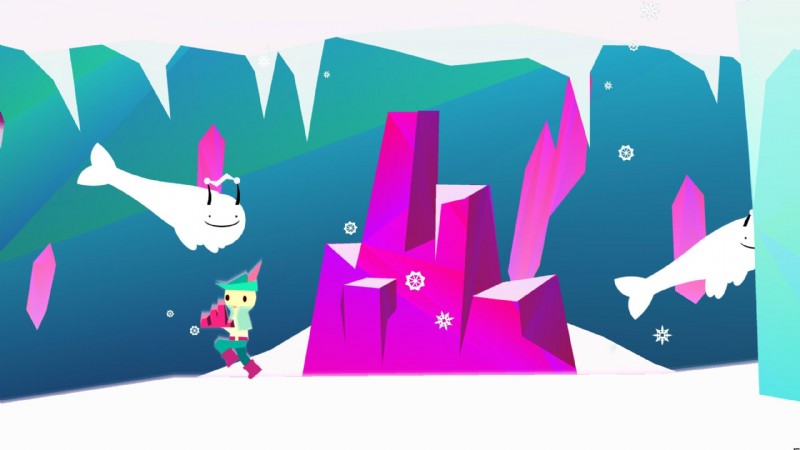
Gehen Sie weiter nach rechts und Sie werden rosa Kristalle sowie ein paar fliegende Robben finden, die einfach ihr Ding machen. Gehen Sie zu der großen Kristallstruktur und verwenden Sie sie, um selbst einige Kristalle zu greifen. Gehen Sie jetzt zurück zu der ersten fliegenden Robbe, die Sie gefunden haben, die auf dem Boden lag. Er wird sich sehr über den Kristall freuen und du kannst ihn streicheln, wenn du möchtest.
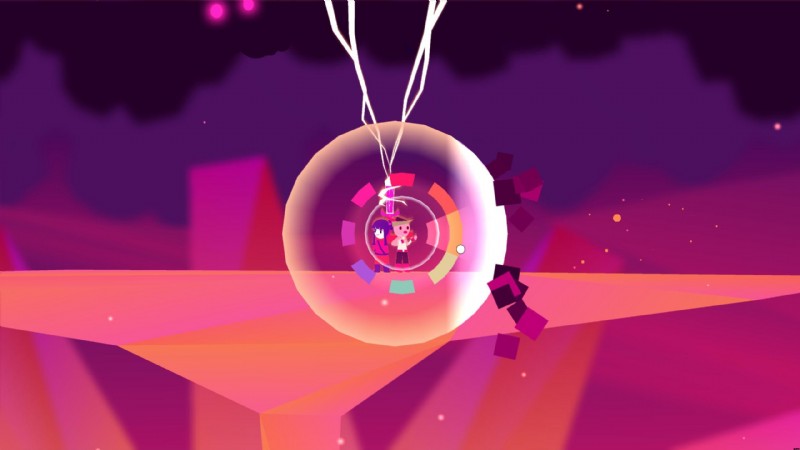
Um die fliegende Robbe dazu zu bringen, Sie zu tragen, springen Sie auf ihren Rücken und singen Sie dann in die Richtung, in die Sie gehen möchten. Wie der Vogel bringt Sie auch die Robbe nur eine begrenzte Distanz, also stellen Sie sicher, dass Sie wissen, wohin Sie gehen, sonst geht Ihnen die Puste aus. Anders als der Vogel folgt dir der fliegende Seehund überall hin und muss durch rosafarbene Kristalle aufgeladen werden.
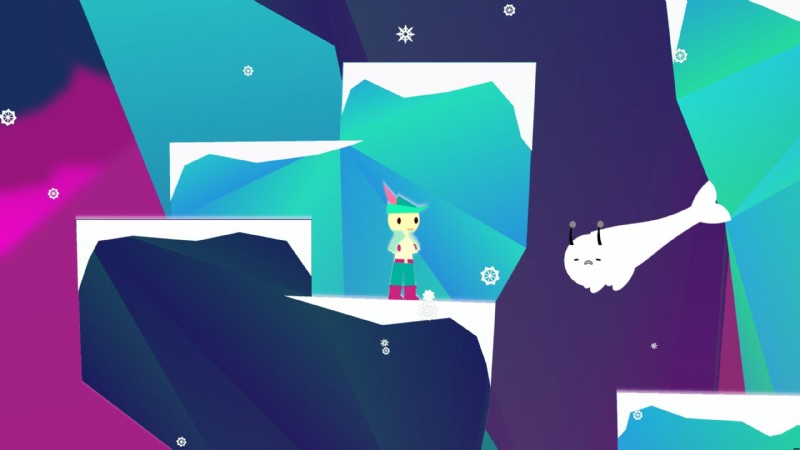
Holen Sie sich das Siegel, um Sie zu dem hohen Vorsprung zu bringen, zu dem Sie nicht springen können. Hier finden Sie eine andere Kristallstruktur. Nimm den Kristall, gib ihn dem Siegel und fliege auf die nächste hohe Kante. Fahren Sie direkt mit dem nächsten Bildschirm fort.
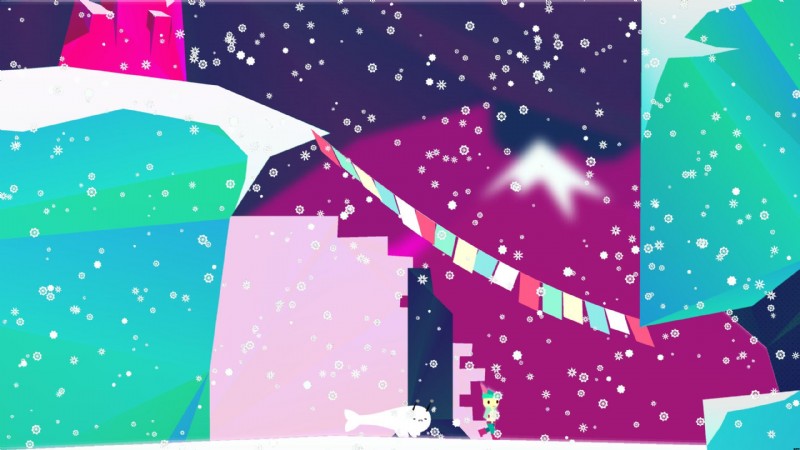
Hier gibt es zwei hohe Leisten und eine Kristallstruktur. Laden Sie Ihr Siegel auf und gehen Sie mit Hilfe der Leisten so weit wie möglich nach oben. Laden Sie das Siegel wieder auf und gehen Sie nach rechts, vorbei an den farbigen Gebetsfahnen. Auf der anderen Seite finden Sie eine weitere Kristallstruktur und einen unheimlich langen Abgrund. Laden Sie das Siegel auf und fliegen Sie nach oben rechts, so weit und hoch Sie können. Wenn der Robbe der Saft ausgeht, sollten Sie sicher auf verschneitem Boden sein.
Gehen Sie von hier nach unten und verwenden Sie die Kristallstruktur, um das Siegel wieder aufzuladen. Springe den ganzen Weg zurück bis zum höchsten Vorsprung. Denken Sie daran, Ihr Siegel nicht zu benutzen, um dorthin zu fliegen, sonst geht Ihnen die Energie aus und Sie müssen zurück nach unten gehen, um einen Kristall zu holen. Springen Sie an der höchsten Kante auf das Siegel und fliegen Sie nach oben rechts und überqueren Sie einen weiteren großen Abgrund. Gehen Sie nach rechts zum nächsten Bildschirm.
Gehe nach rechts, lade das Siegel mit dem Kristall auf und steige ein. Gehe nach rechts in die Höhlen. Gehen Sie nach oben, fliegen Sie dann nach oben links (laden Sie sich bei Bedarf auf), gehen Sie erneut nach oben und dann nach rechts, um einen weiteren Abgrund zu finden, der von farbigen Flaggen überbrückt wird. Laden Sie das Siegel wieder auf und gehen Sie direkt zu einer anderen Höhlenstruktur. Gehen Sie durch den Schacht in der Mitte nach oben und klettern Sie weiter nach oben, bis Sie eine Kristallstruktur finden, um Ihr Siegel wieder aufzuladen. Gehe nach rechts und fliege auf die hohe Kante. Fahren Sie dann quer durch das verschneite Land.
Hier ist der Wind wirklich stark und Sie müssen aufpassen, wie Sie fliegen. Laden Sie Ihr Siegel auf, wenn Sie die Kristallstruktur finden, und fliegen Sie zu der höheren Struktur, wenn der Wind nachlässt. Gehe nach rechts, lade deine Batterien auf und überquere den Abgrund. Sei dieses Mal besonders vorsichtig, da es keinen sicheren Boden gibt, auf den du fallen kannst, bis du den Abgrund überquert hast.
Gehen Sie von hier aus nach rechts und springen Sie die eisigen Felsvorsprünge hinauf, wenn der Wind ruhig ist. When it looks like you’ve reached a ledge you can’t jump to, wait for the wind to pick up and jump in the direction of the wind to be carried to the ledge. Be careful when you jump higher, or the wind will send you flying.
Jump up, and then go right through a cave until you find an opening. Here, the wind alternates between going left and right. Time your jump with the wind and get to the right side. Pick up the crystal, recharge the seal, and then jump left, once again using the wind to your advantage.
Head back through the pink-walled cave to where the coloured flags are and use the seal to fly up to another crystal structure. Grab the crystal, charge the seal, and fly left with the wind over the pointy spike. On the other side, make your way up over the ledges, using the wind to power your jumps. At the top ledge, head right to find a crystal structure and charge your seal. Go past it to the chasm and fly past it. The wind will be against you, but you can make it with your seal. Continue right for a tiny jump. The wind is still against you, but you can jump past it, and then repeat the process for another jump to the right. Continue on to the next screen.
Go right from here until a cutscene plays. Then run left! While trapped, sing in the direction of the binds to undo them. As you do, another cutscene will play, and then you can resume undoing the binds. Just as you finish, you’ll have a familiar character pay a visit.

Once the cutscene ends, you find yourself in a cave. Talk to the Hero and keep talking to them. You’re in for a fairly lengthy conversation, so keep talking to her over and over. Once you’re far enough into the conversation, the Bard will hear a sound. Head to the right of the cave and you’ll find some old friends helping you out.
Another conversation follows. At the end of the conversation, head right into the next screen. Here, you can sing to bugs again, so have them lift the red stone out of the way. Proceed right until you find another red stone and get the bugs to take it to the middle of the area and lift it up. Once you have it positioned right, Audrey will jump across. You can’t jump as good as Audrey, so take your time and get the bugs to carry you to near the ledge.
Continue right for a cutscene and then sing to get the bugs out of the way. Have the bugs mosey along under the floating platform and then lift the red stone as before. Once again, Audrey will jump across and you can follow. On the floating platform you two end up at, direct the bugs to go to the right and lift the second red stone. Once again, Audrey will jump first and then you can let yourself be carried to the ledge.
Go right into the next screen, and then another screen, then up some stairs until you find a throne. A conversation will follow in which the Bard and the Hero talk to the Heart Fairy. After the conversation ends, head right and go up the stairs in the next screen. Get out of the cave (or castle, however you wish to see it), and proceed right and then upwards. You have quite the climb ahead of you. Continue onwards and go left into the next screen.
In this cutscene, the Overseer is being quite elusive. Follow the Overseer to the left, jumping up the ledges as necessary. On the next screen, at the end of the ledge, you’ll encounter another cutscene. After the cutscene, dive off the ledge and onto the platform with the Overseer and Audrey. Head left towards the Overseer for yet another cutscene.
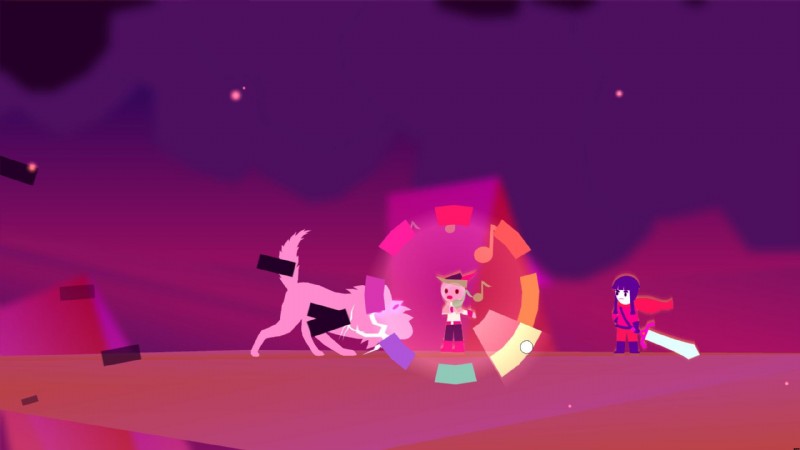
In this boss fight, you have to work with Audrey to defeat the Overseer. She will charge her sword and you need to cover her while she does that. Follow her and keep an eye out for triangular attacks marked by coloured auras. Sing in the direction of the attack to create a defensive bubble that can protect Audrey.
Continue defending Audrey until her sword is charged and eventually she will shoot the Overseer. When he’s down, sing at the Overseer to make him smaller. Eventually, he’ll roar at you and the next phase of the fight will begin.
Here, the Overseer will conjure pillars of light with bombs on them. When the bomb hits the ground, spikes will emerge from the bottom. To interrupt this attack, create a defensive bubble and get to the pillar to stop the bomb from reaching the ground. Other than this attack, you will also have to block regular triangle-attacks.
Keep defending Audrey again until her sword is charged, and she’ll stun the Overseer. Sing at the Overseer again to make it smaller and have it roar at you.
In the third phase, the Overseer will attack you himself, and his angle of attack will be marked by direction and colour. As before, sing to conjure a defensive bubble in the right colour and defending Audrey. Apart from that, he will continue attacking you with the pillar bombs and triangle-attacks.
As with the previous two phases, keep defending Audrey until her sword is charged and she’ll stun the boss. Sing at the boss for the fourth stage of the fight. This one is the most intense phase yet, but there are no new attacks. Keep defending Audrey as before, have her stun the boss, and sing to it until it’s completely pacified.
Watch the next cutscene and you’ll be able to learn the next piece of the Earthsong. Get to one of the white strings, sing in any colour, and release to strum that string. Do this with the strings until you start seeing coloured arrows pop up. Sing in the colour and direction of the arrows while near a string to assign that arrow to the string. You can assign any arrow to any string, so keep doing that. You’ll have to assign the arrows in several waves before you gain Earthsong piece. This one takes a while, so keep at it and you’ll learn the piece.
This will take you to the next act.