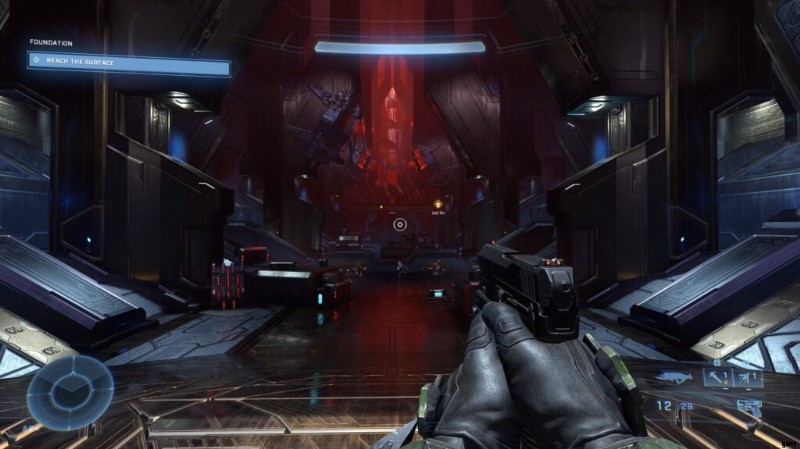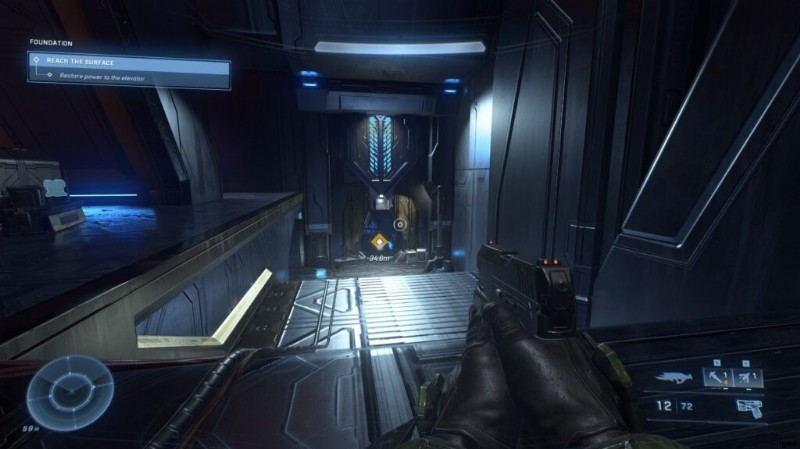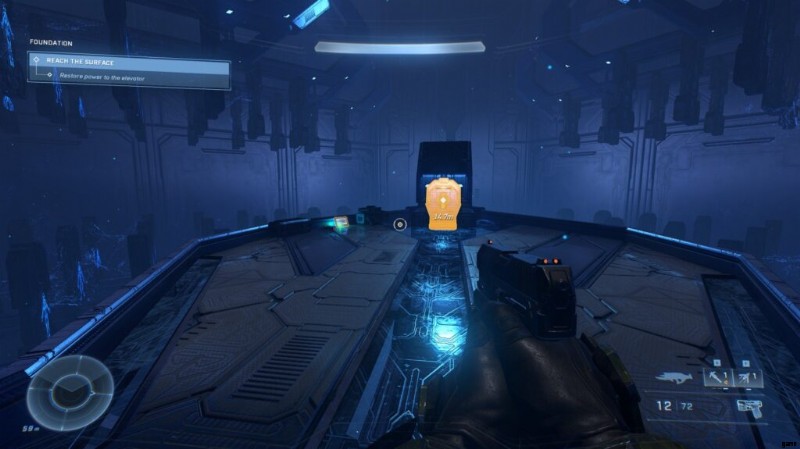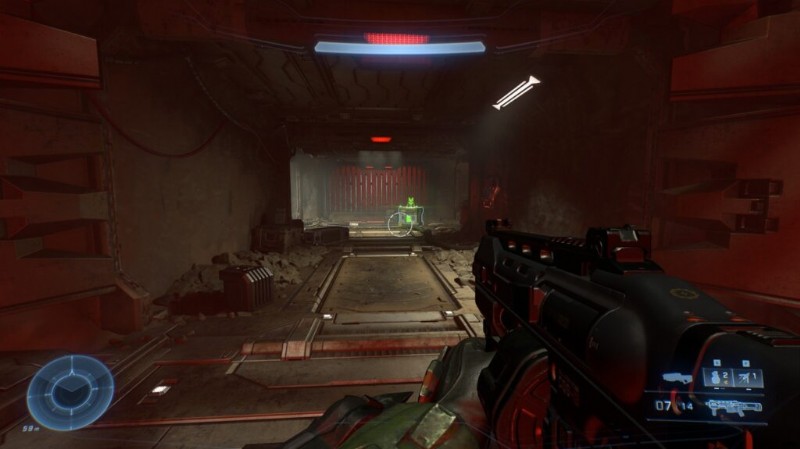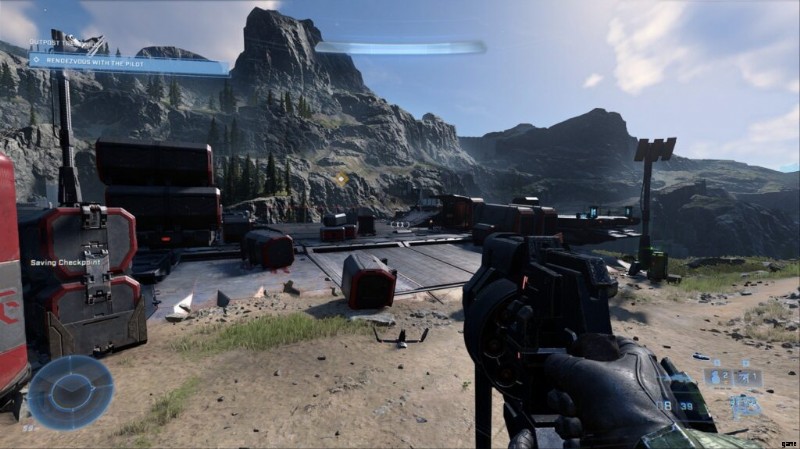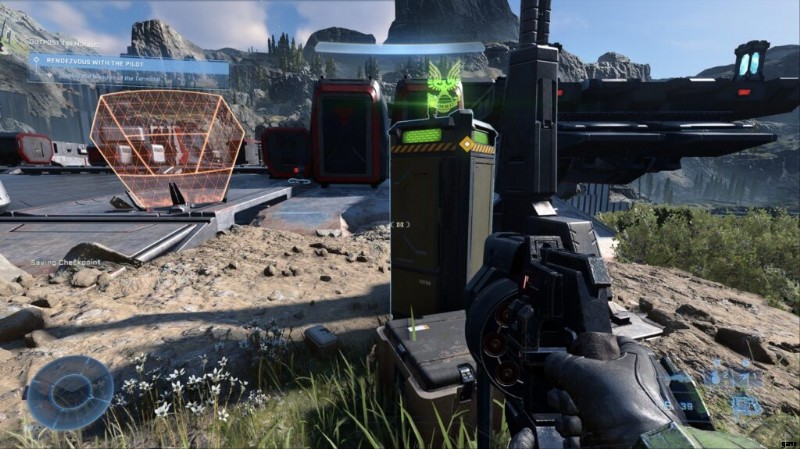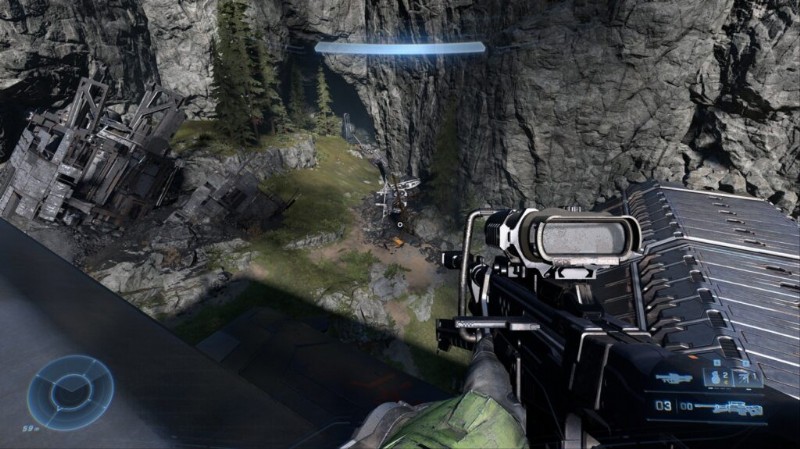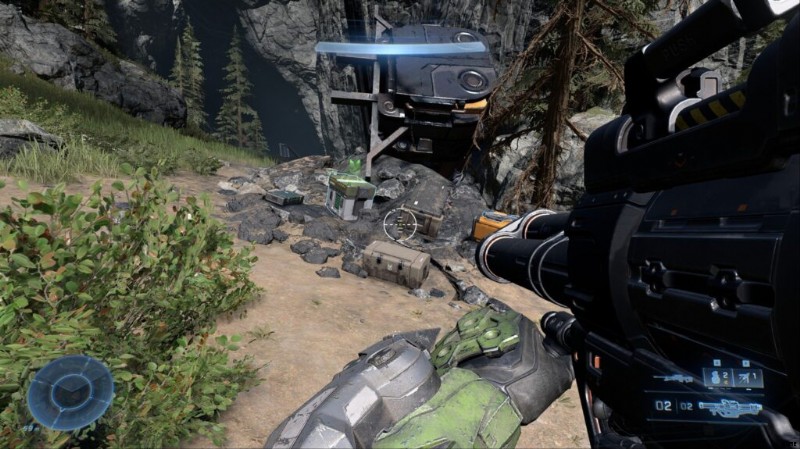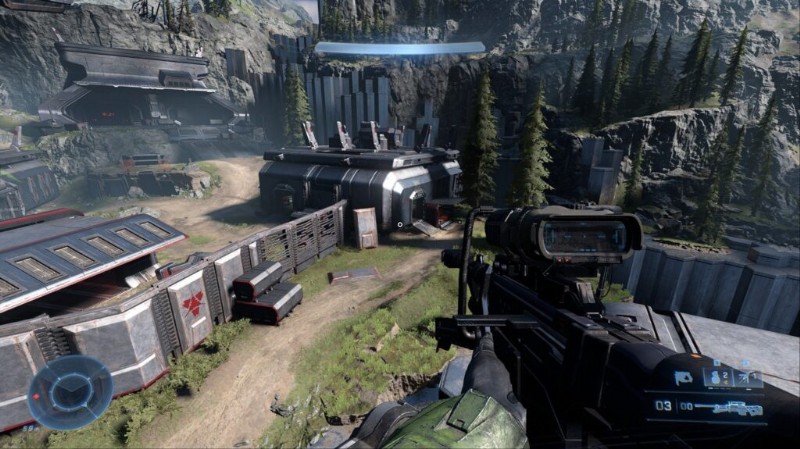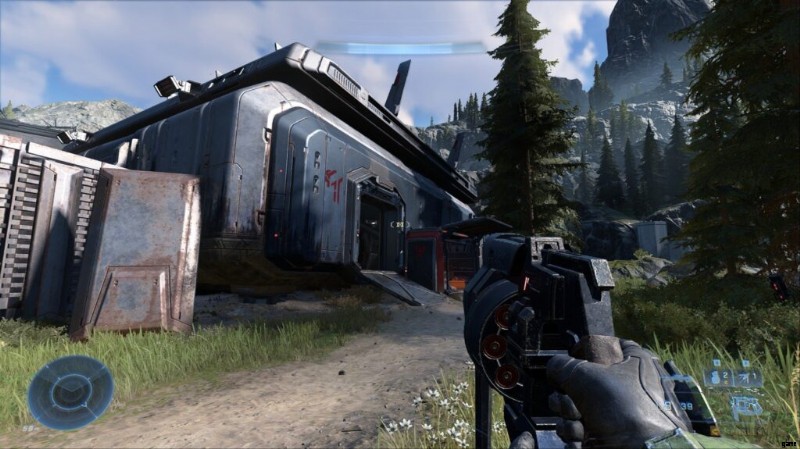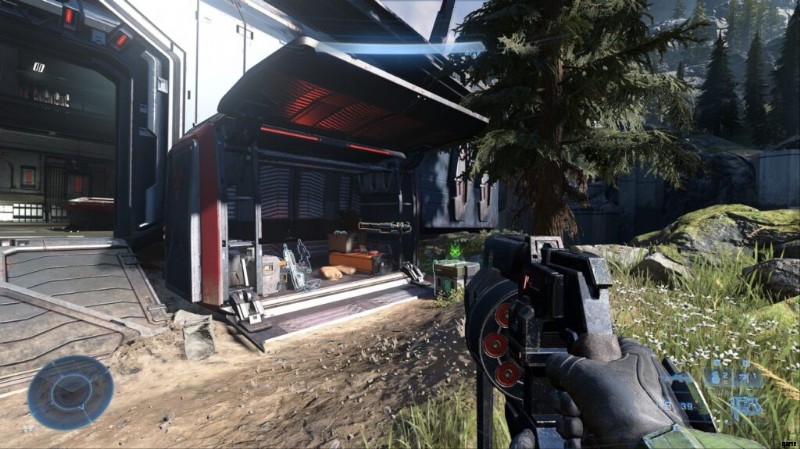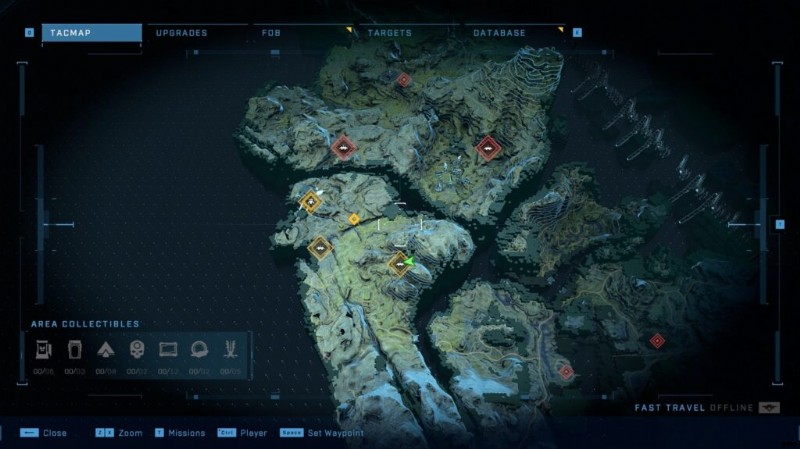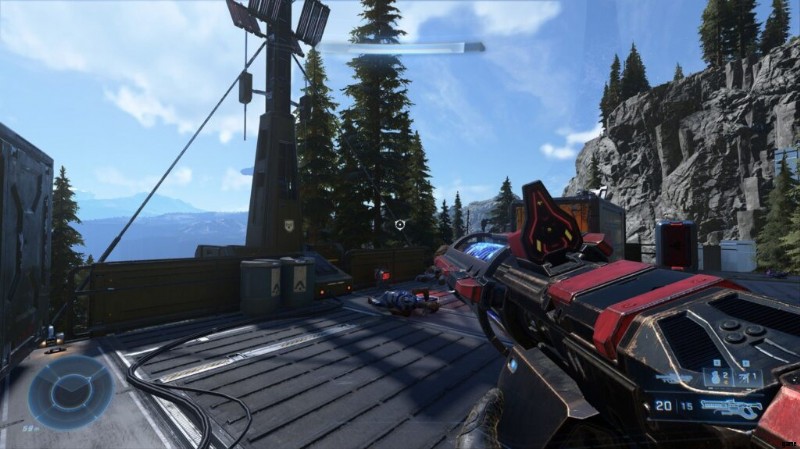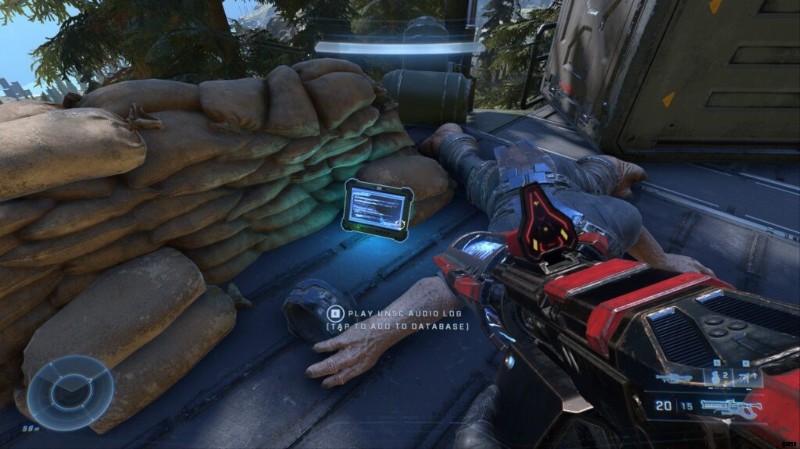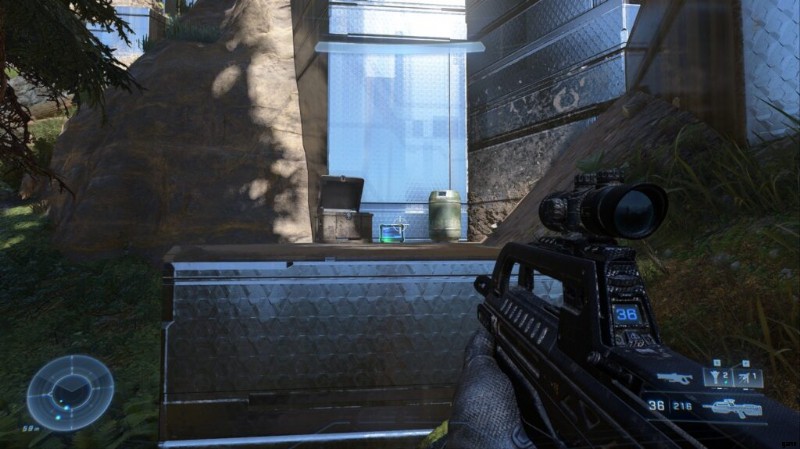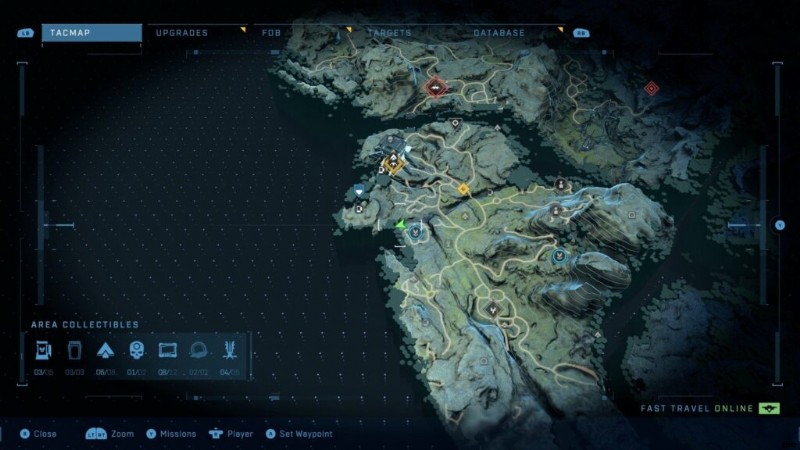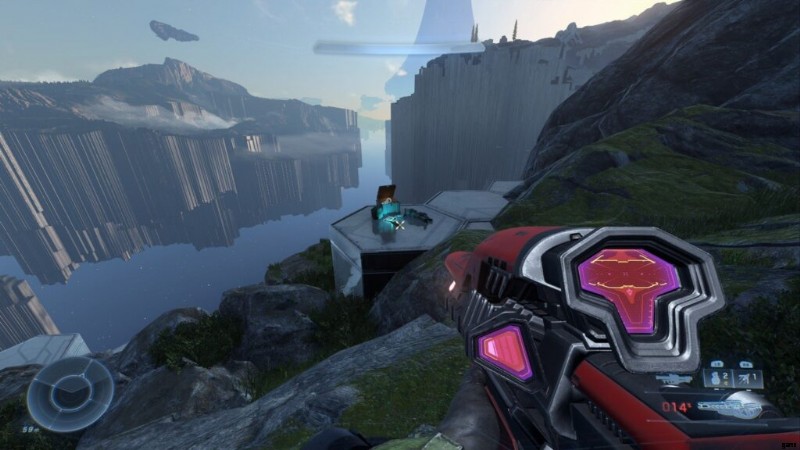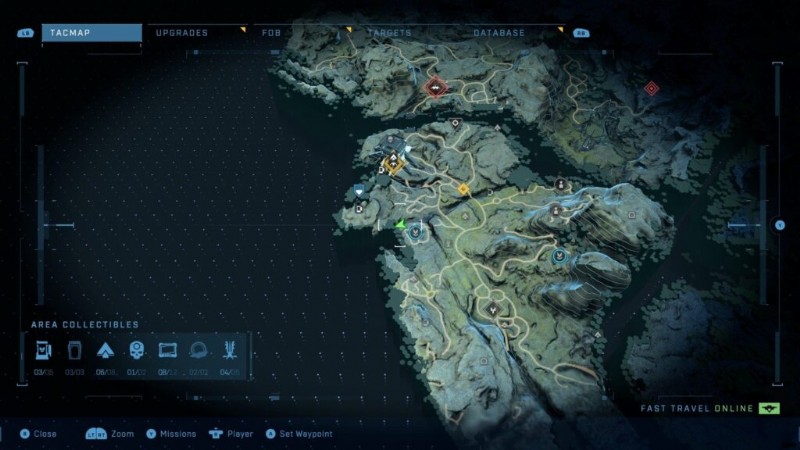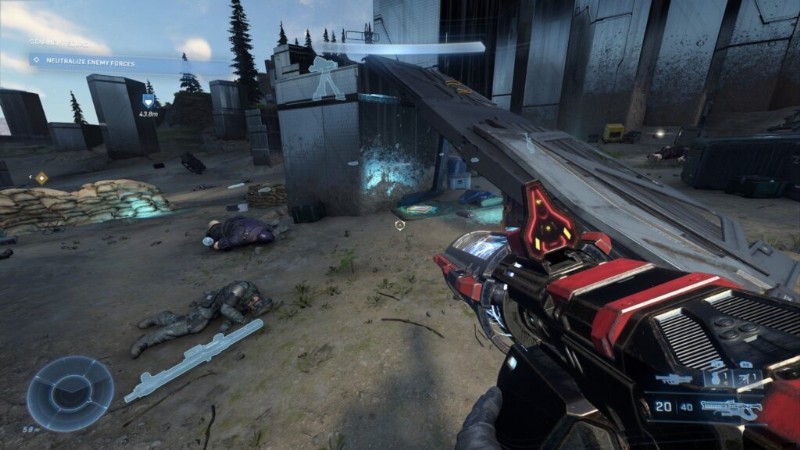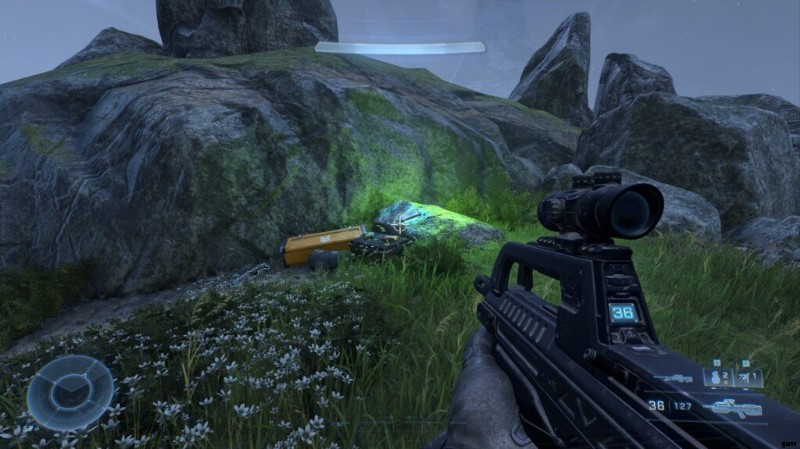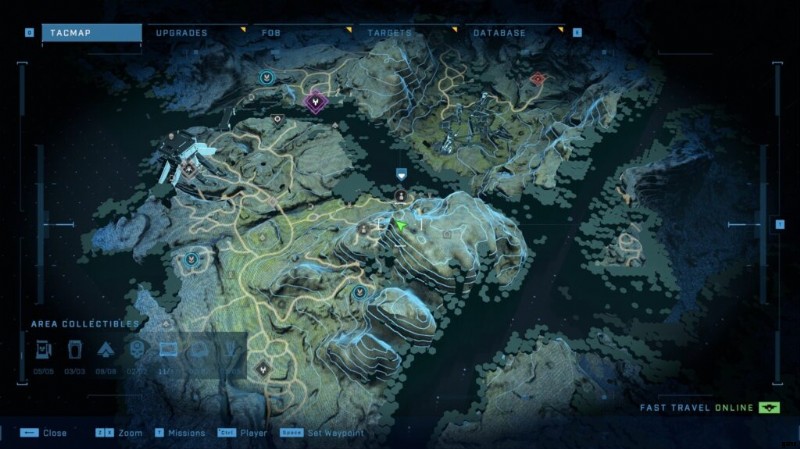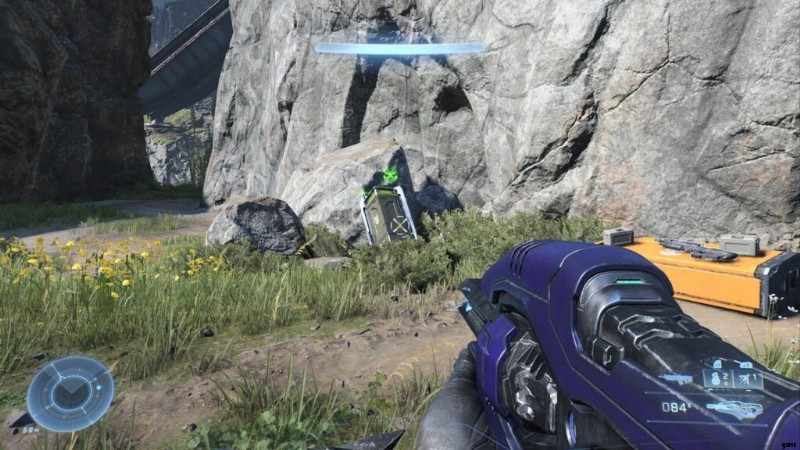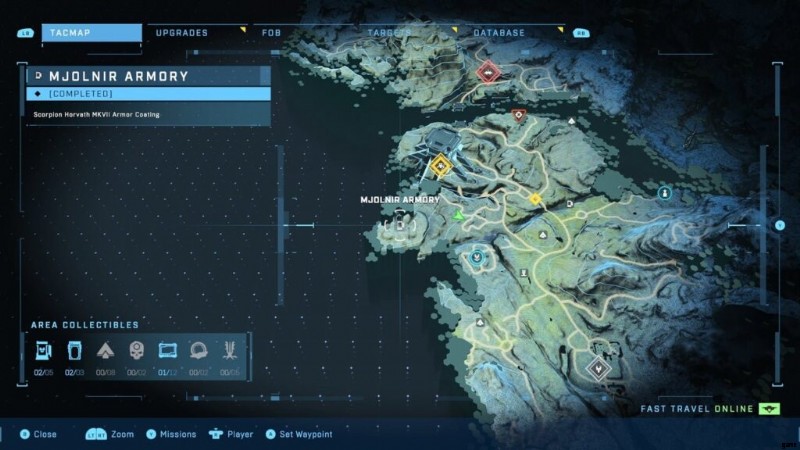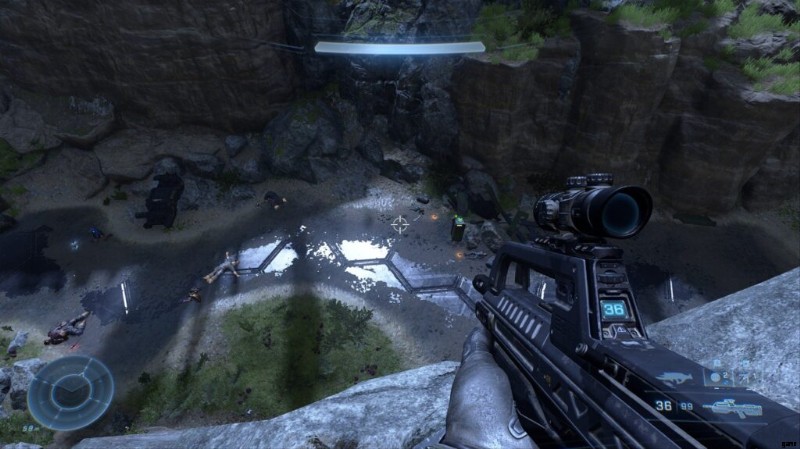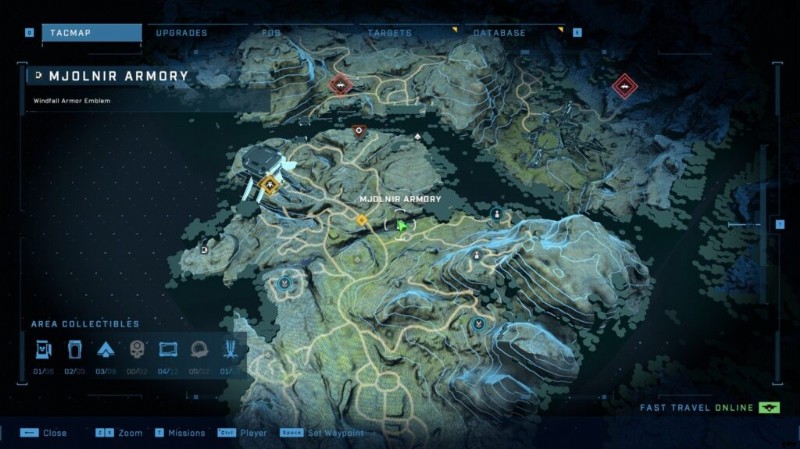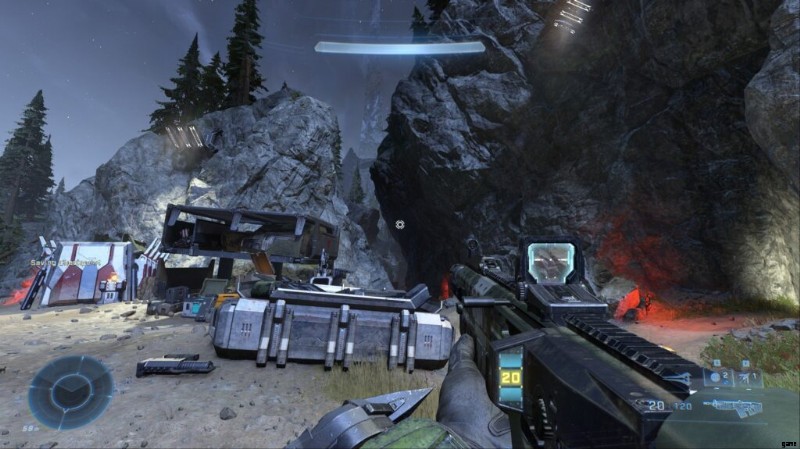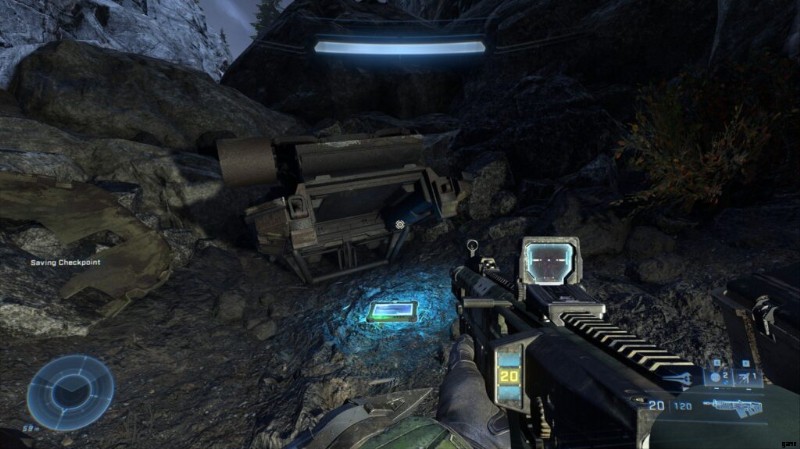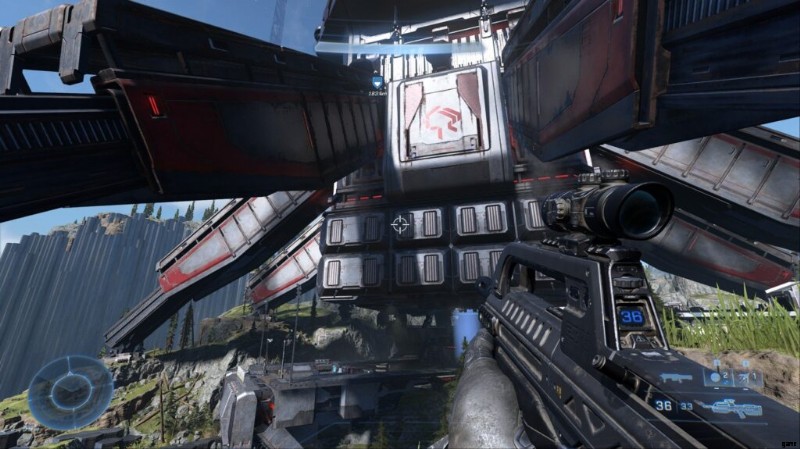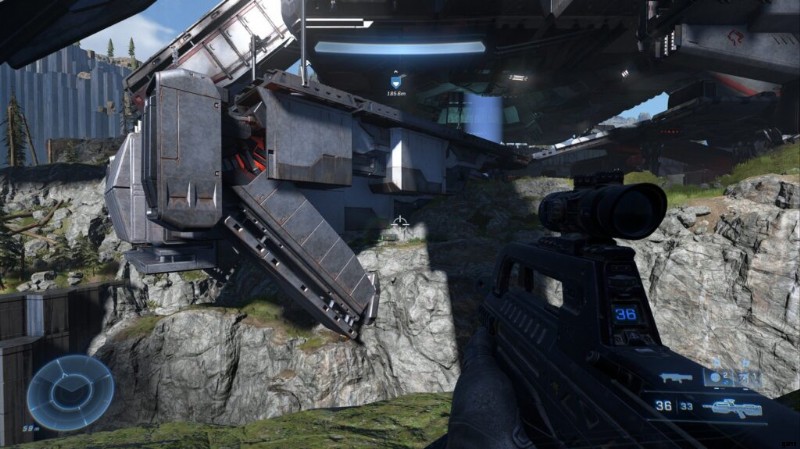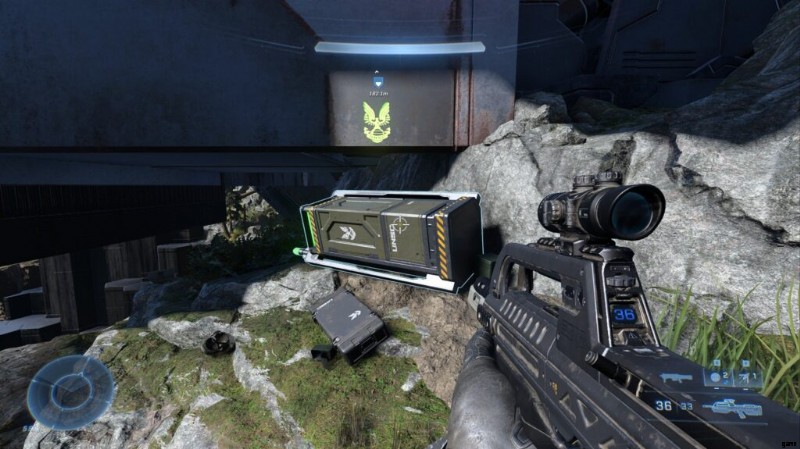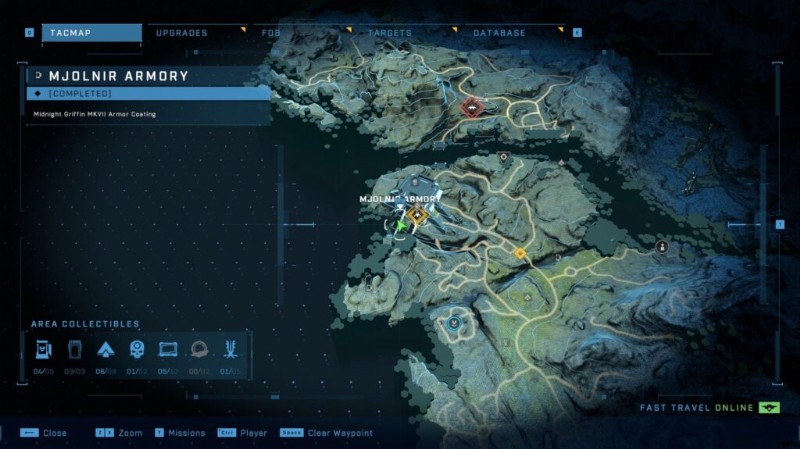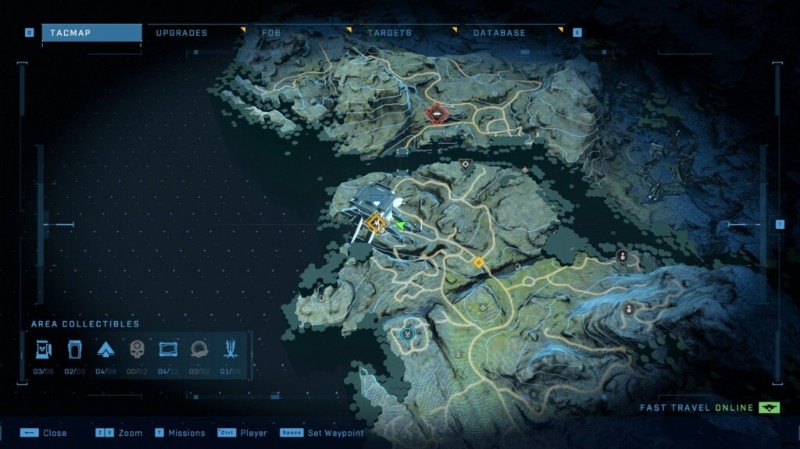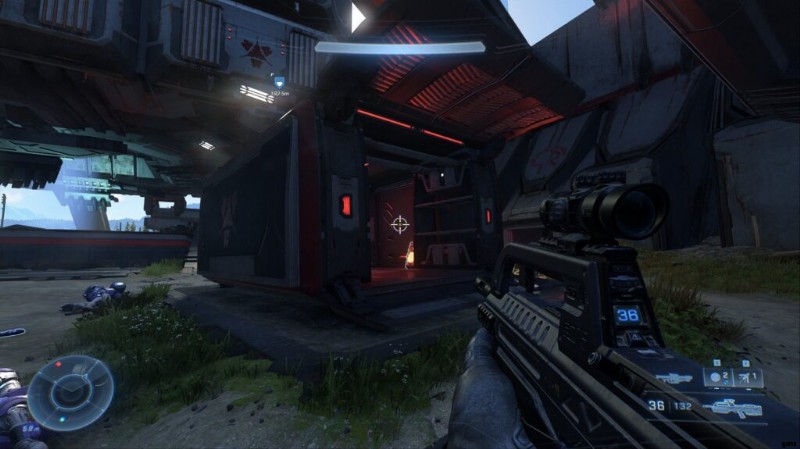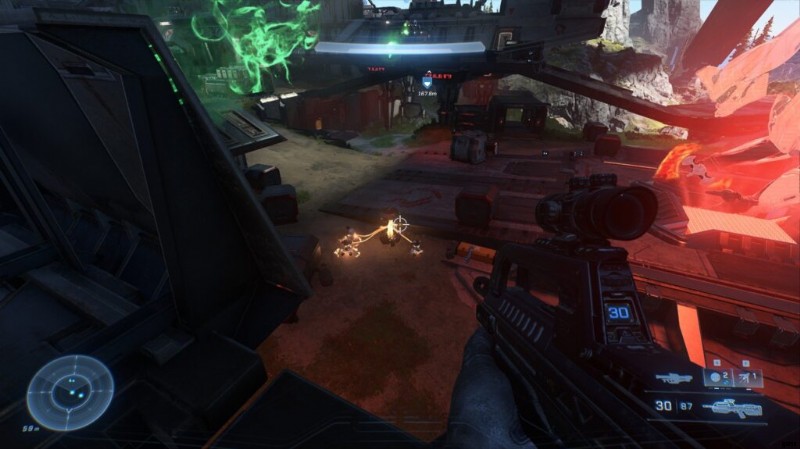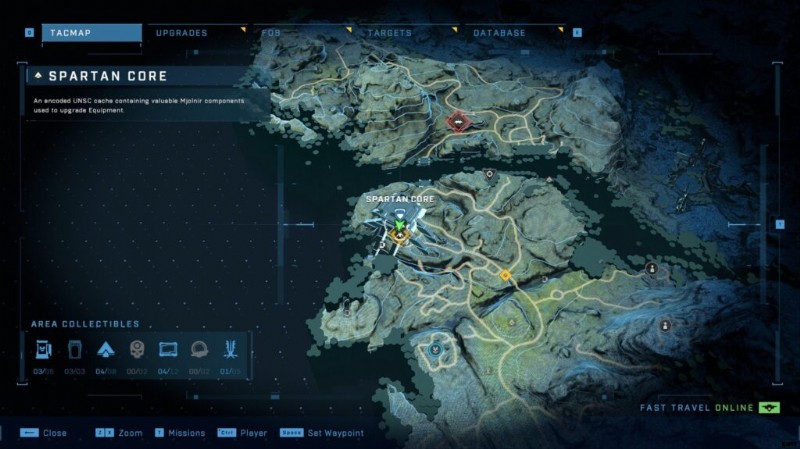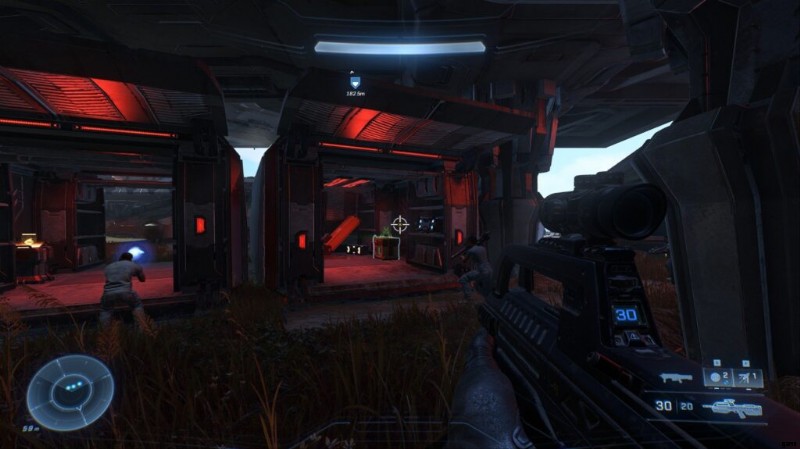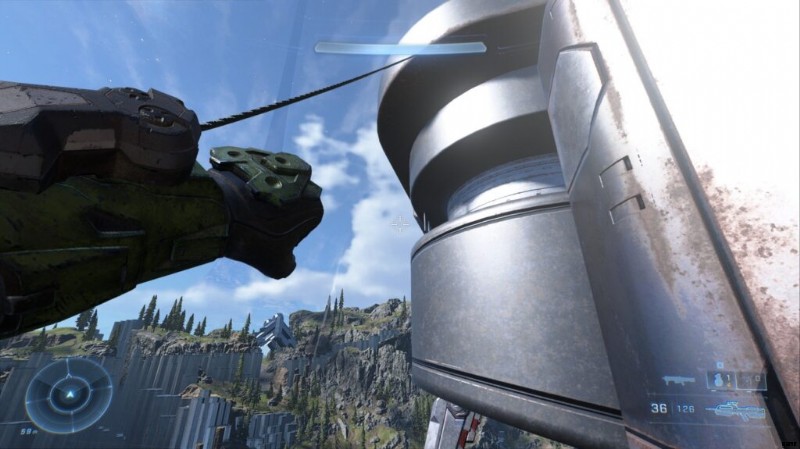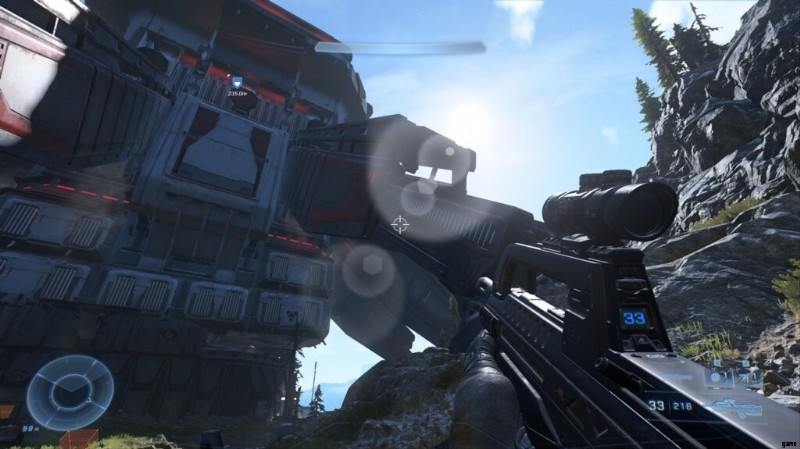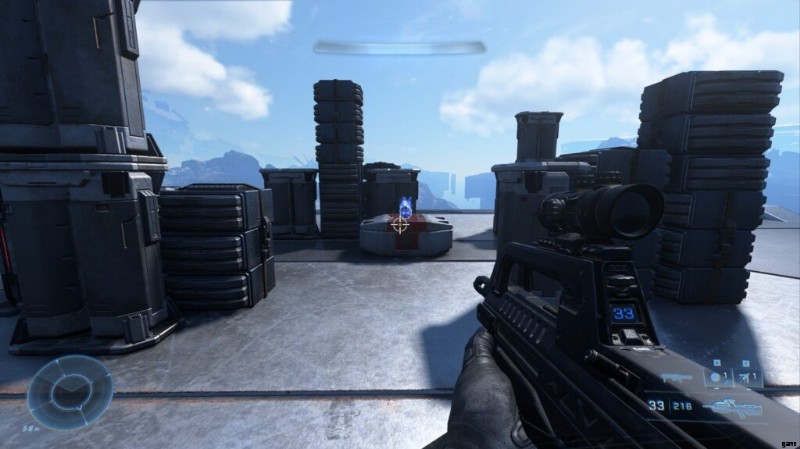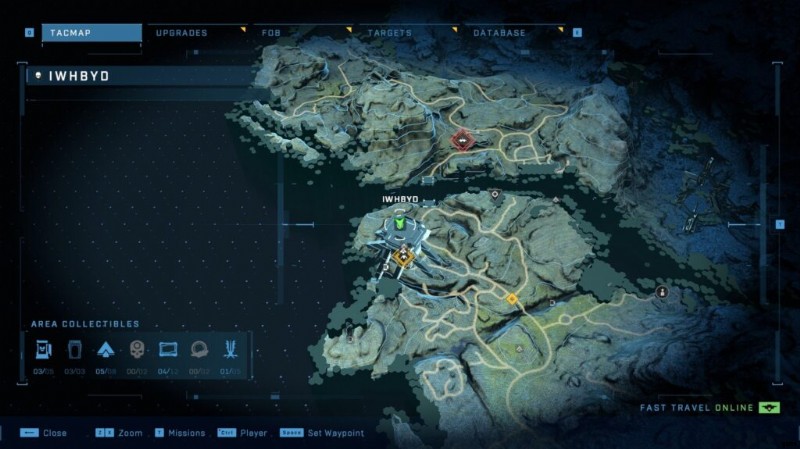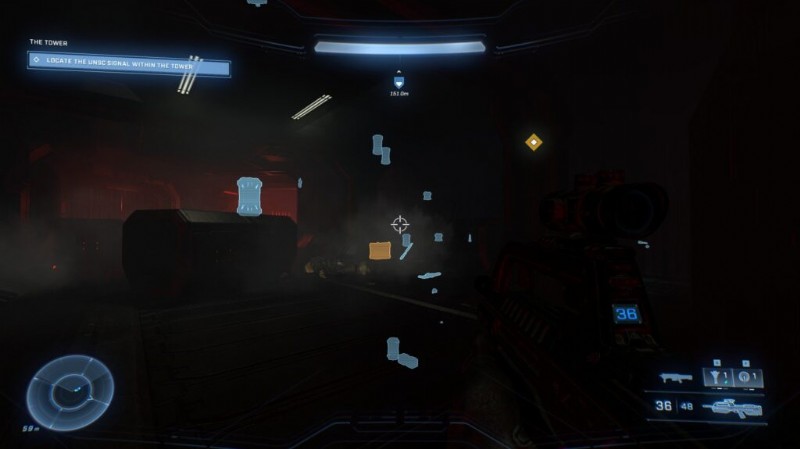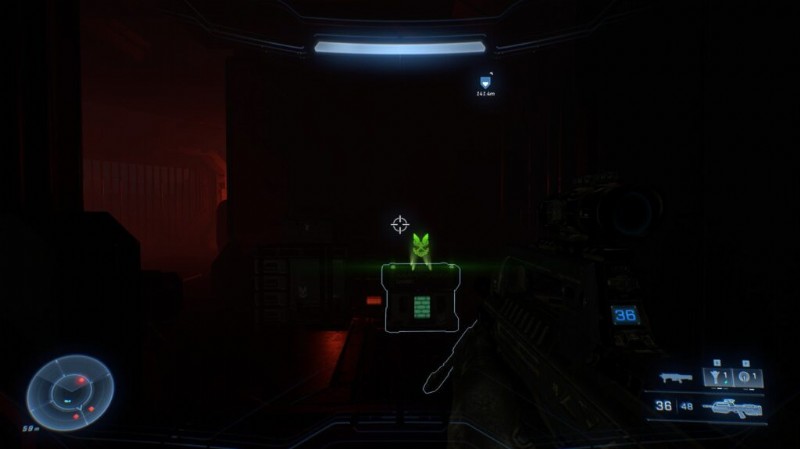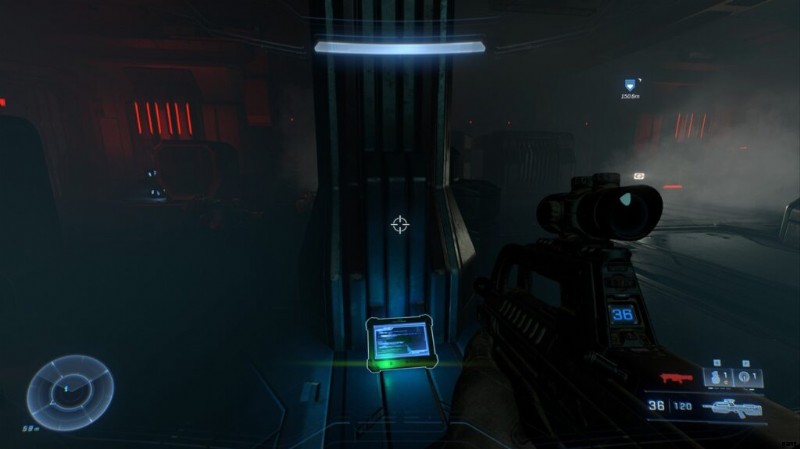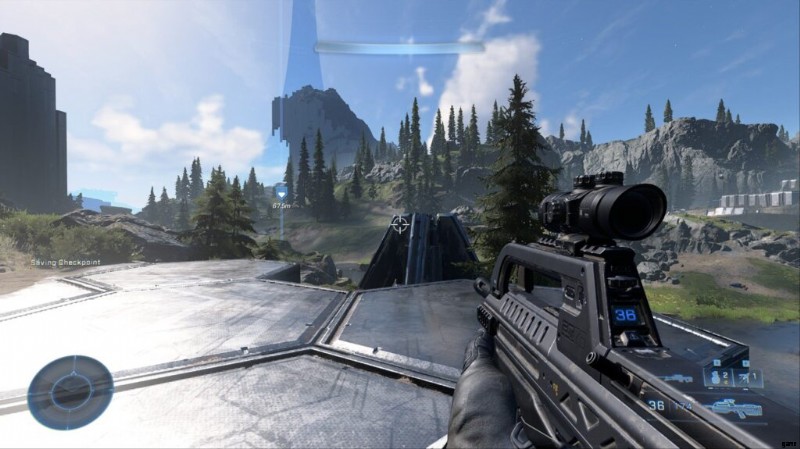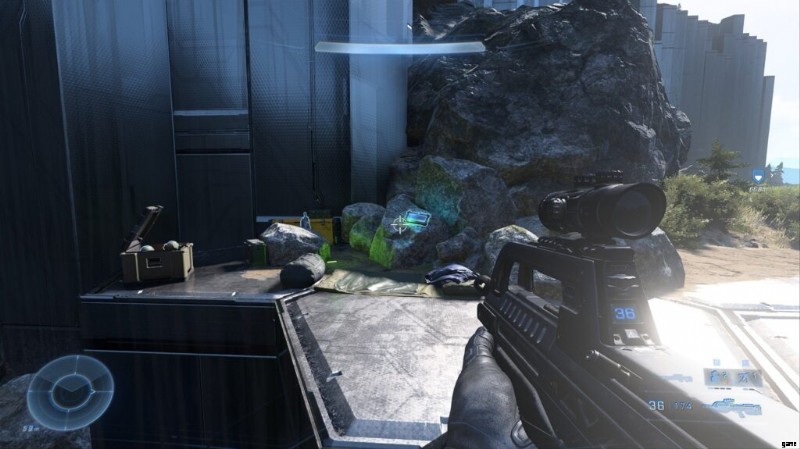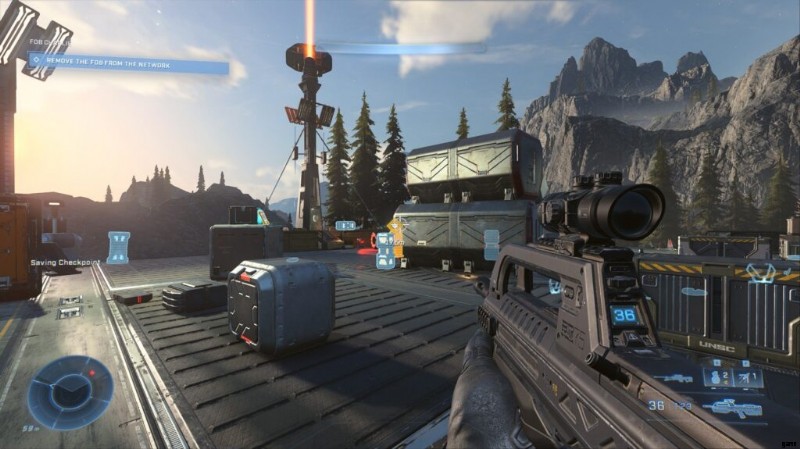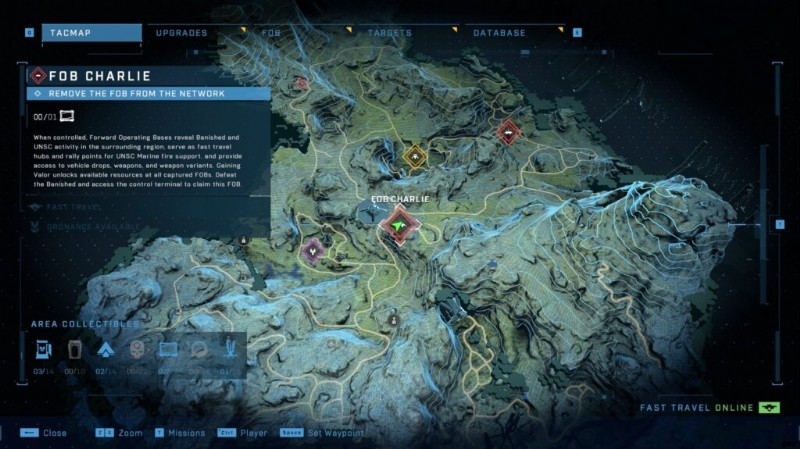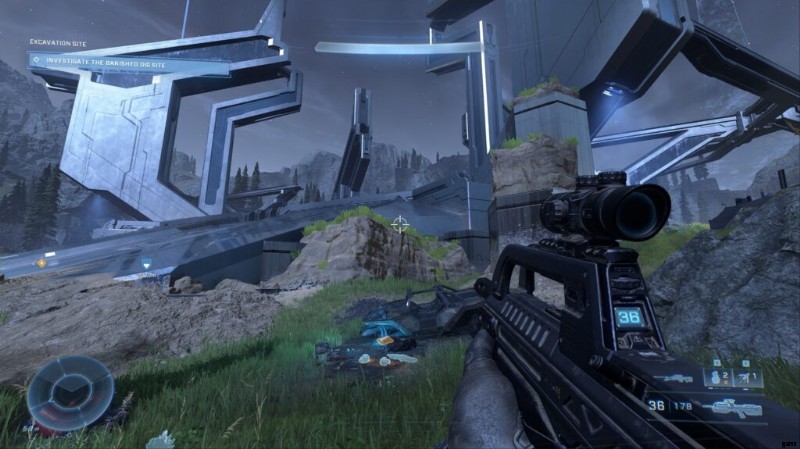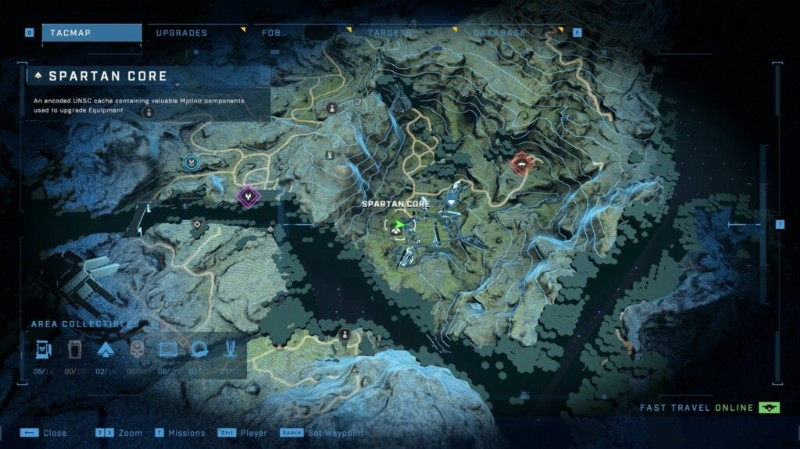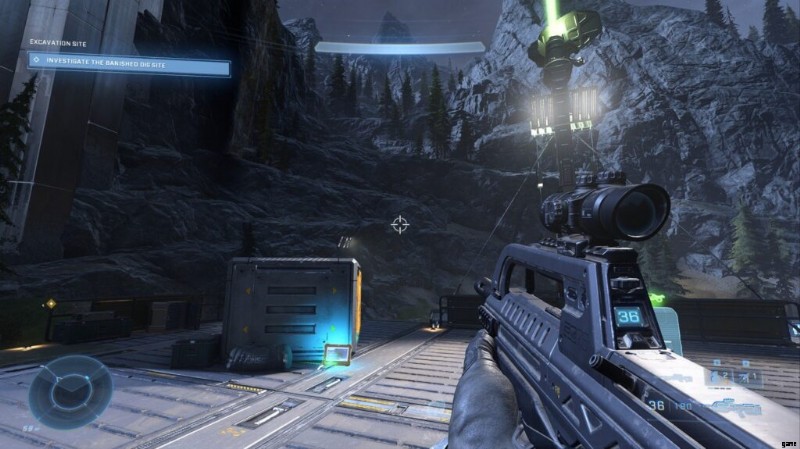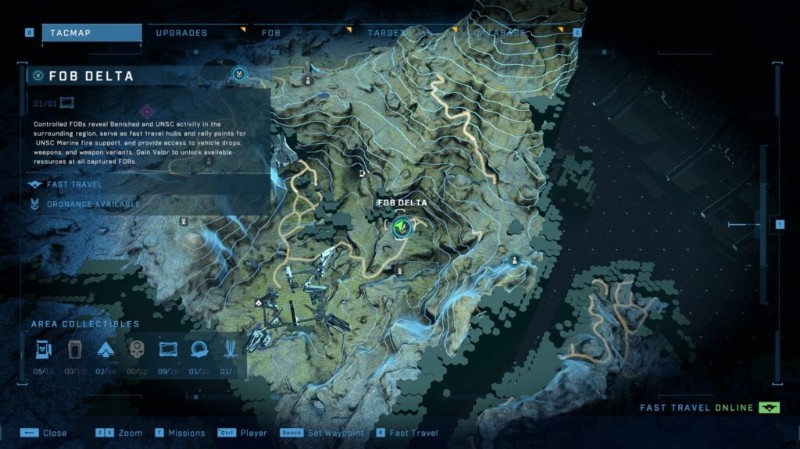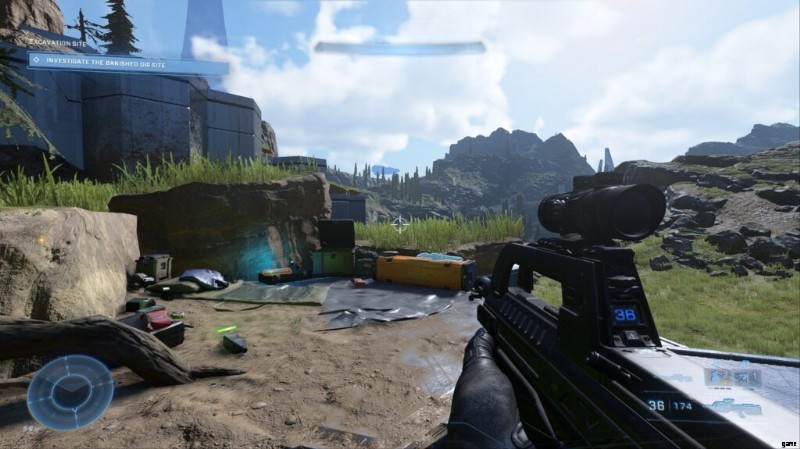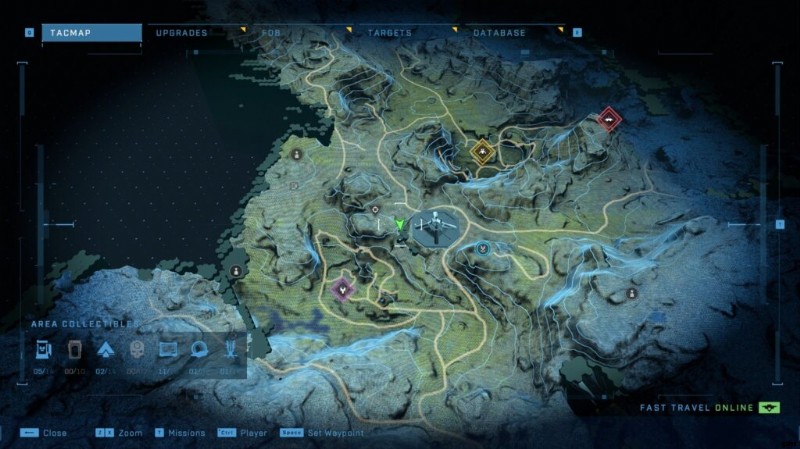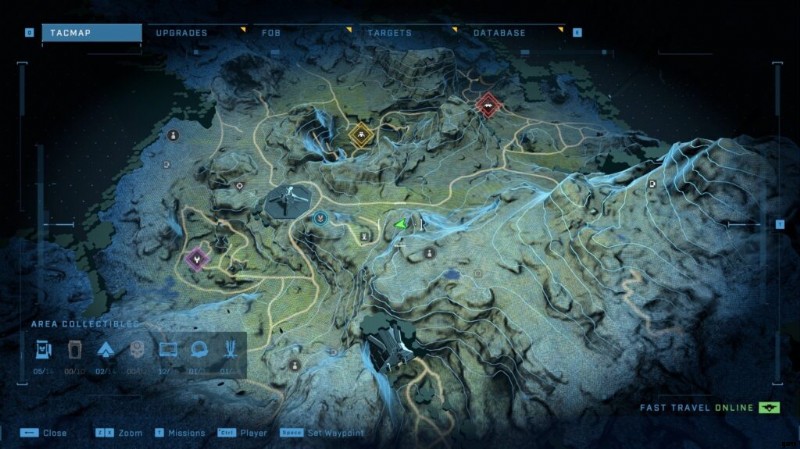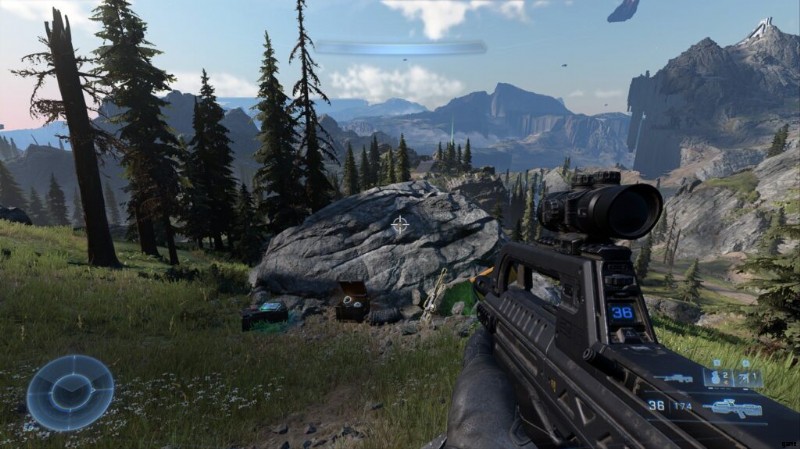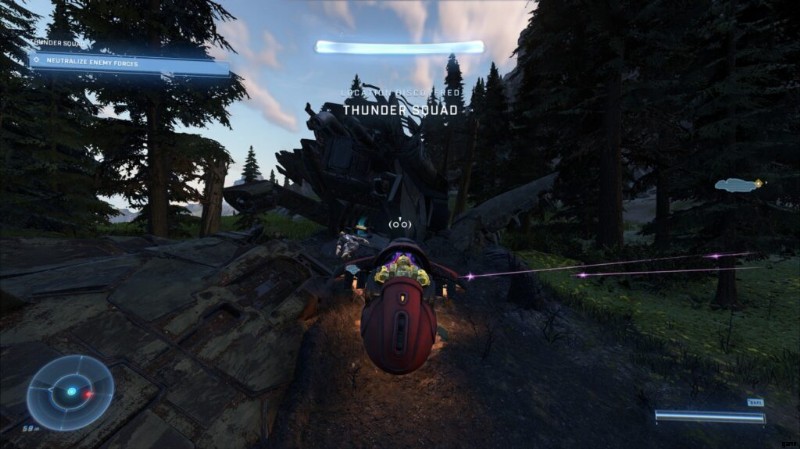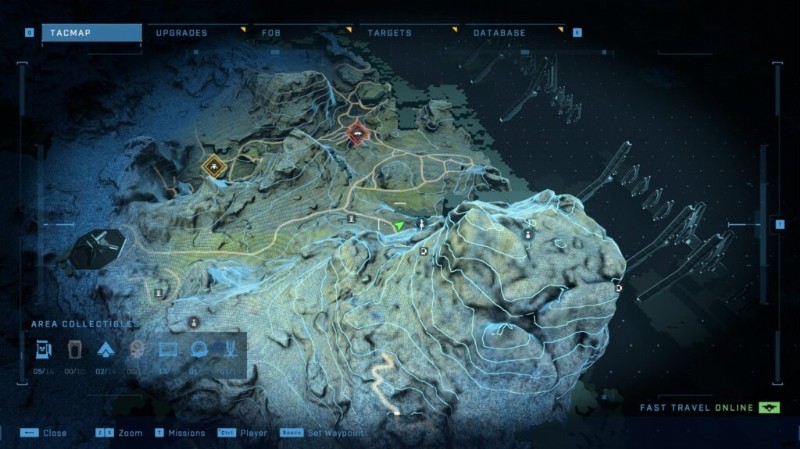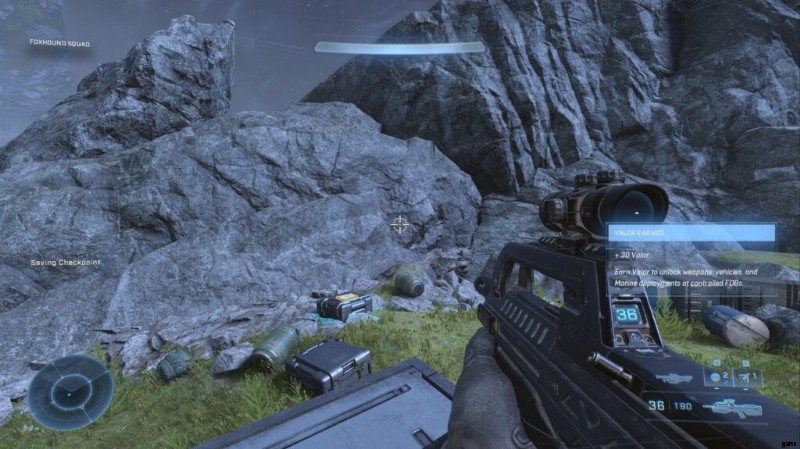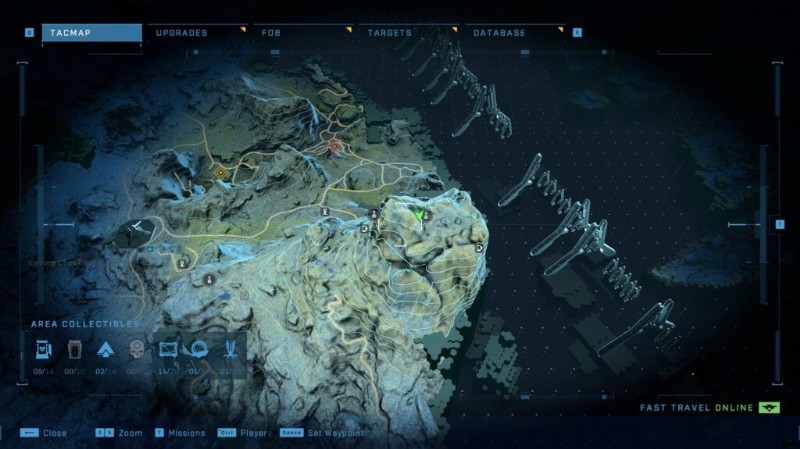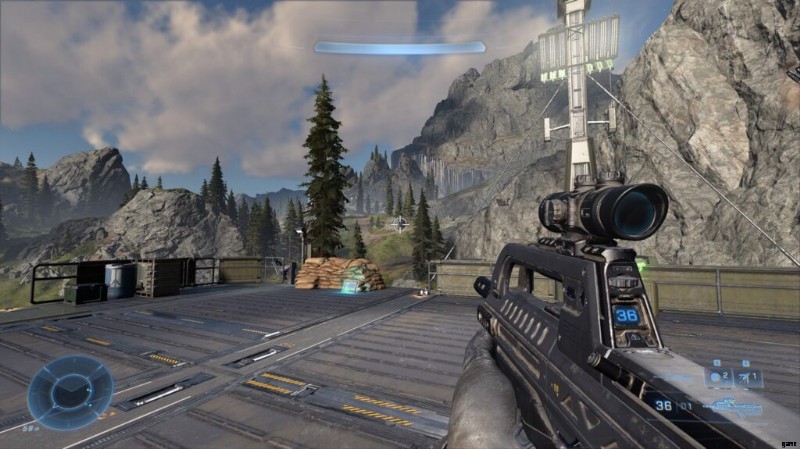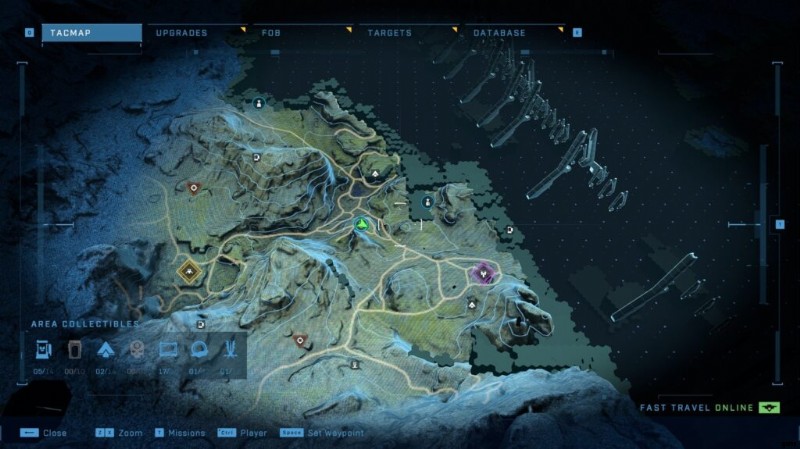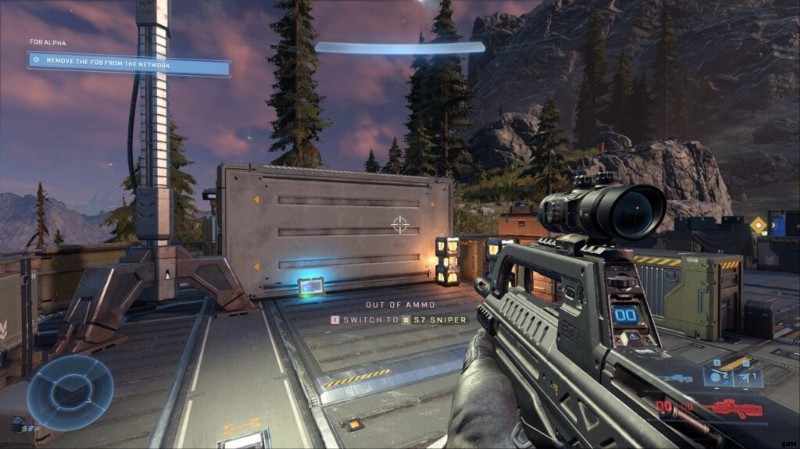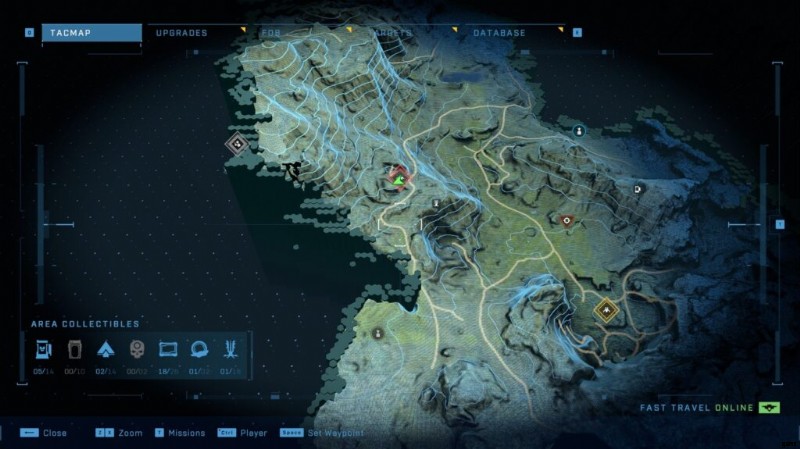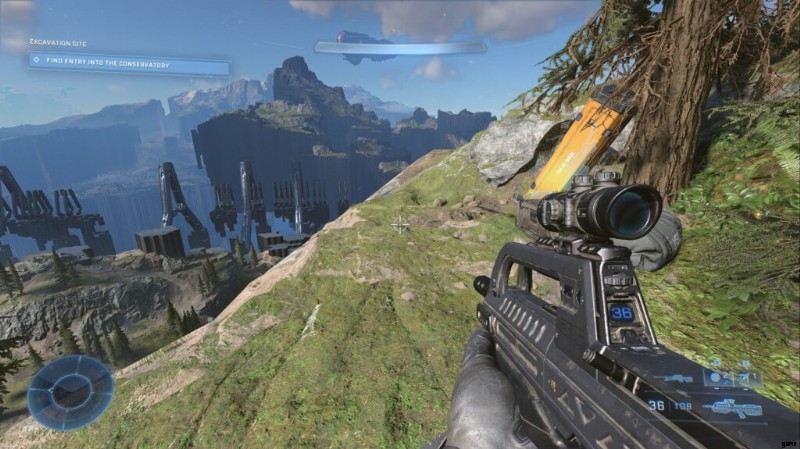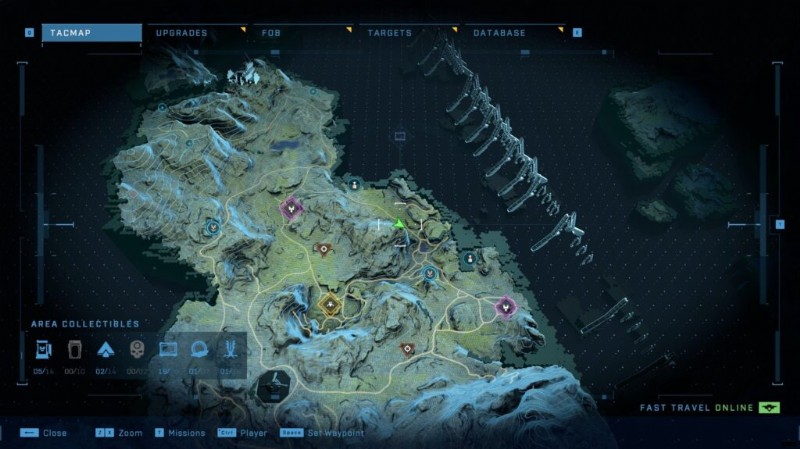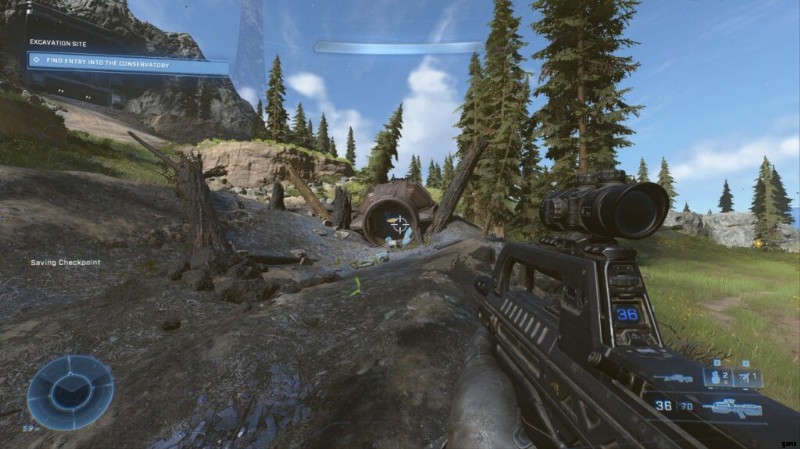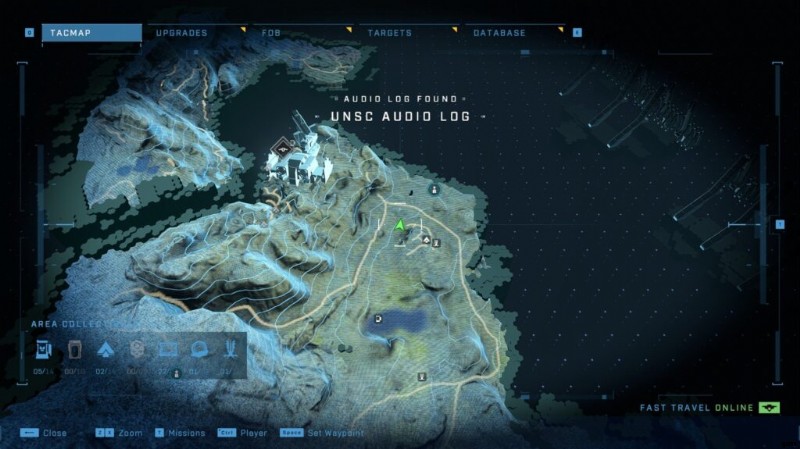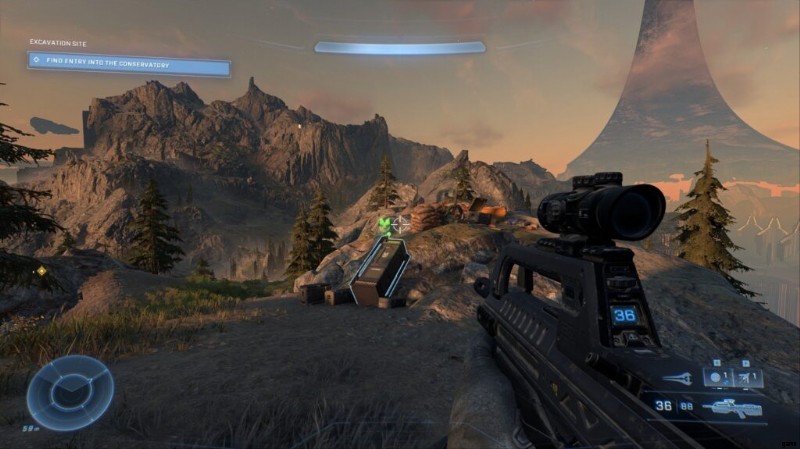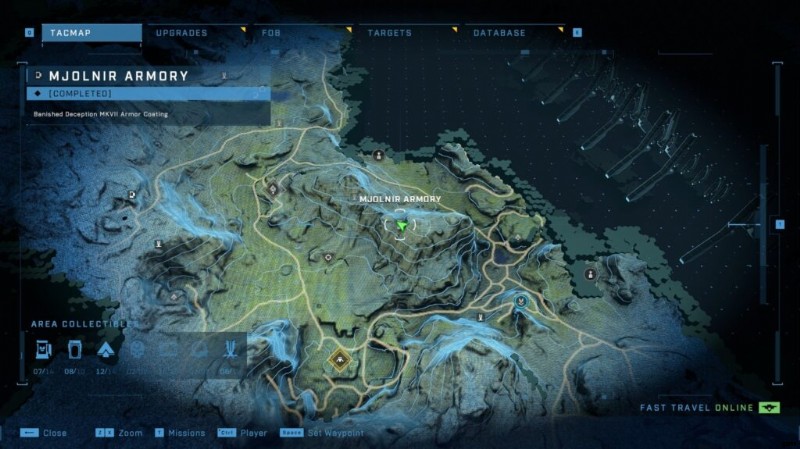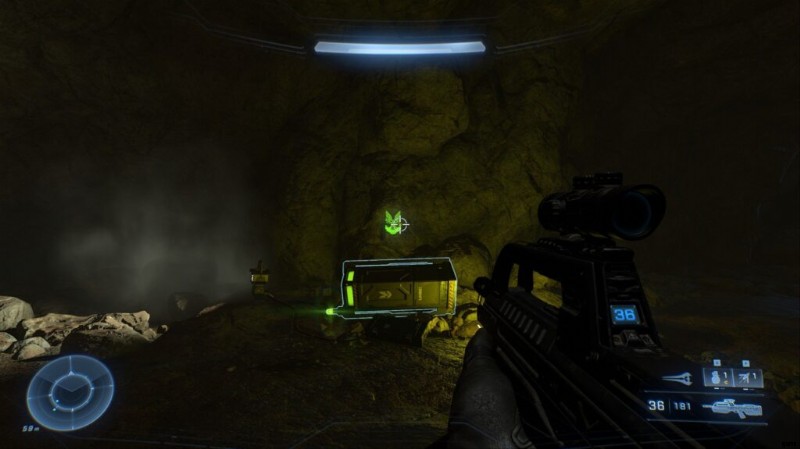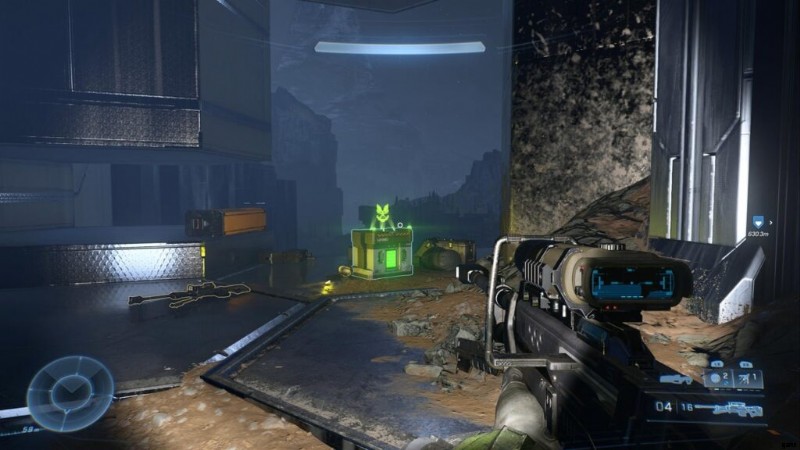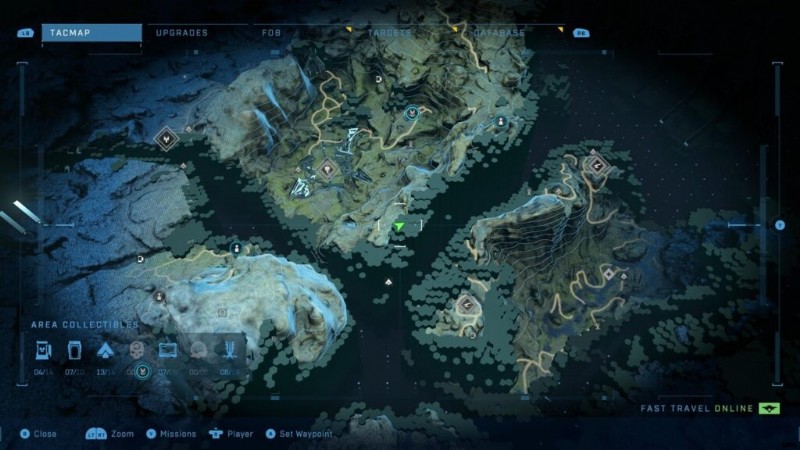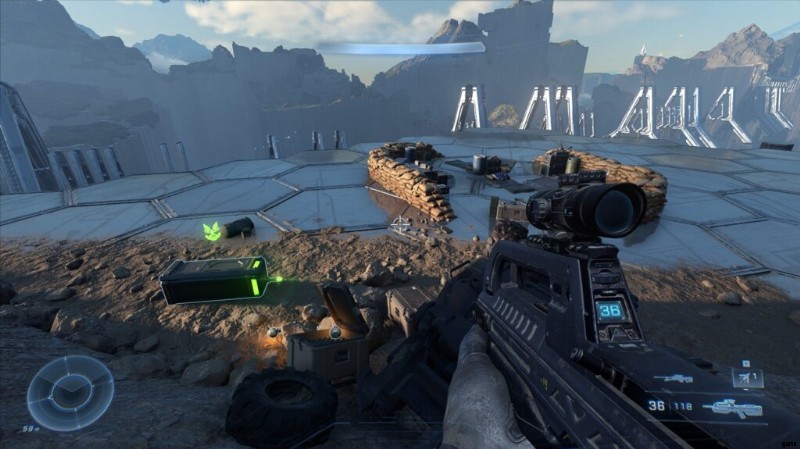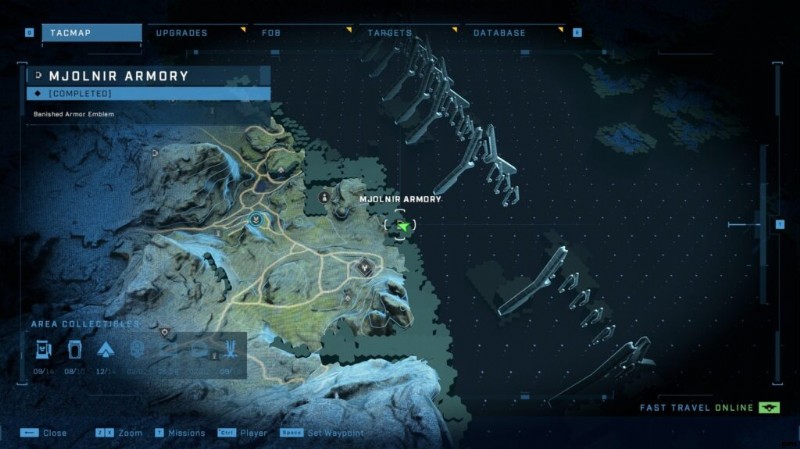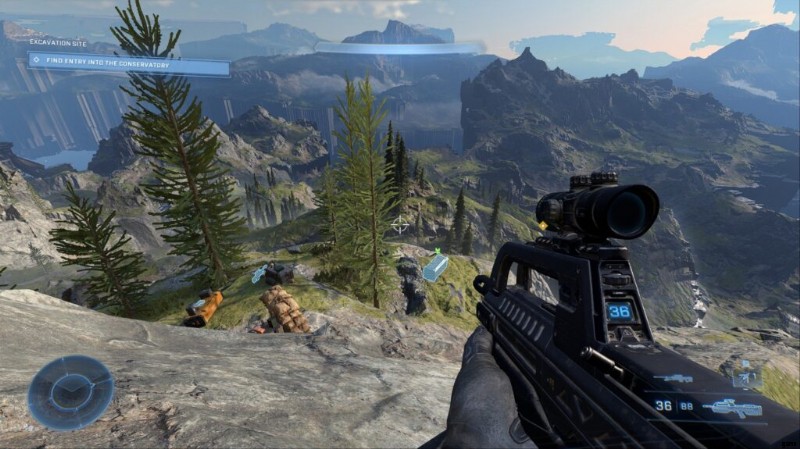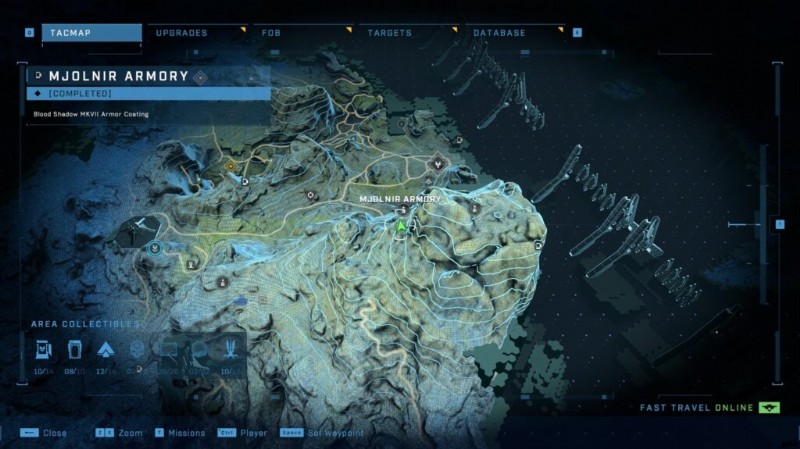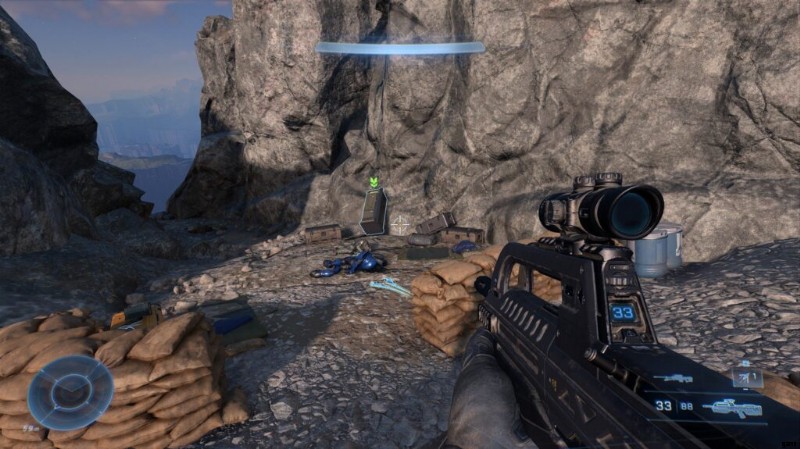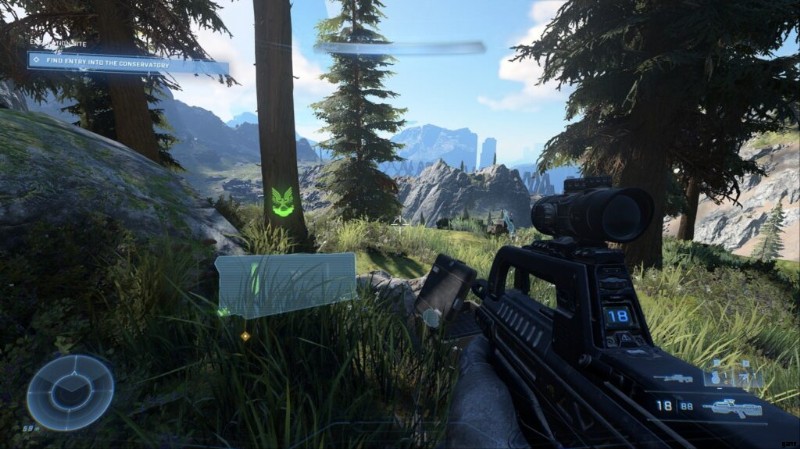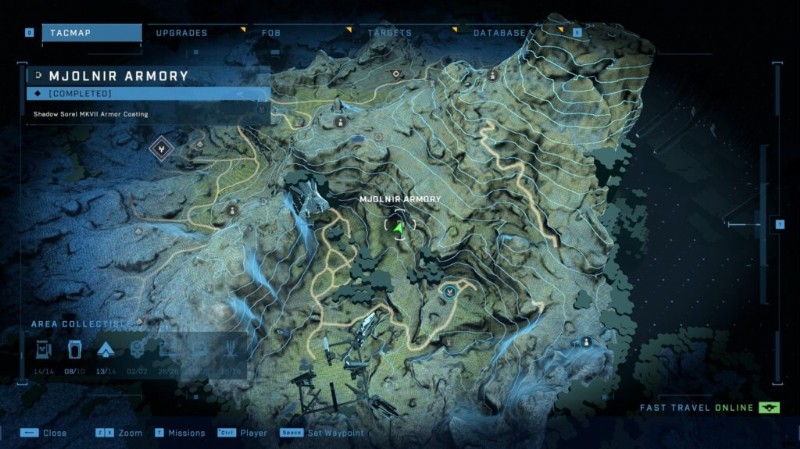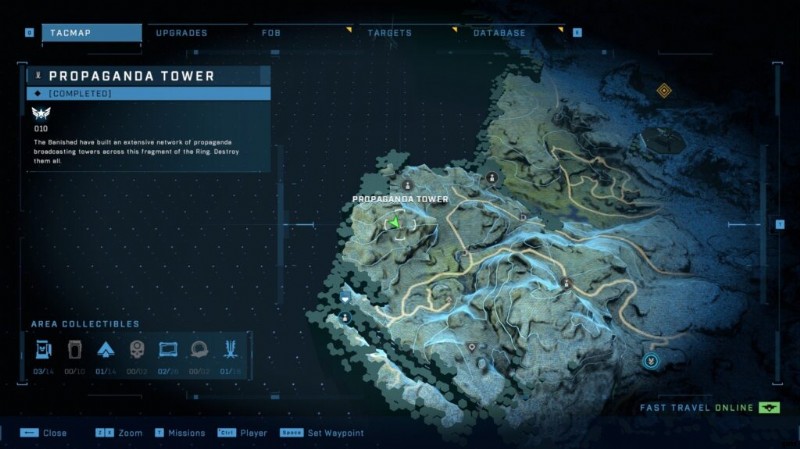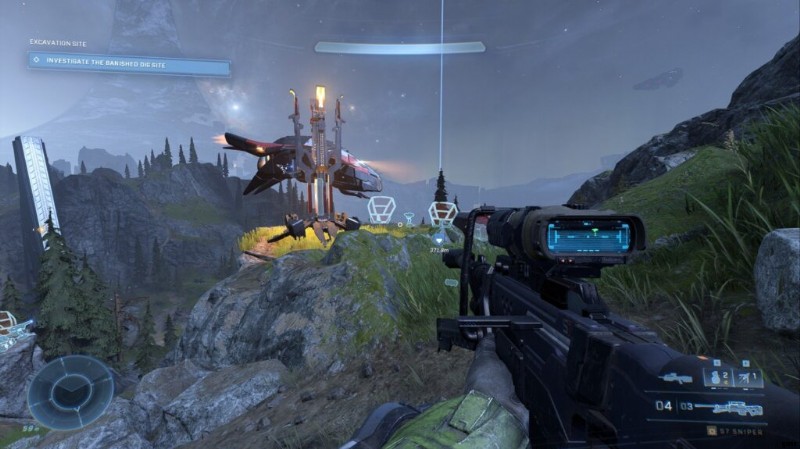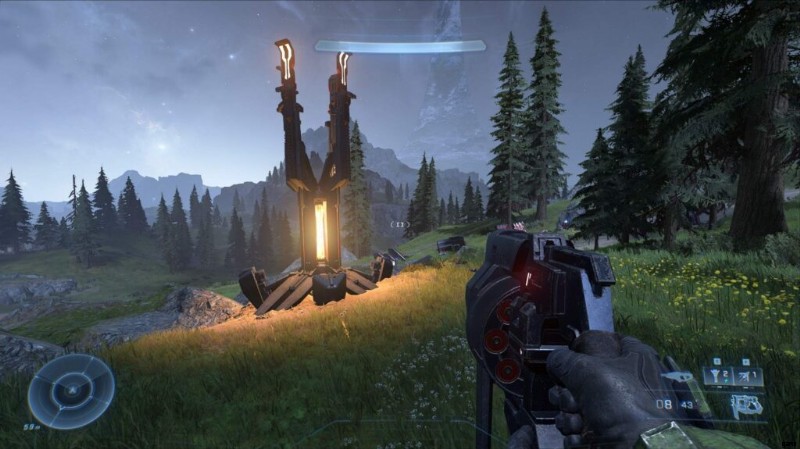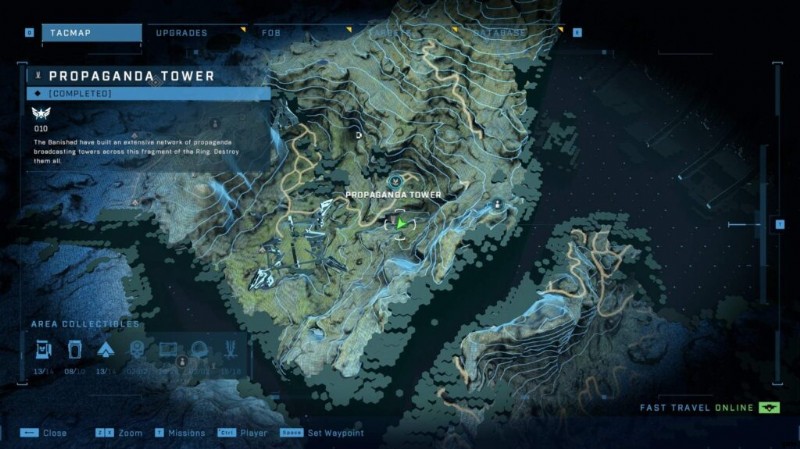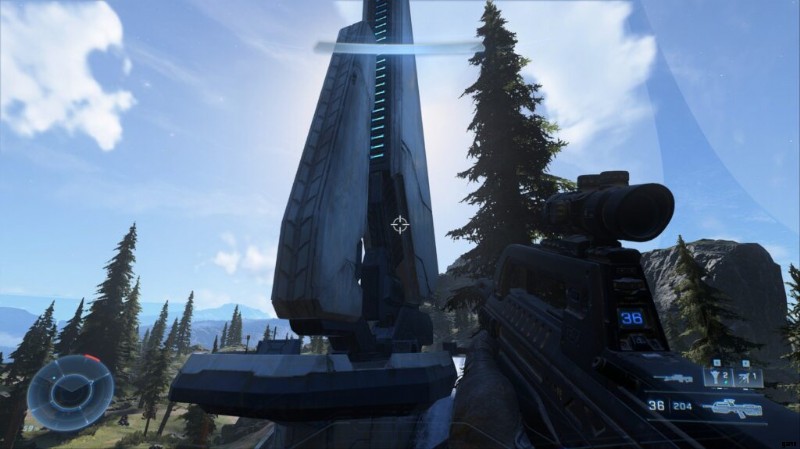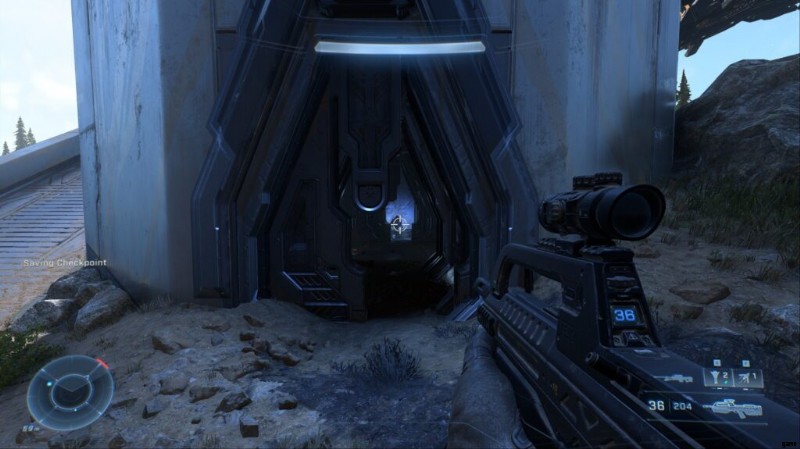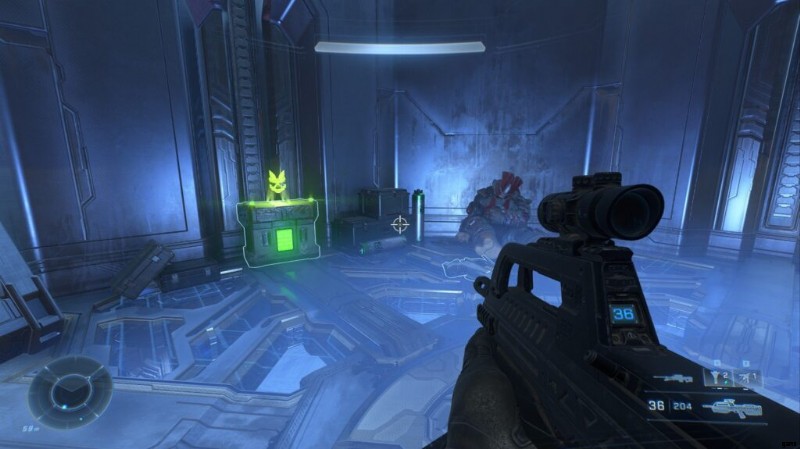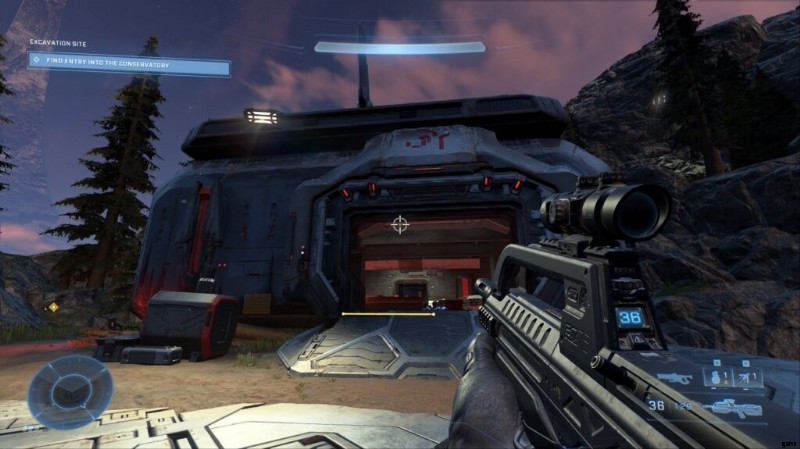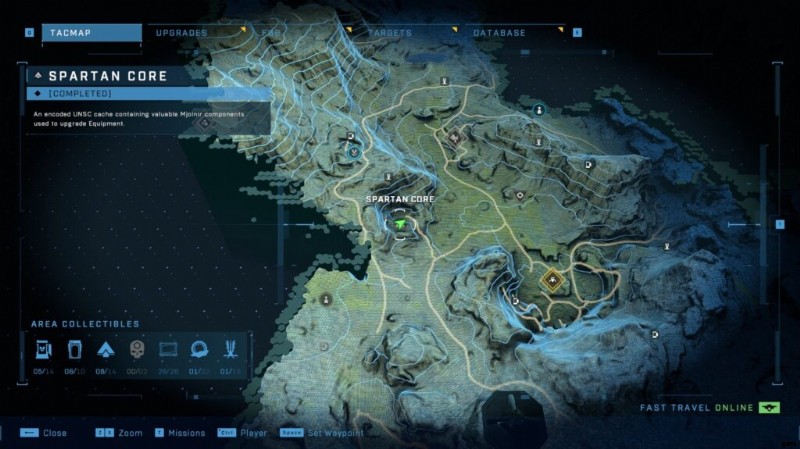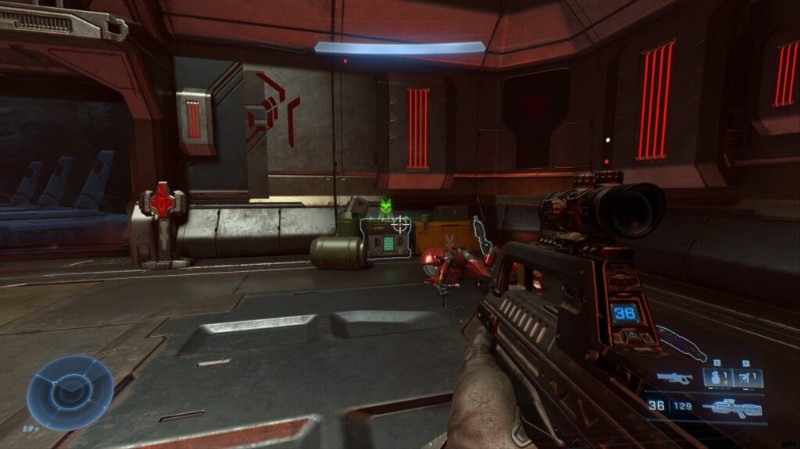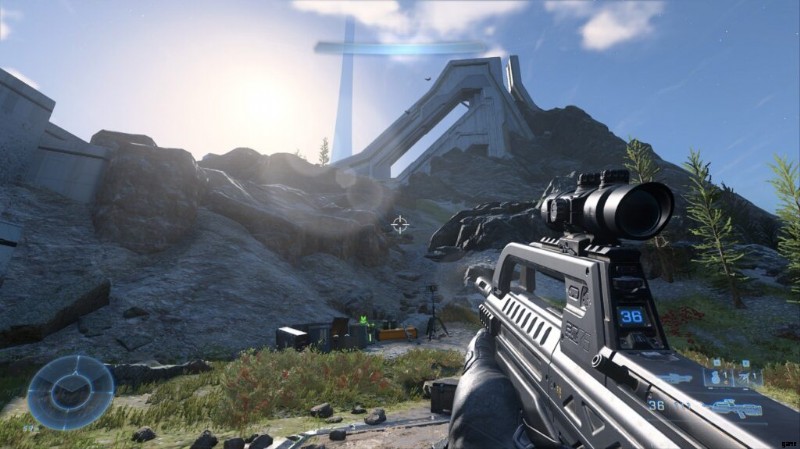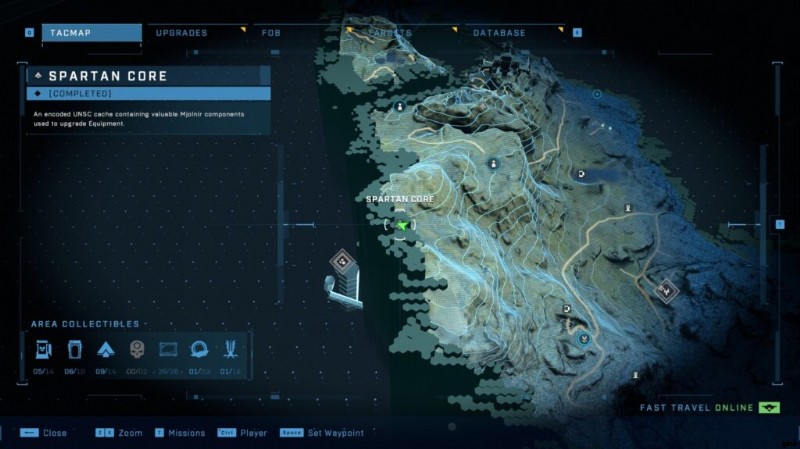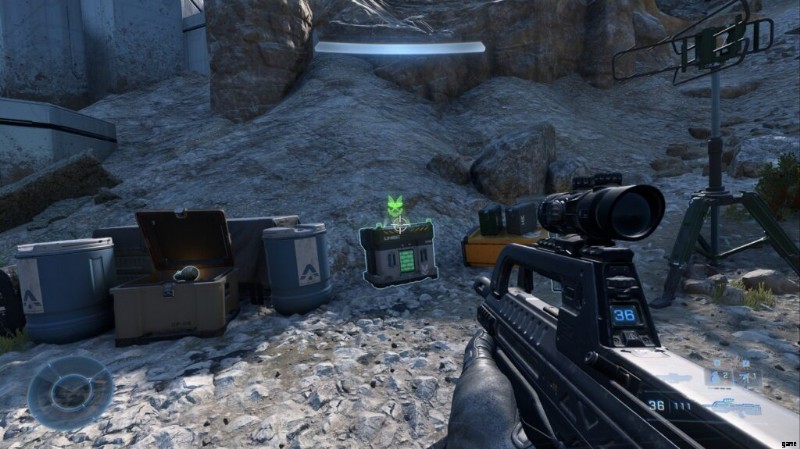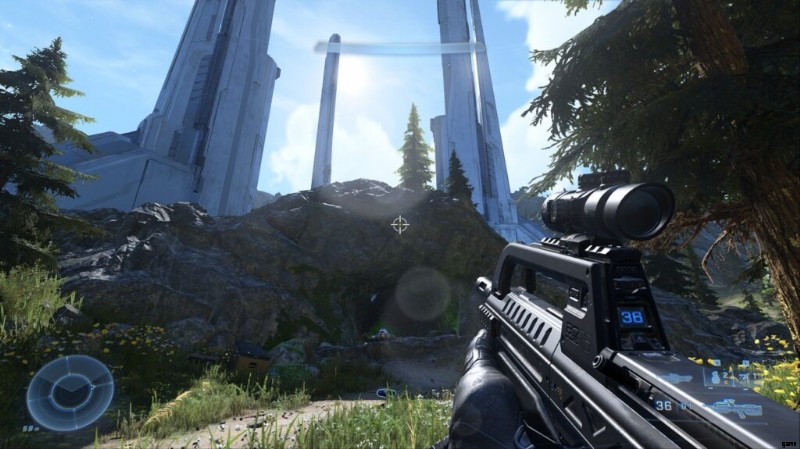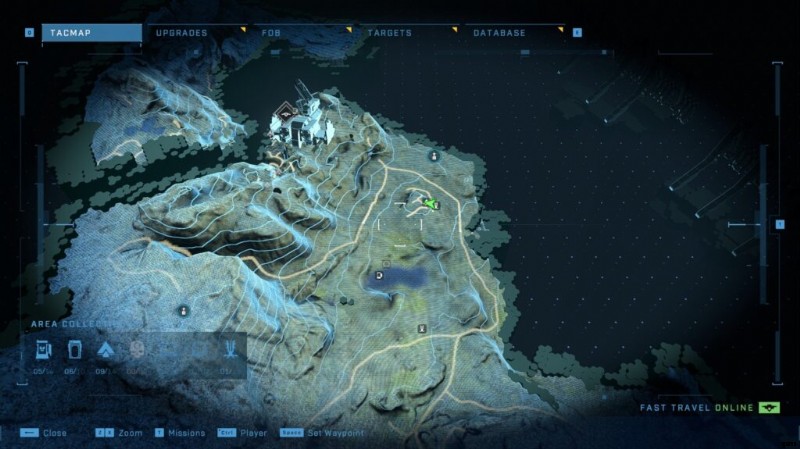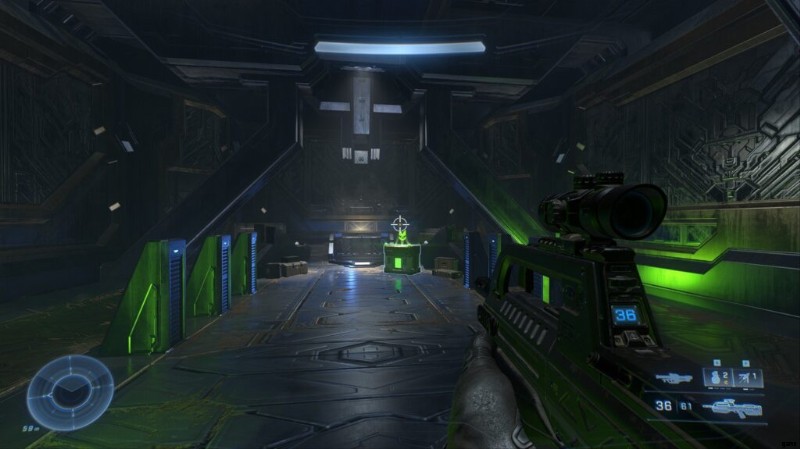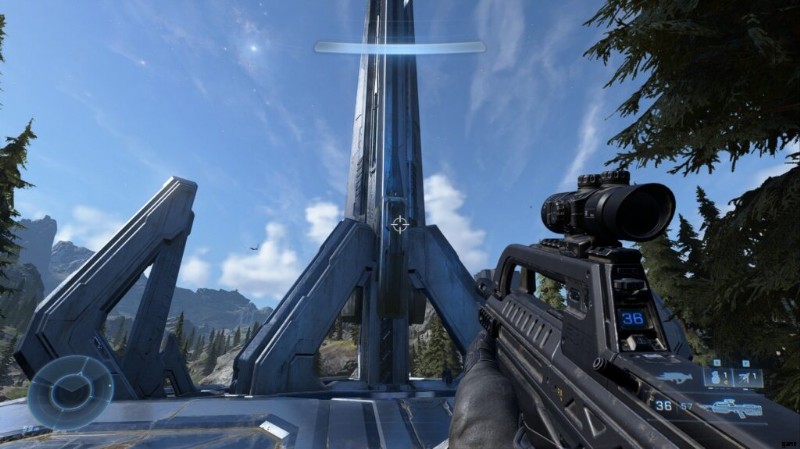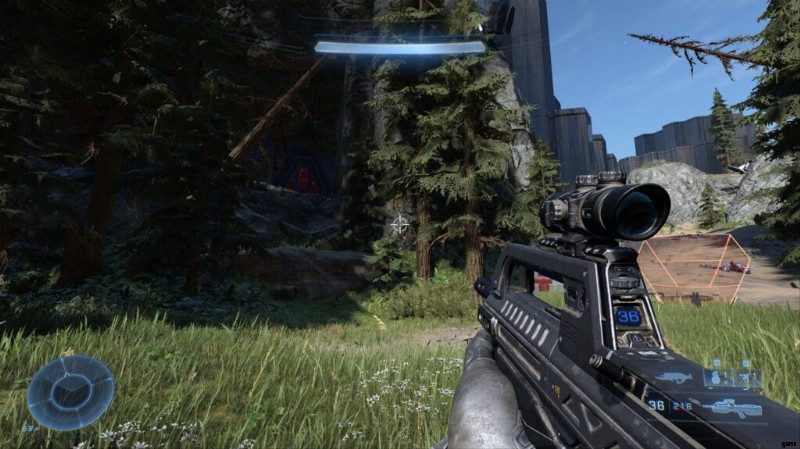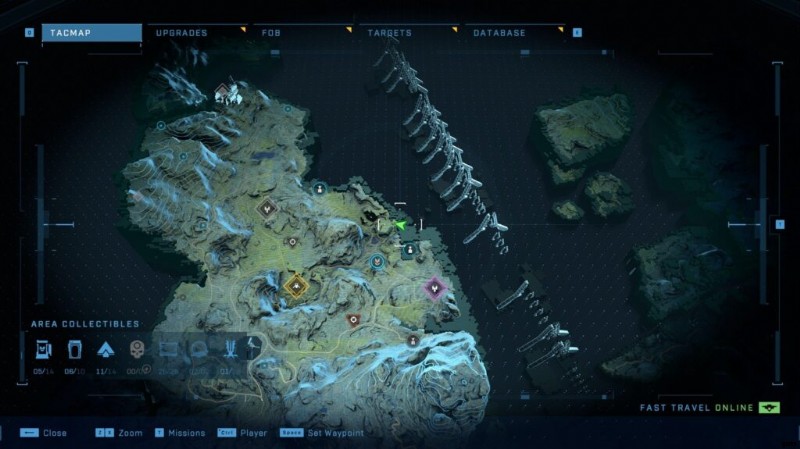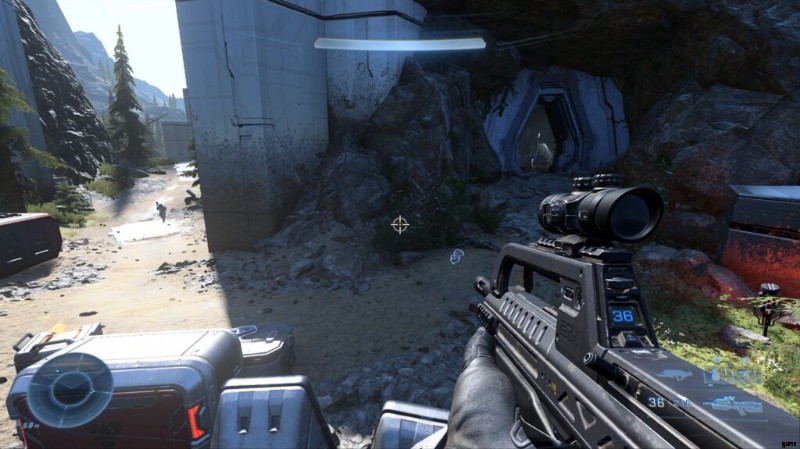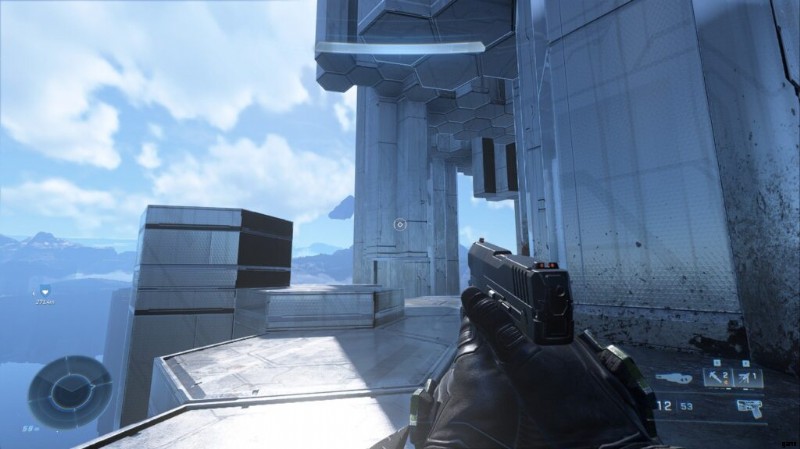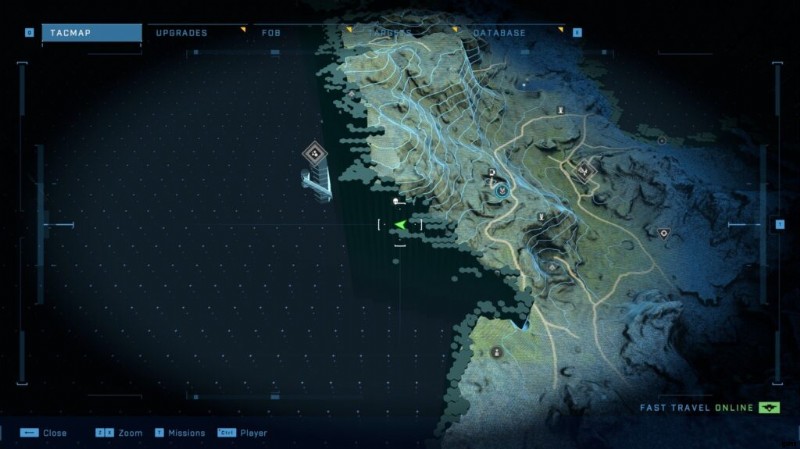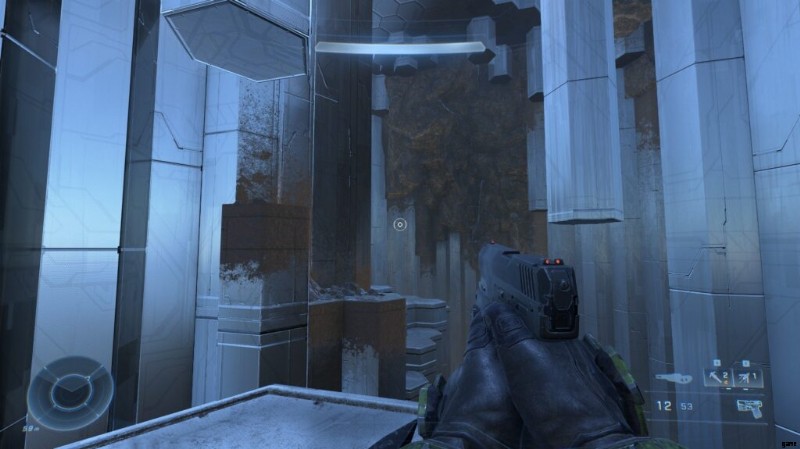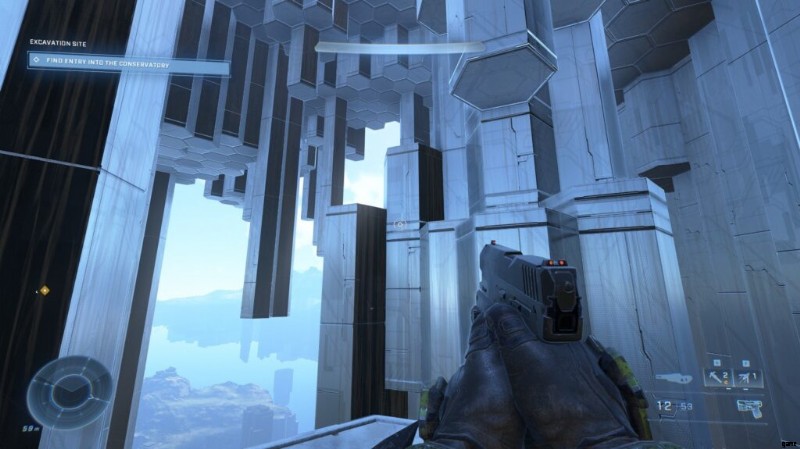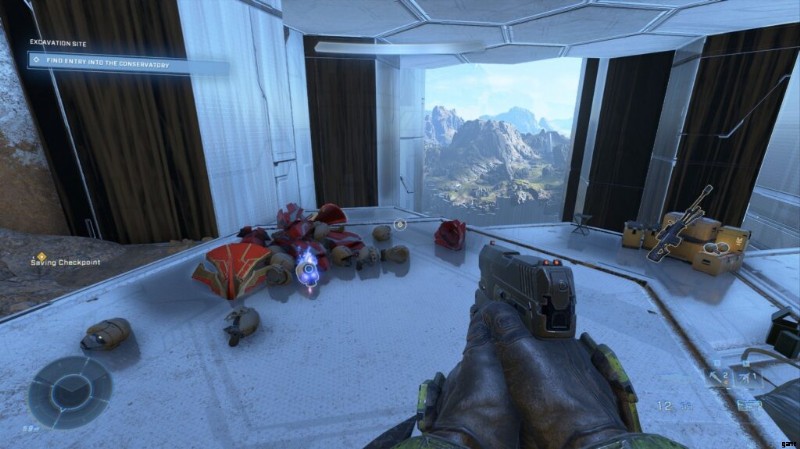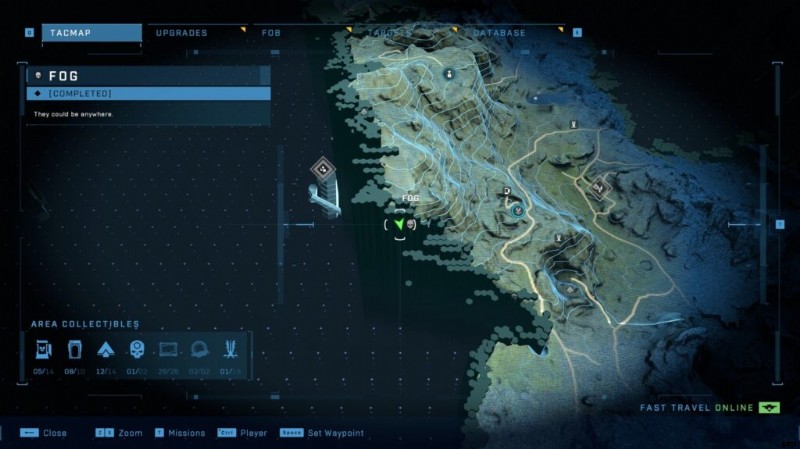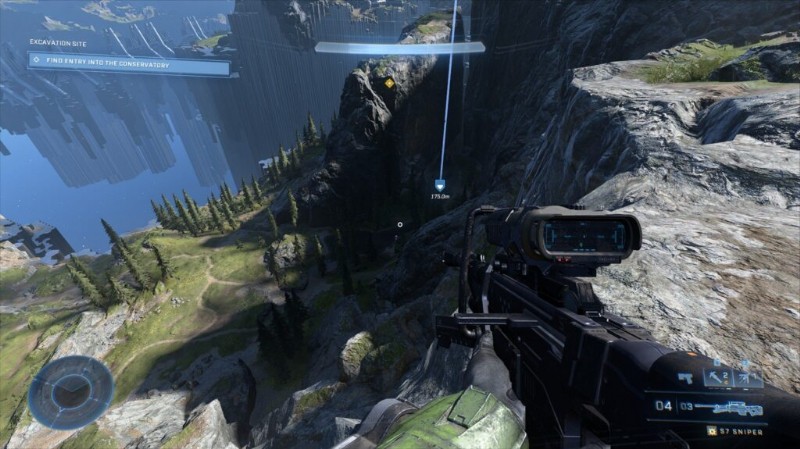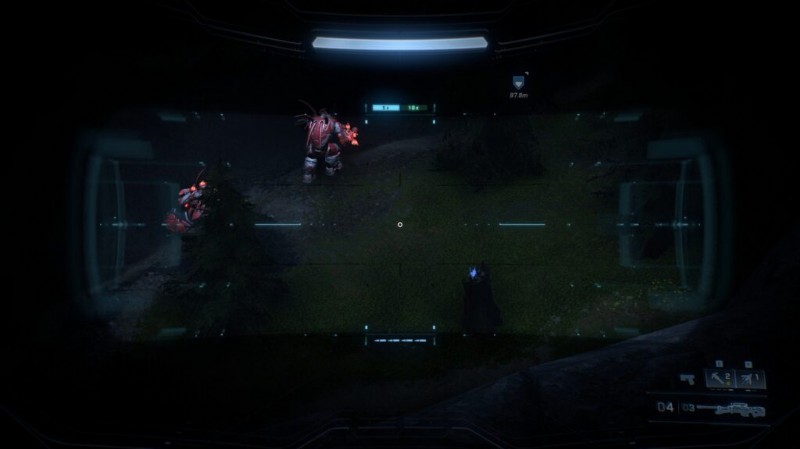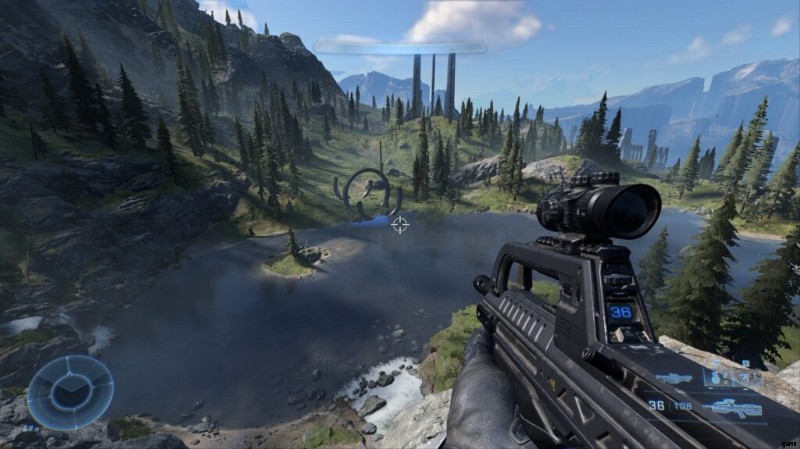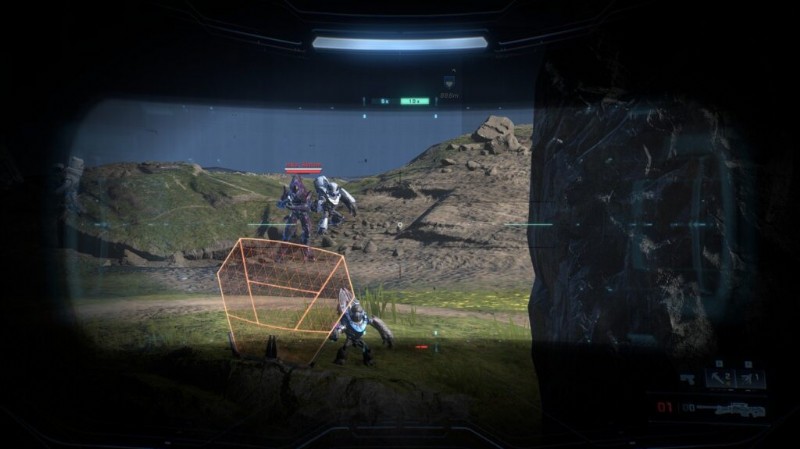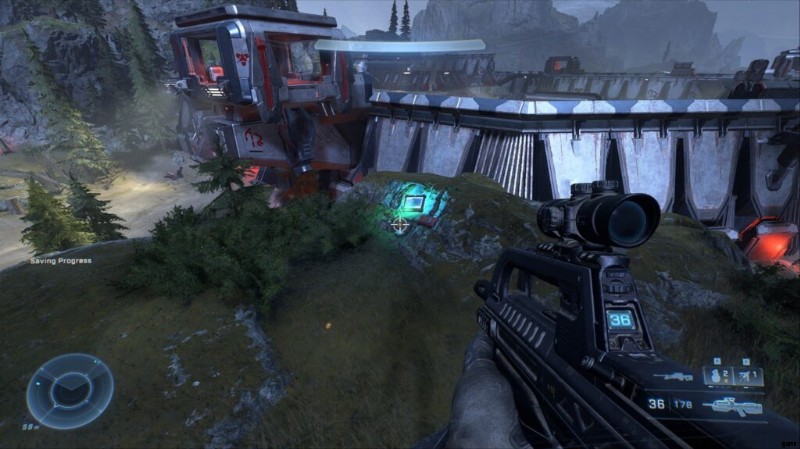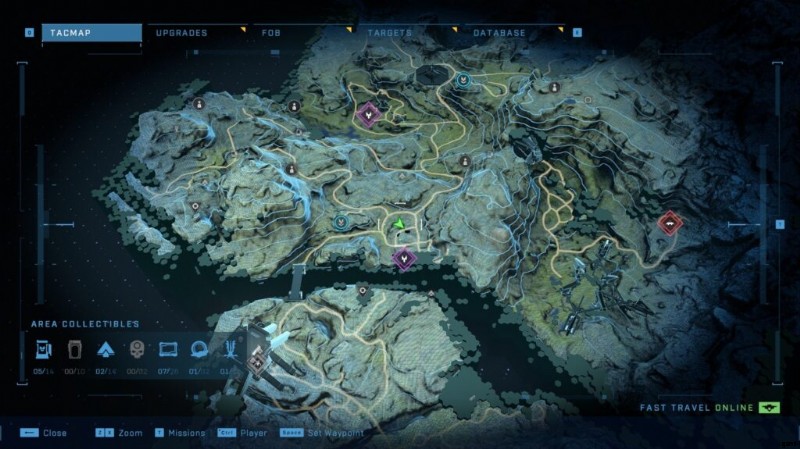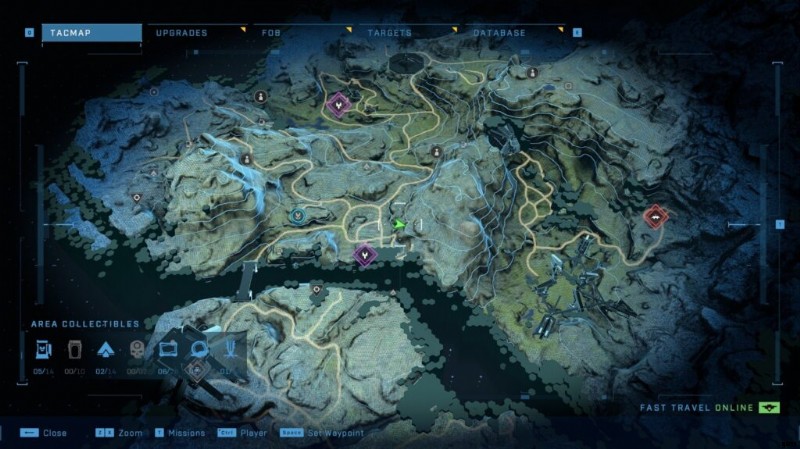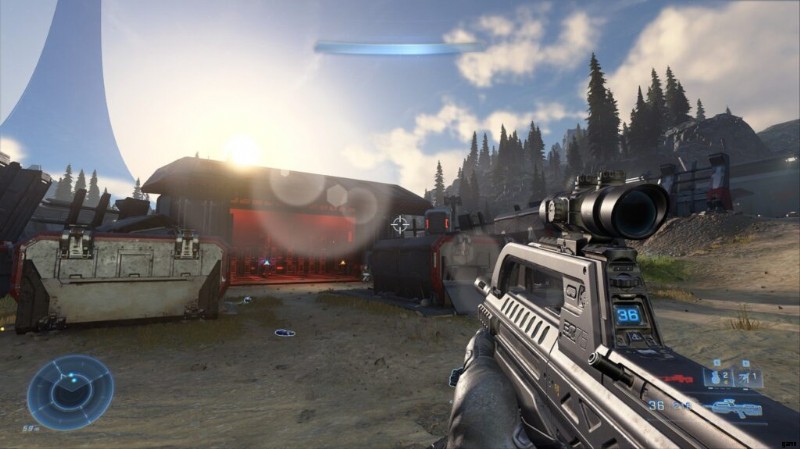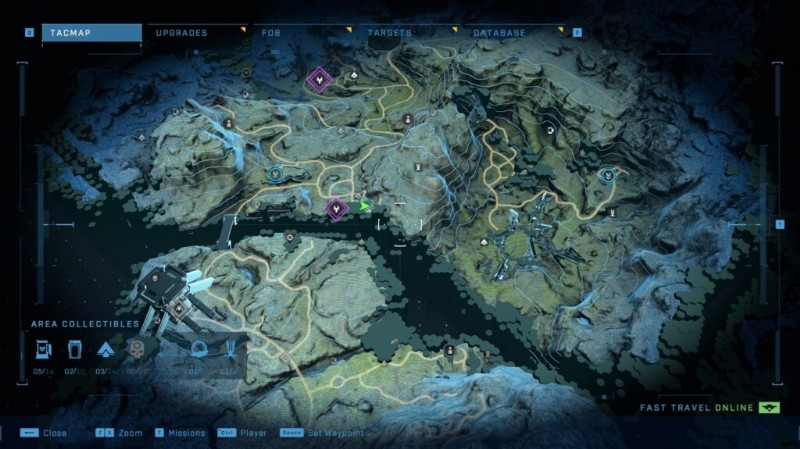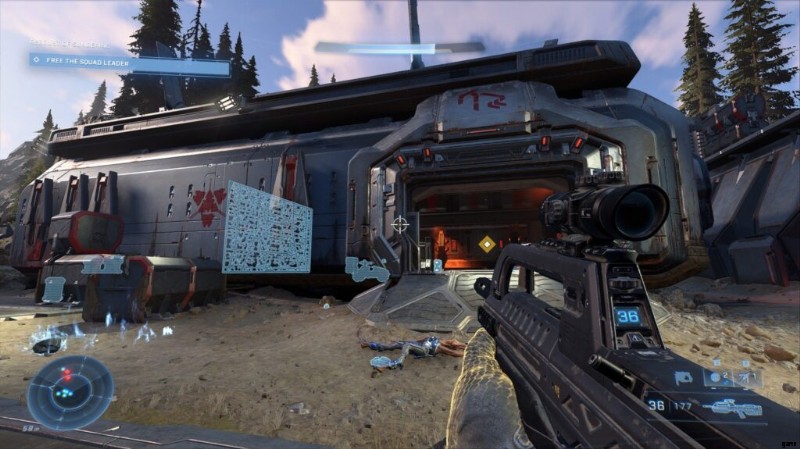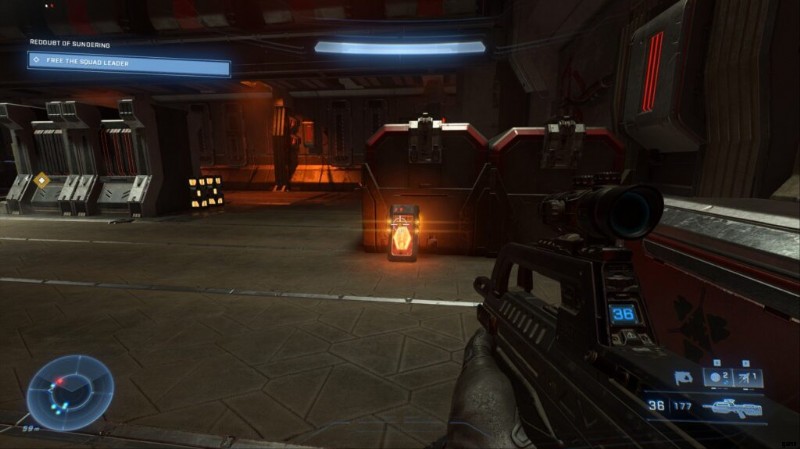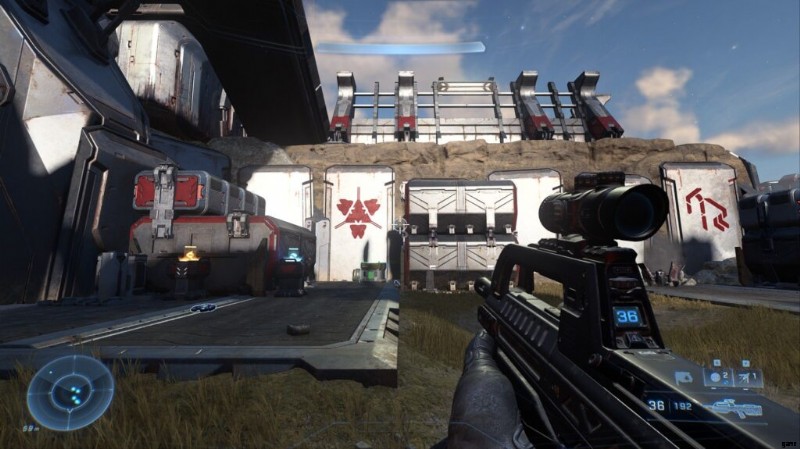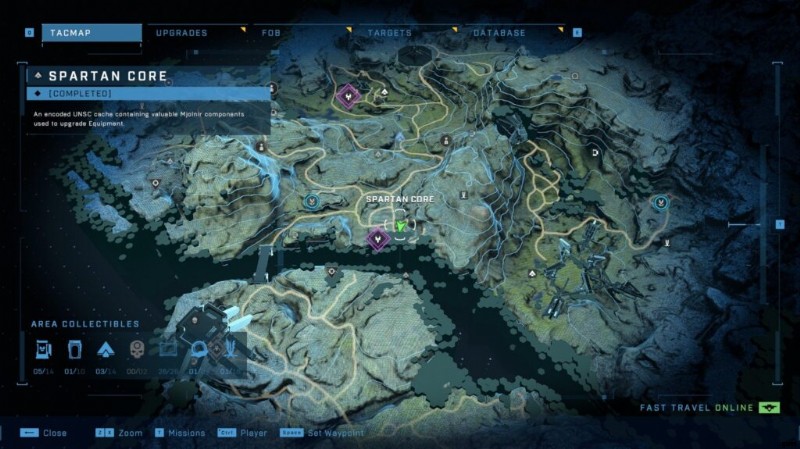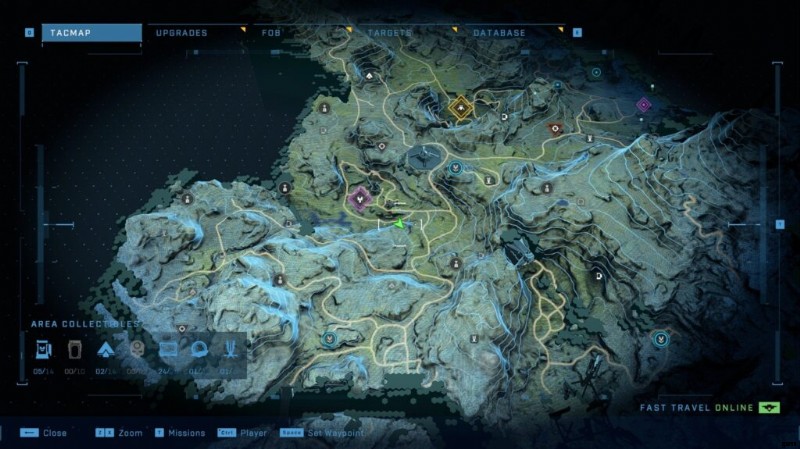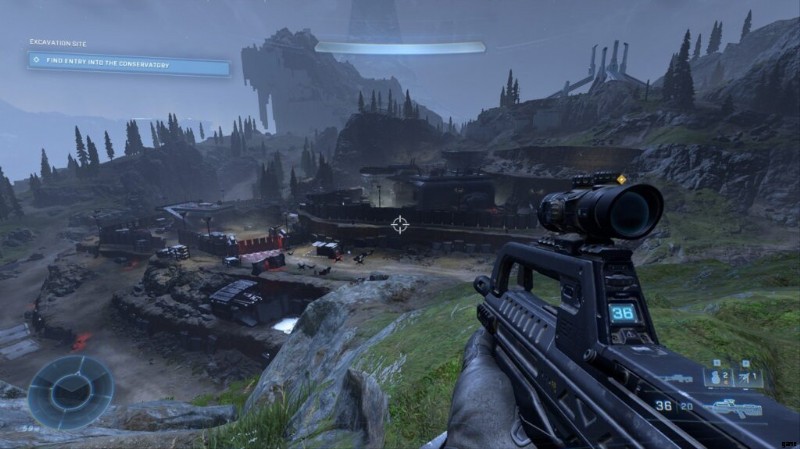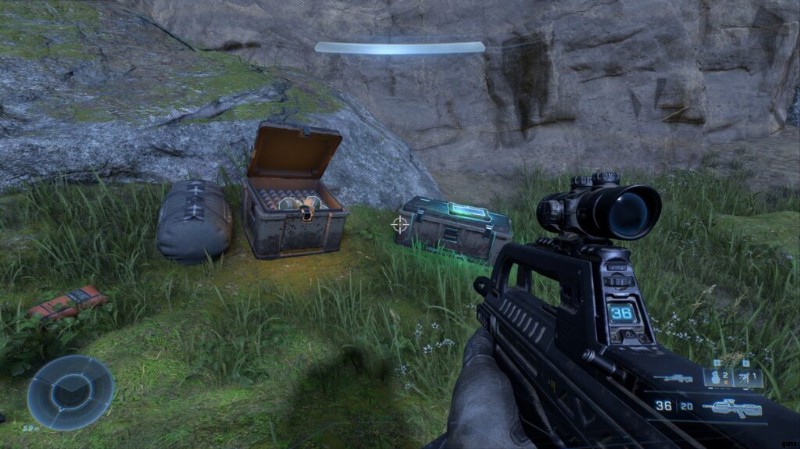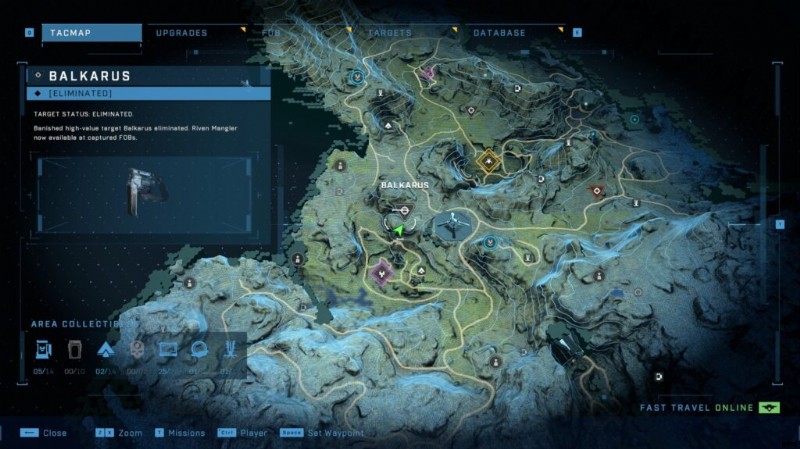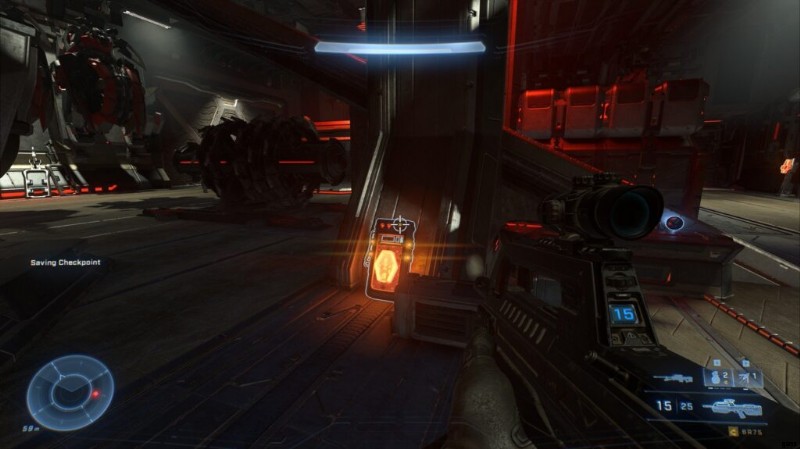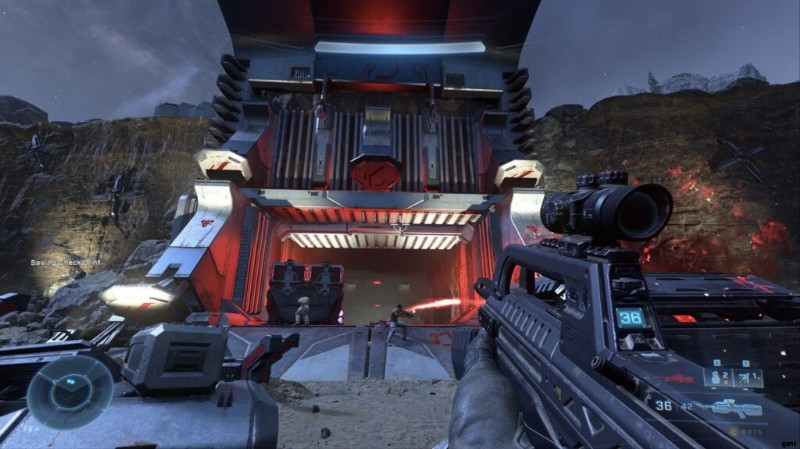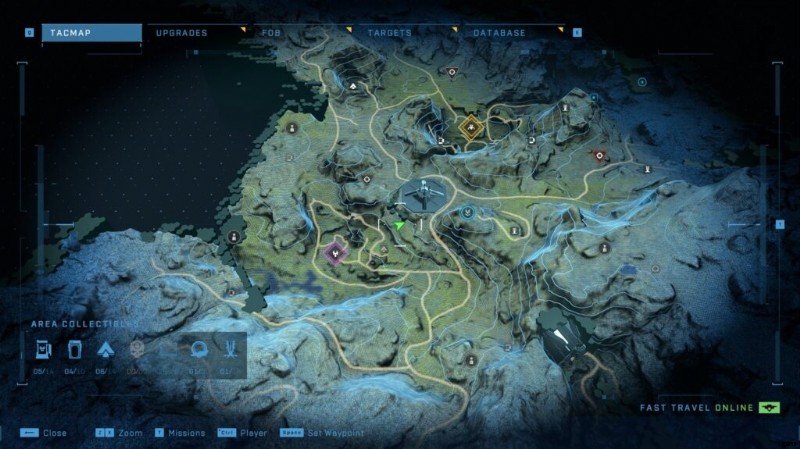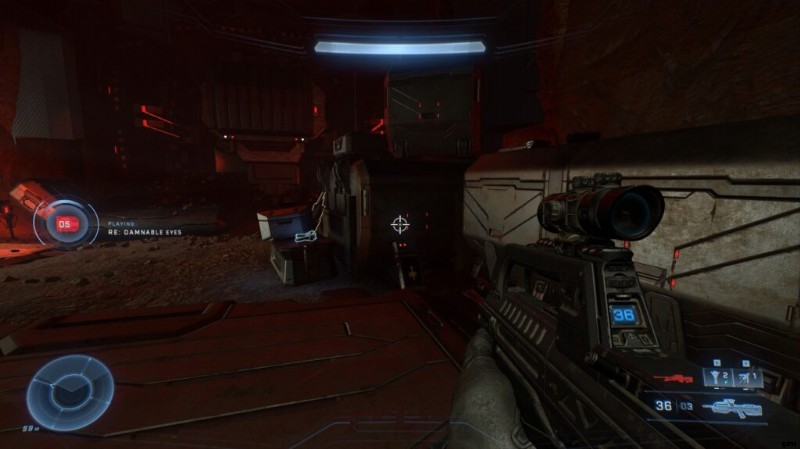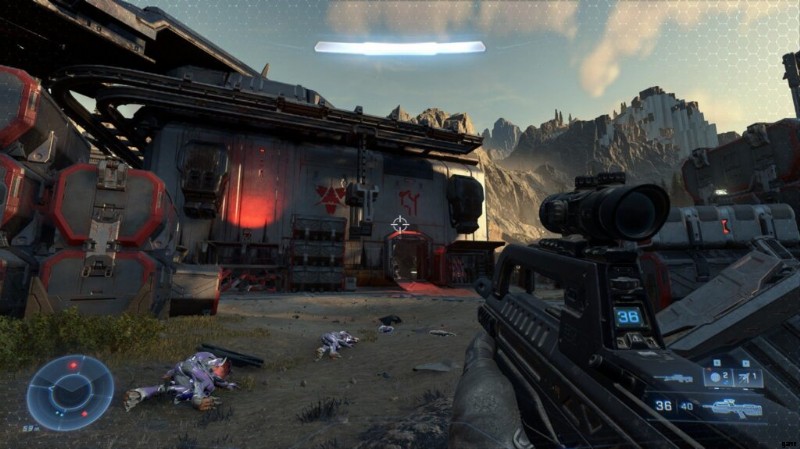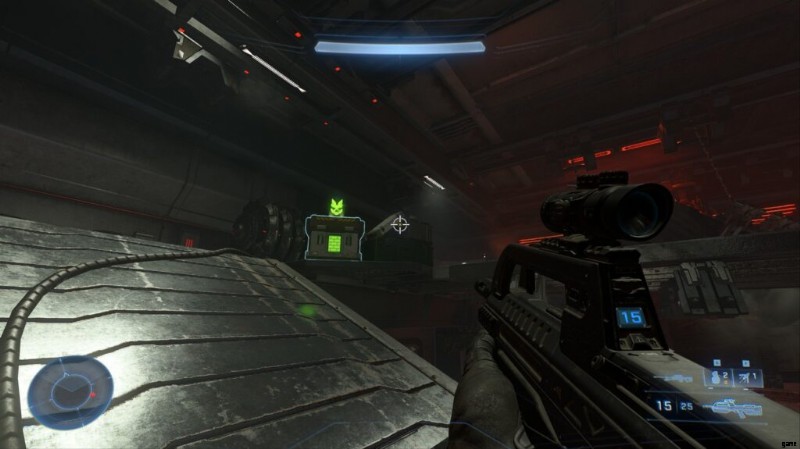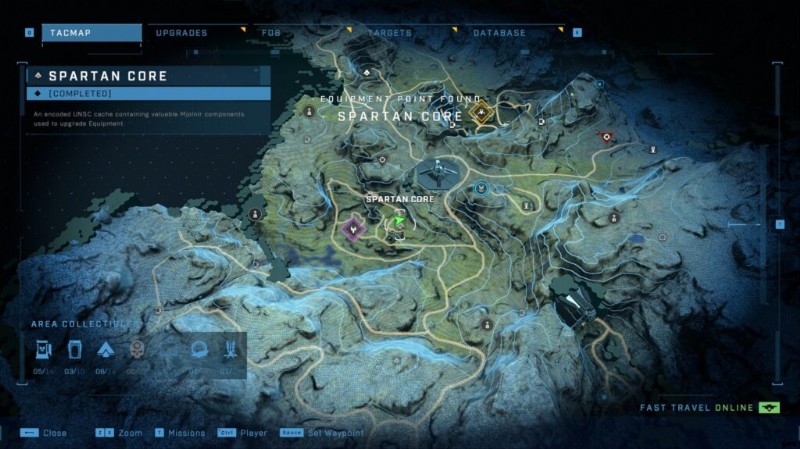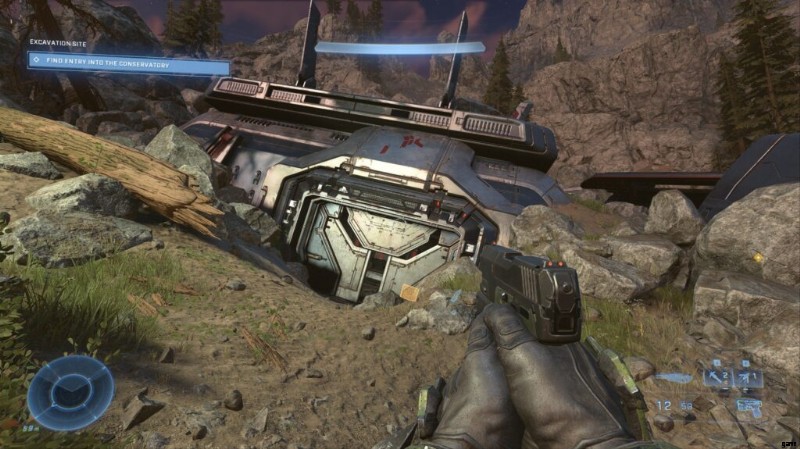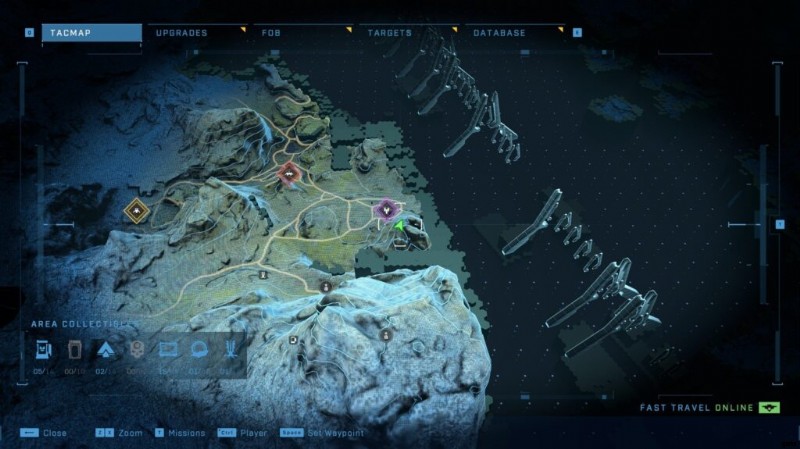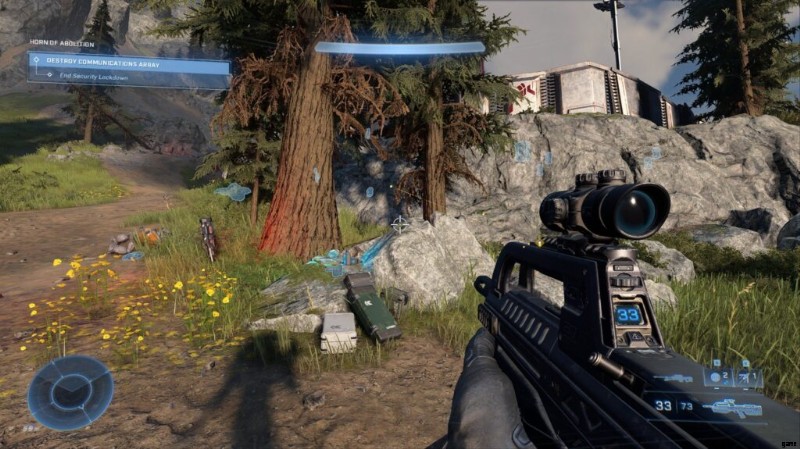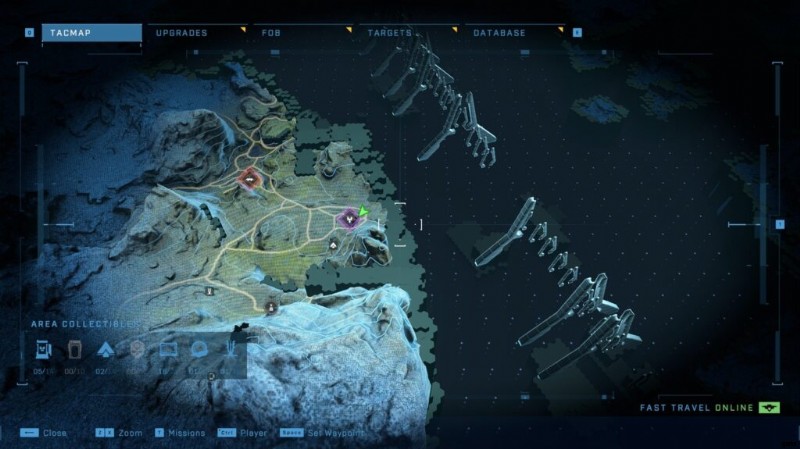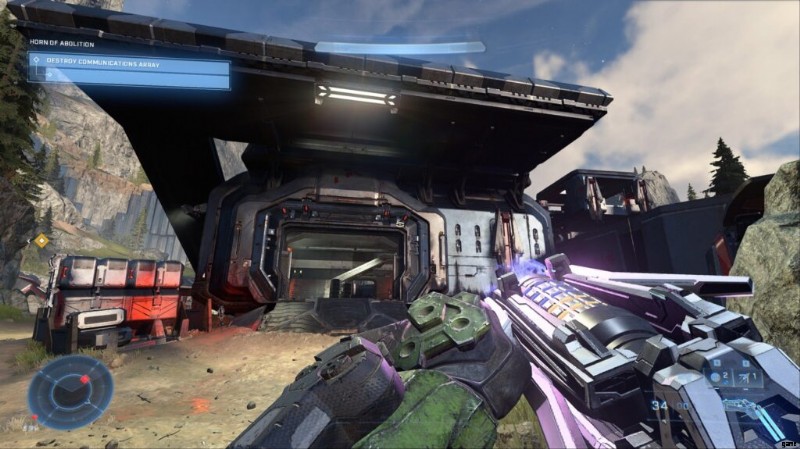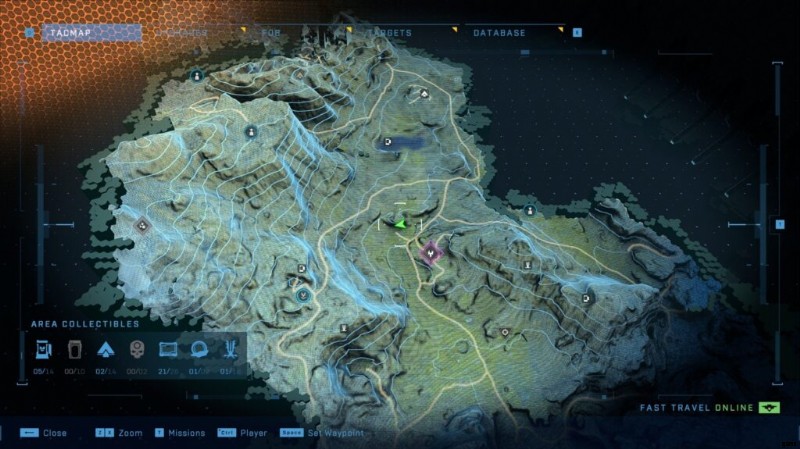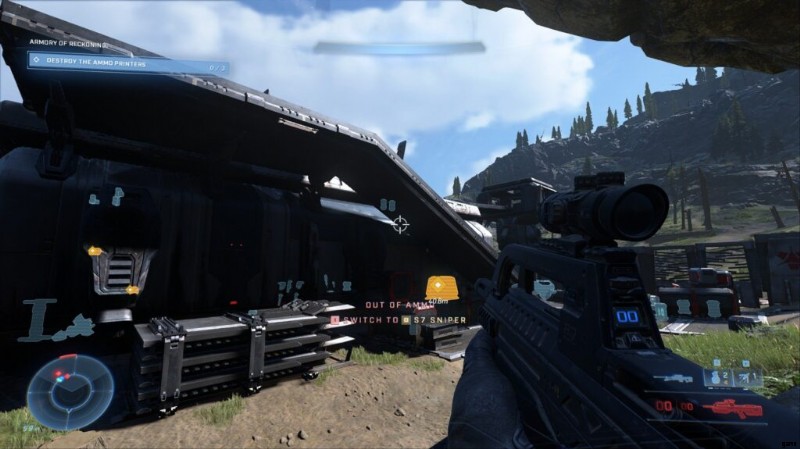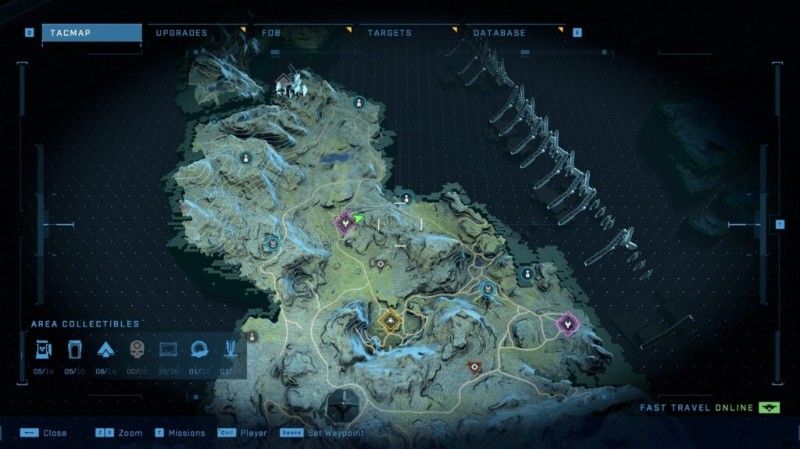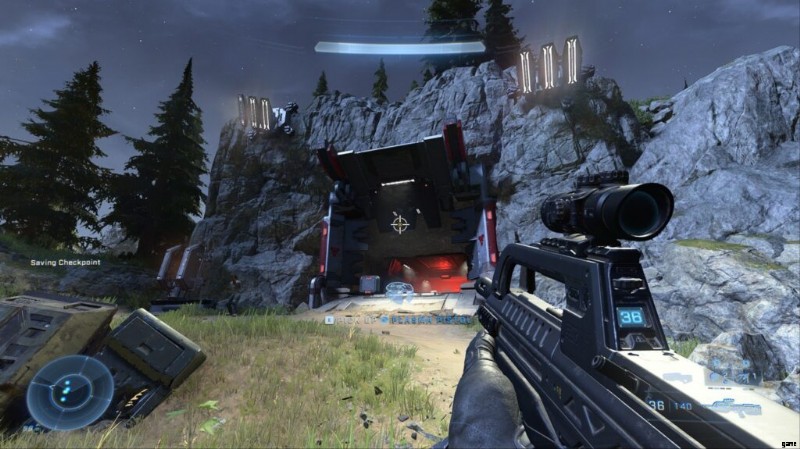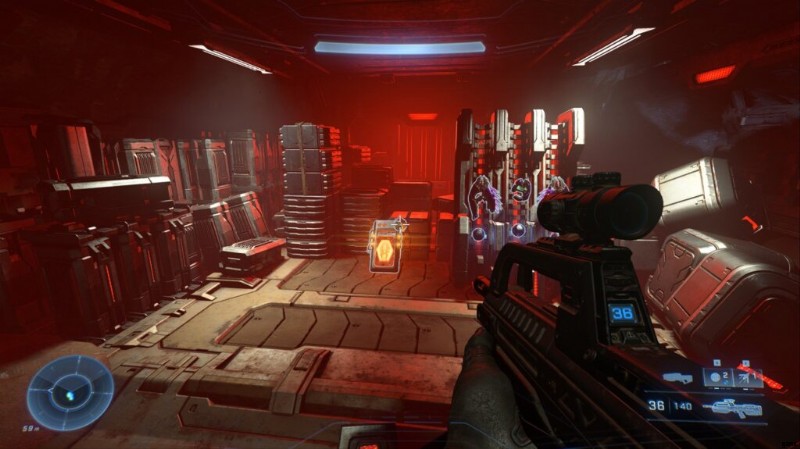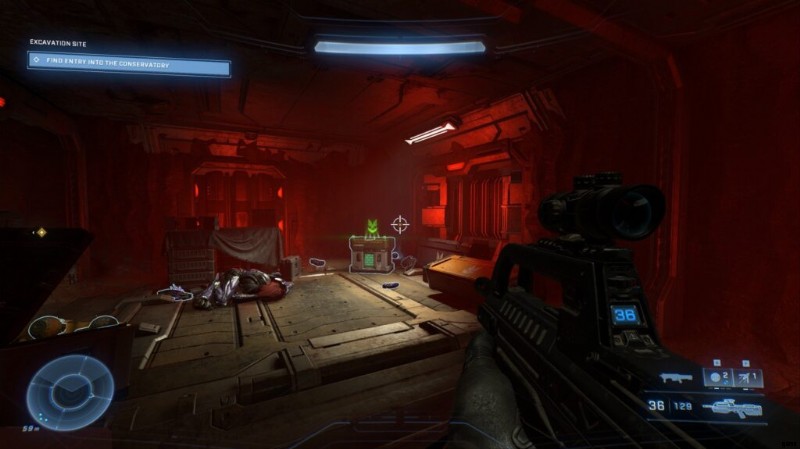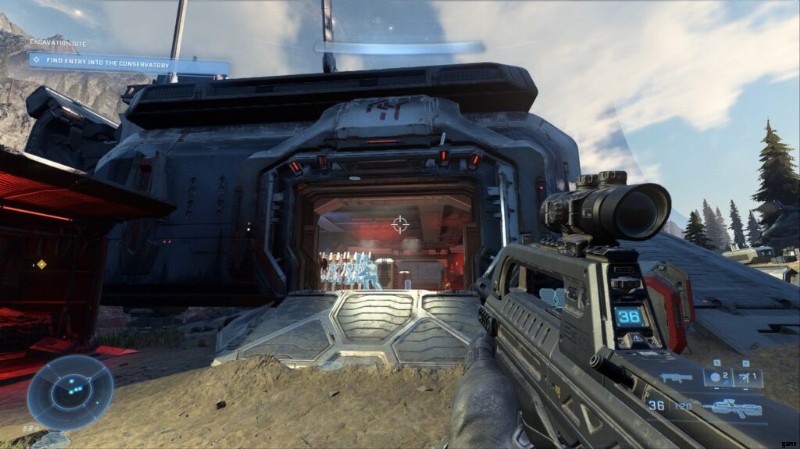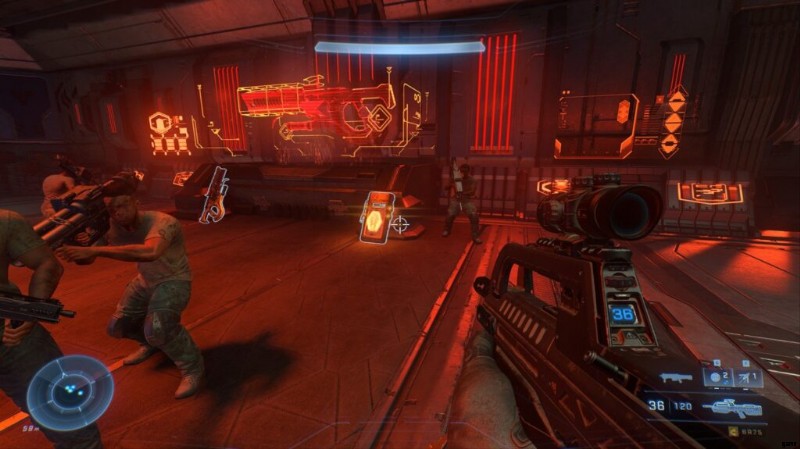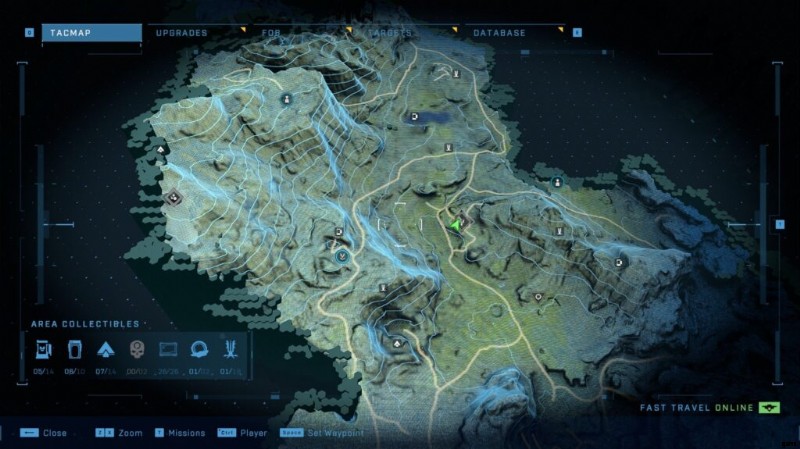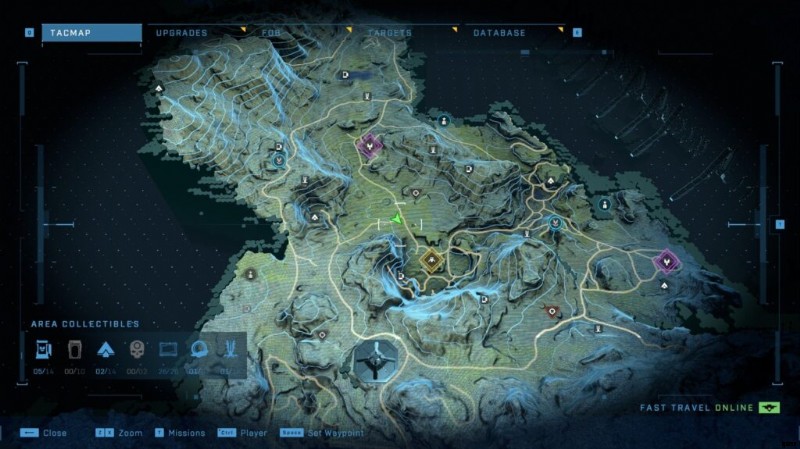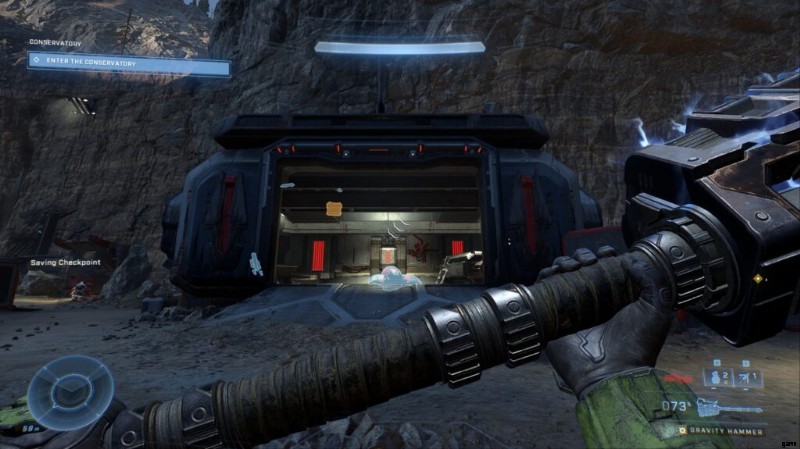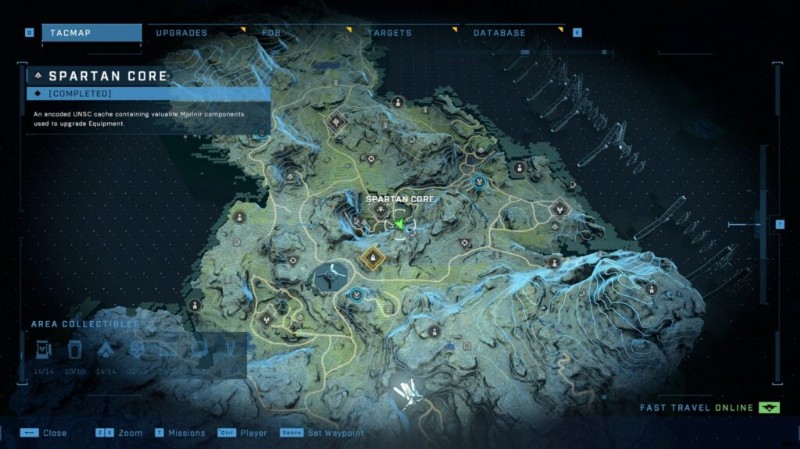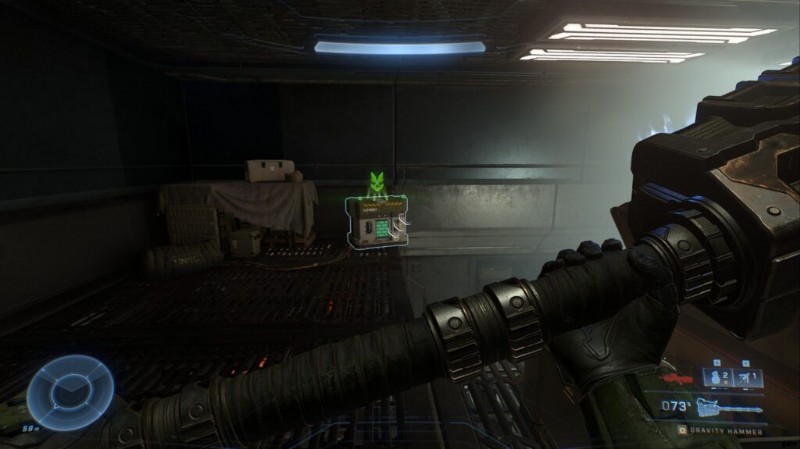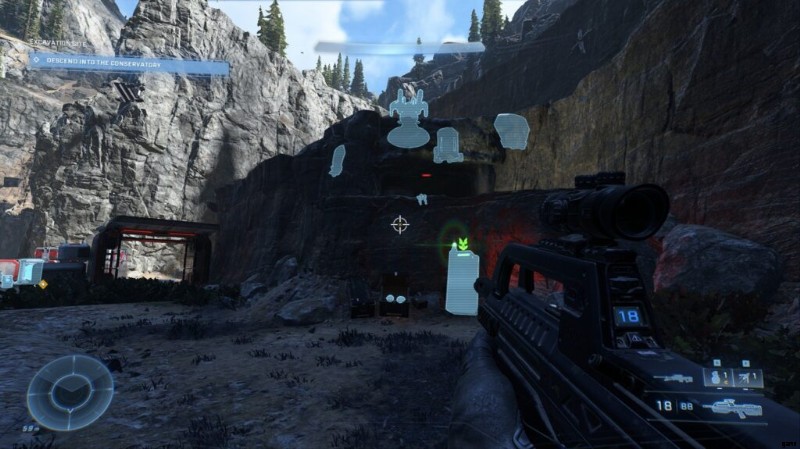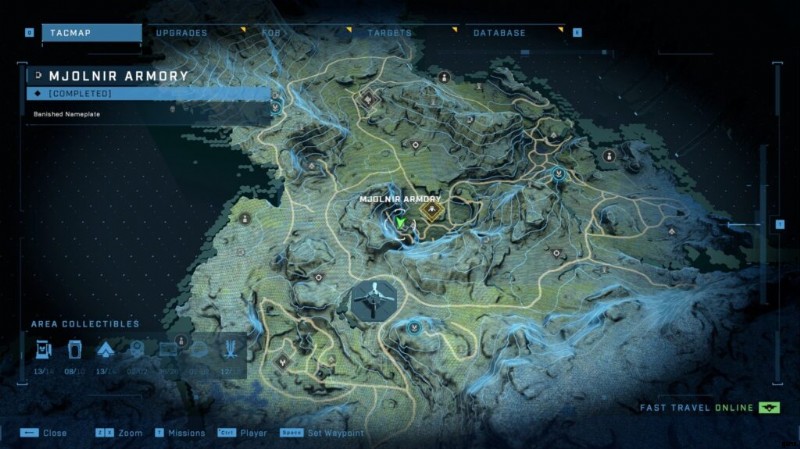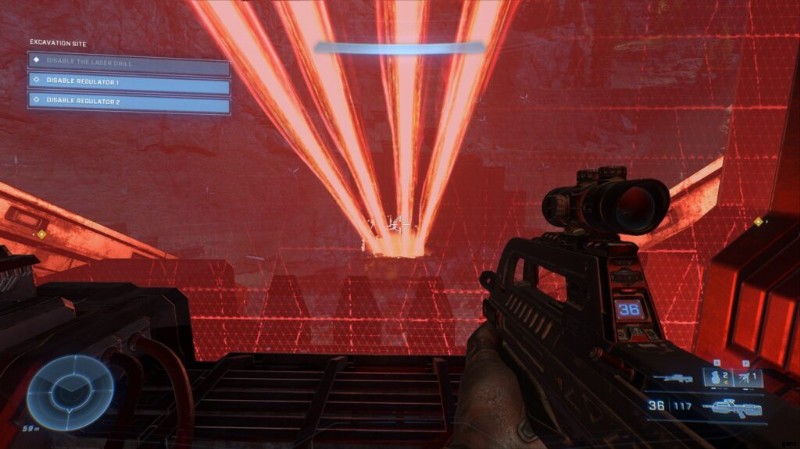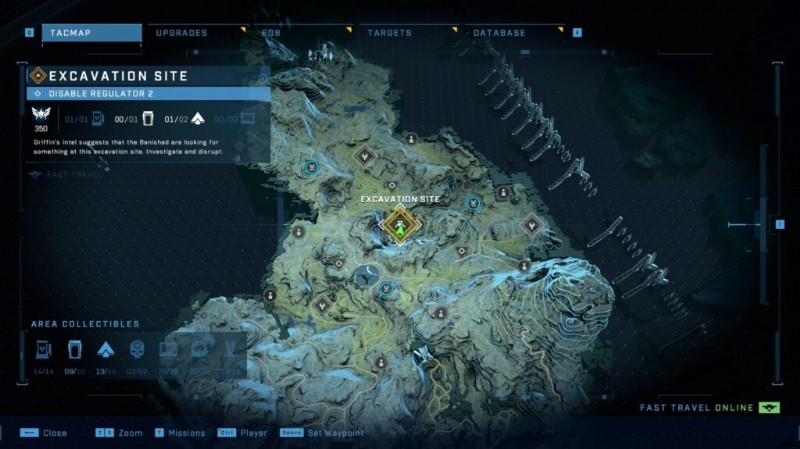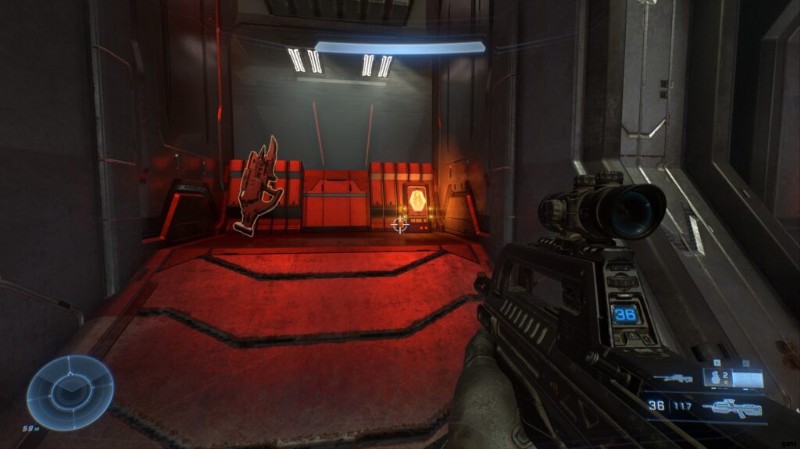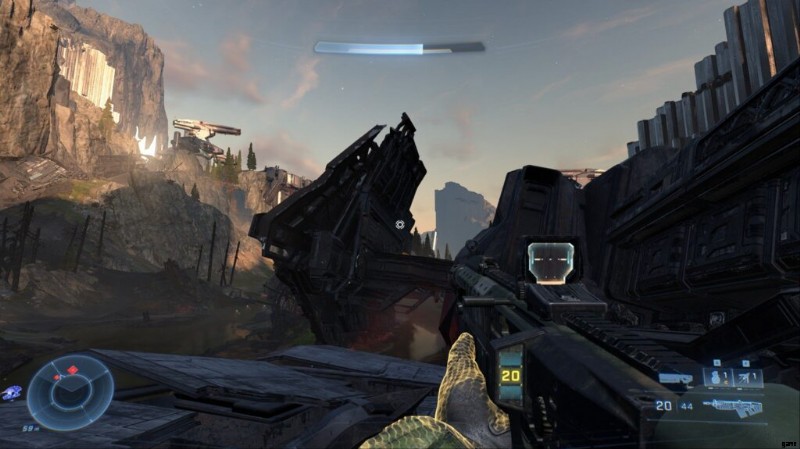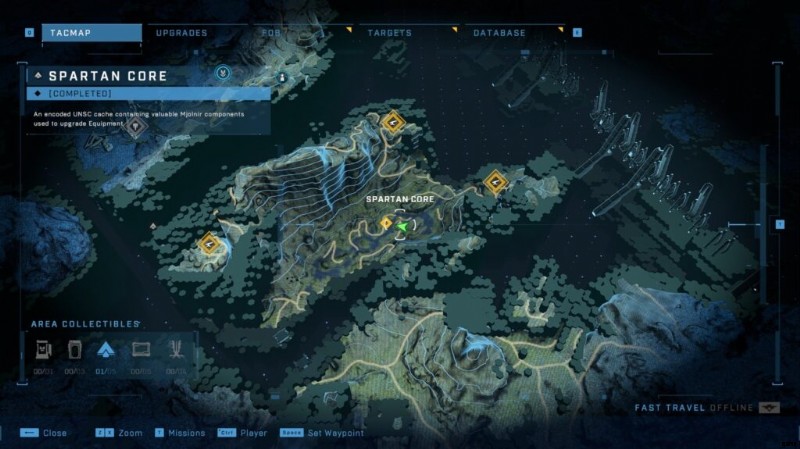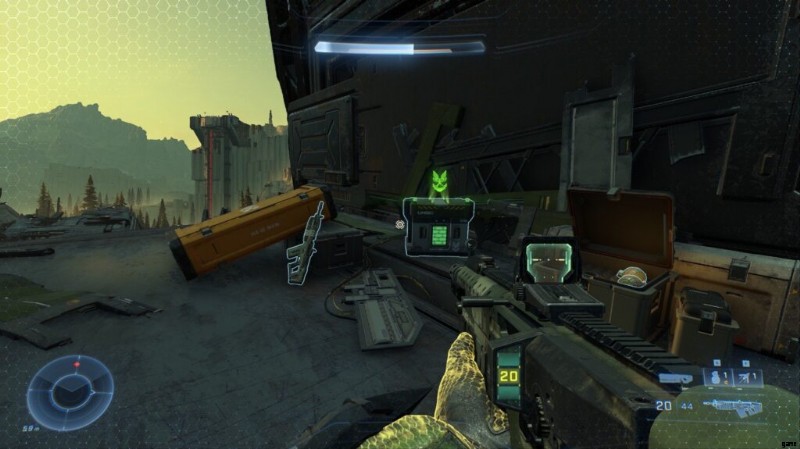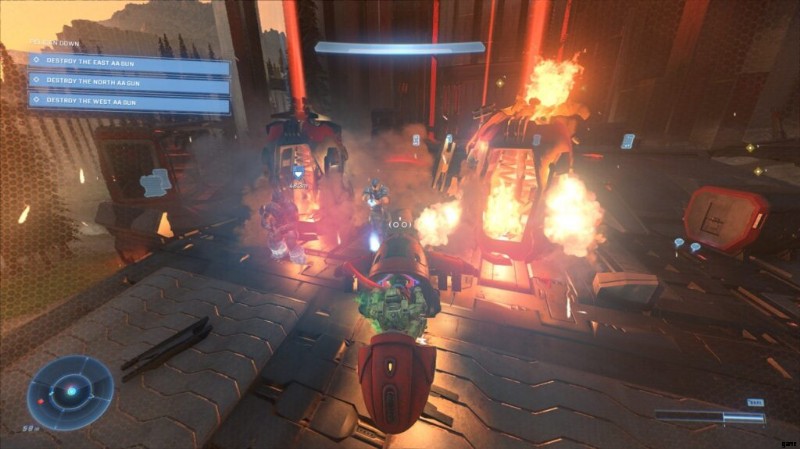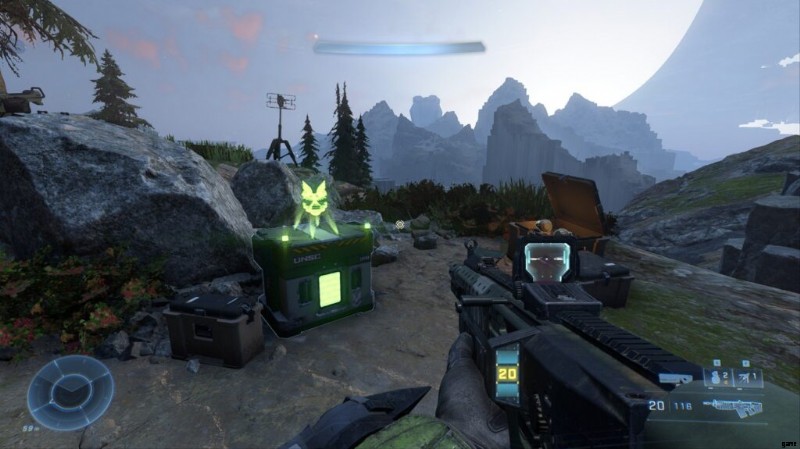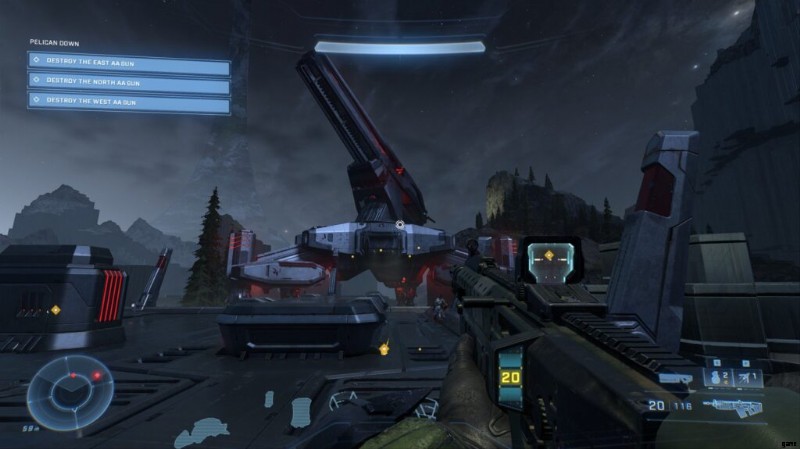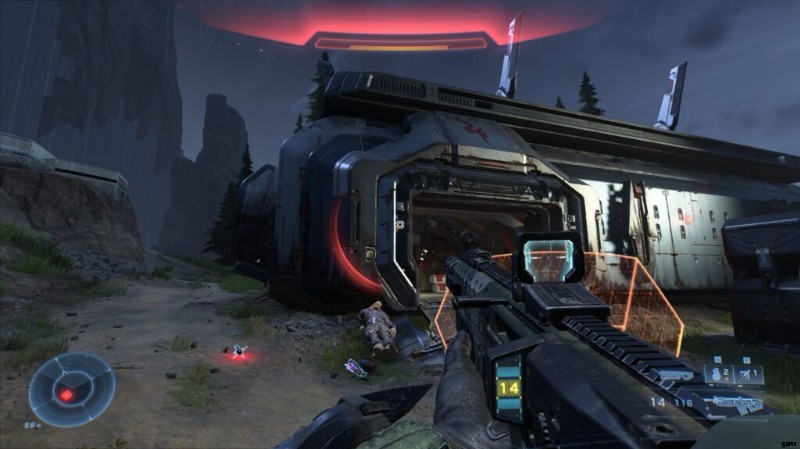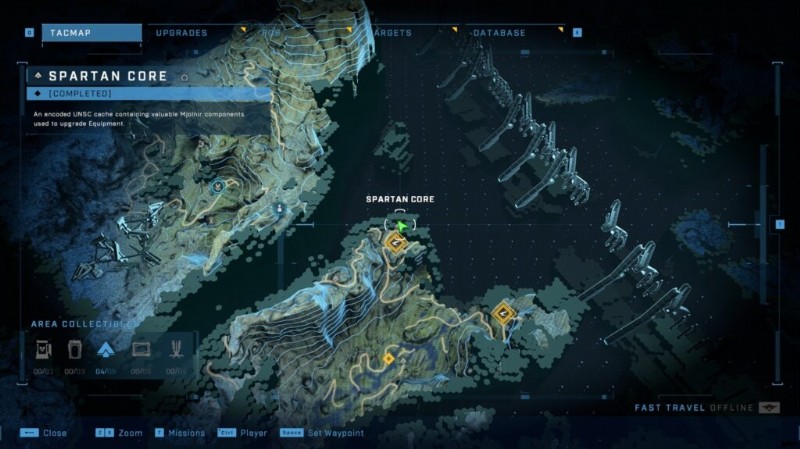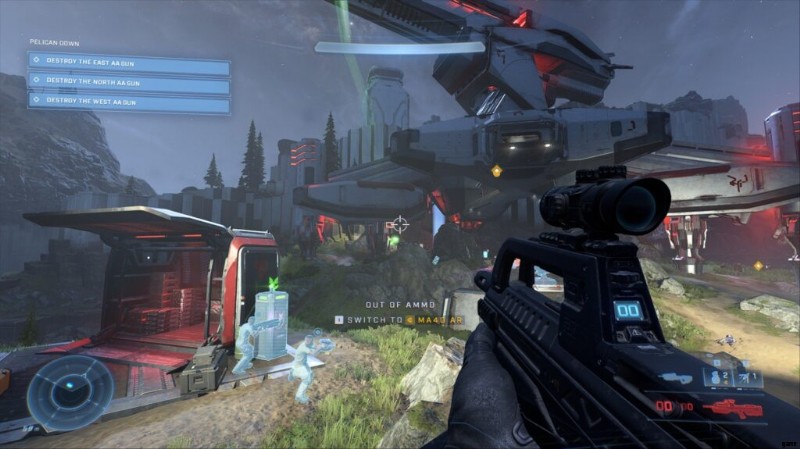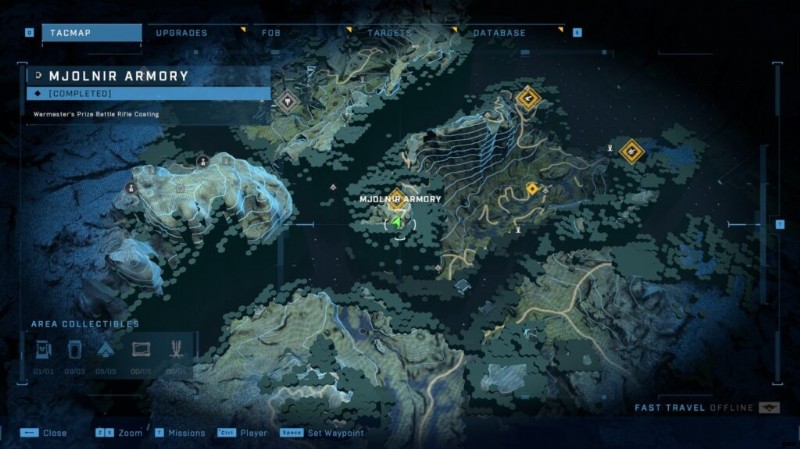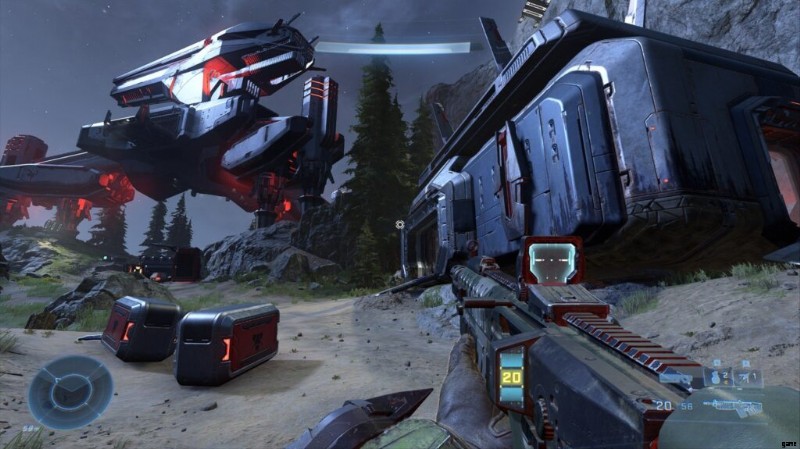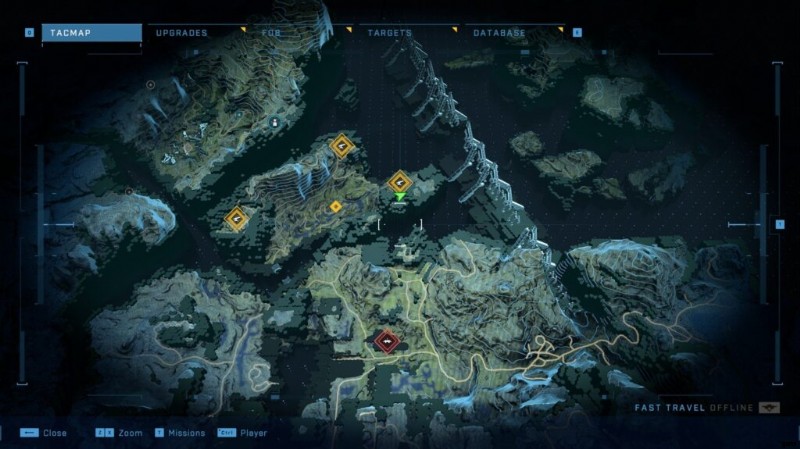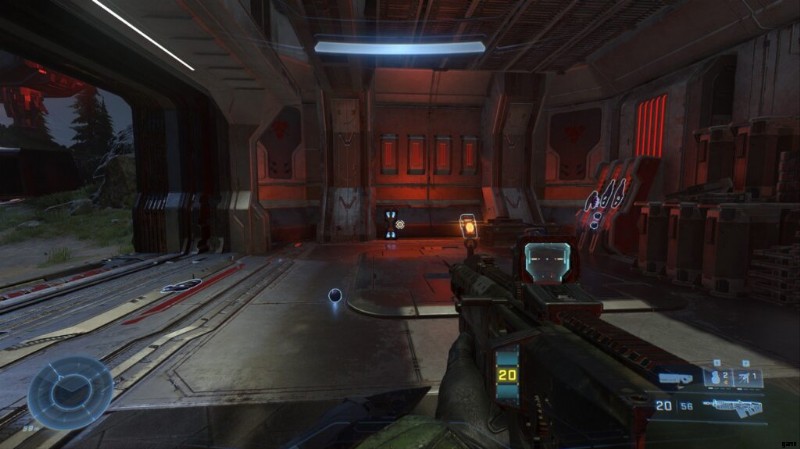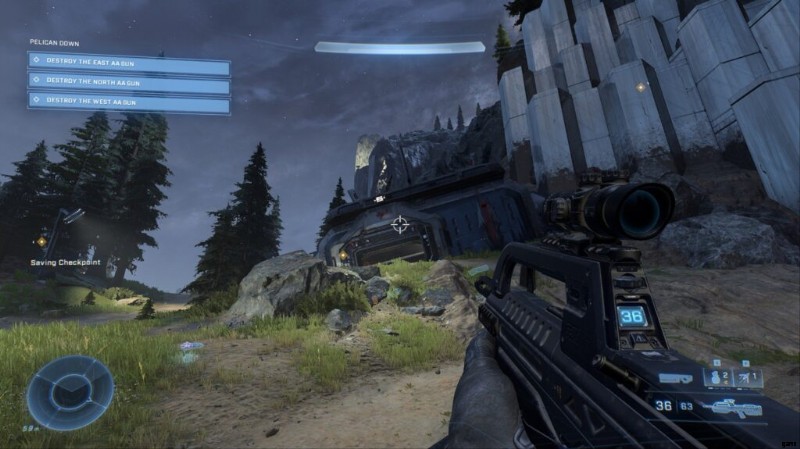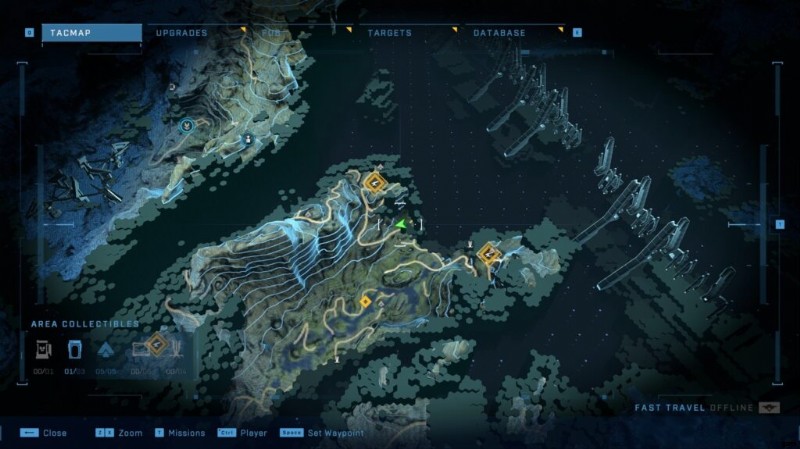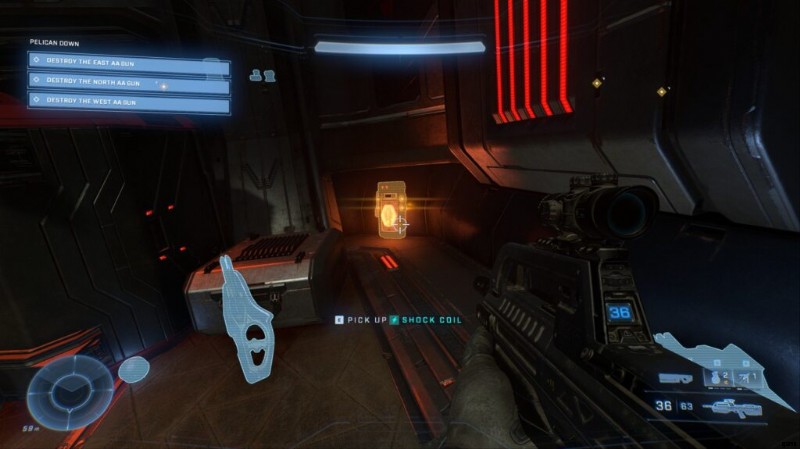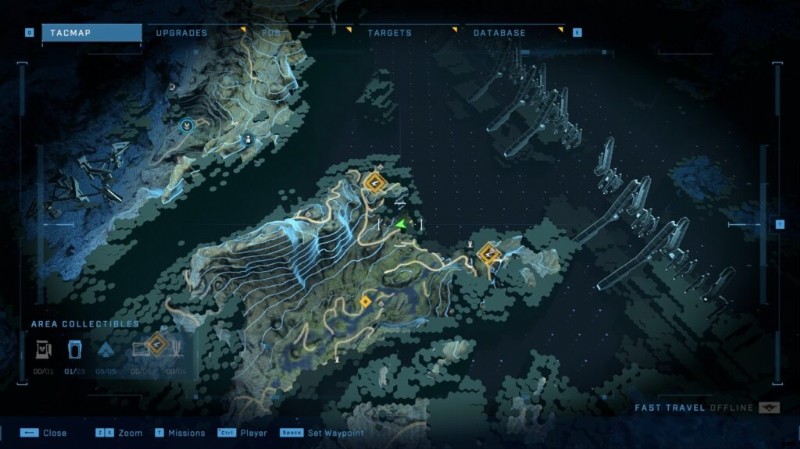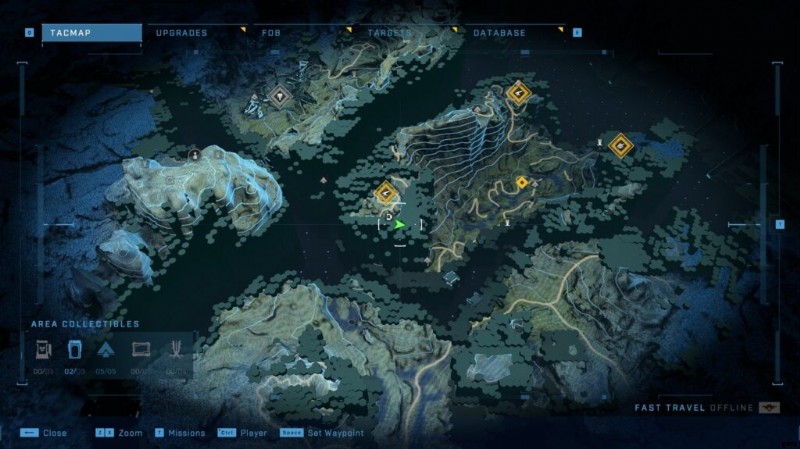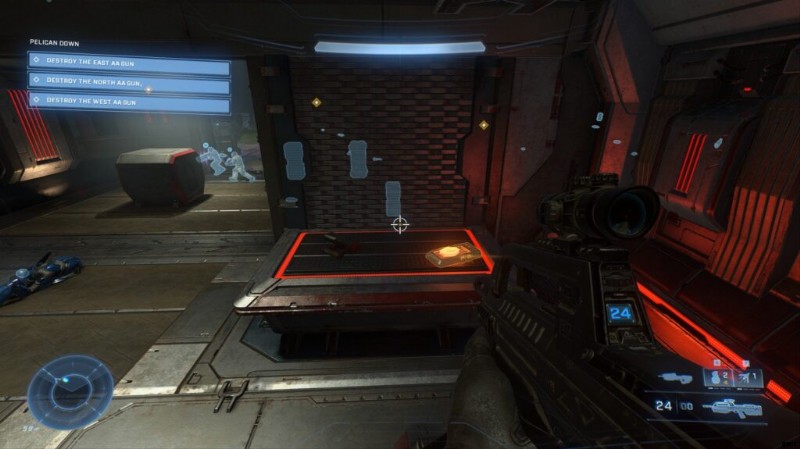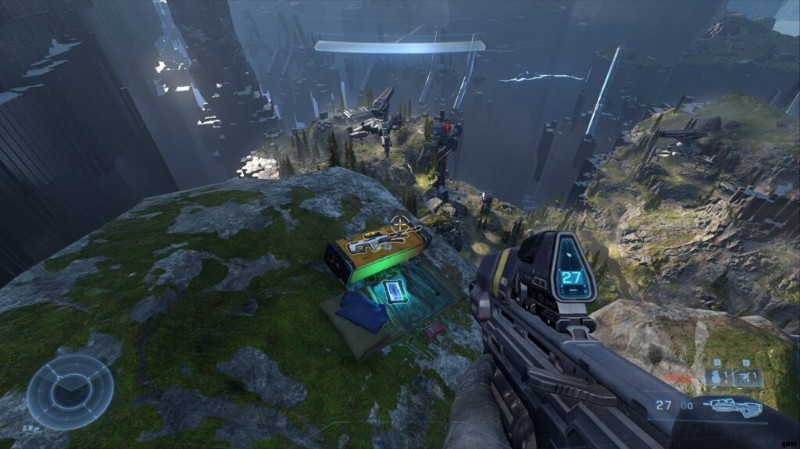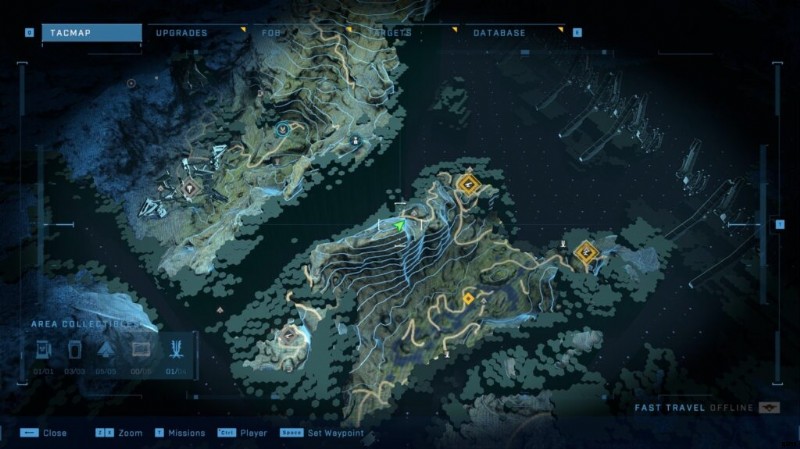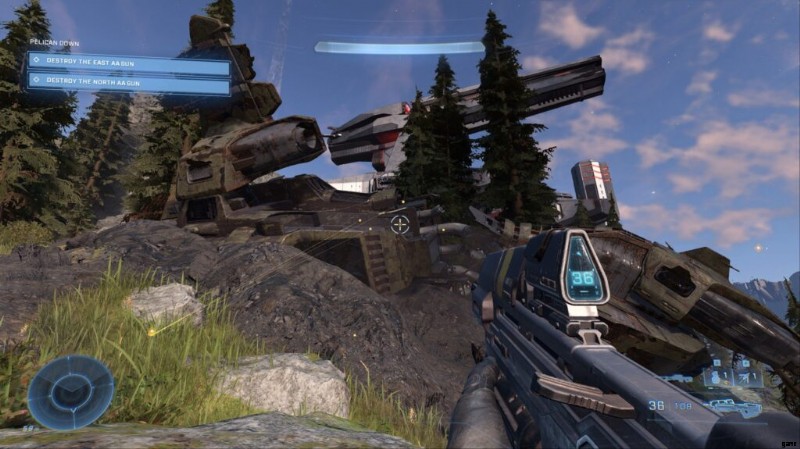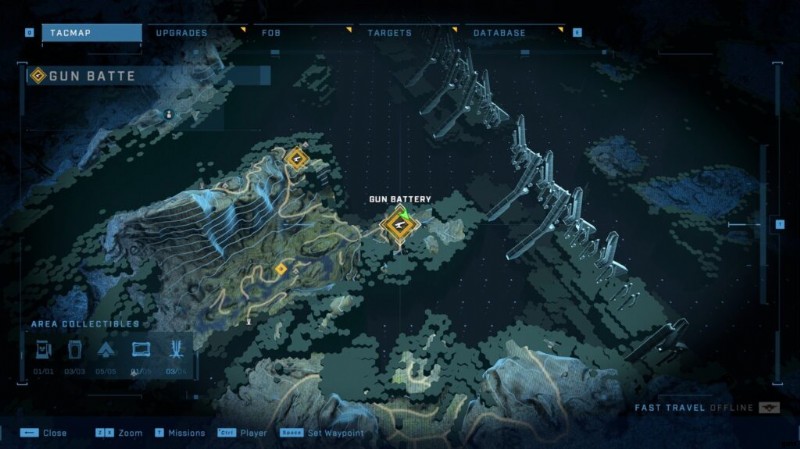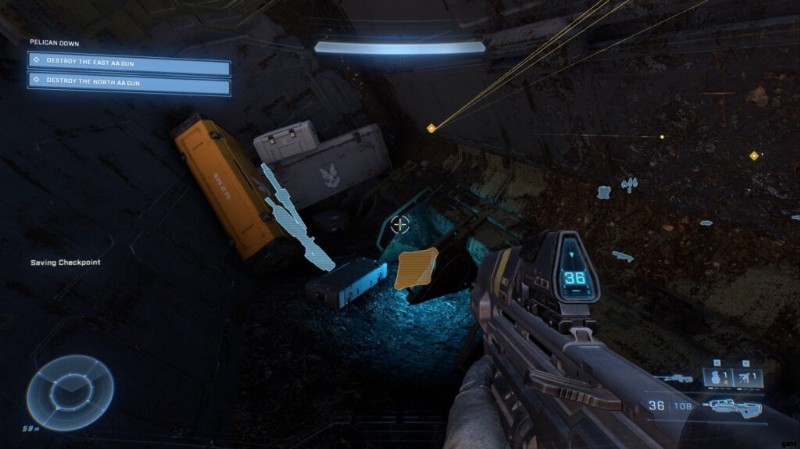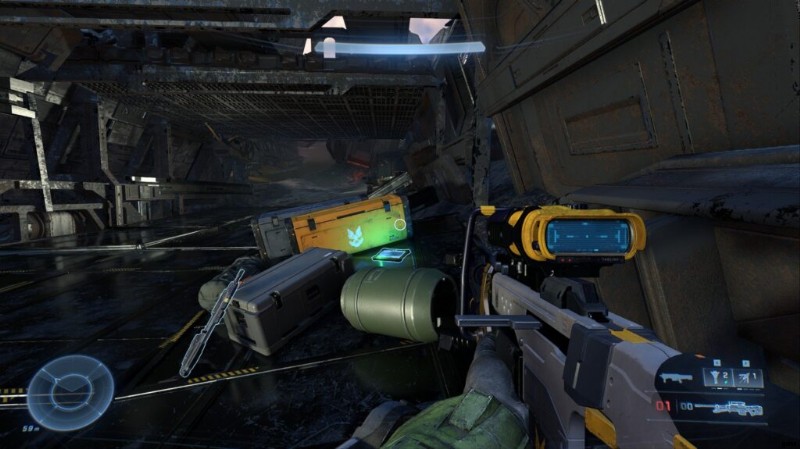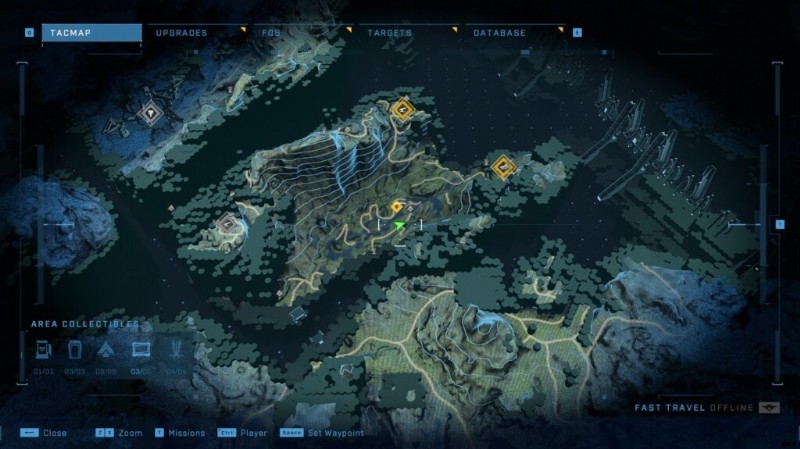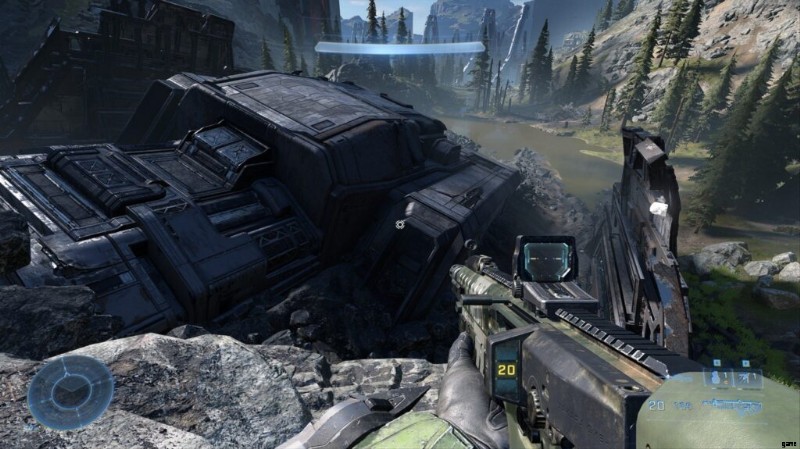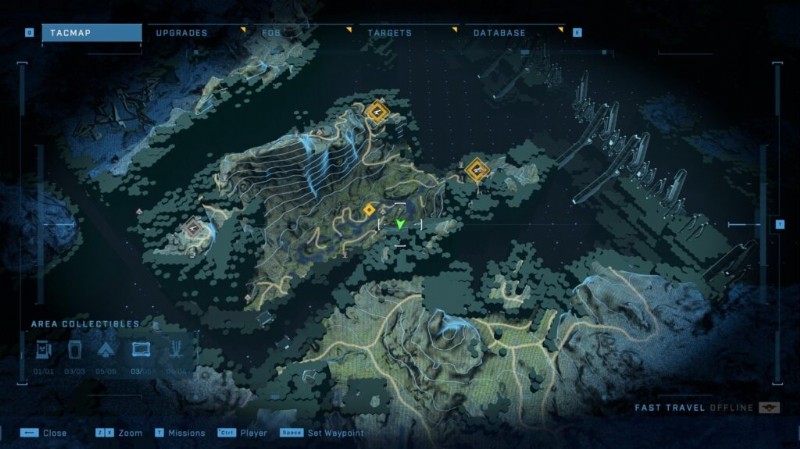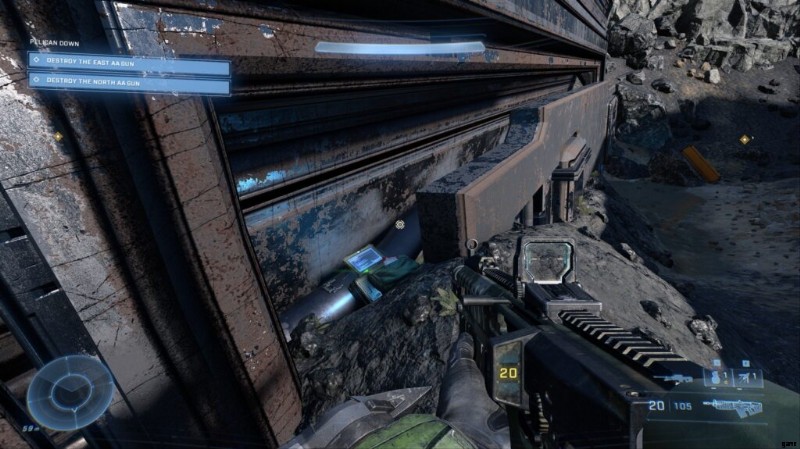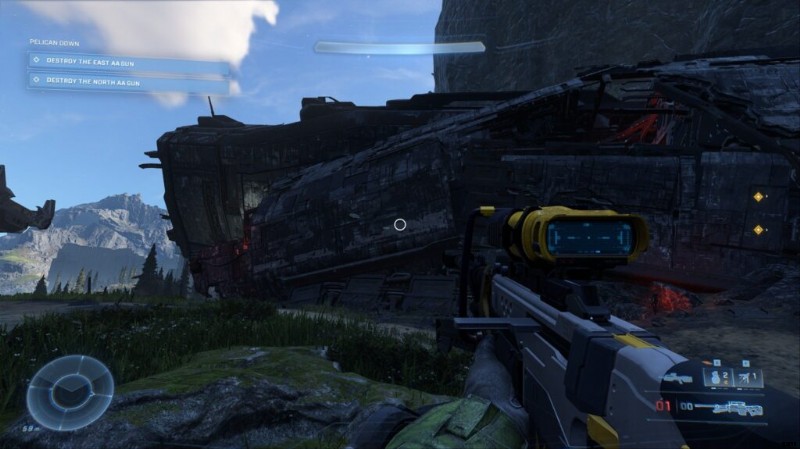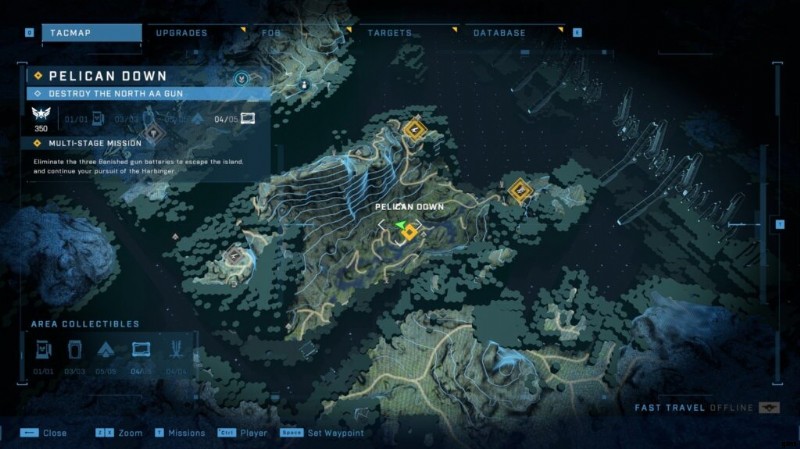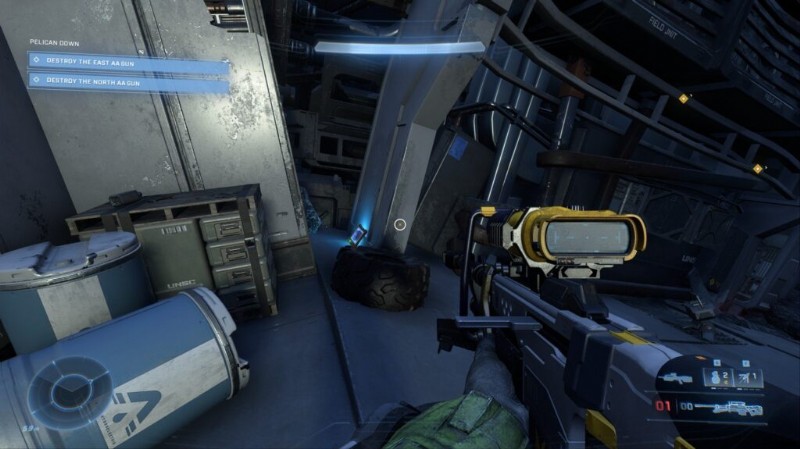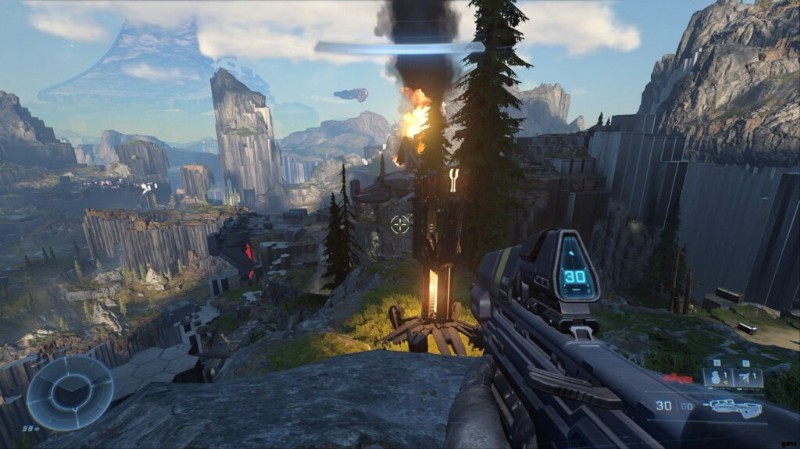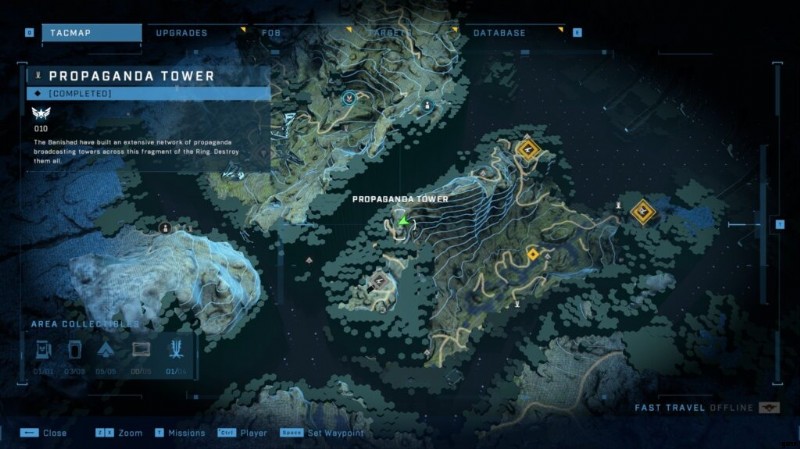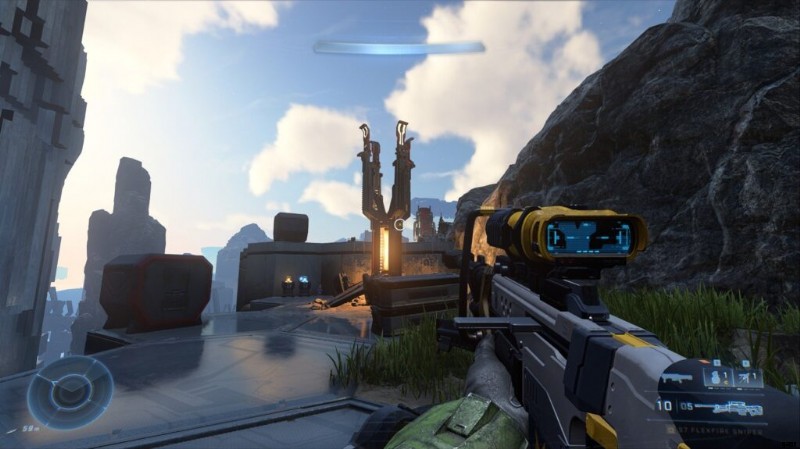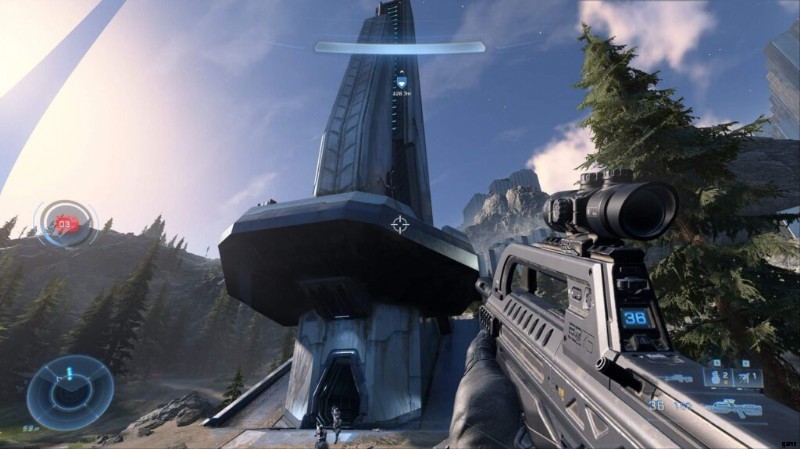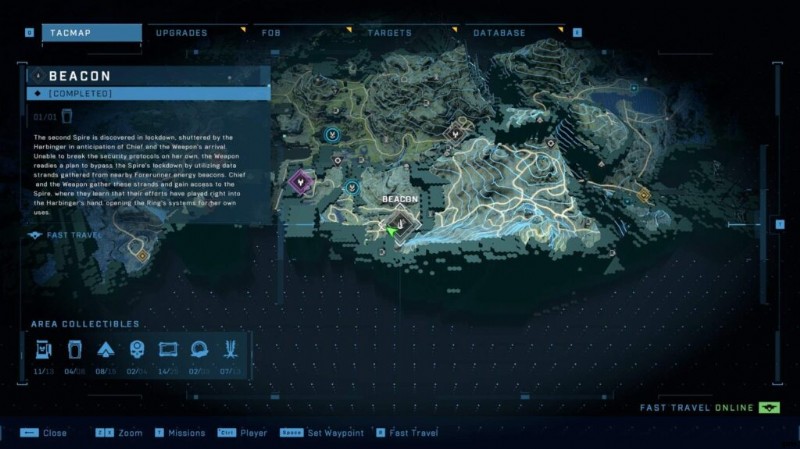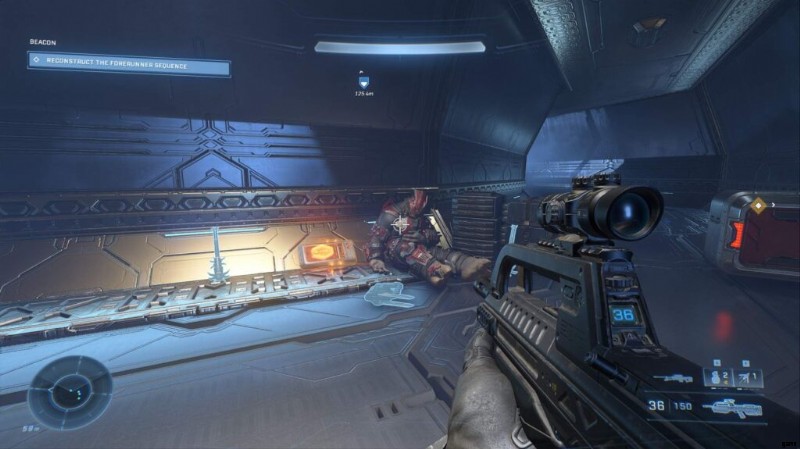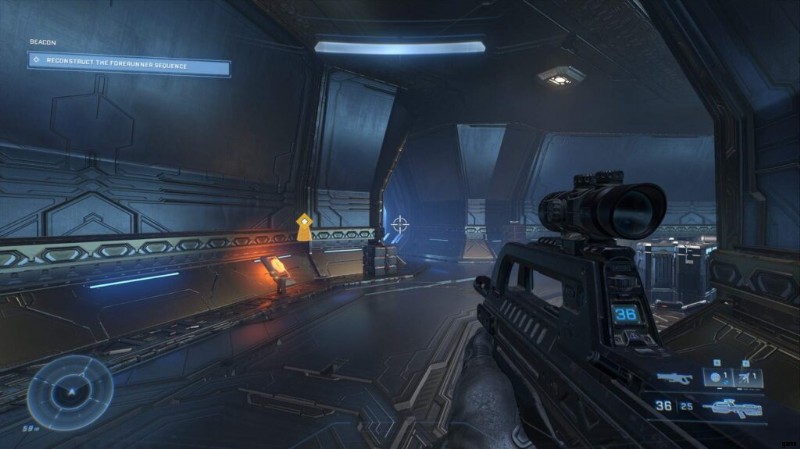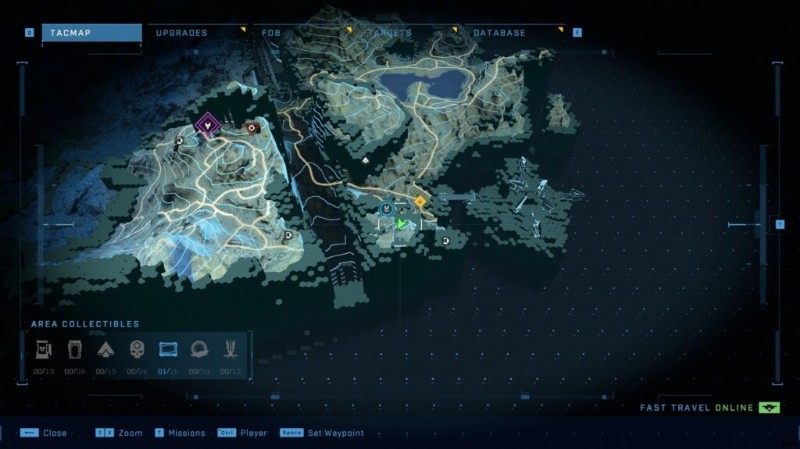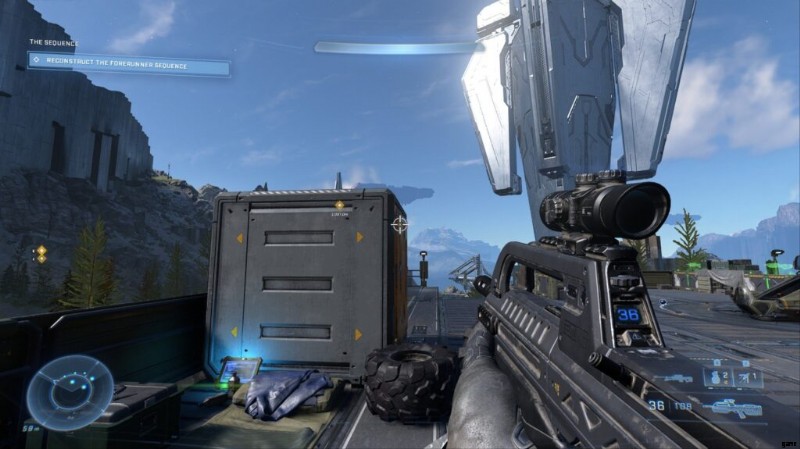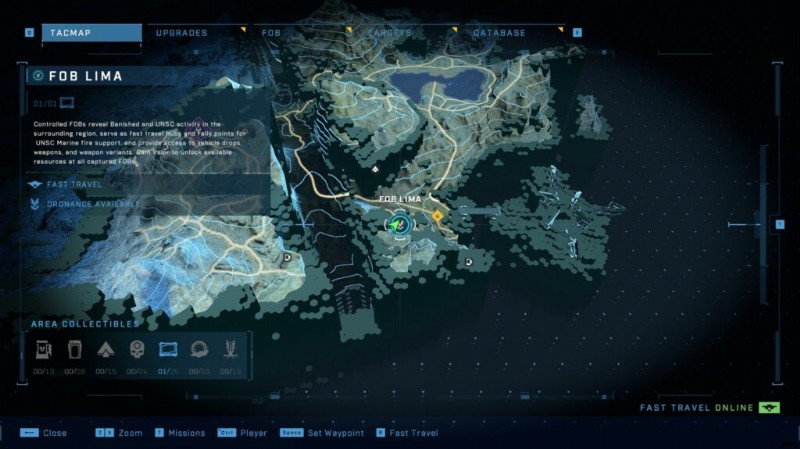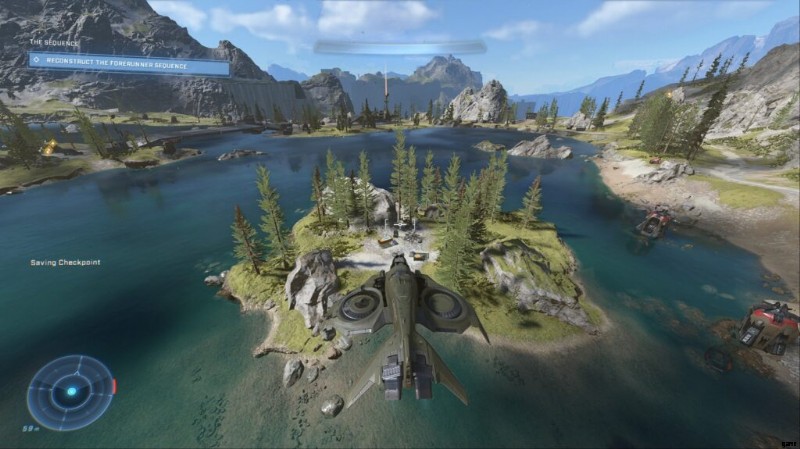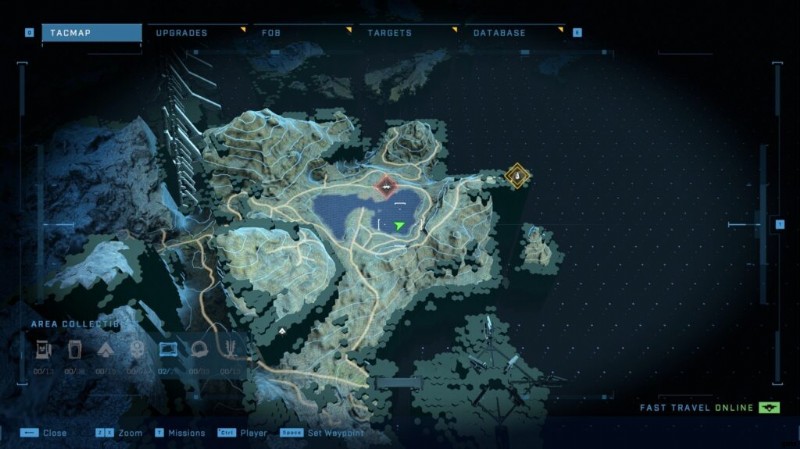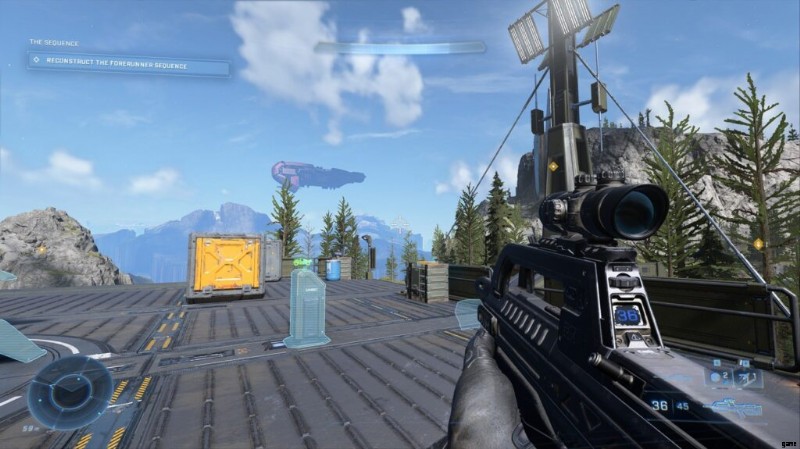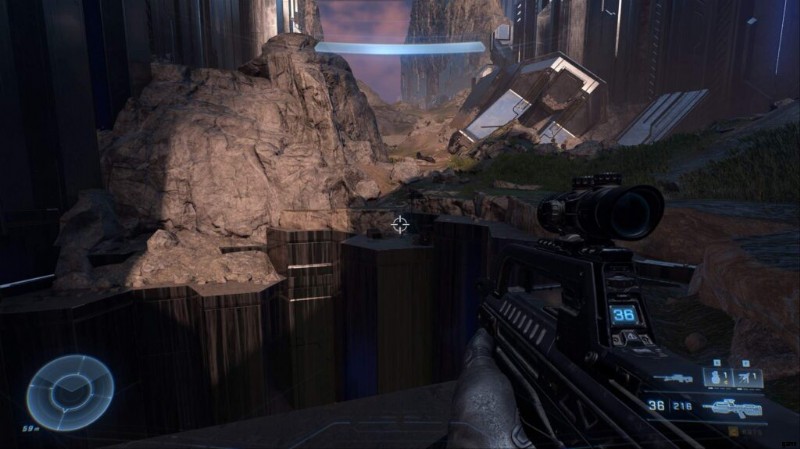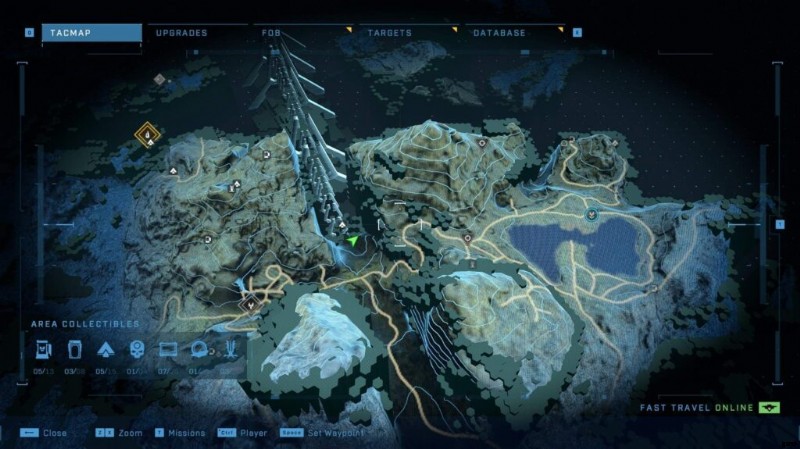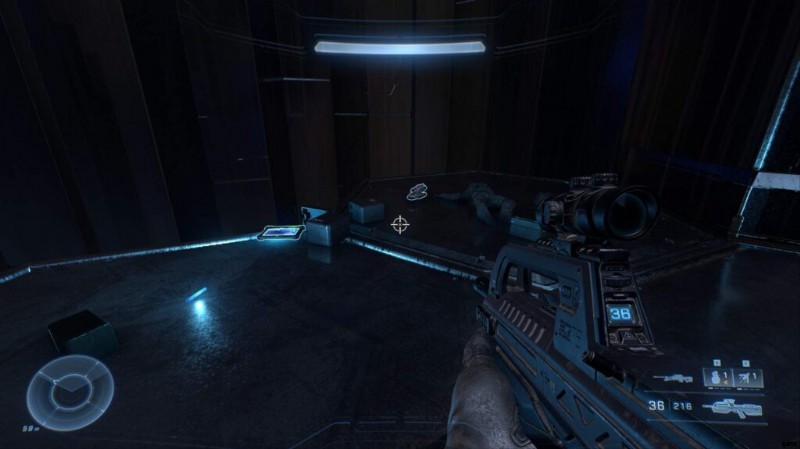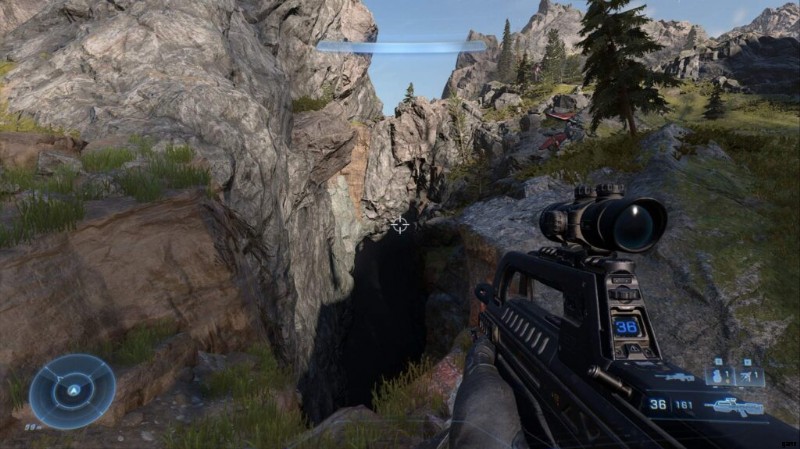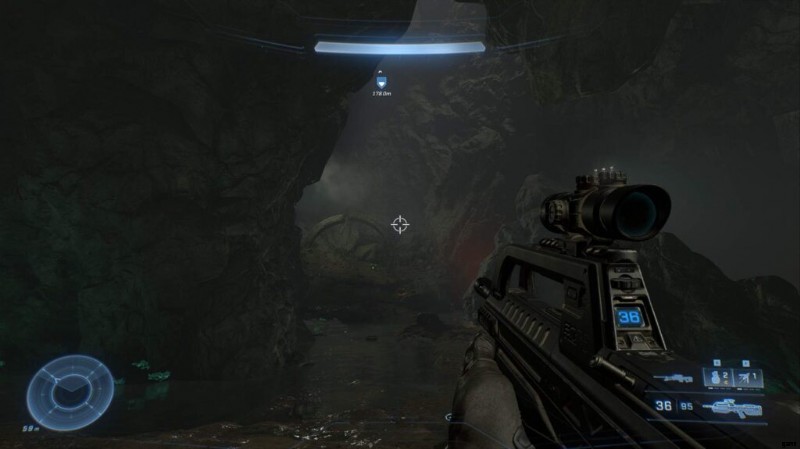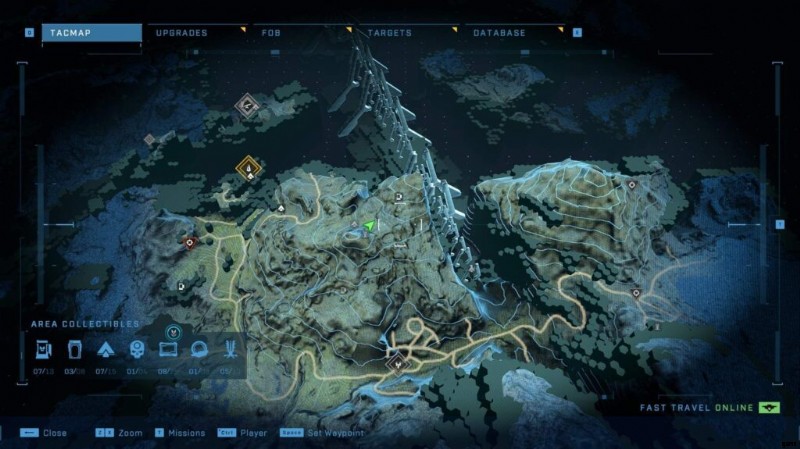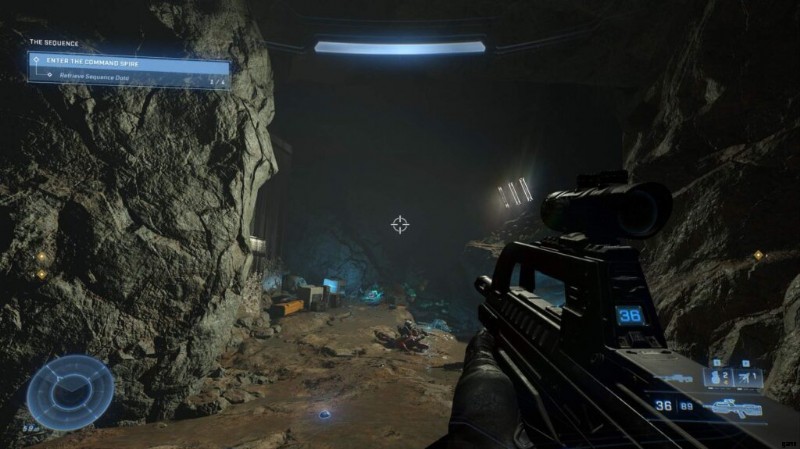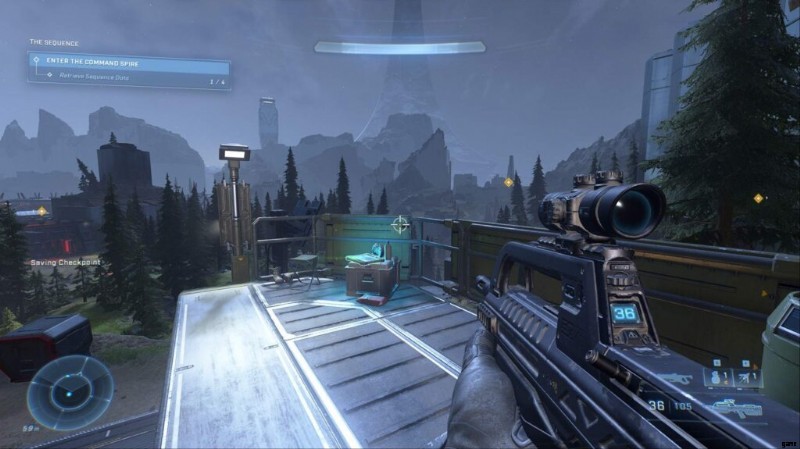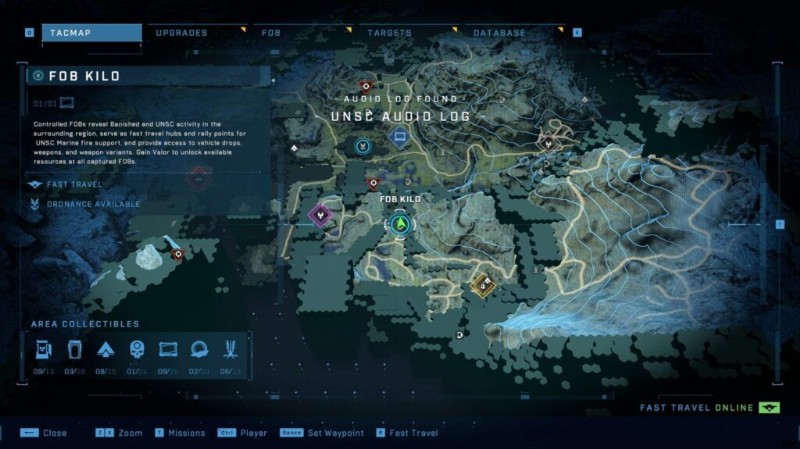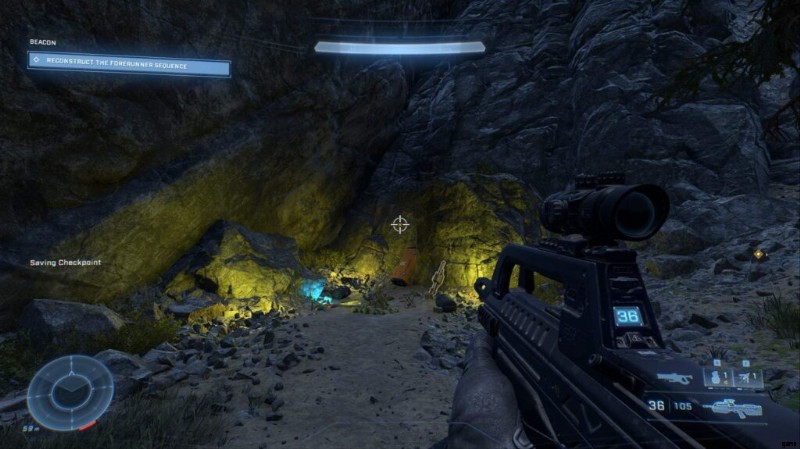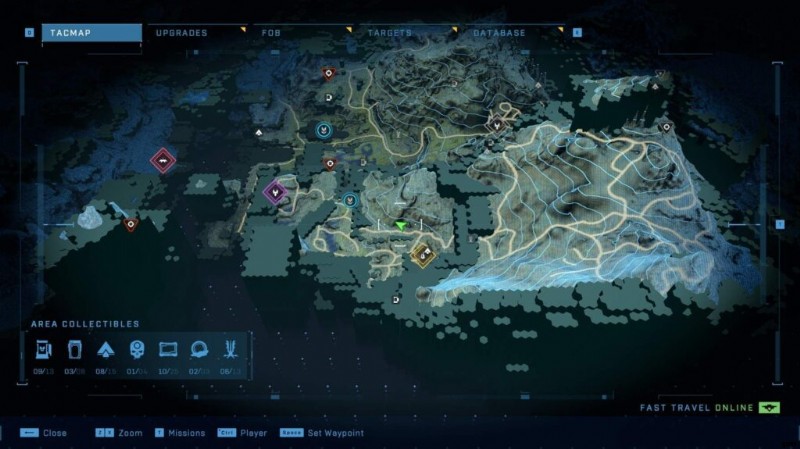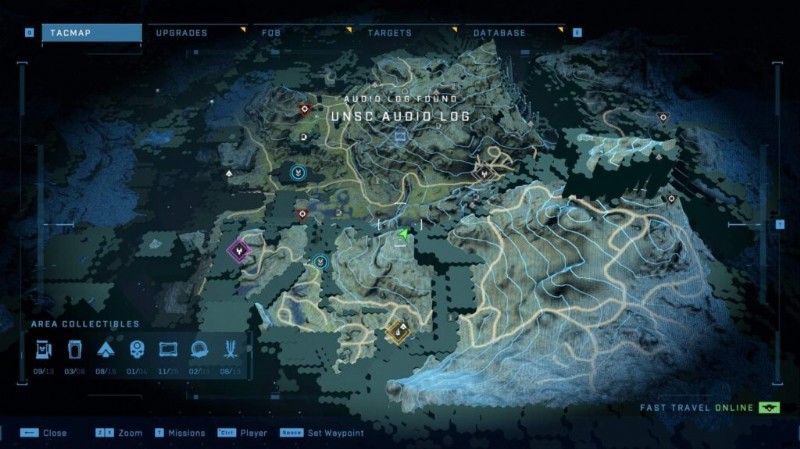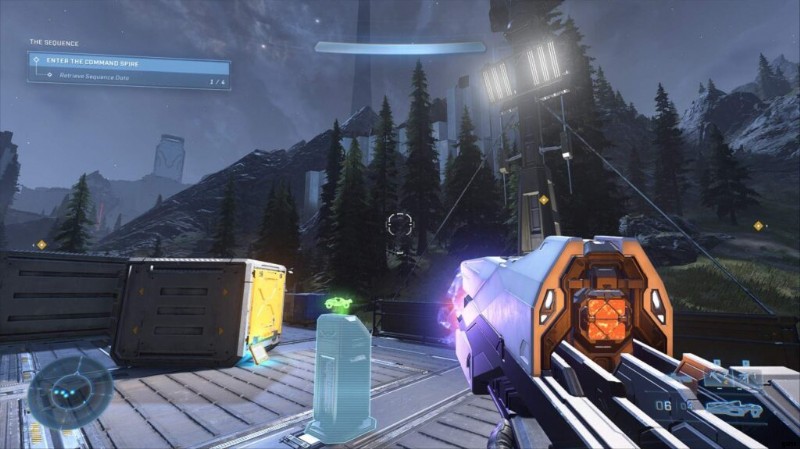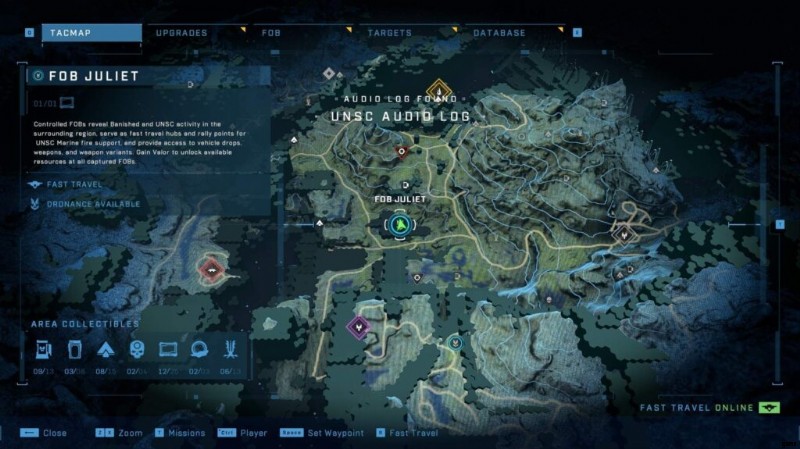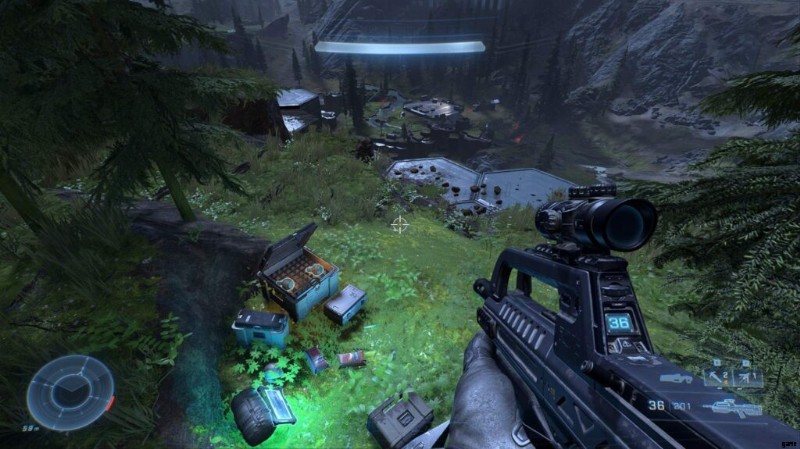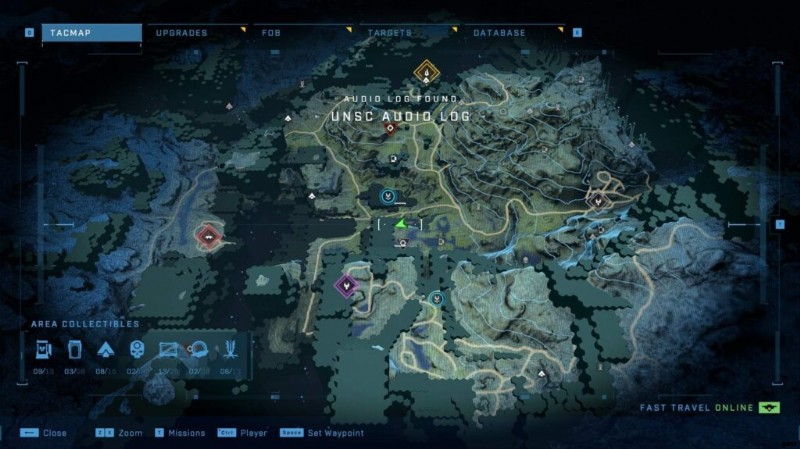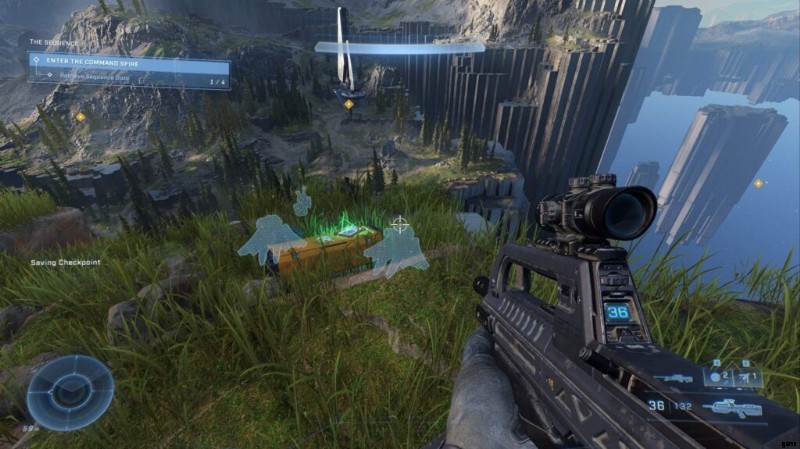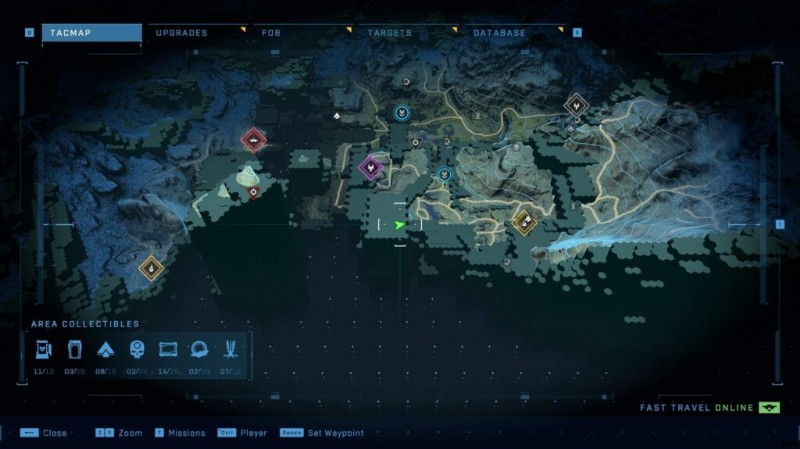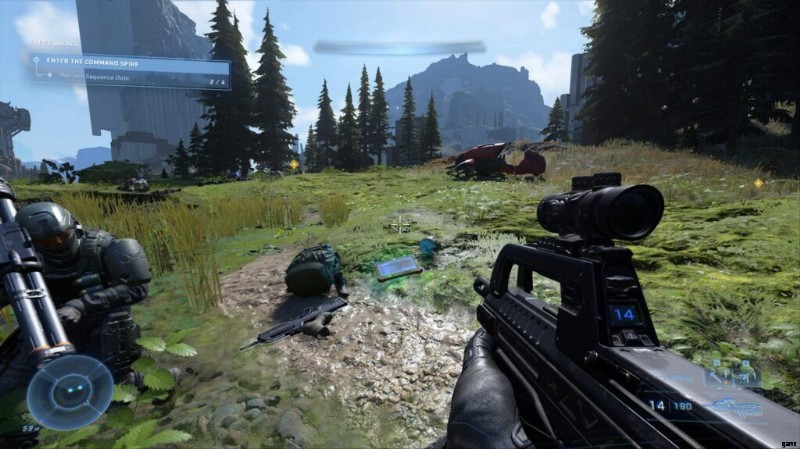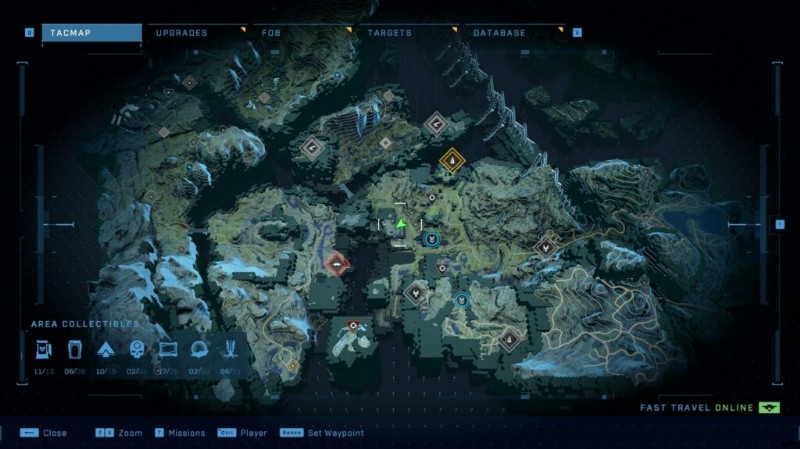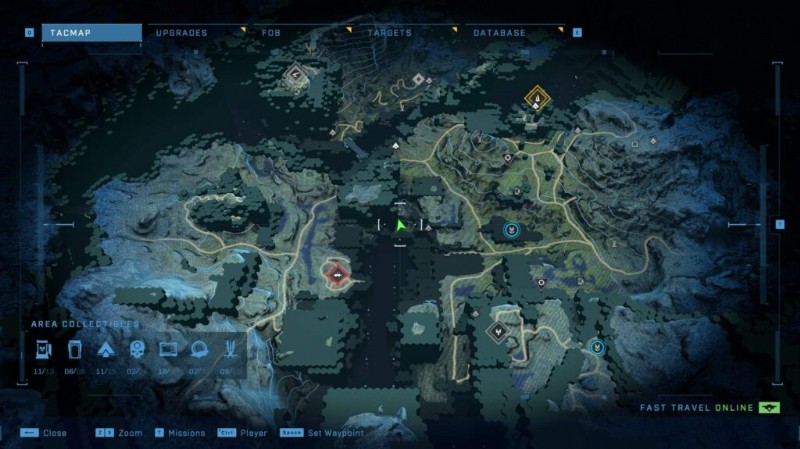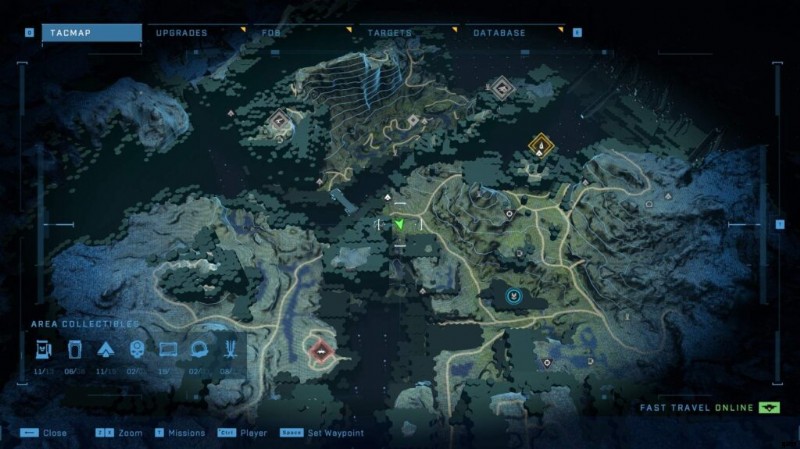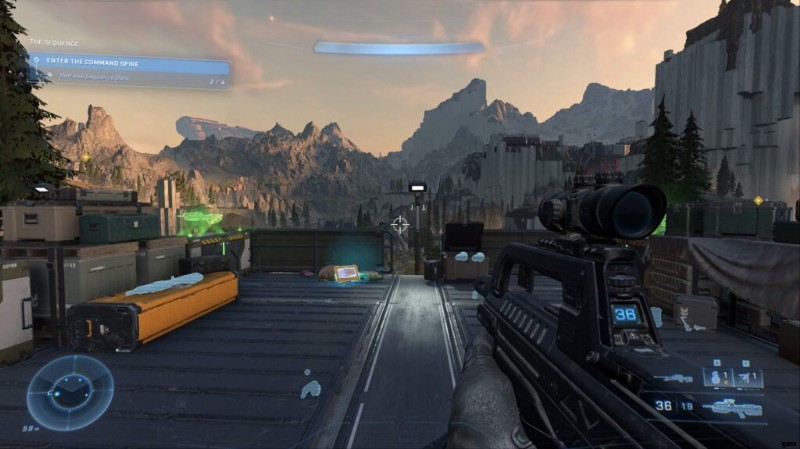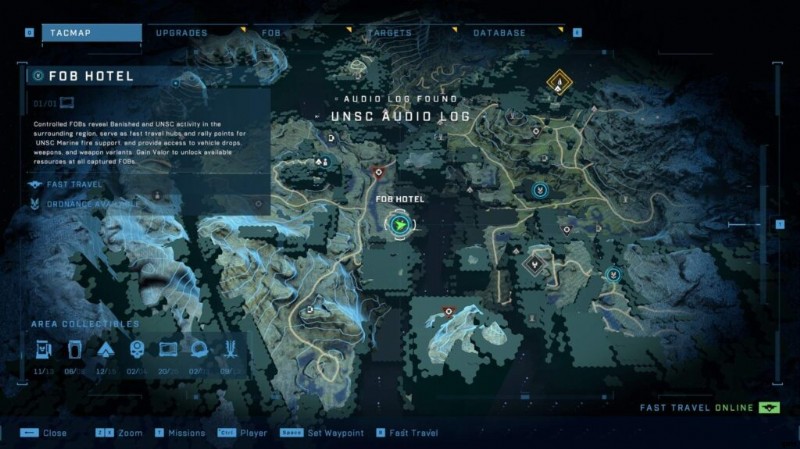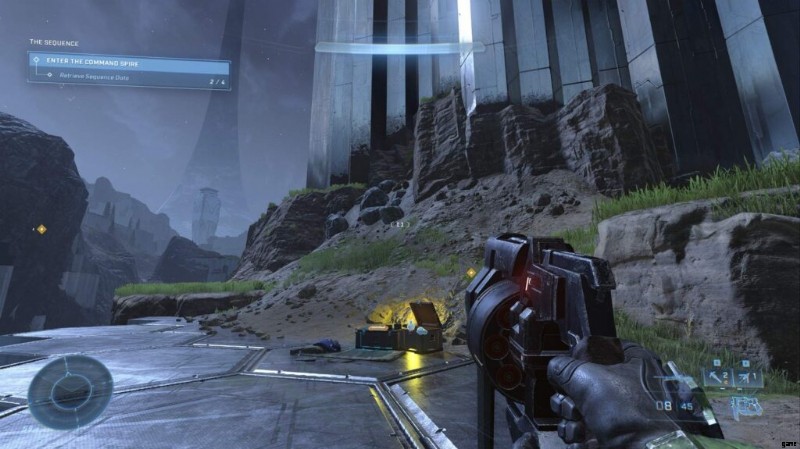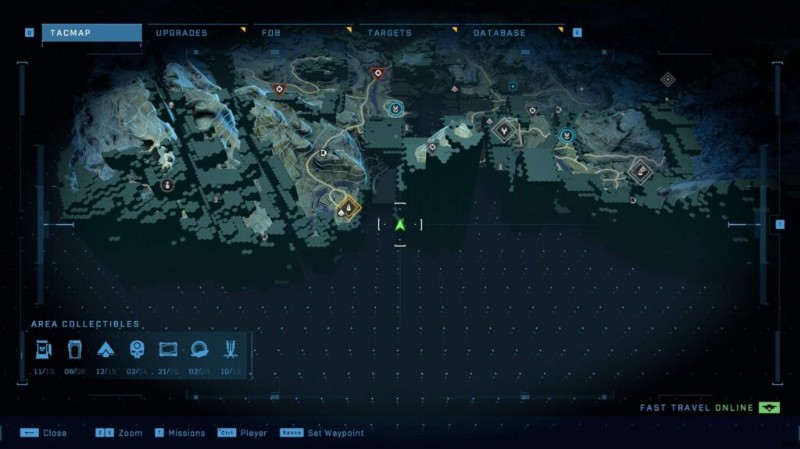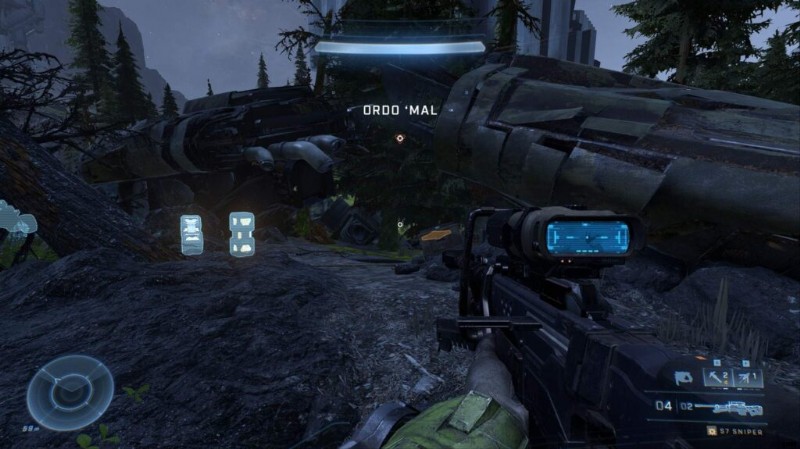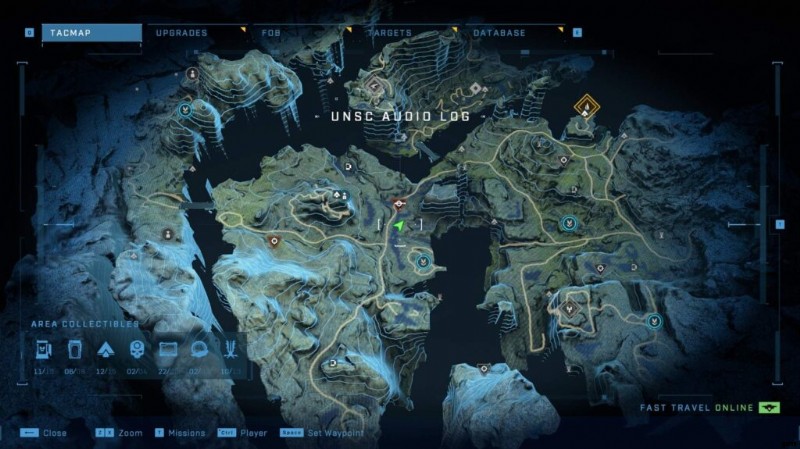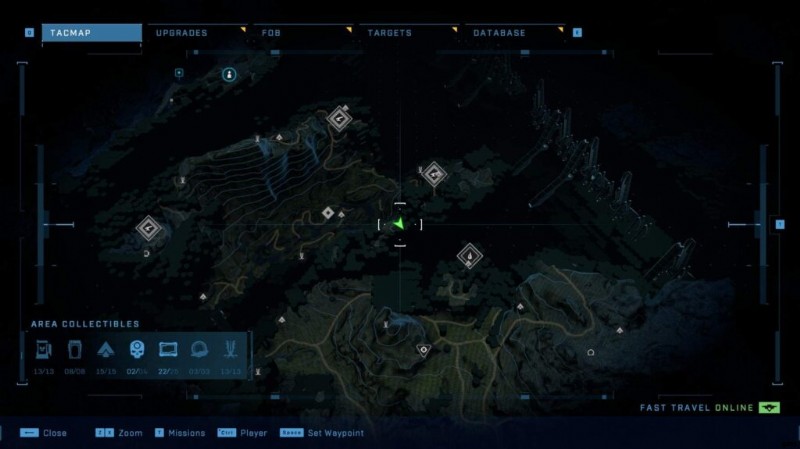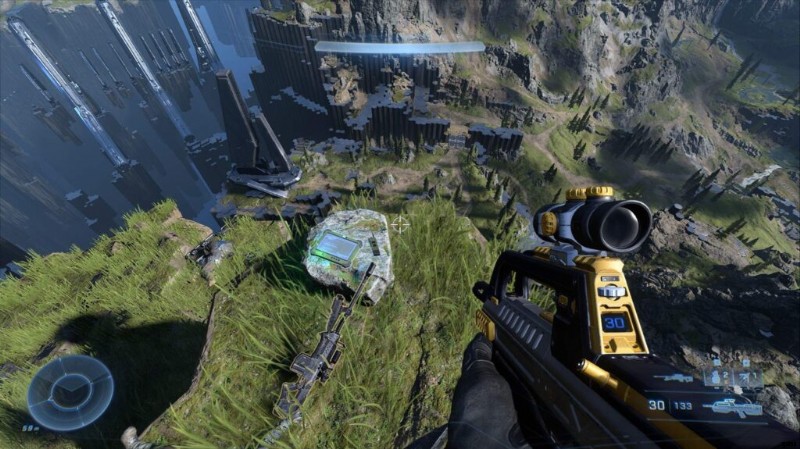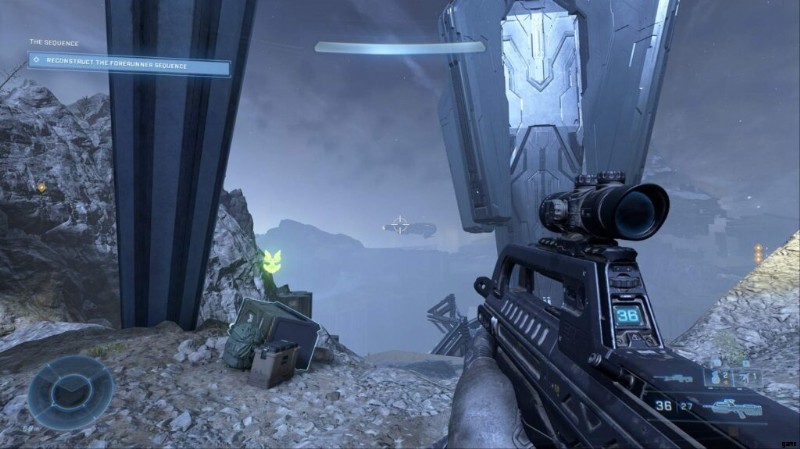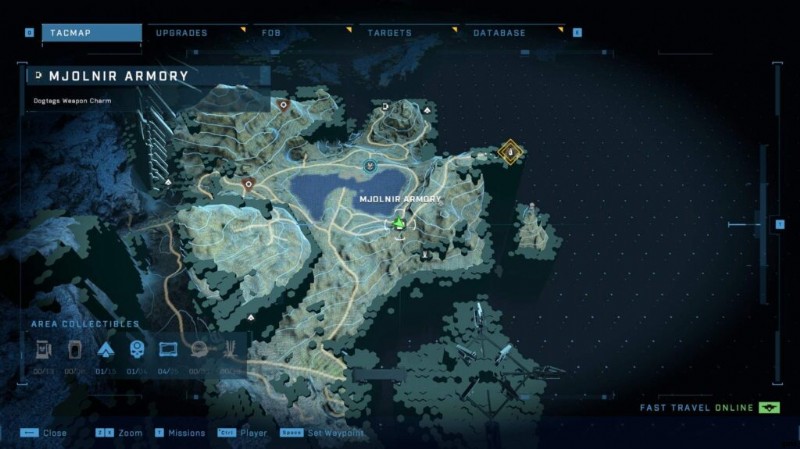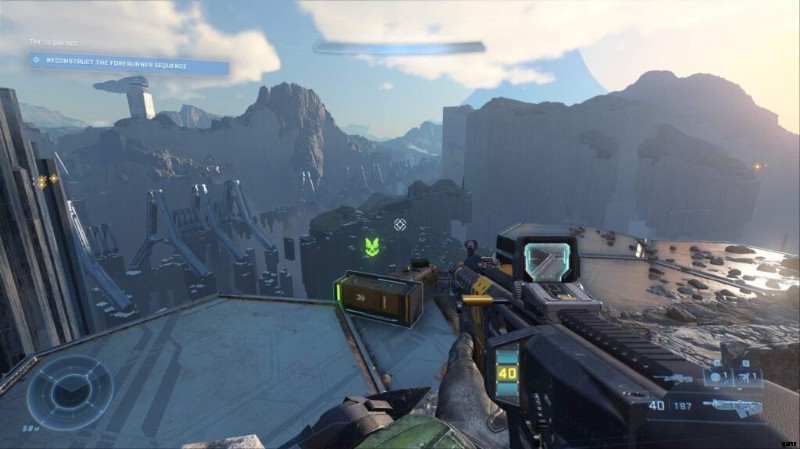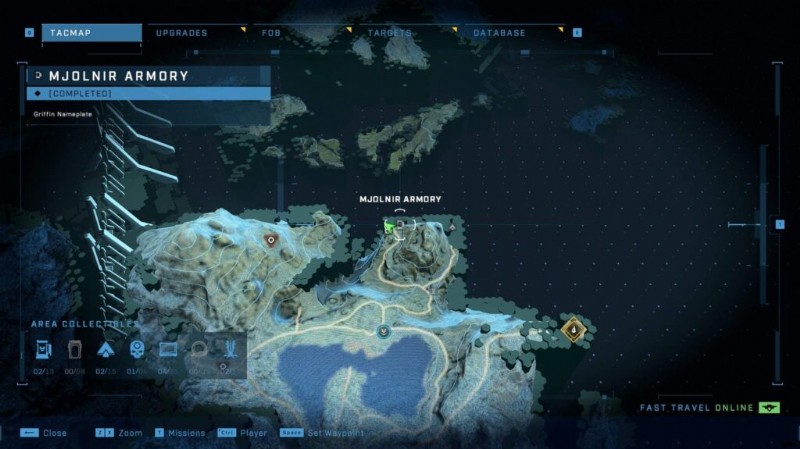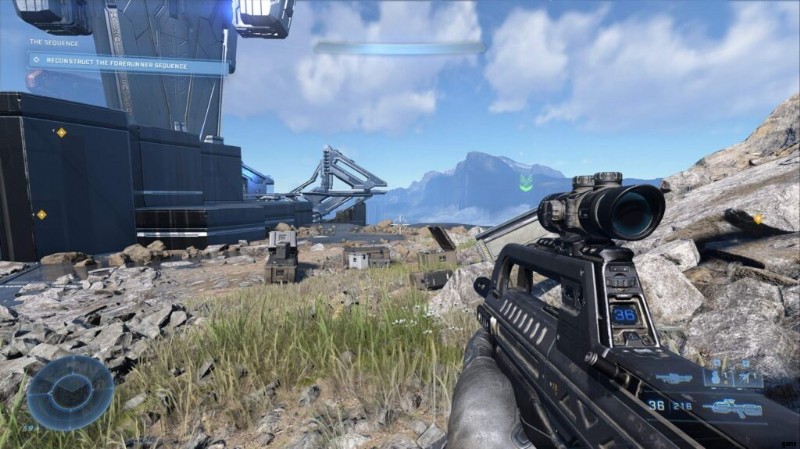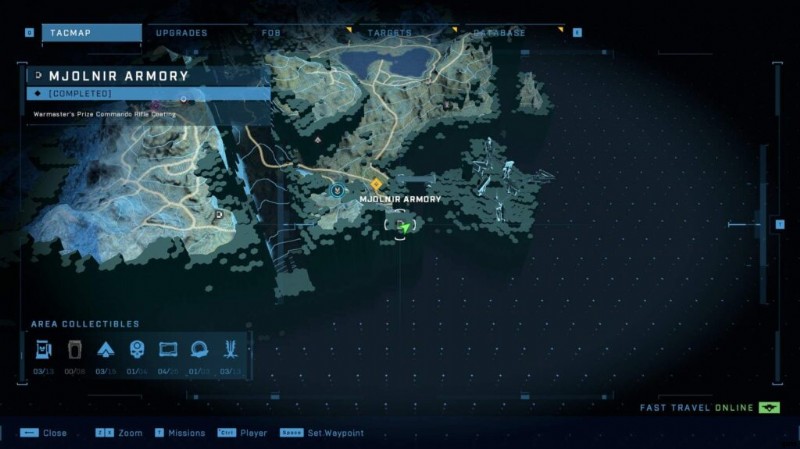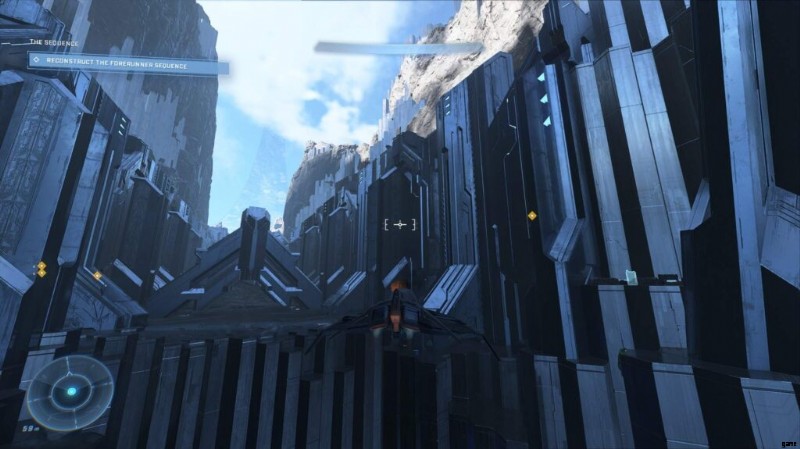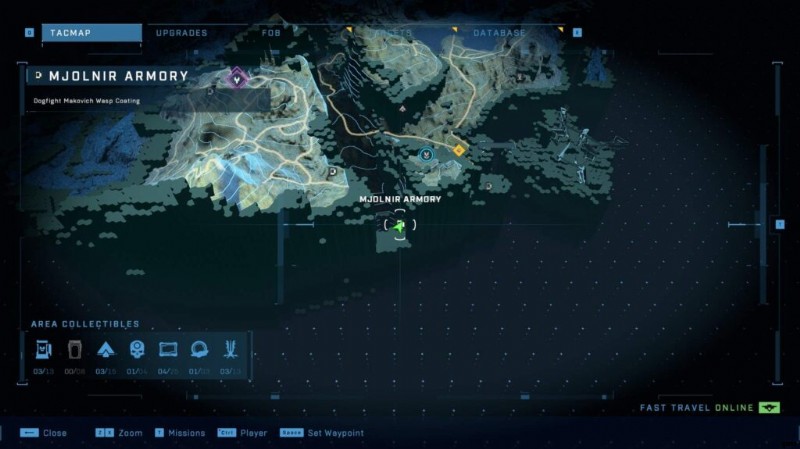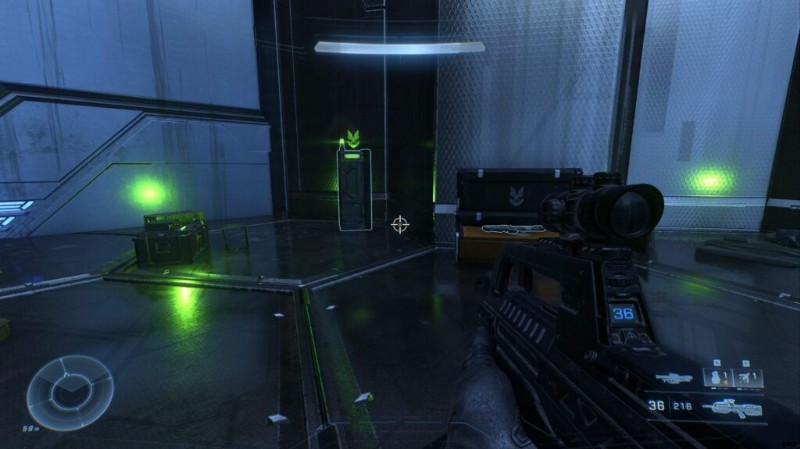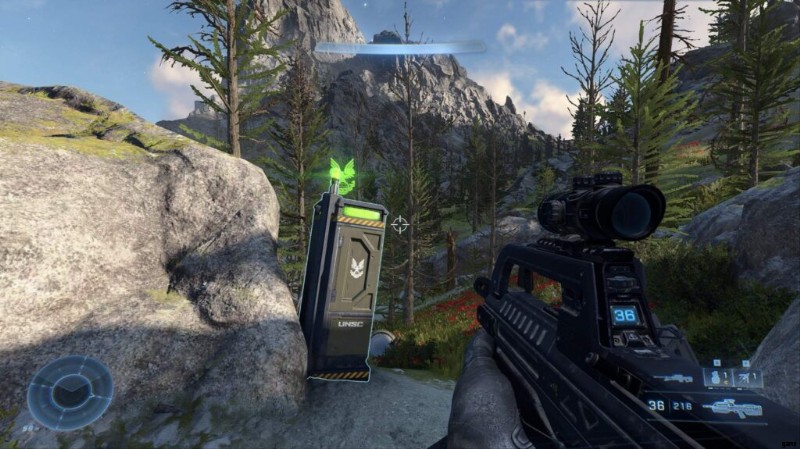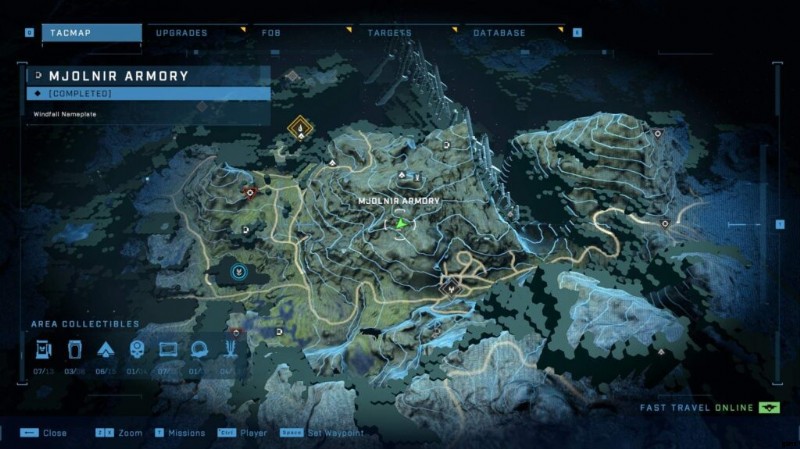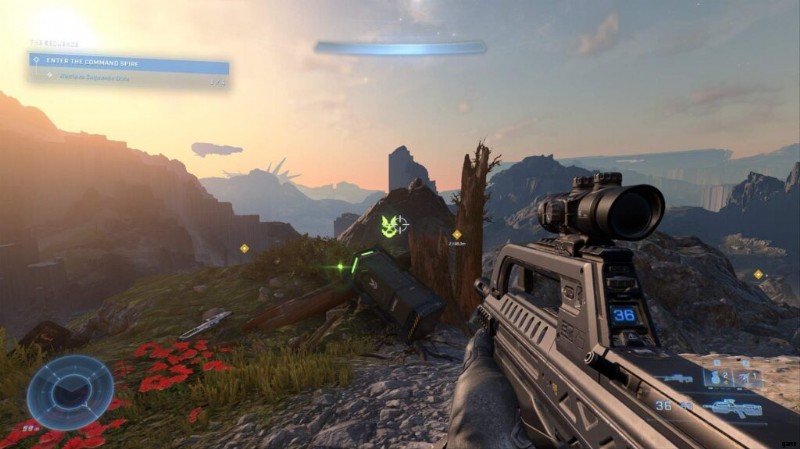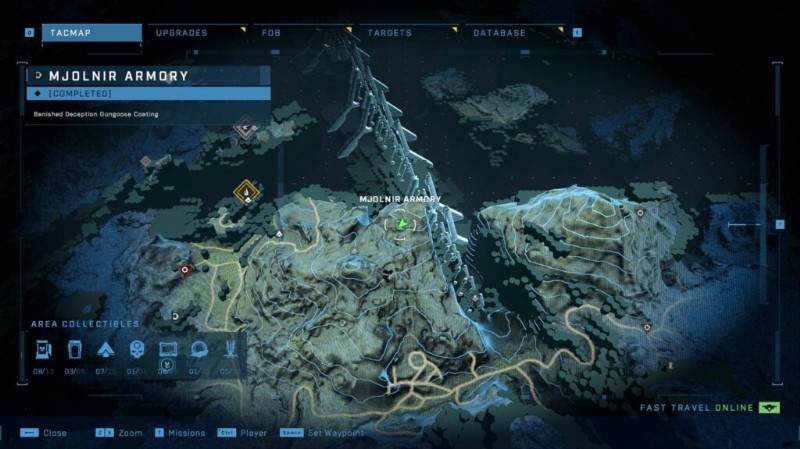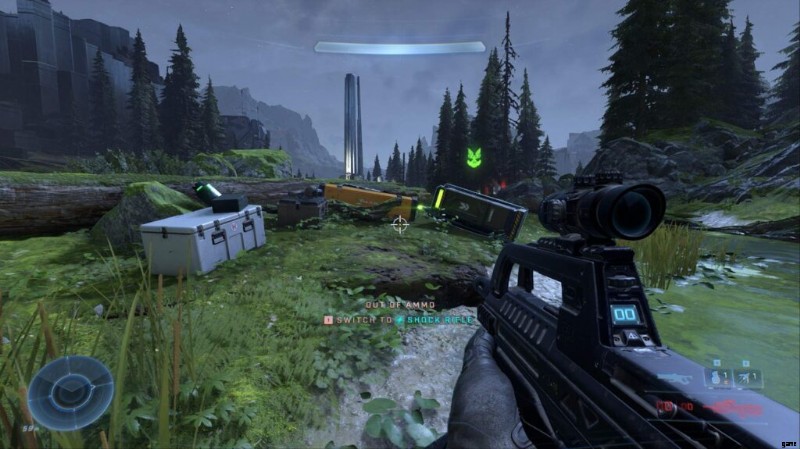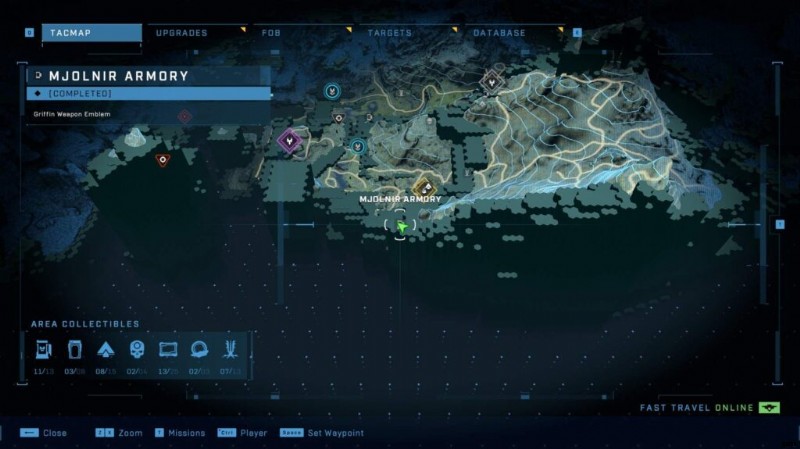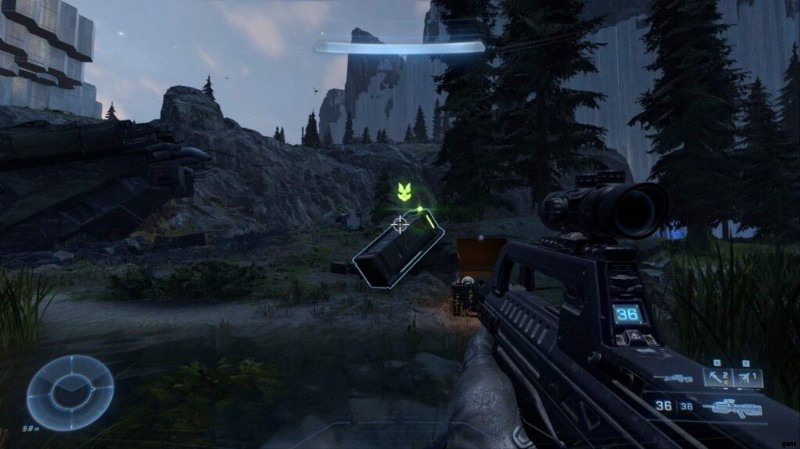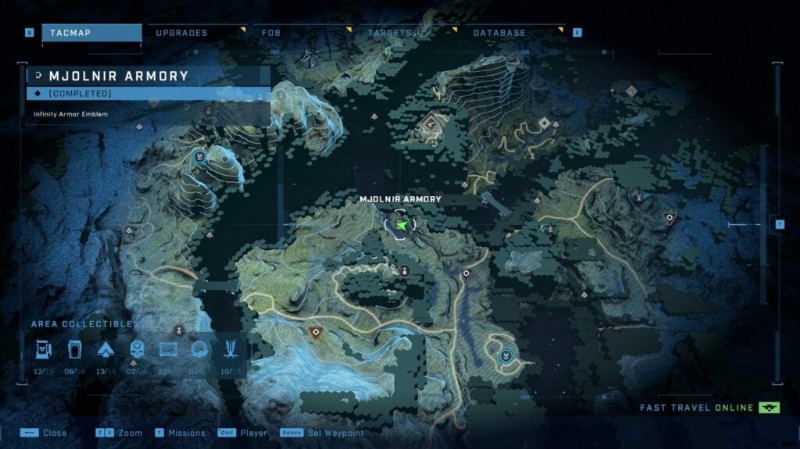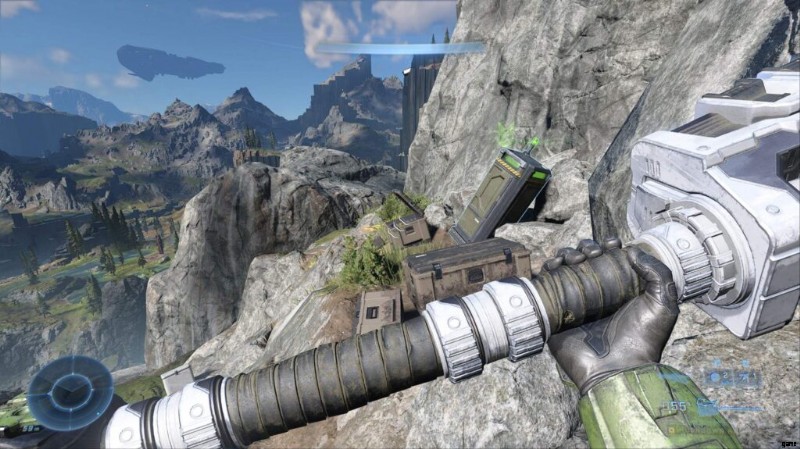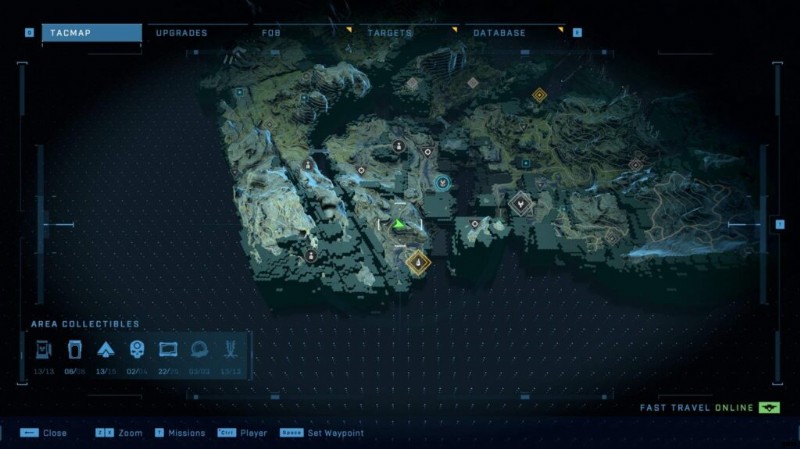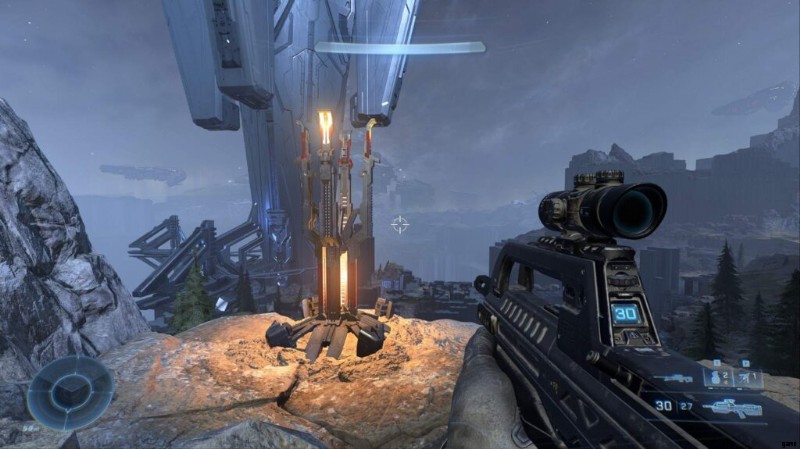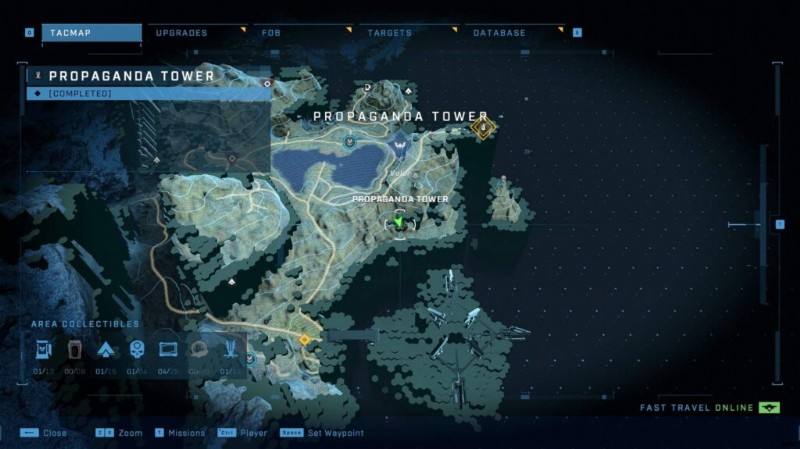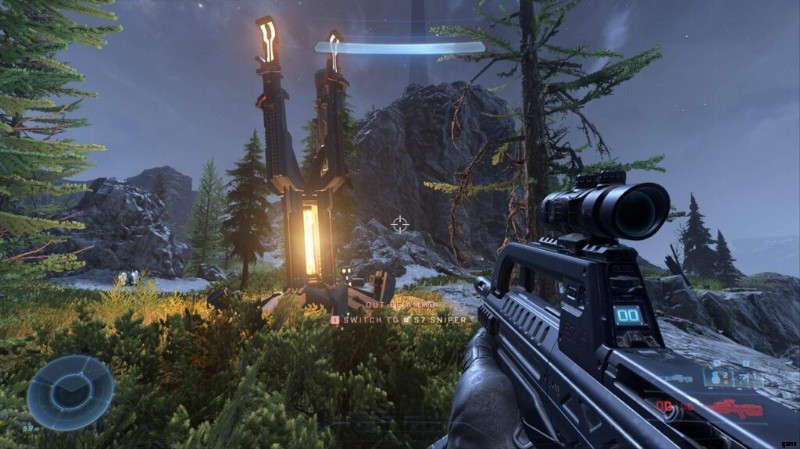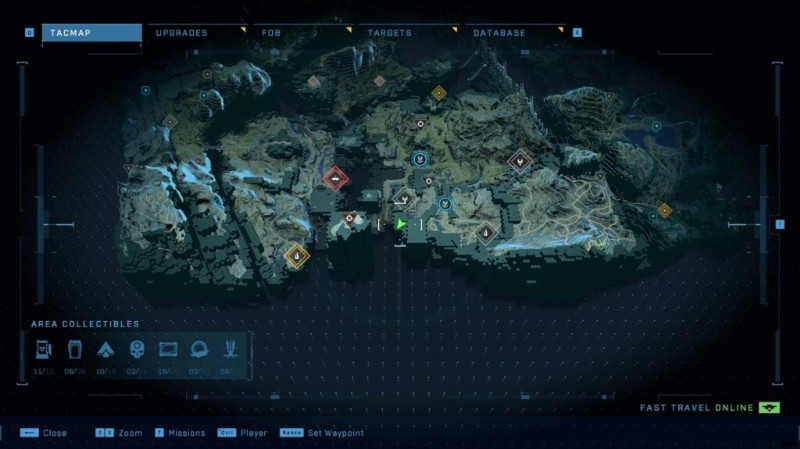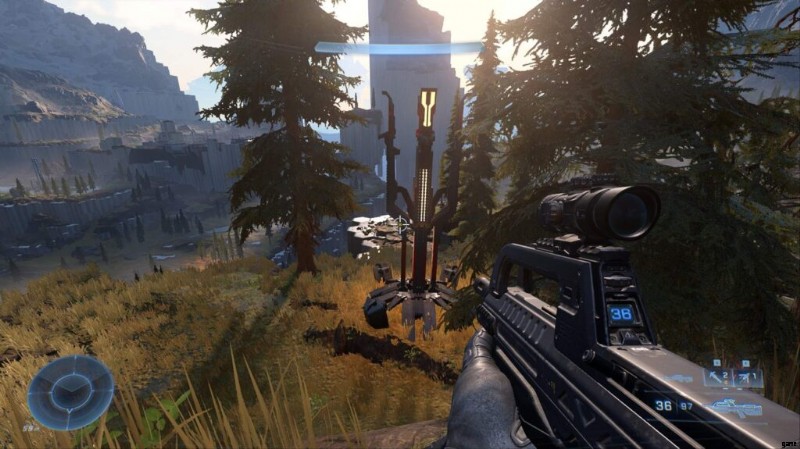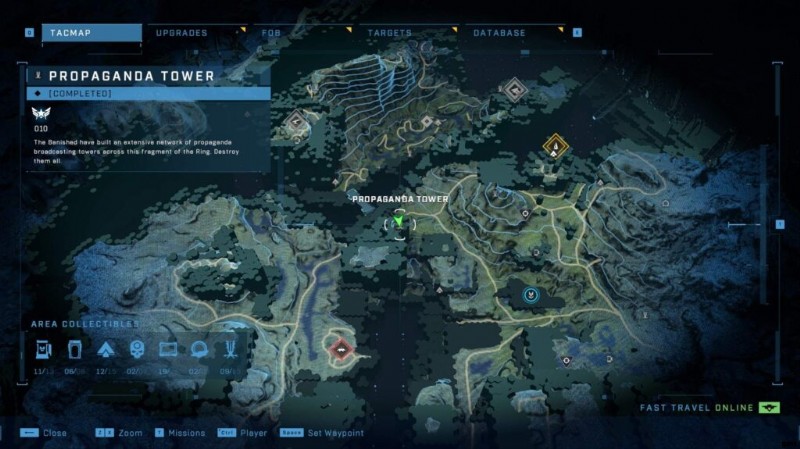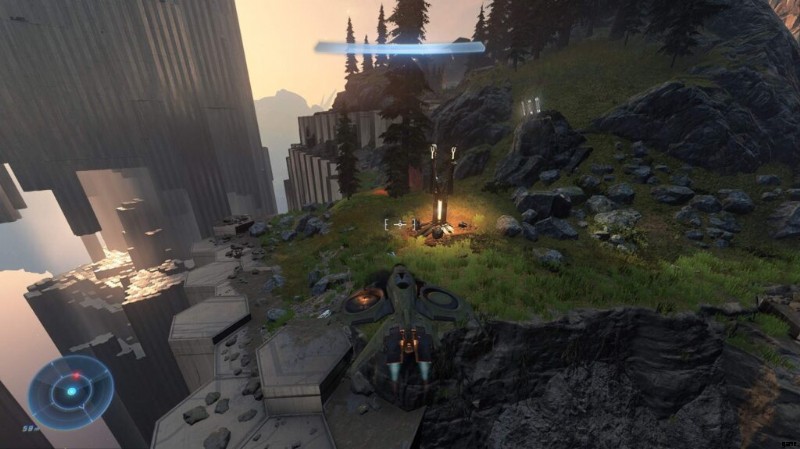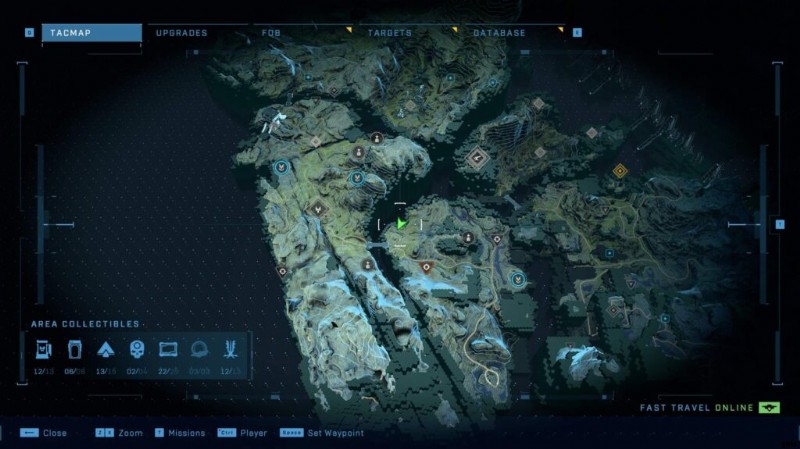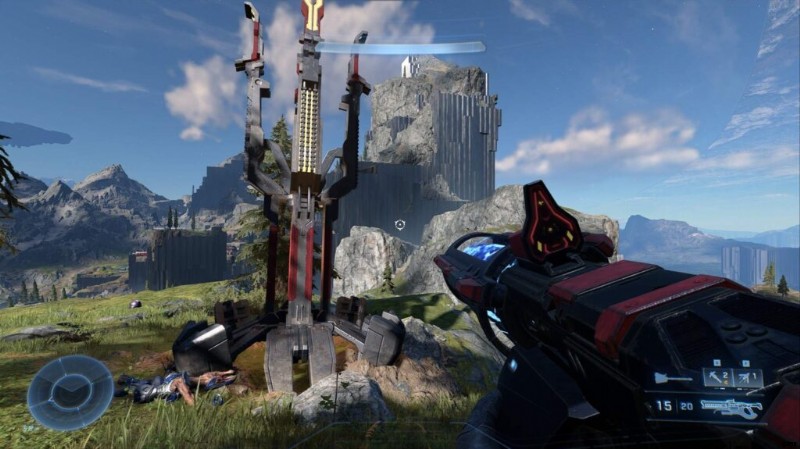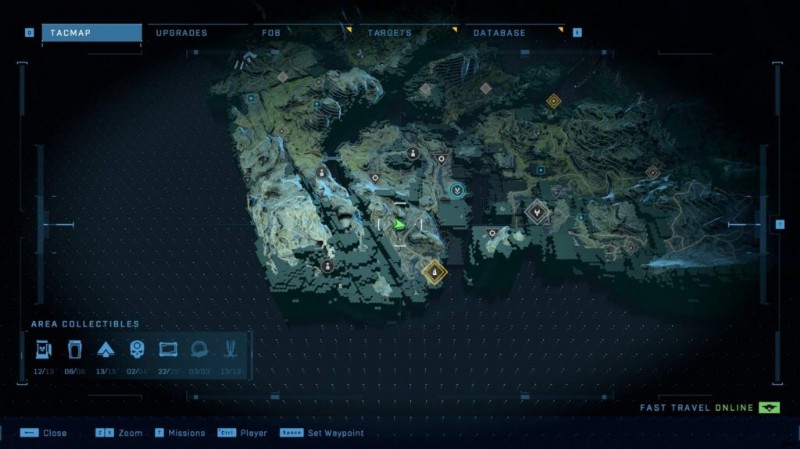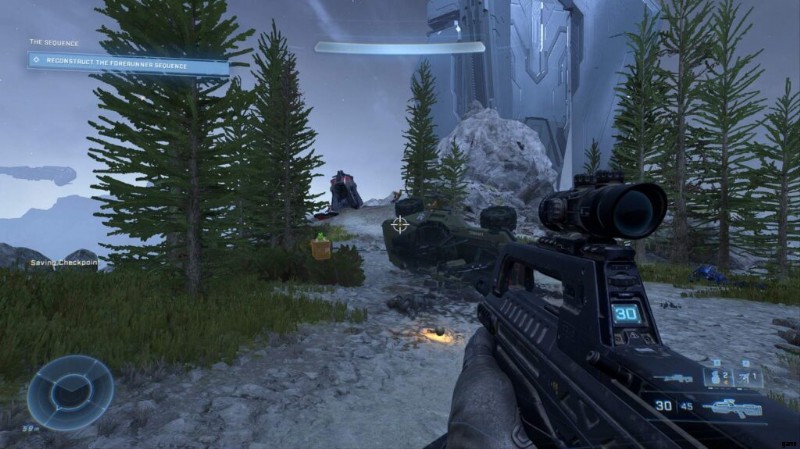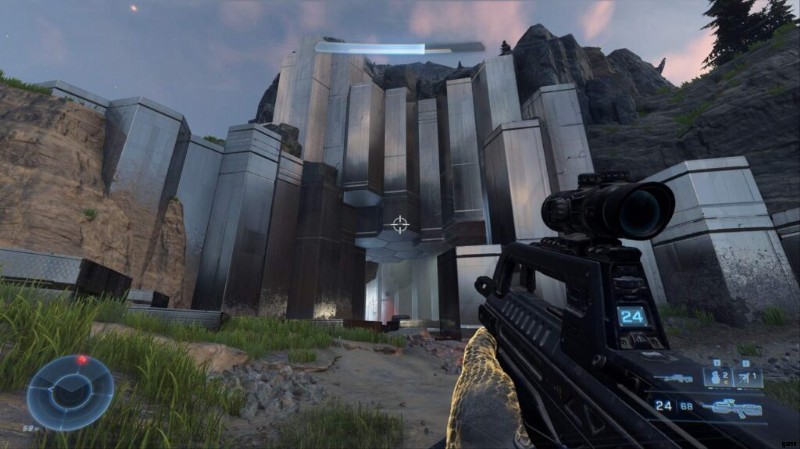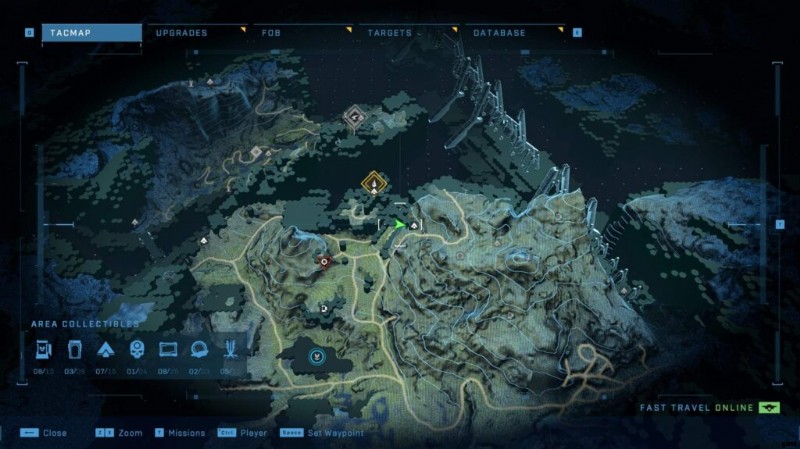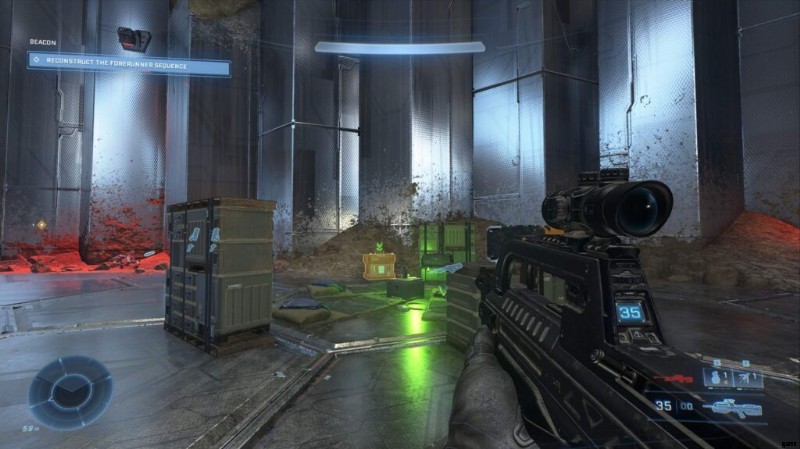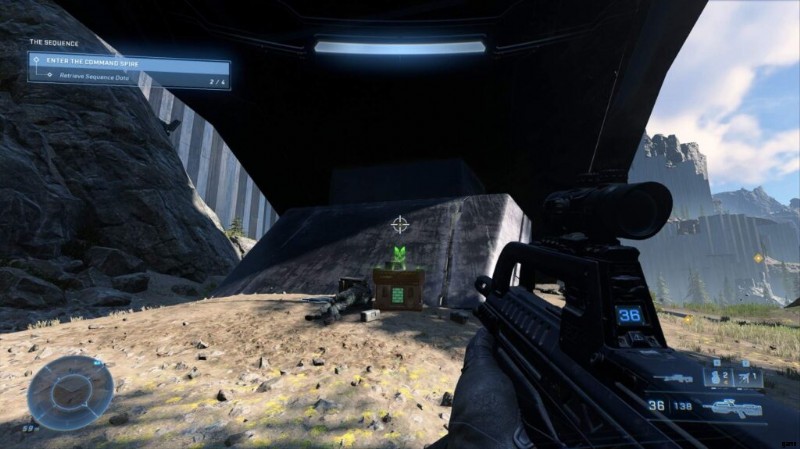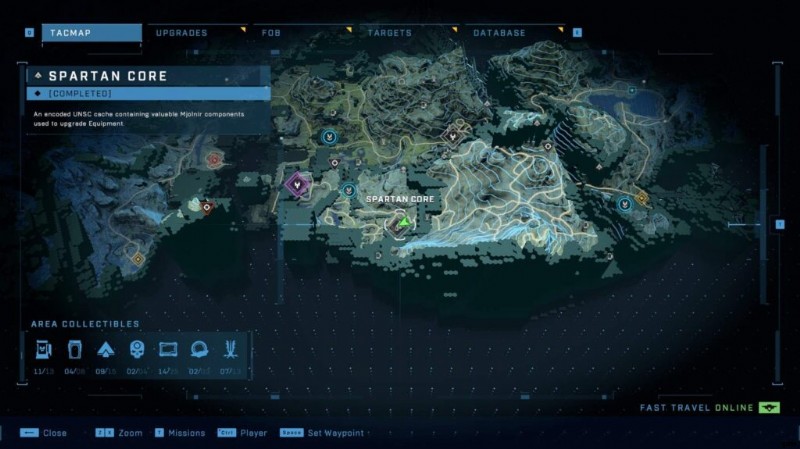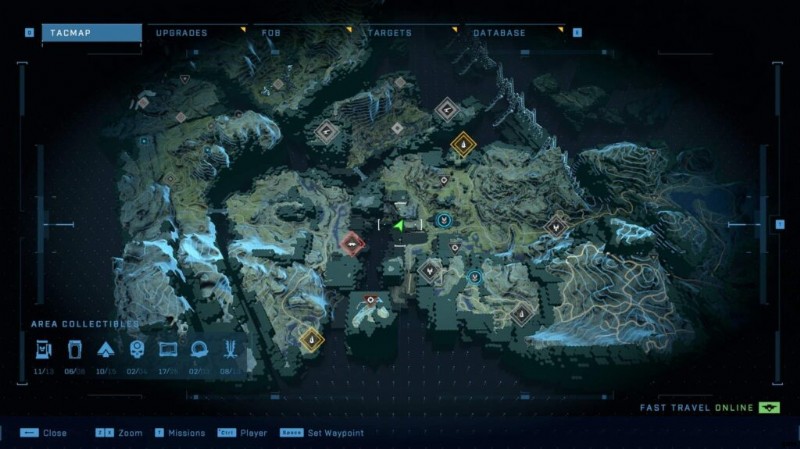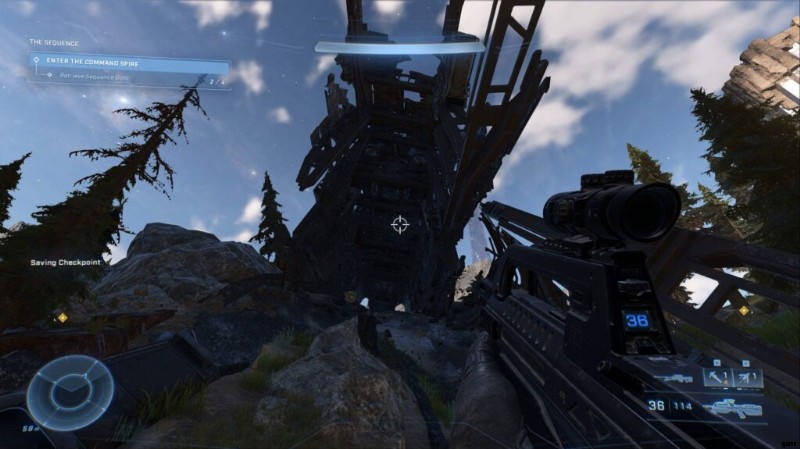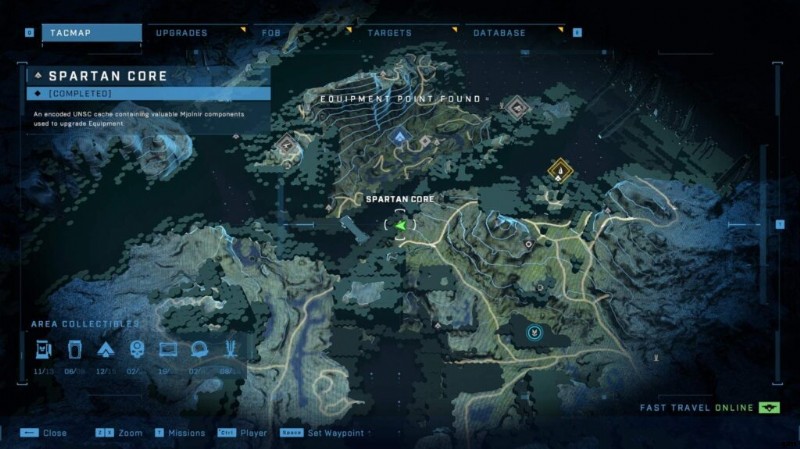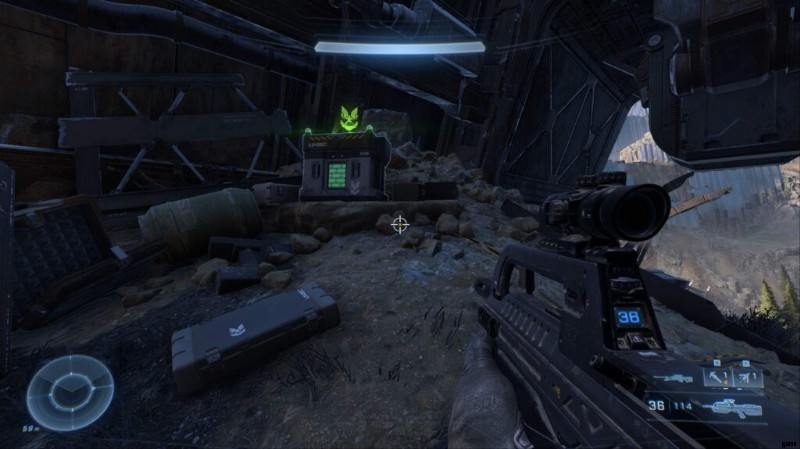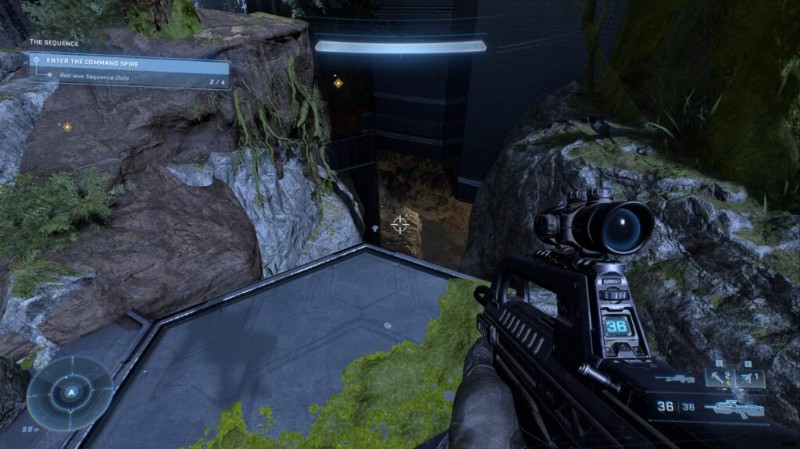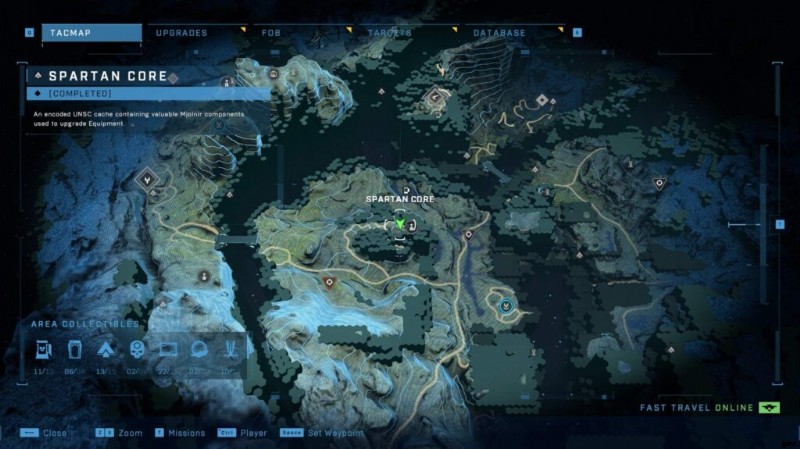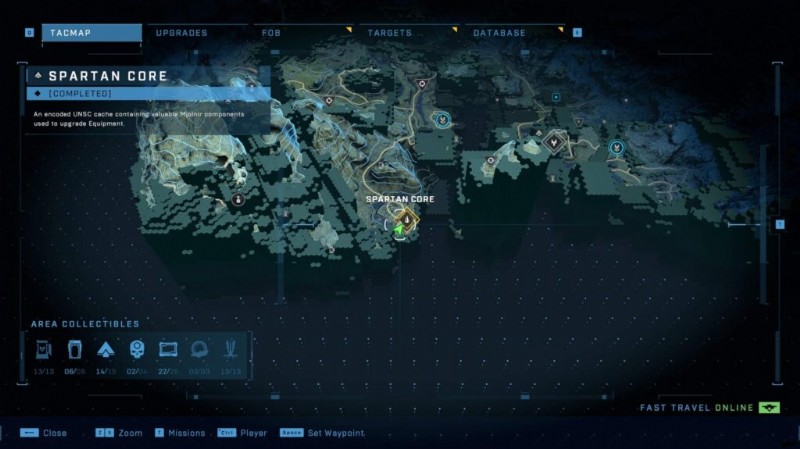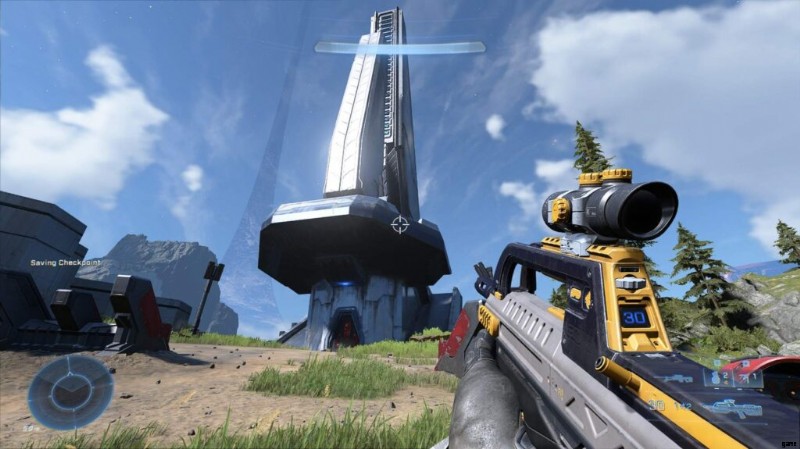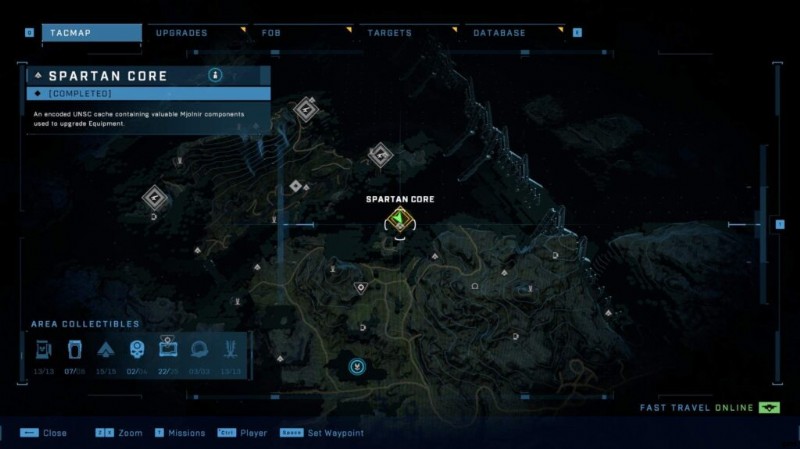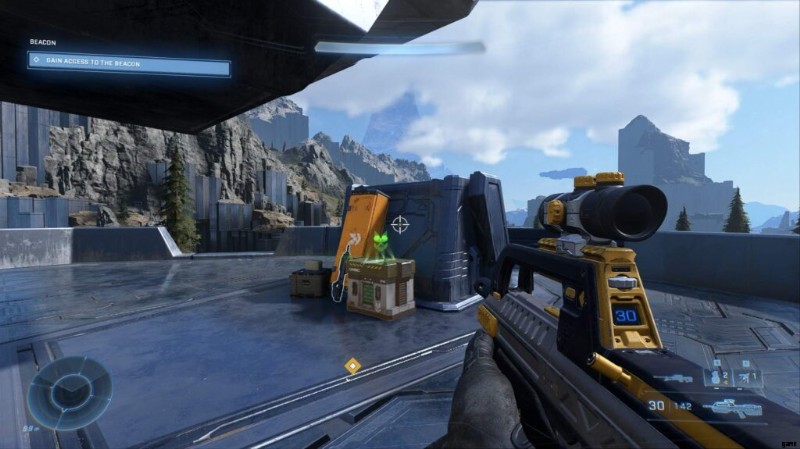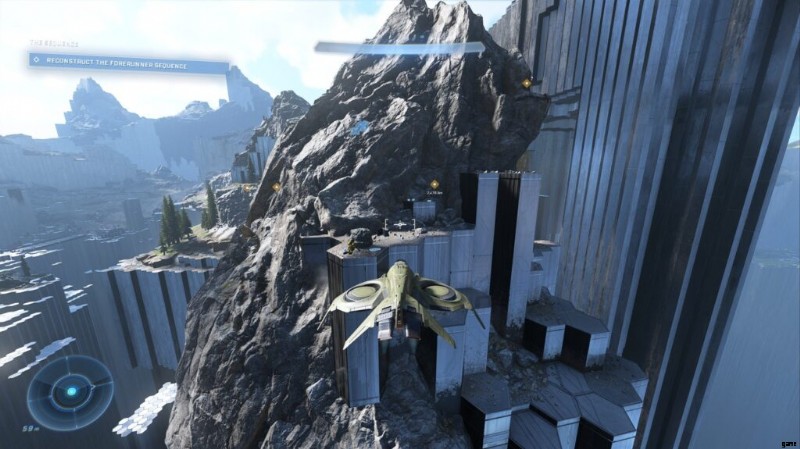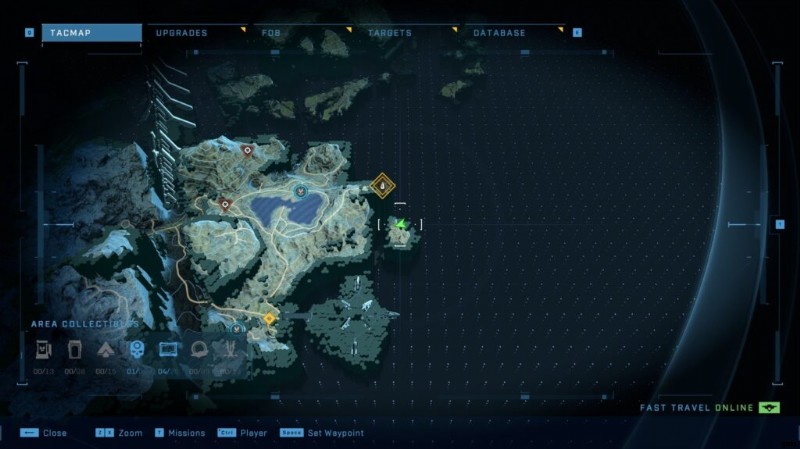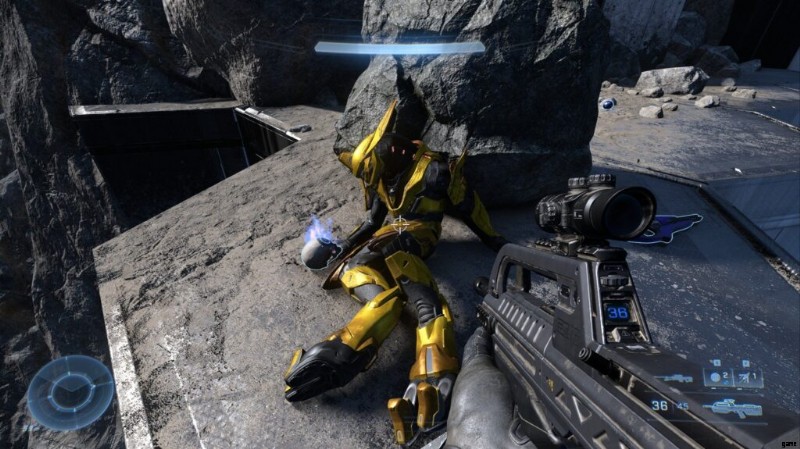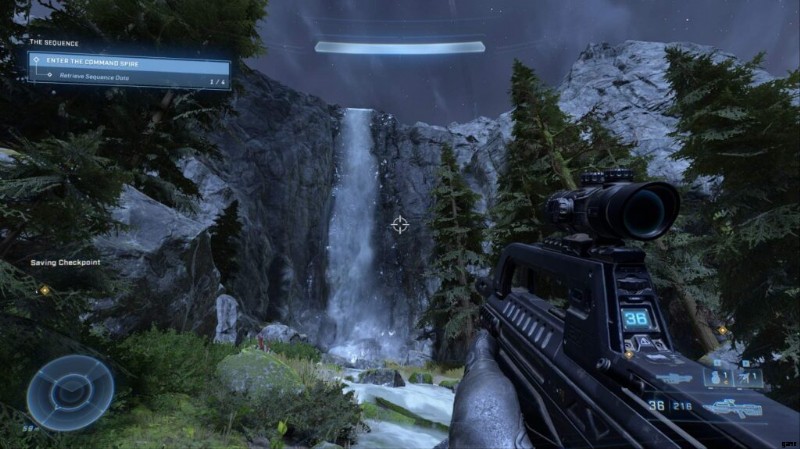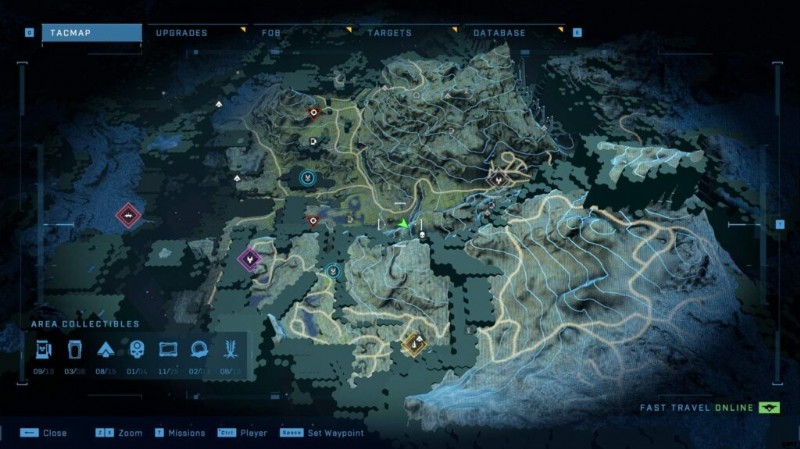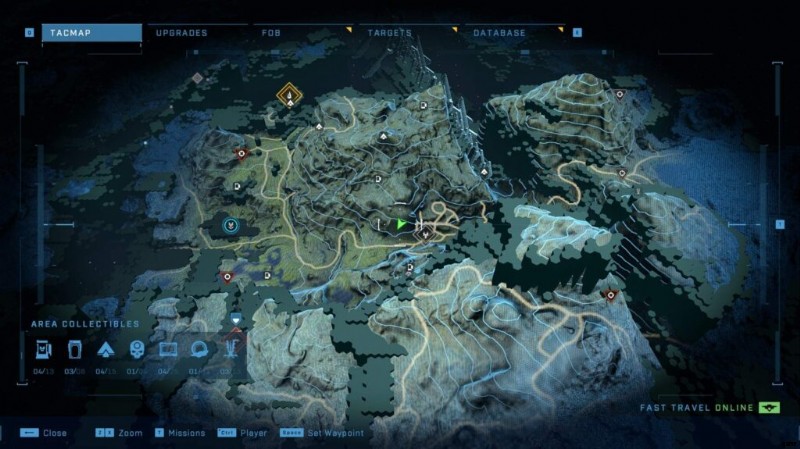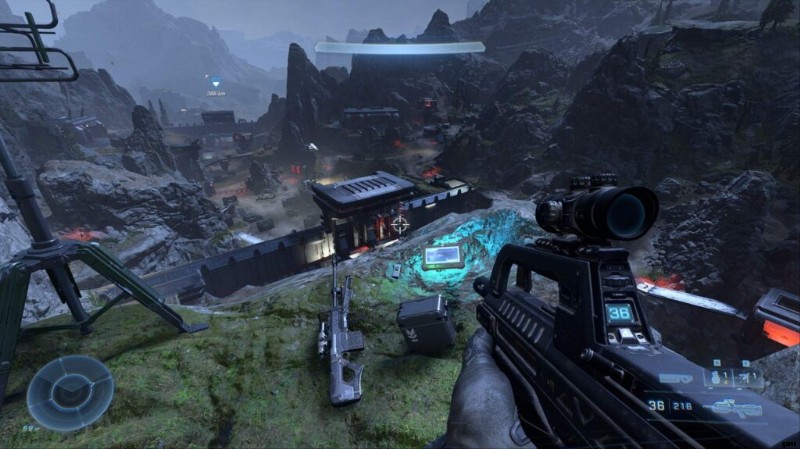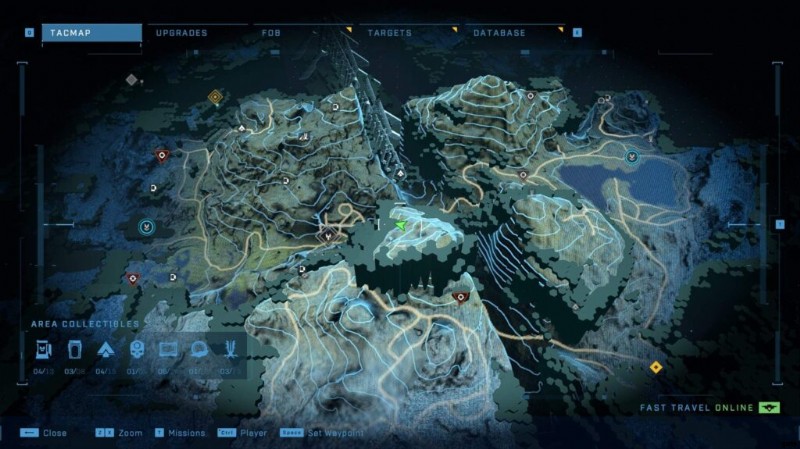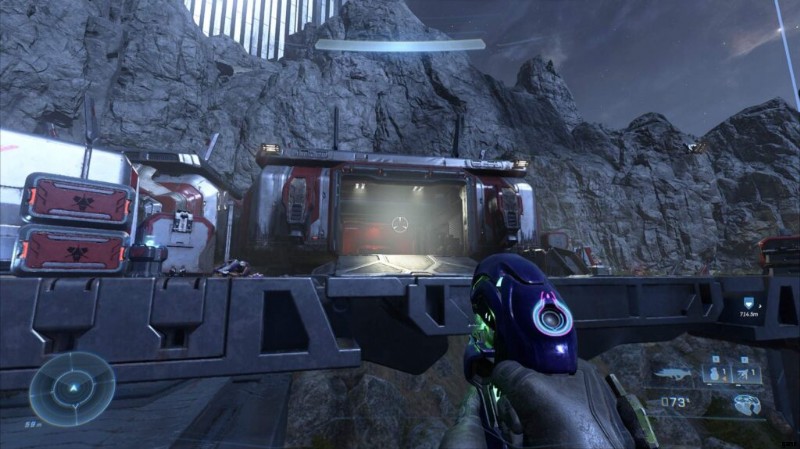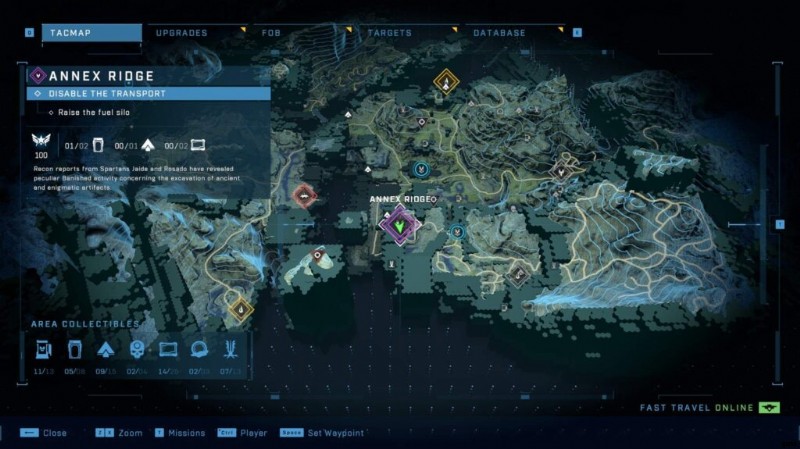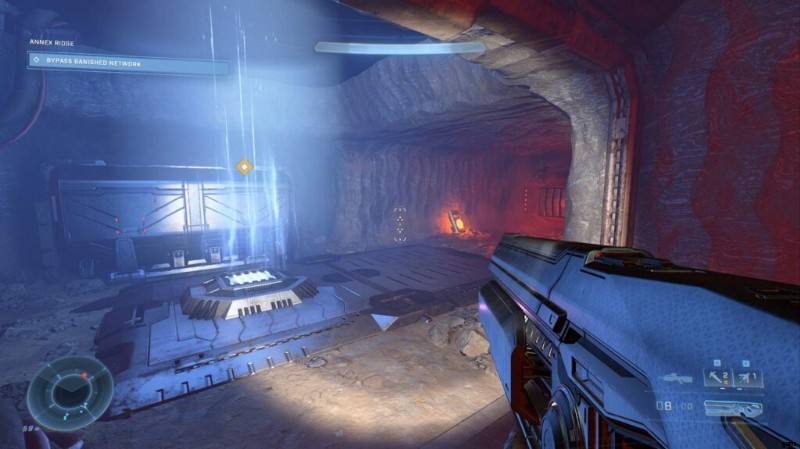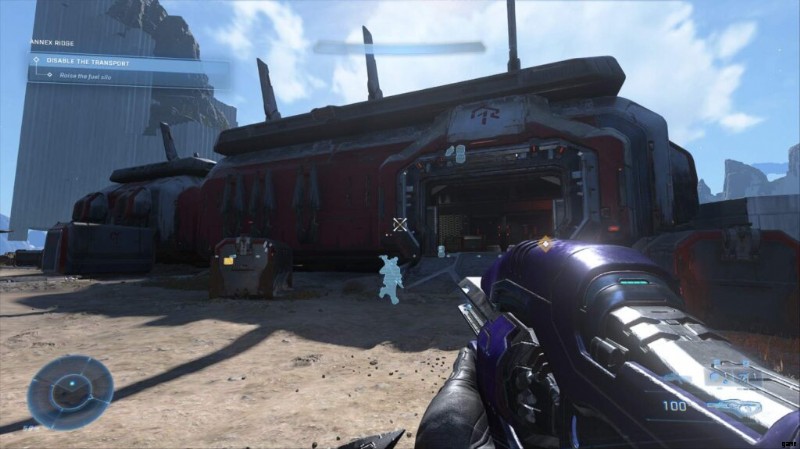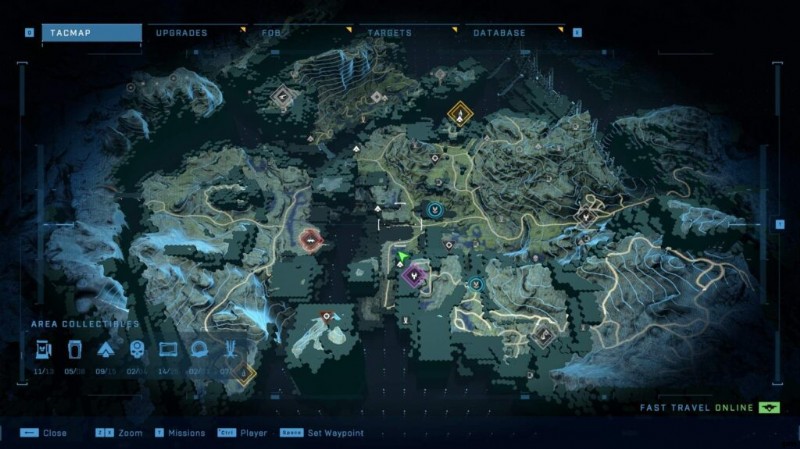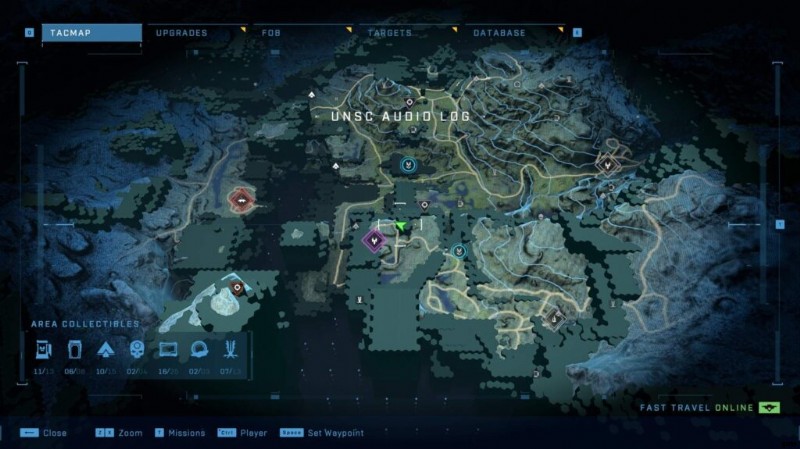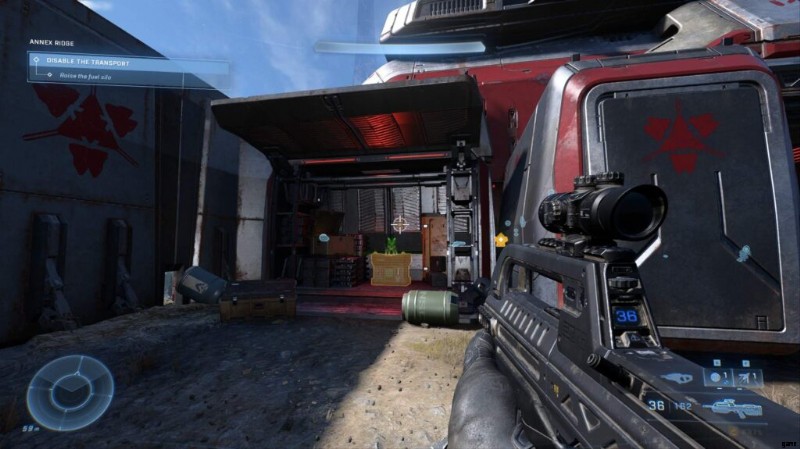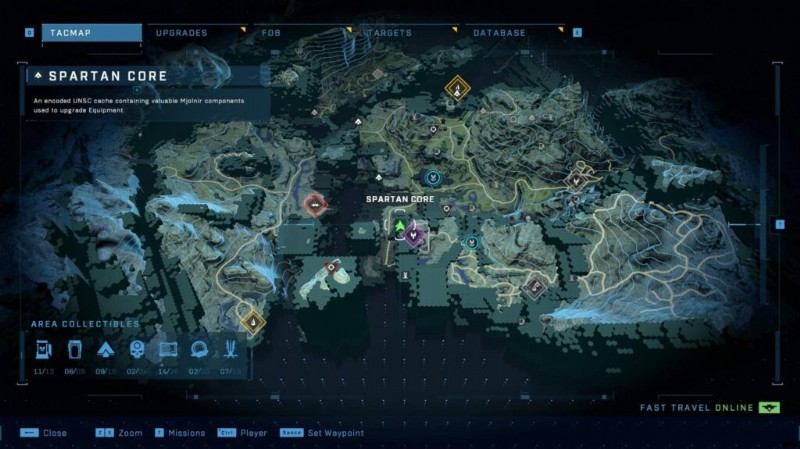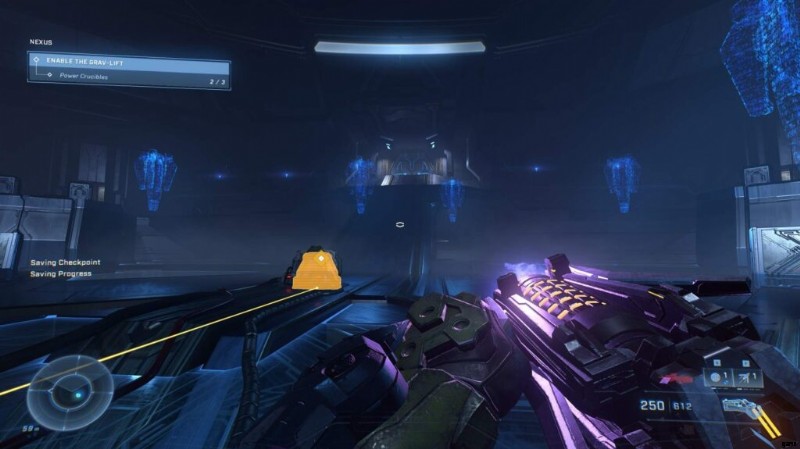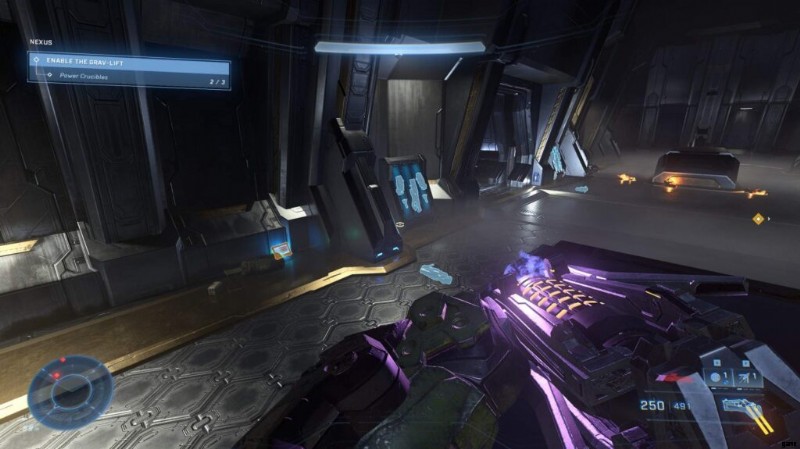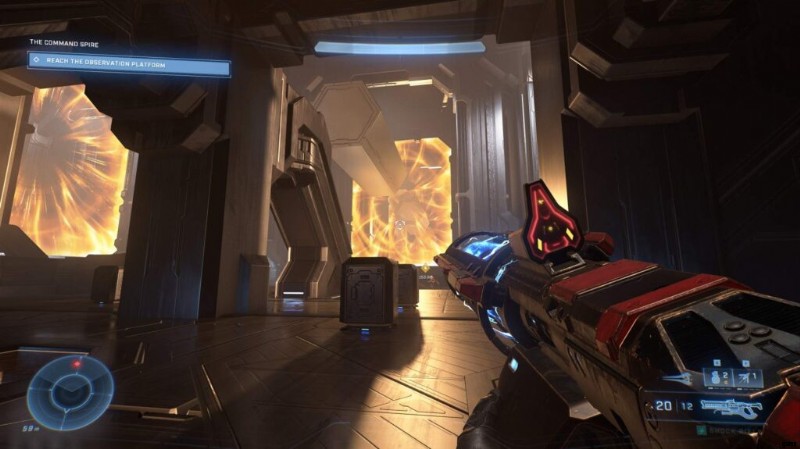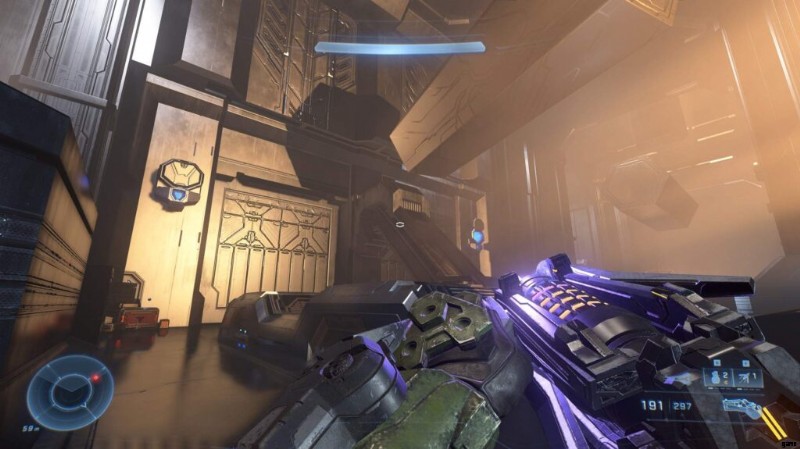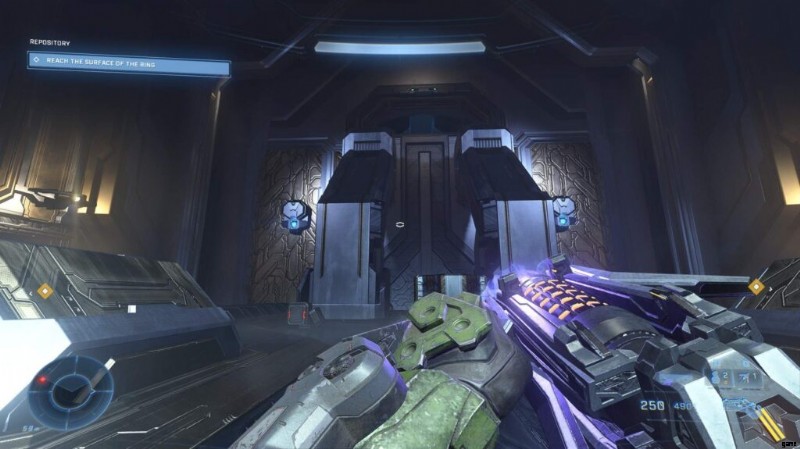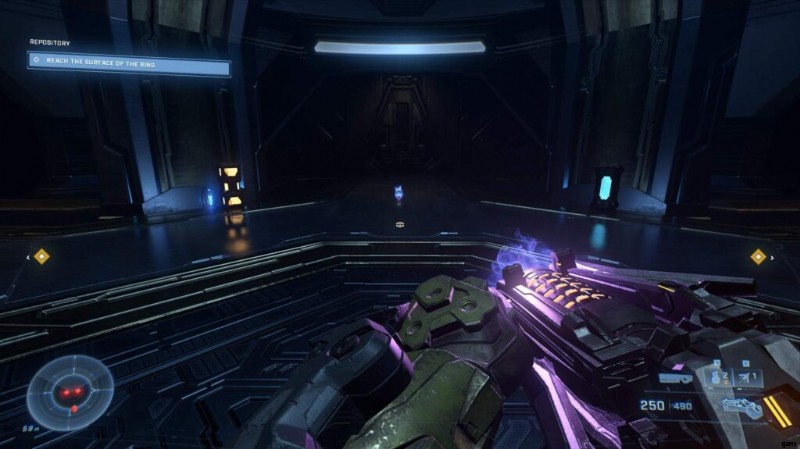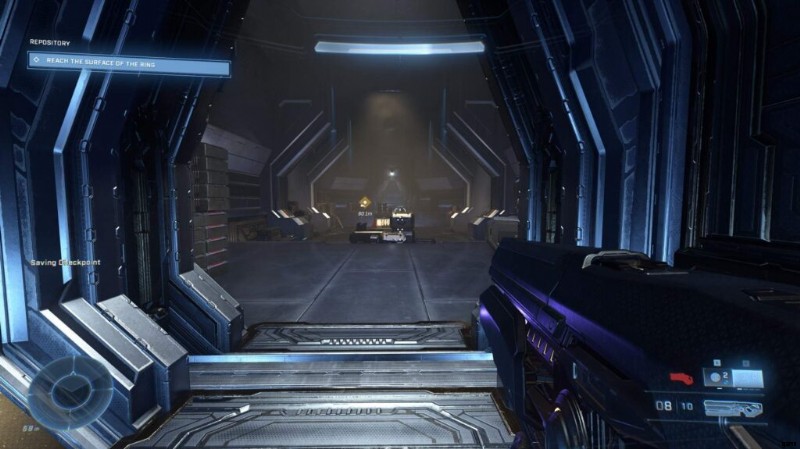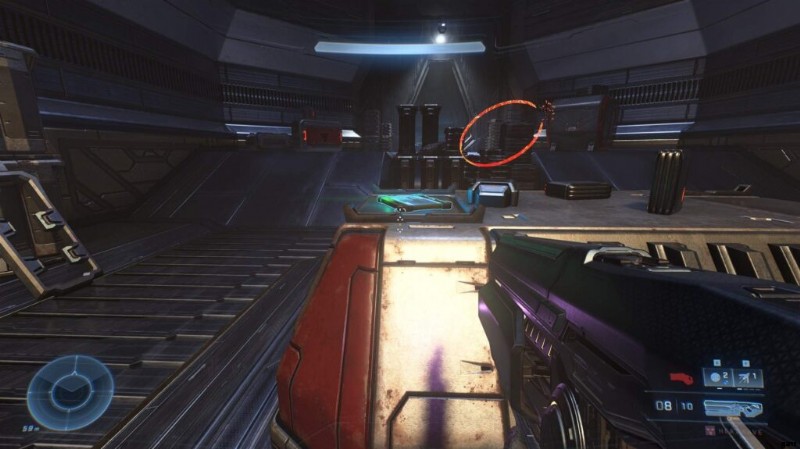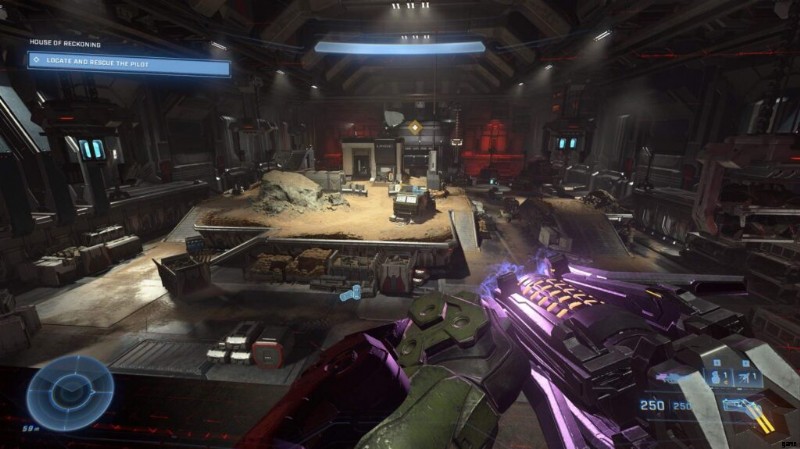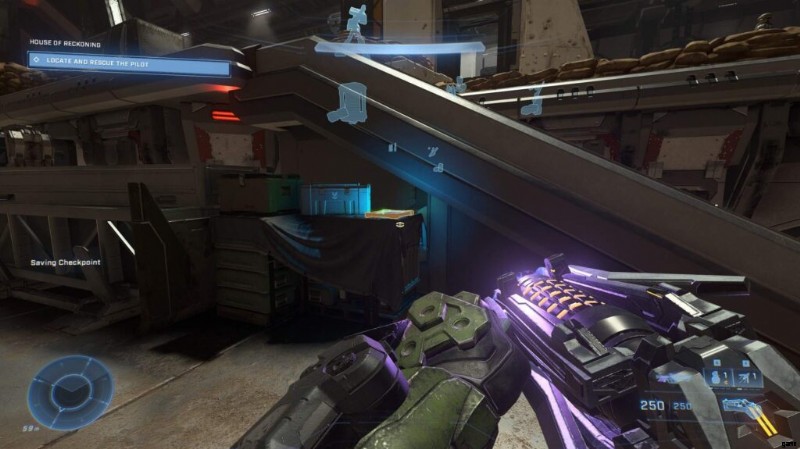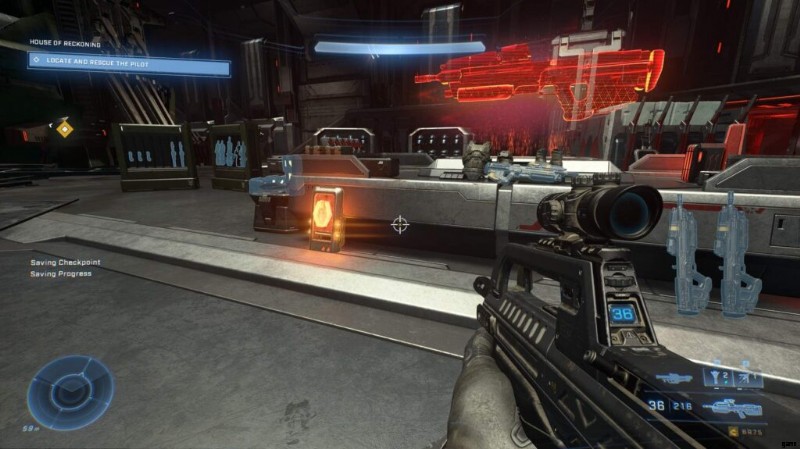
Eine übersichtliche und einfache Anleitung, die Ihnen hilft, alle verpassbaren Gegenstände in der Sandbox von Halo Infinite zu finden.
Einleitung
Dieser Leitfaden wird aufschlüsseln, wonach Sie suchen, wo sie zu finden sind und in welcher Reihenfolge Sie sie eingeben sollten. Dies ist besonders wichtig, wenn Sie erkennen, dass Sie nur eine Chance haben, sie zu erhalten. Aber dazu später mehr.
Die vollständige Liste der Dinge, auf die Sie achten sollten, lautet wie folgt:
- Verbannte Außenposten/FOBs
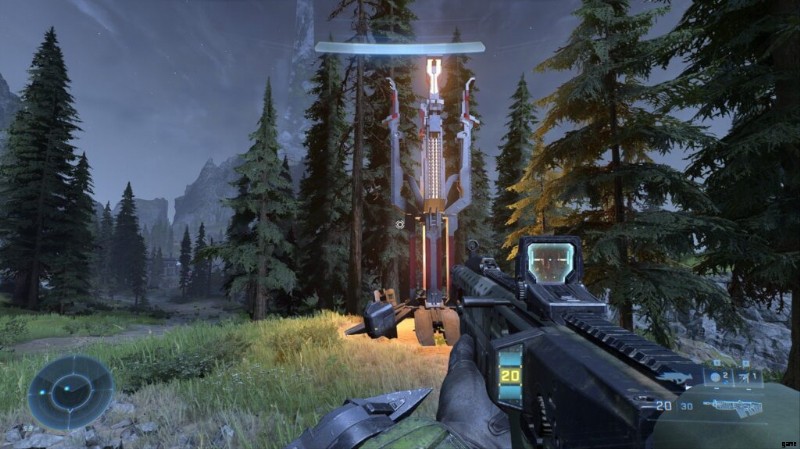
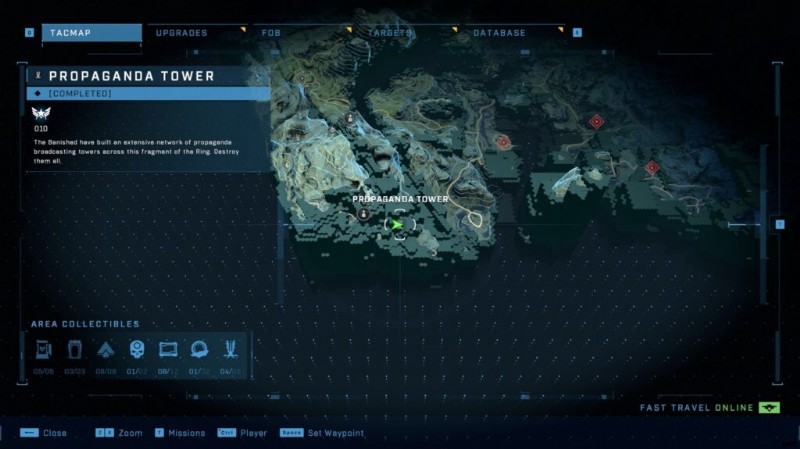
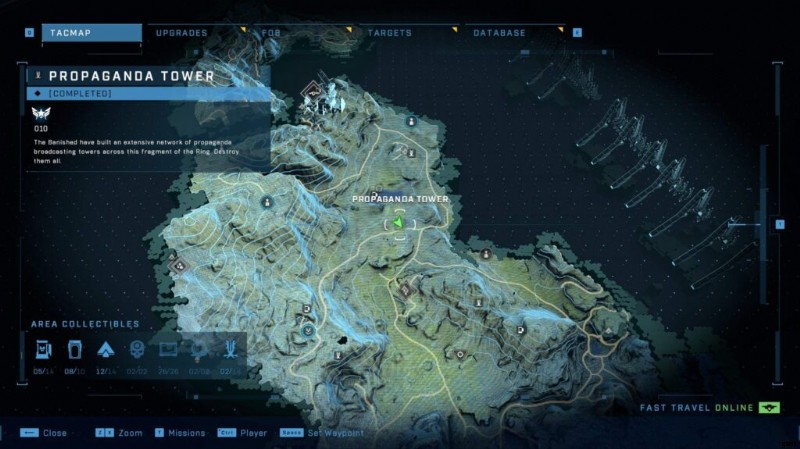
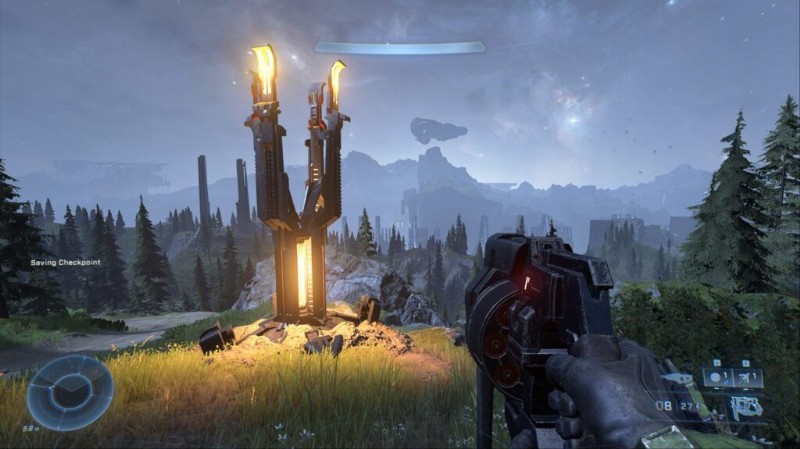
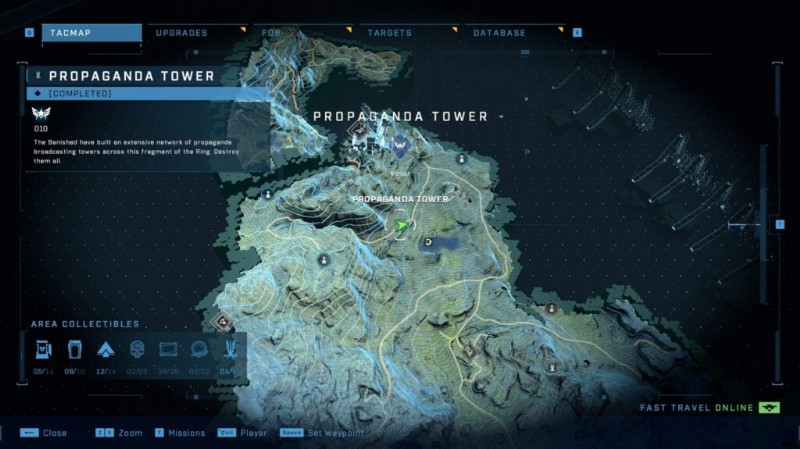
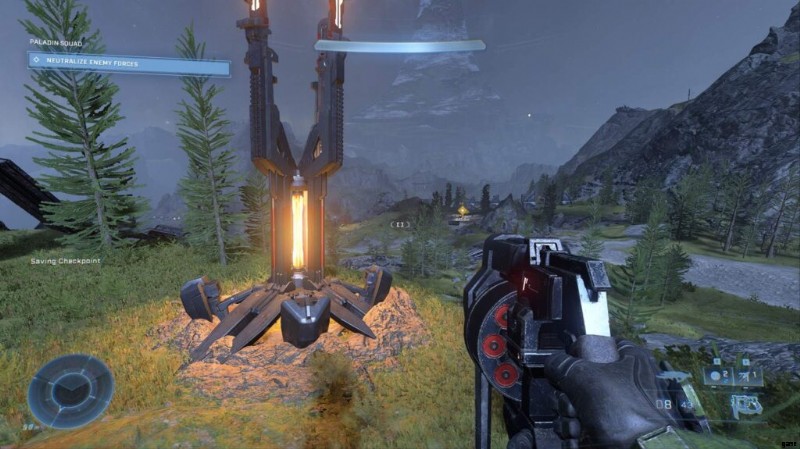
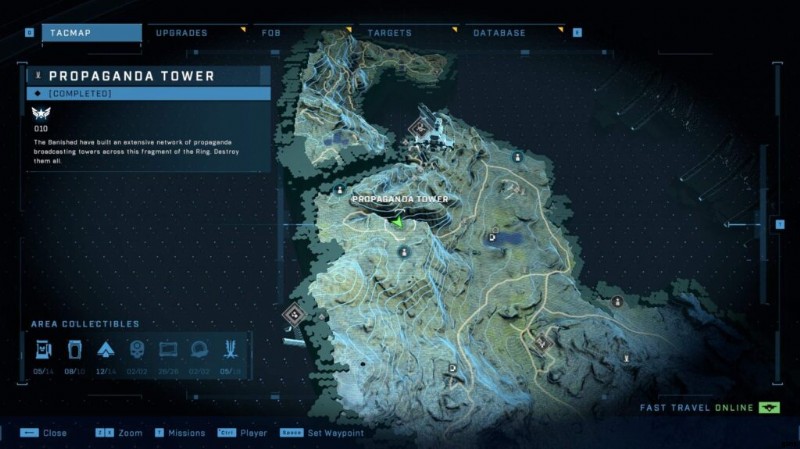
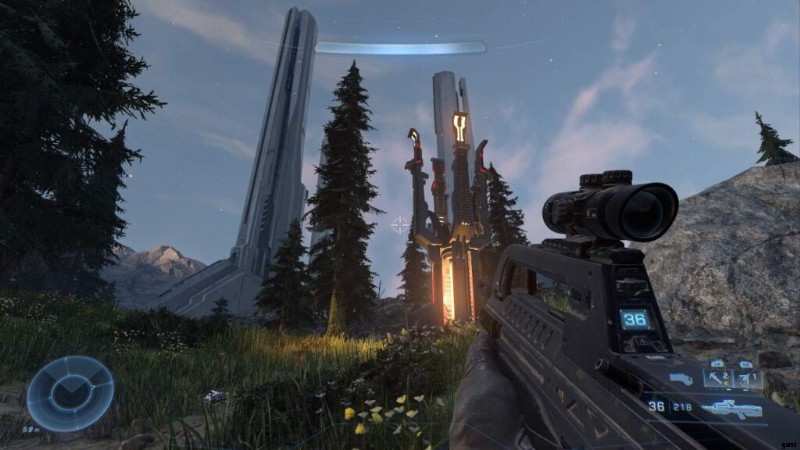
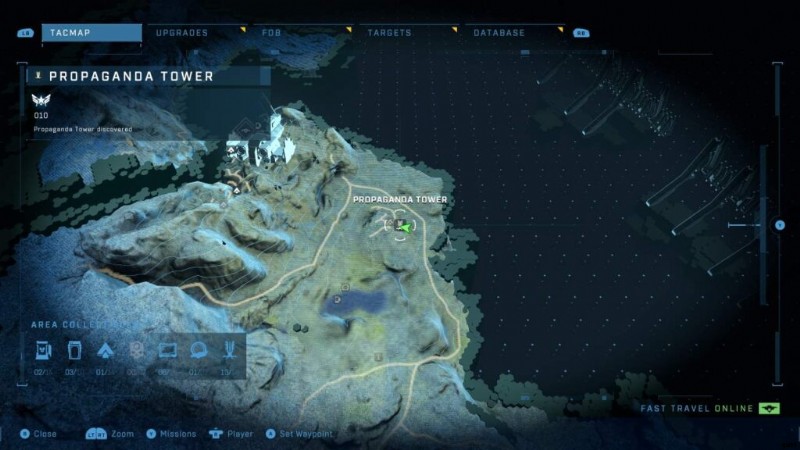
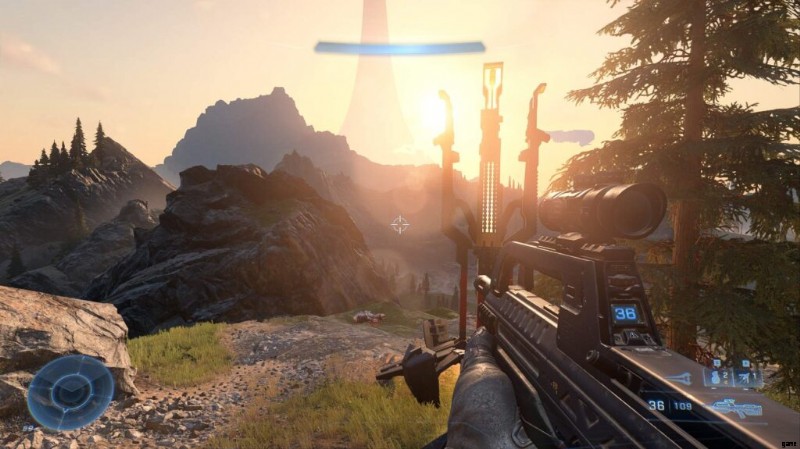
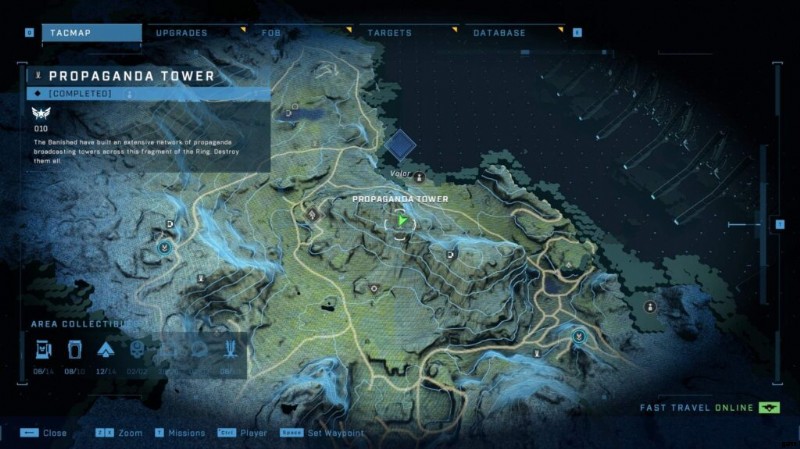
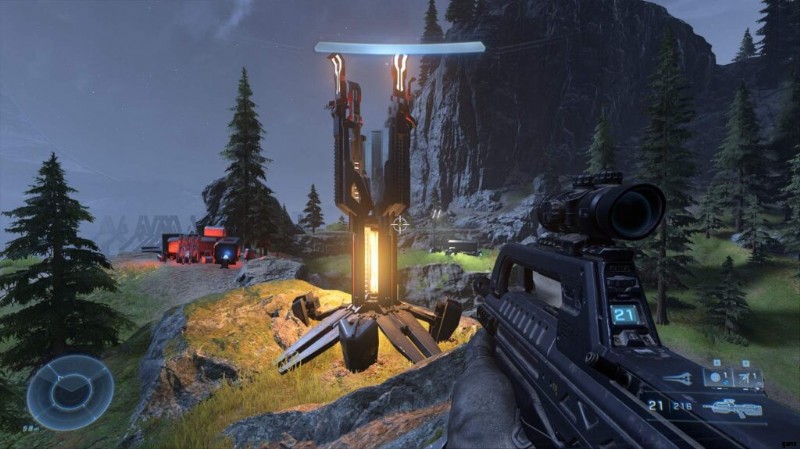
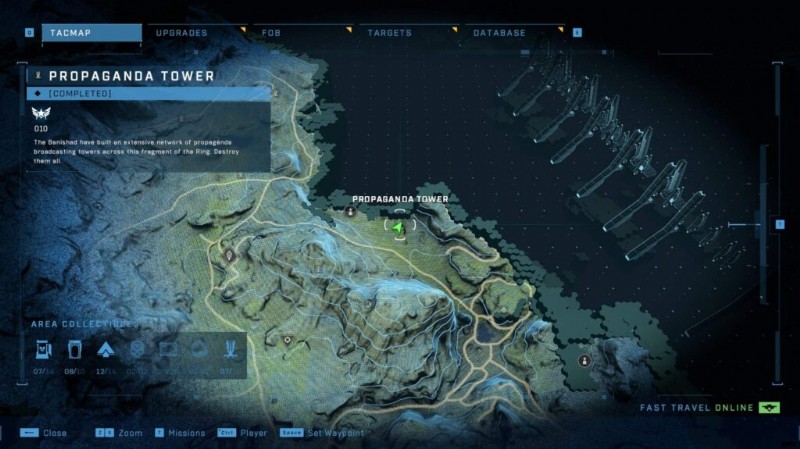
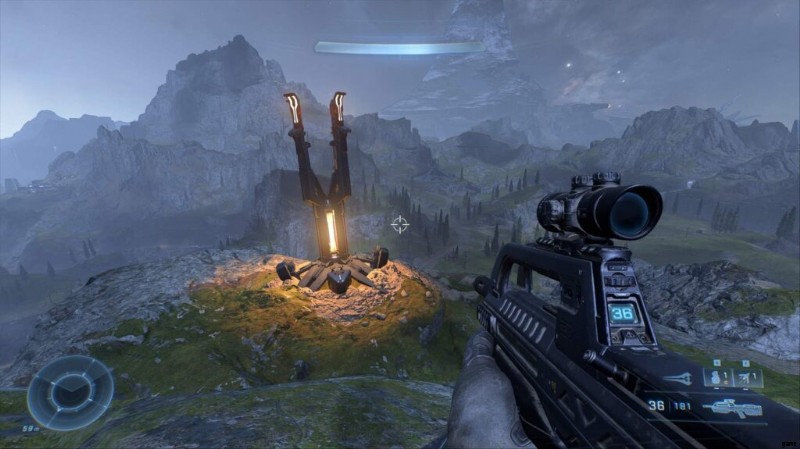
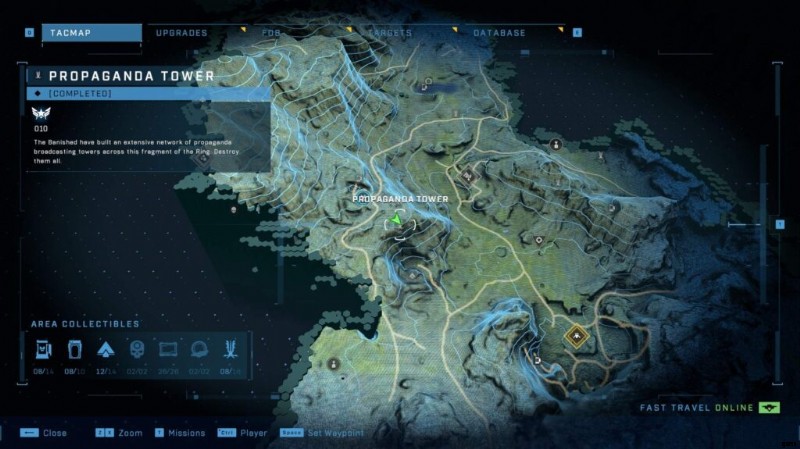
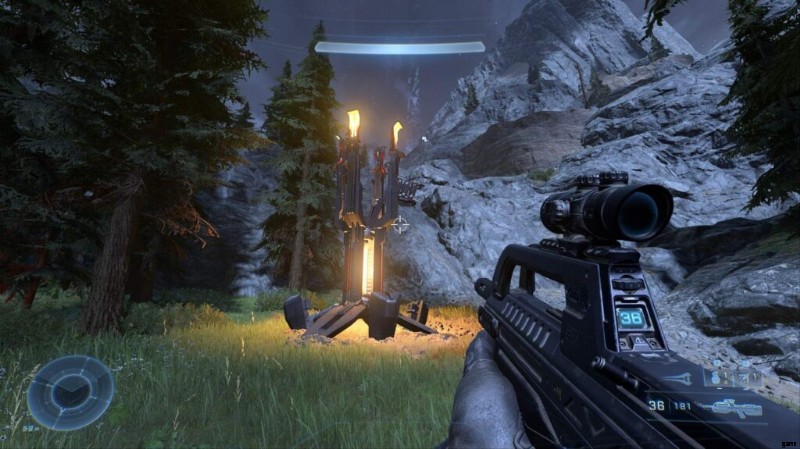
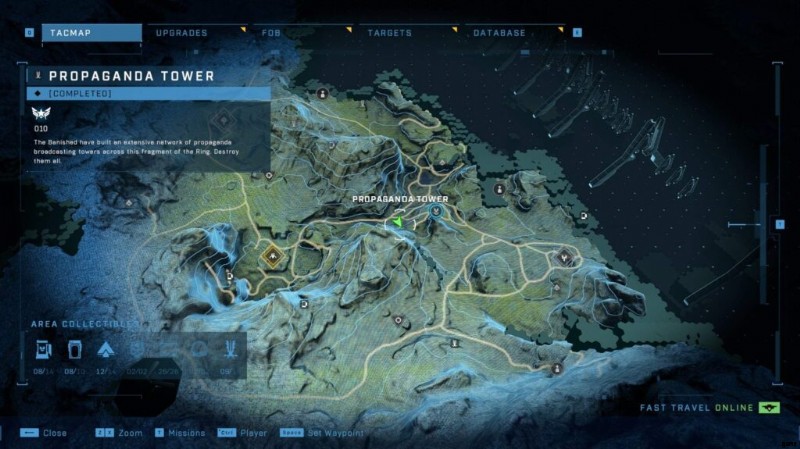
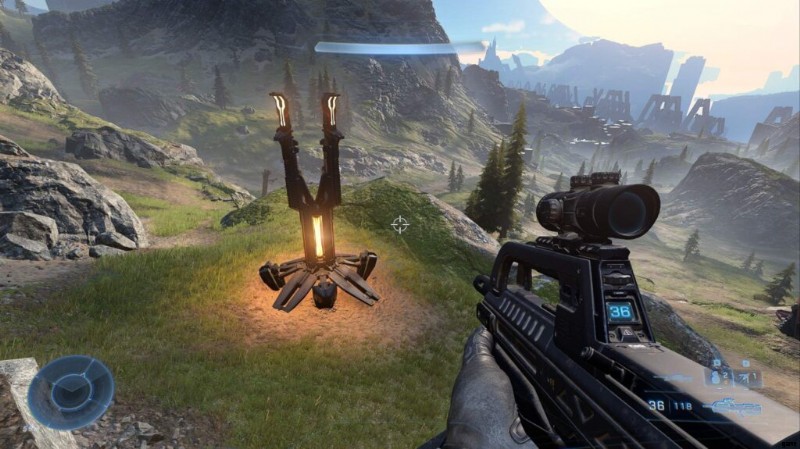
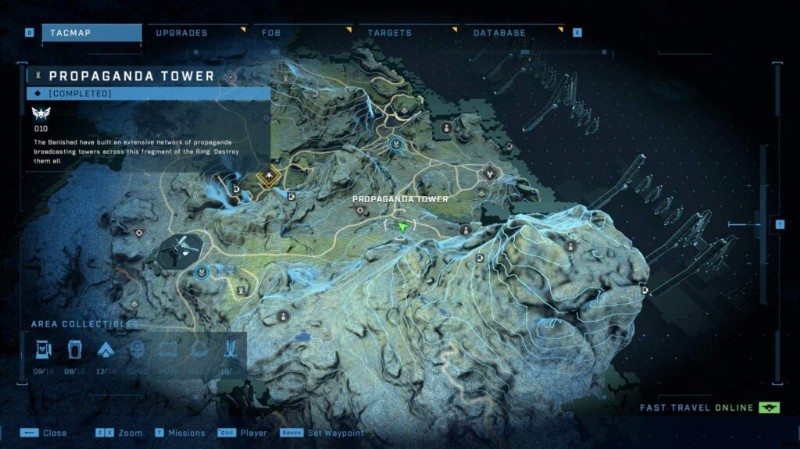
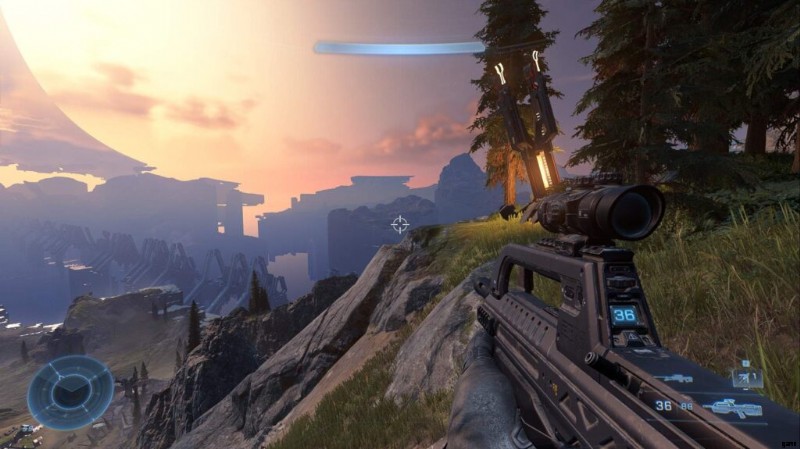
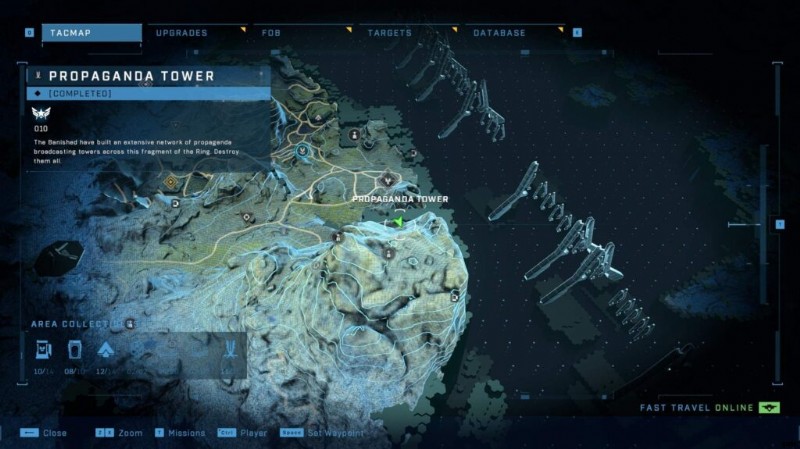
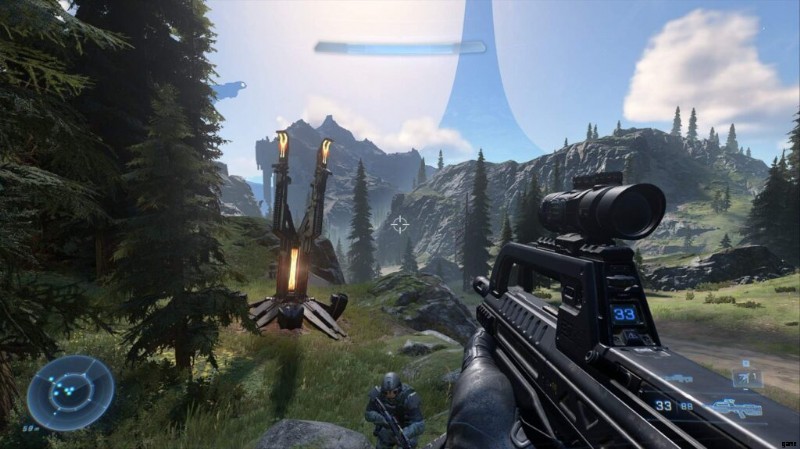
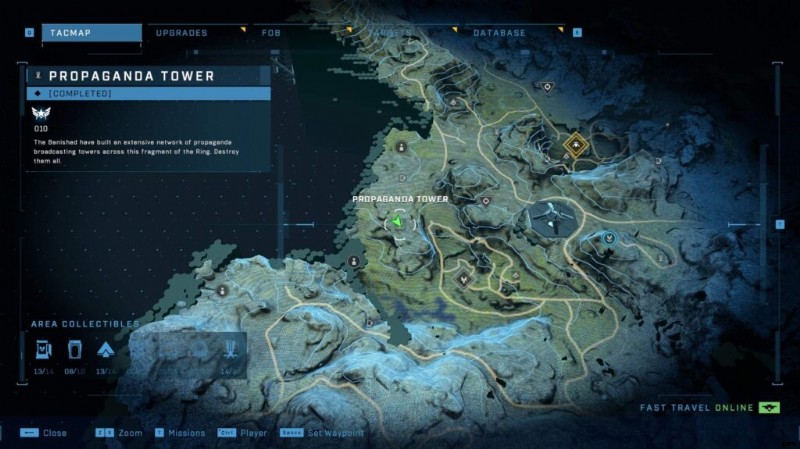
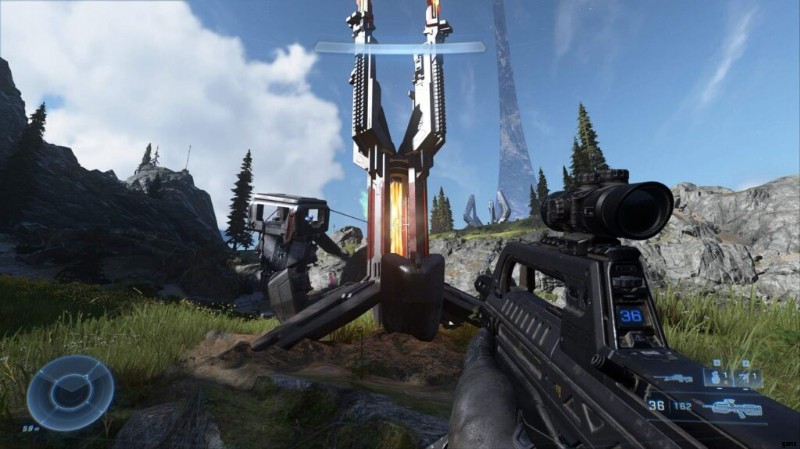
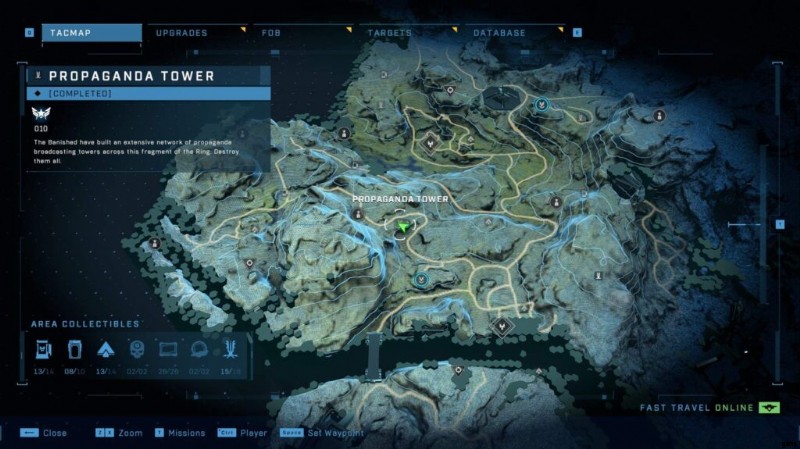
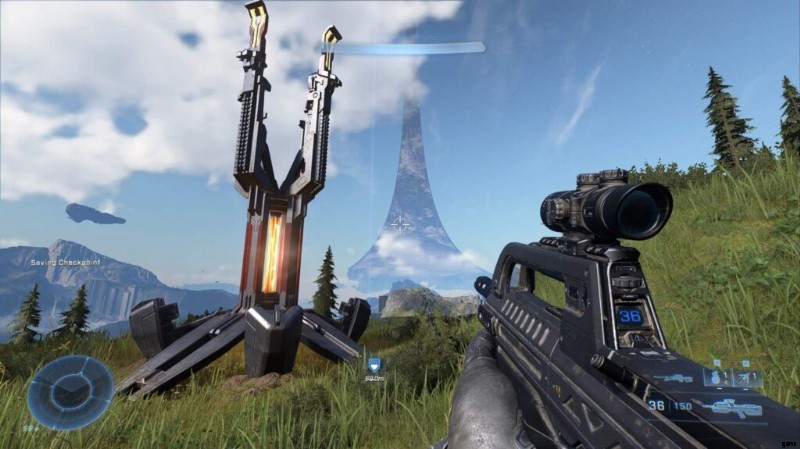
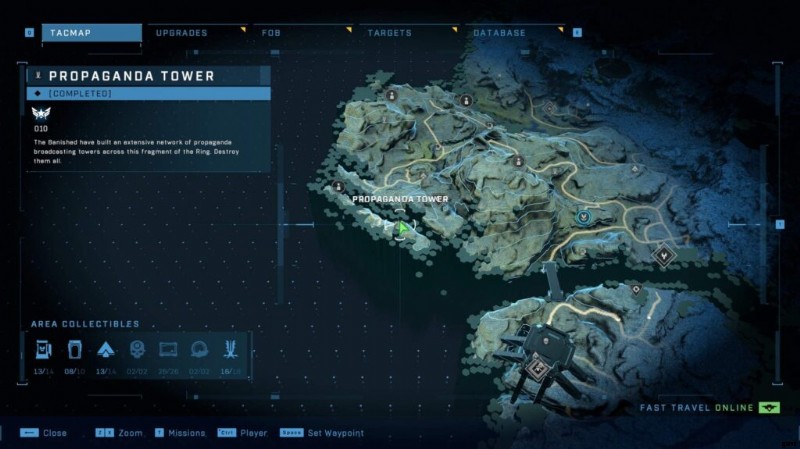
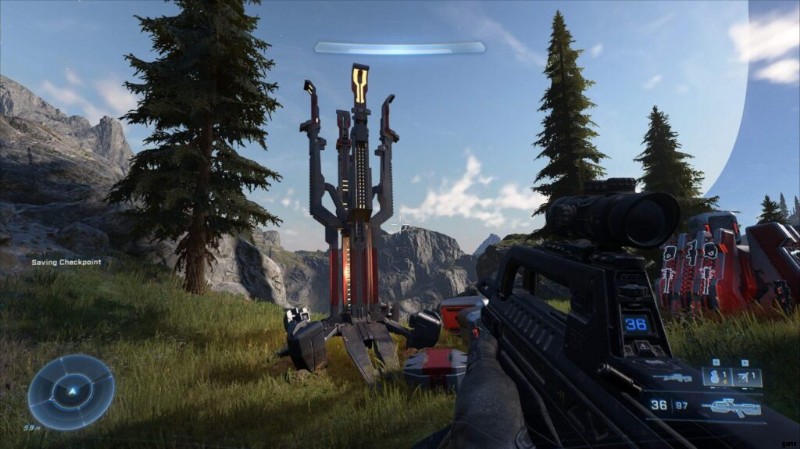
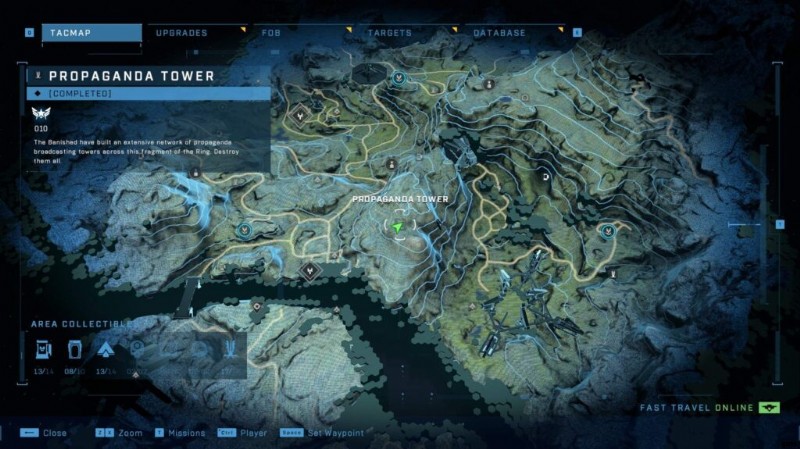
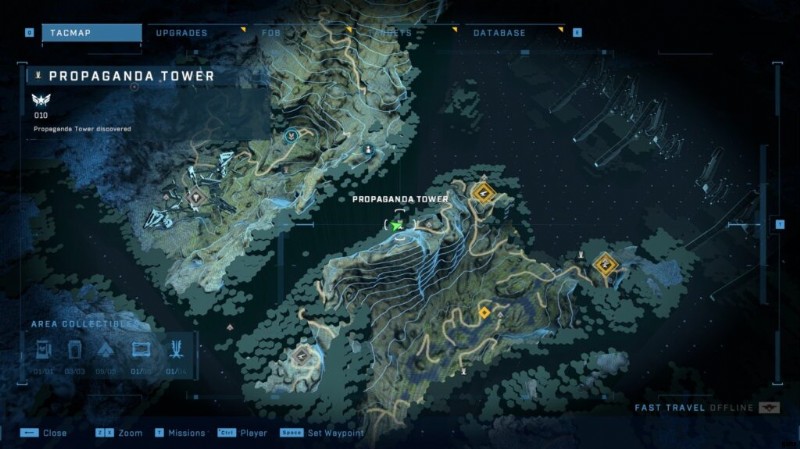
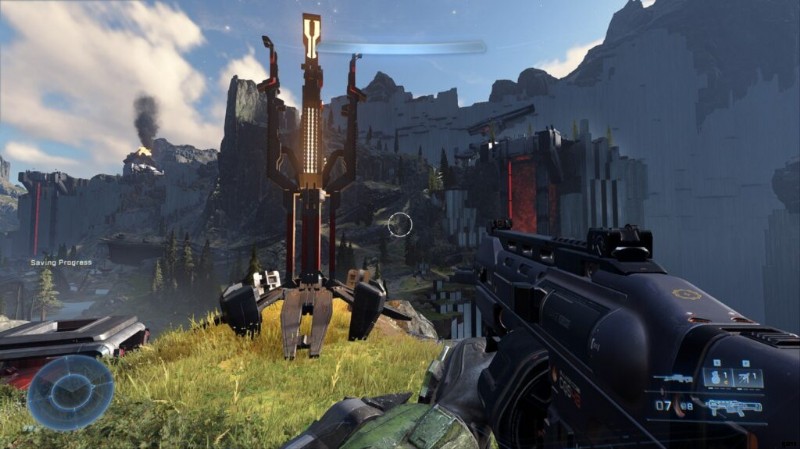
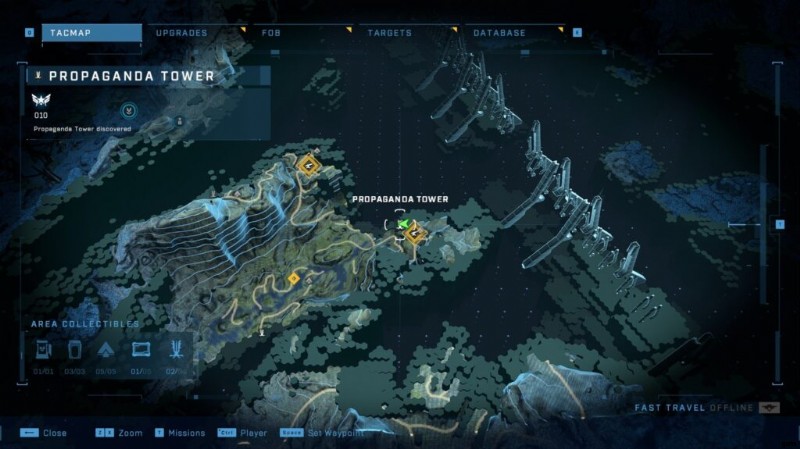
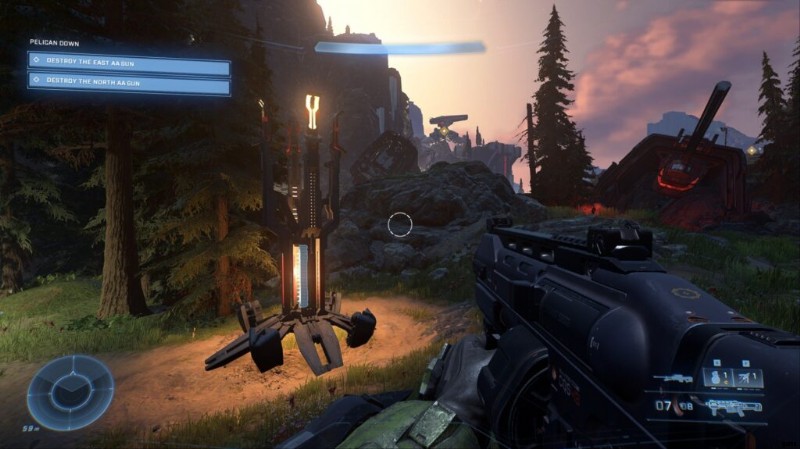
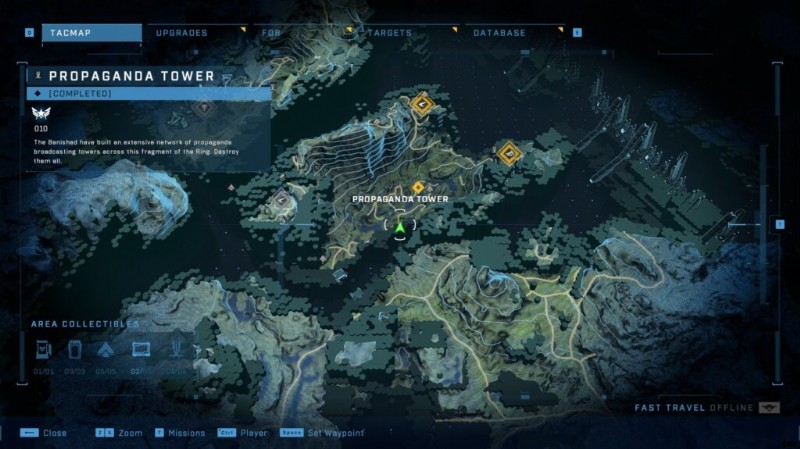
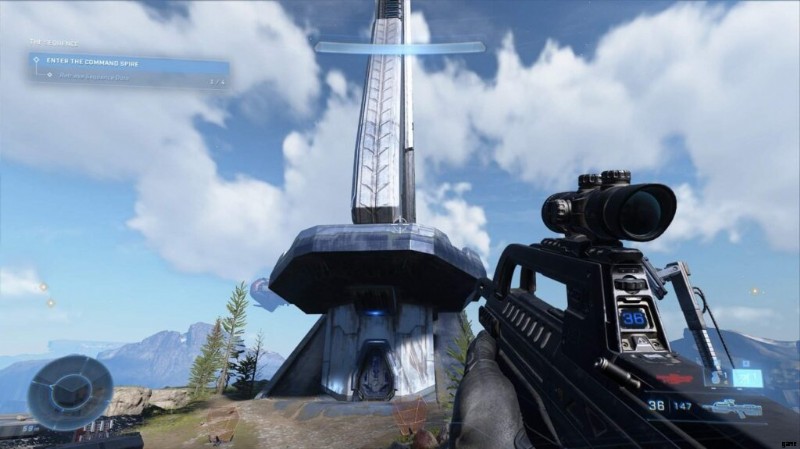
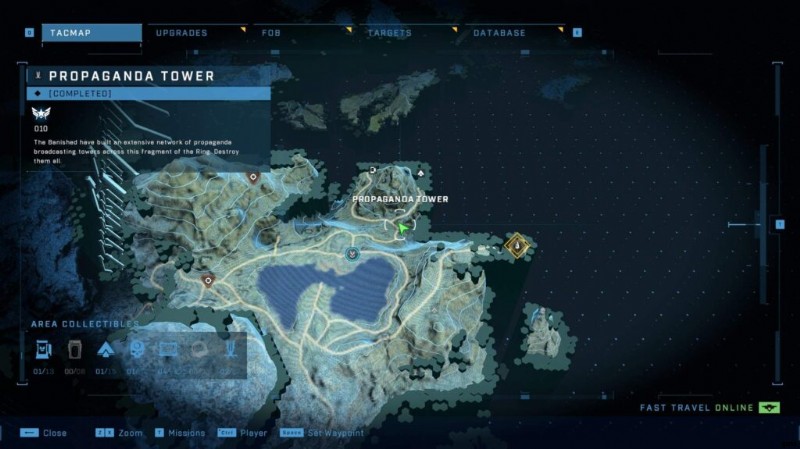
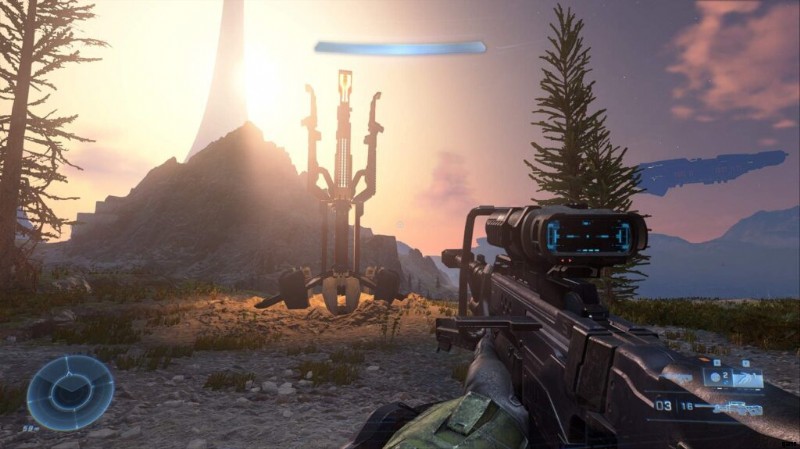
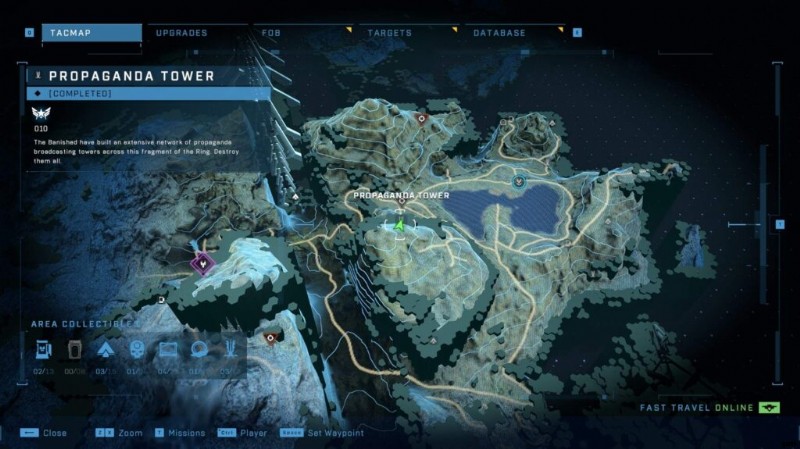
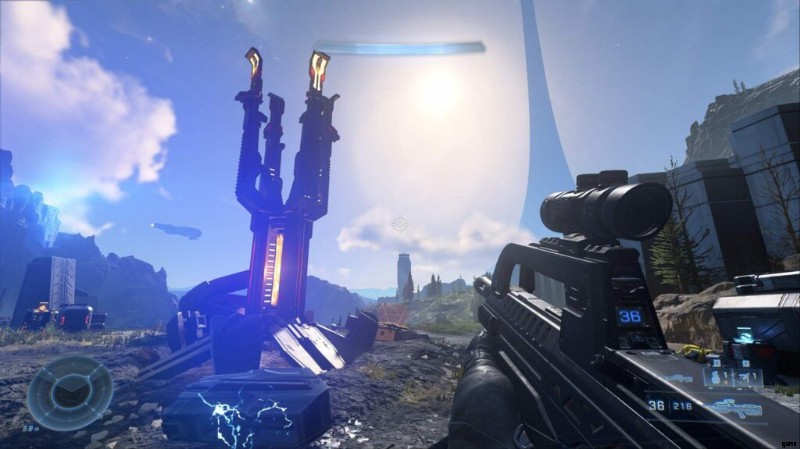
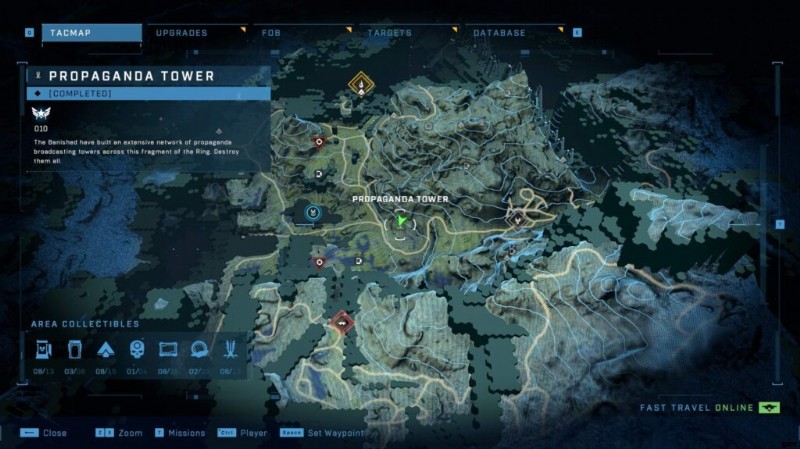
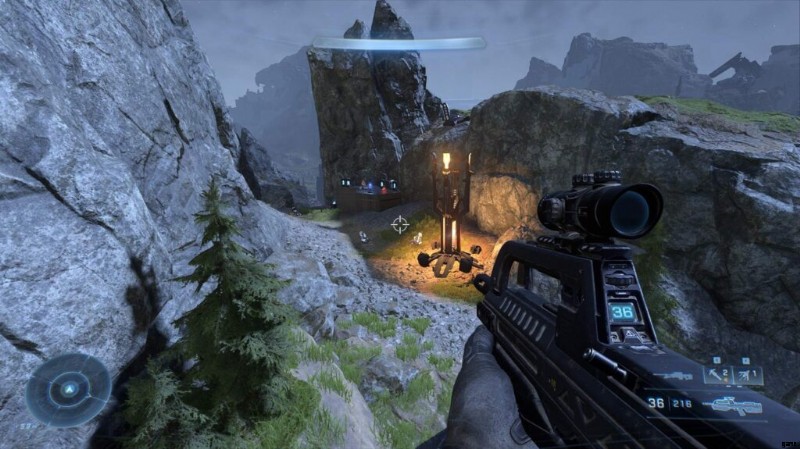
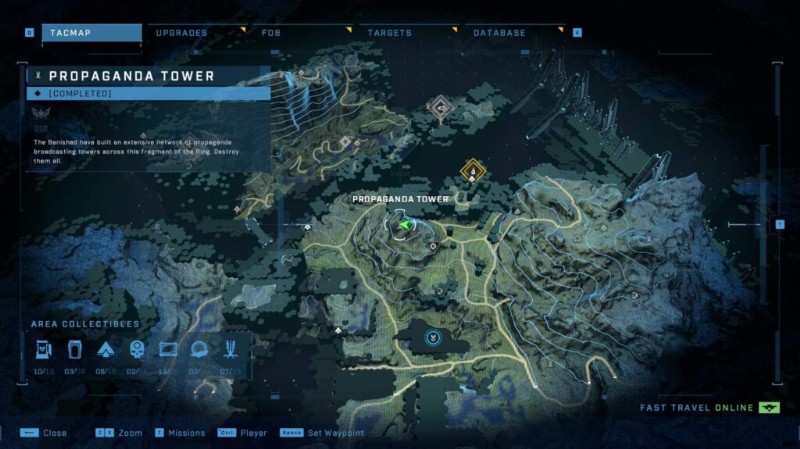
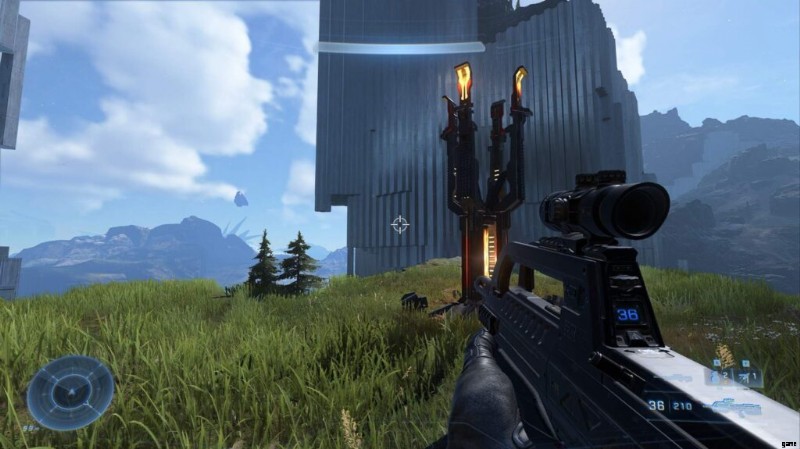
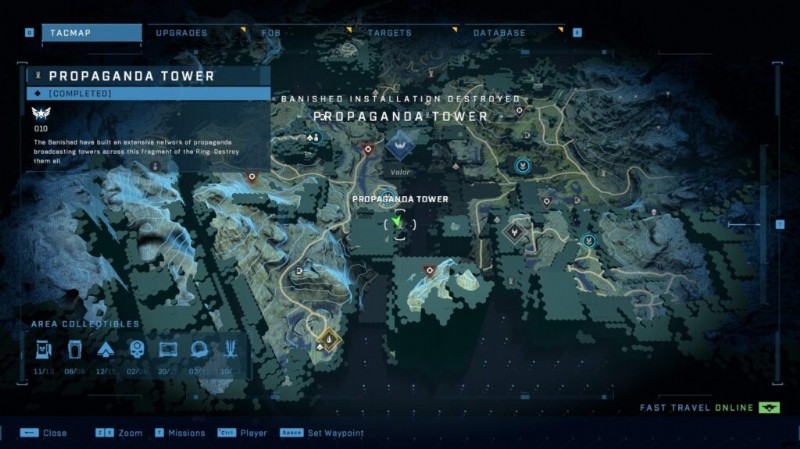
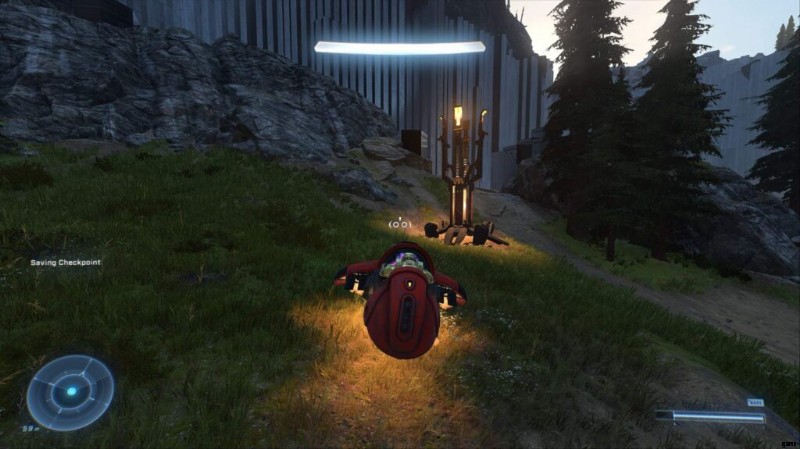
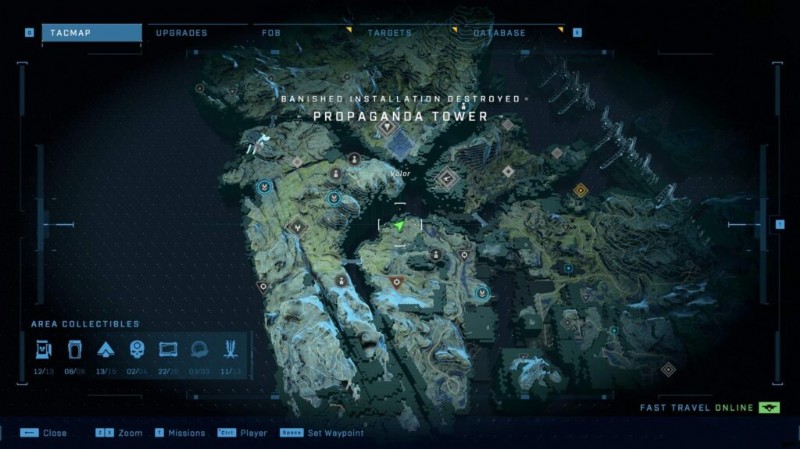
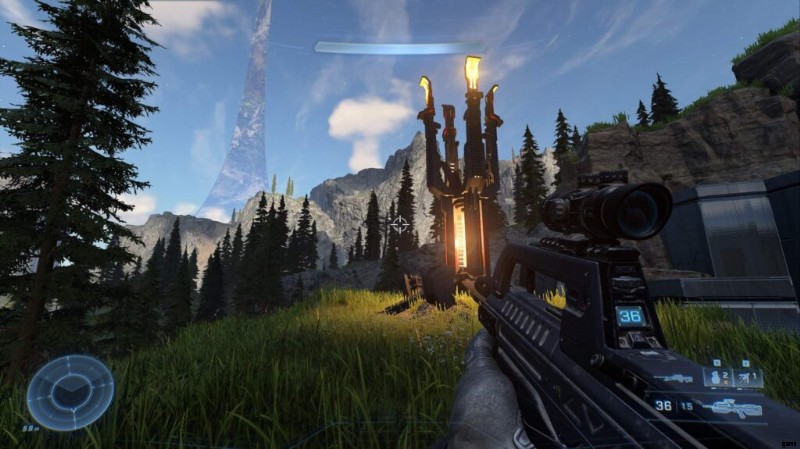
- Propagandatürme
- Attentatsziele
- UNSC-Trupps
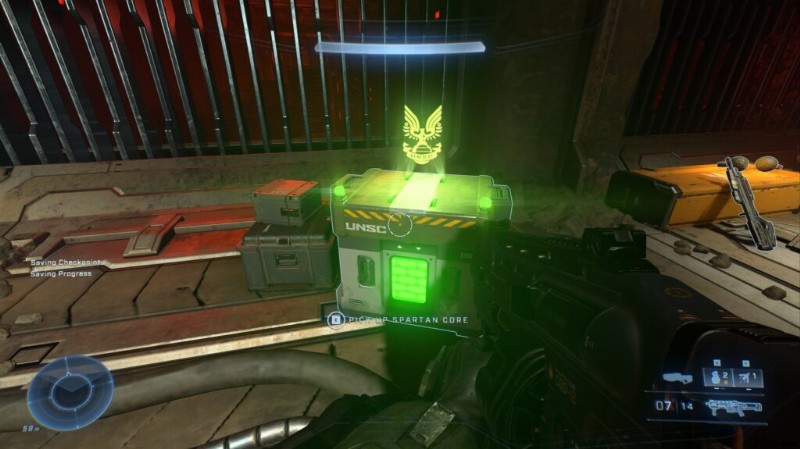
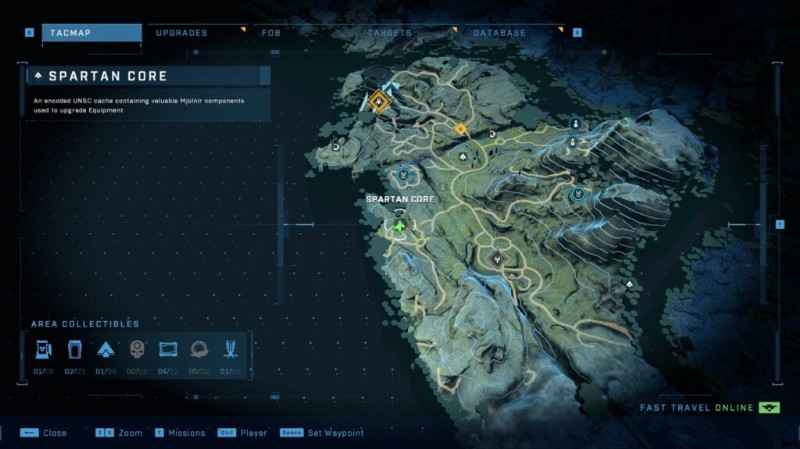
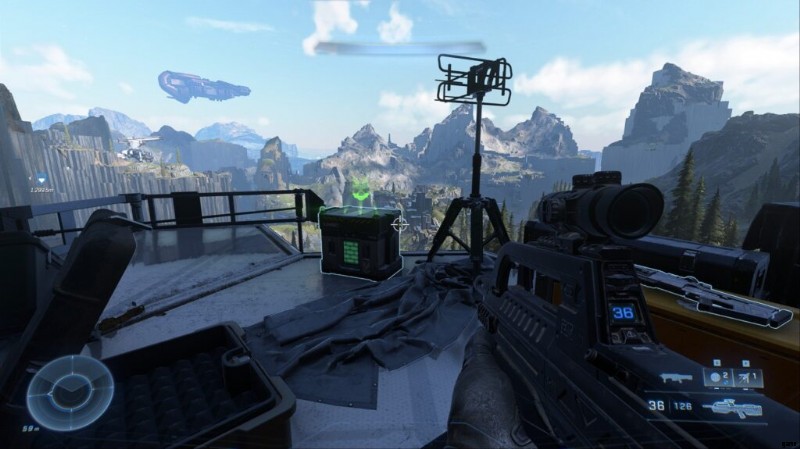
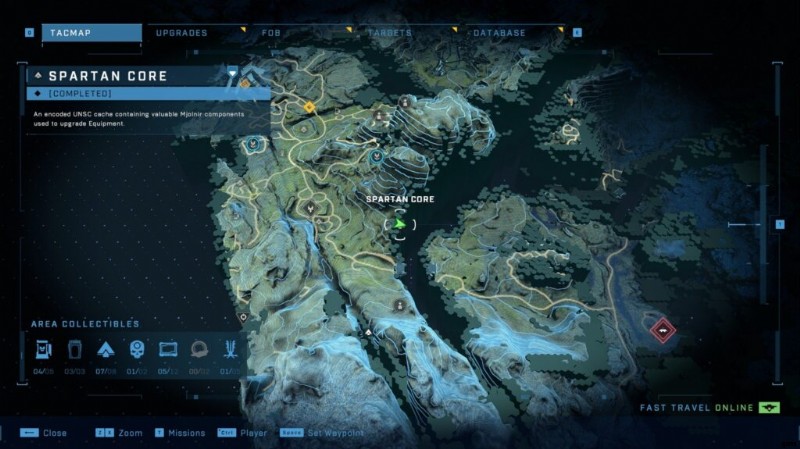
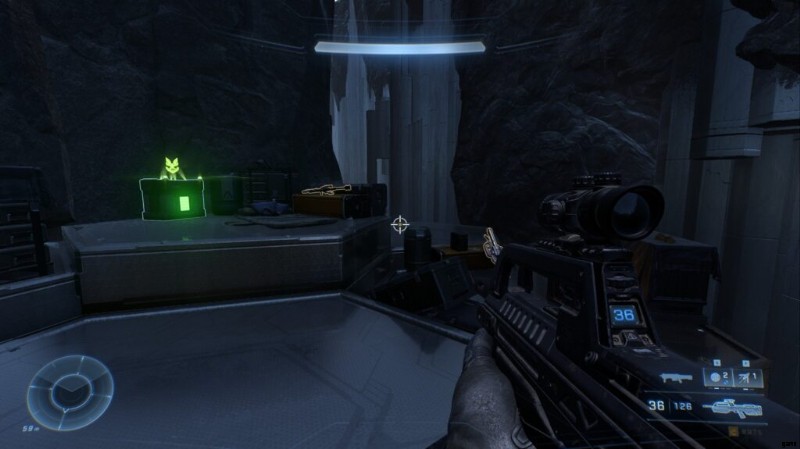
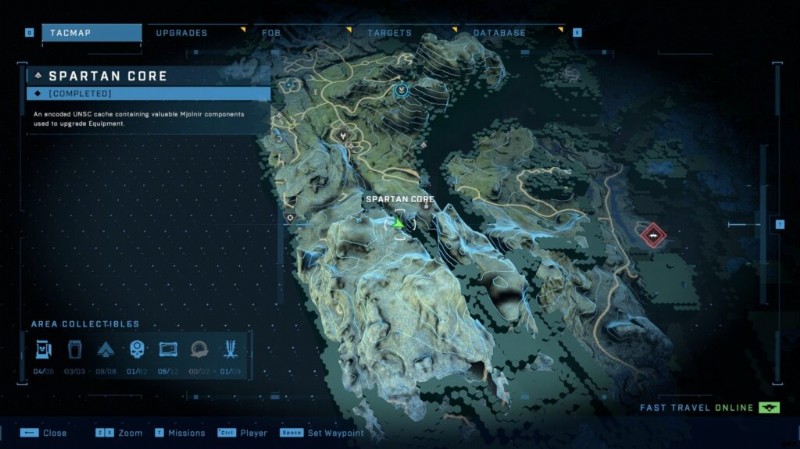
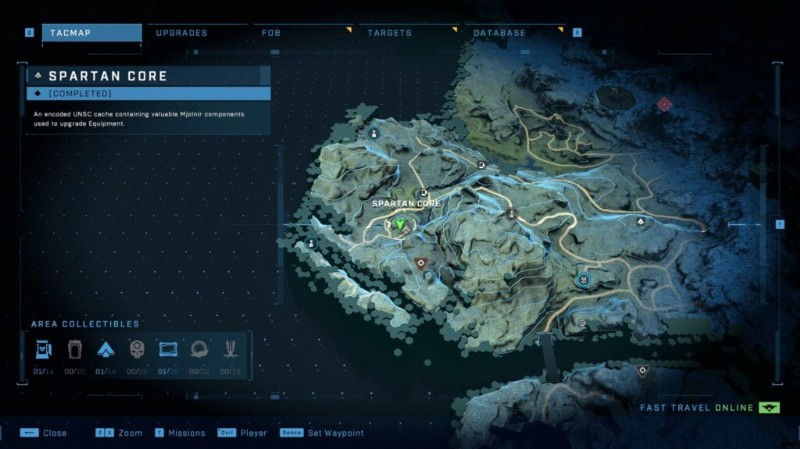
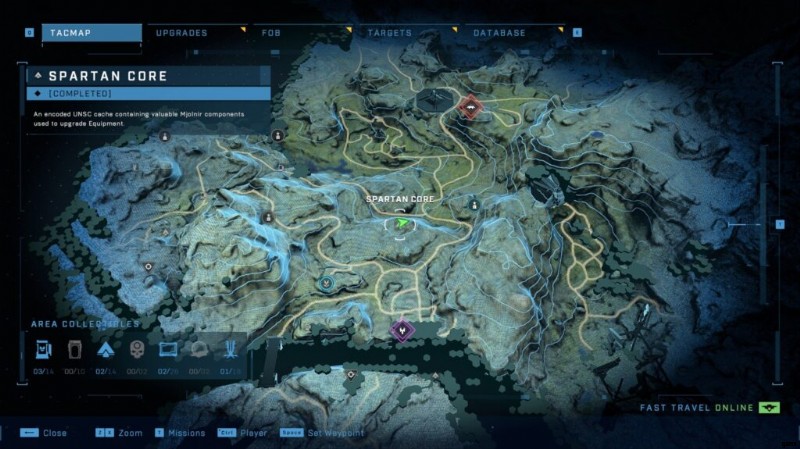
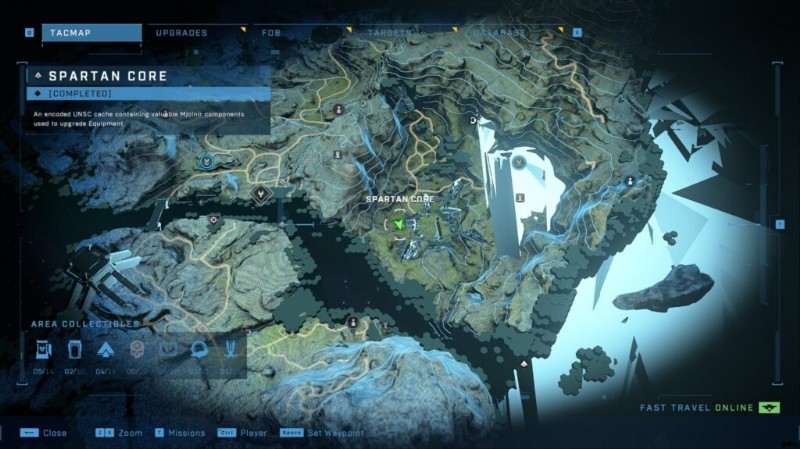
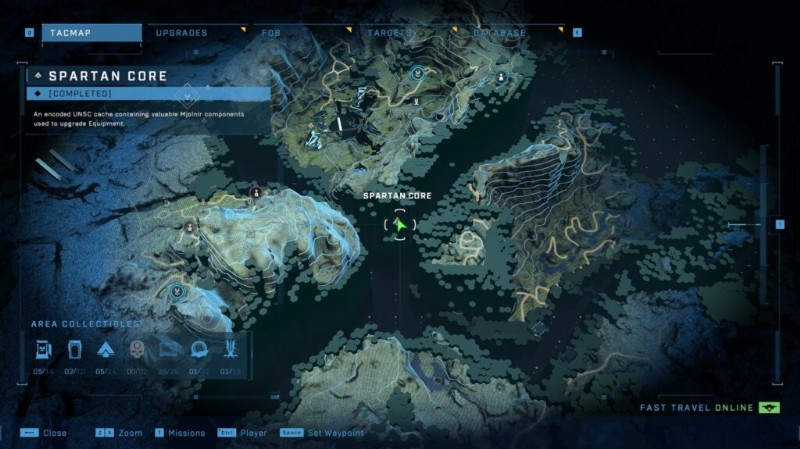
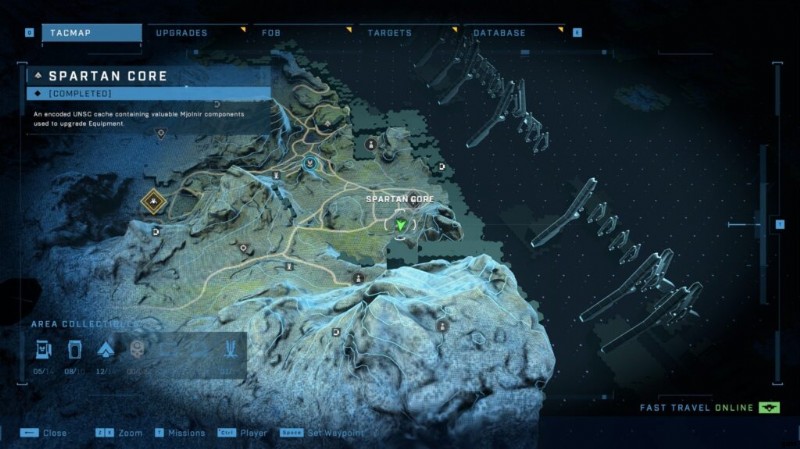
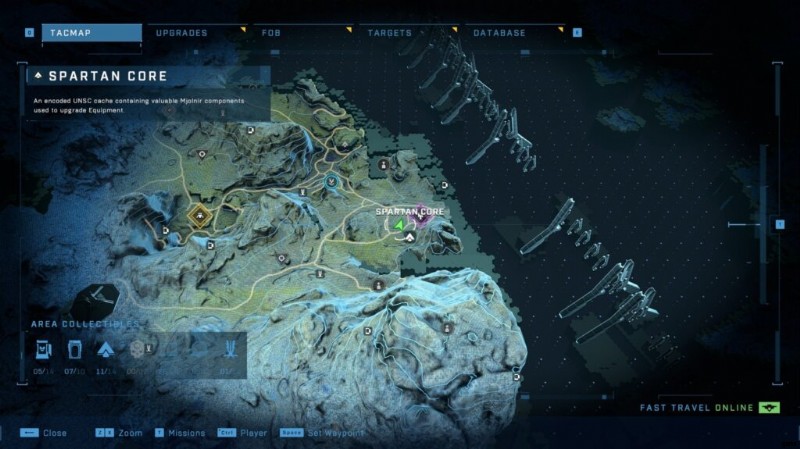
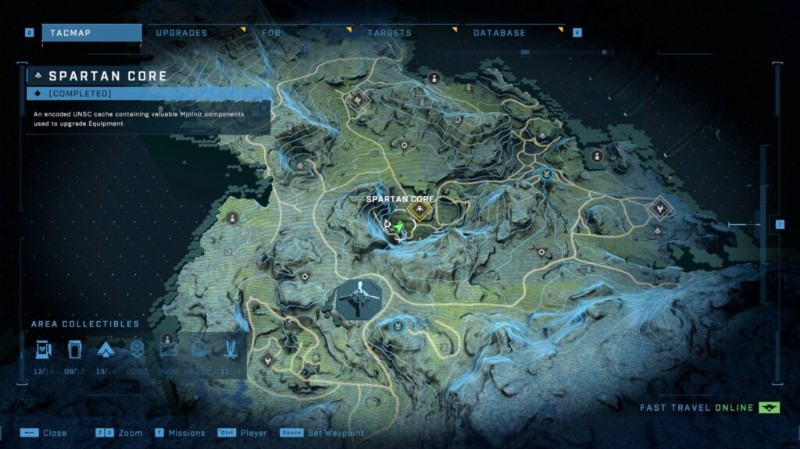
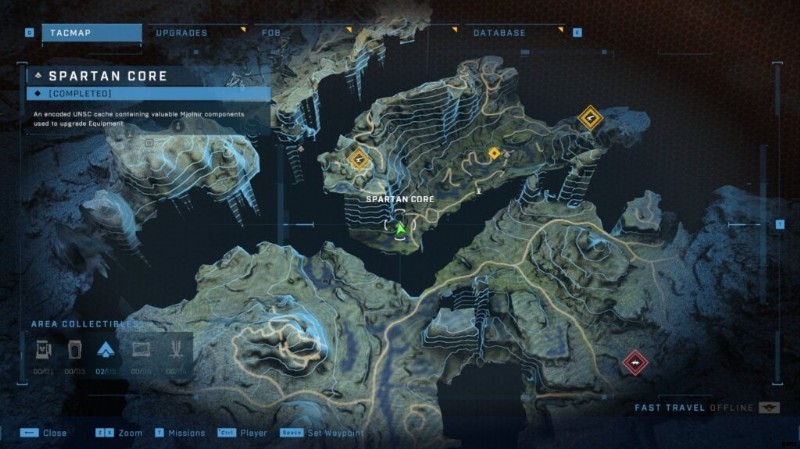
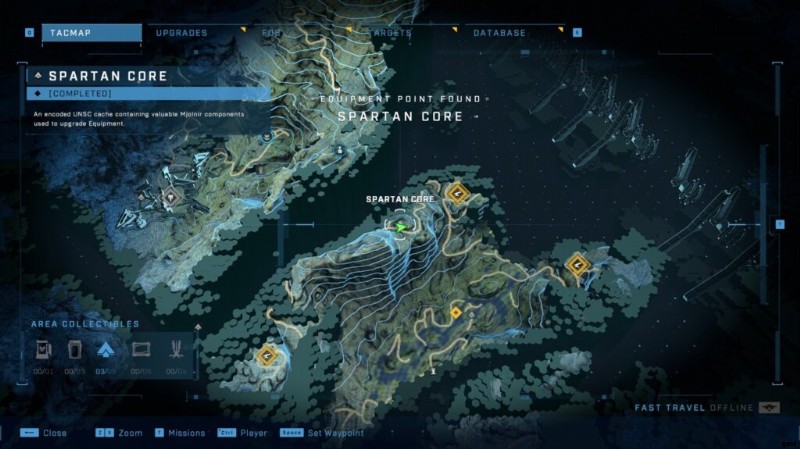
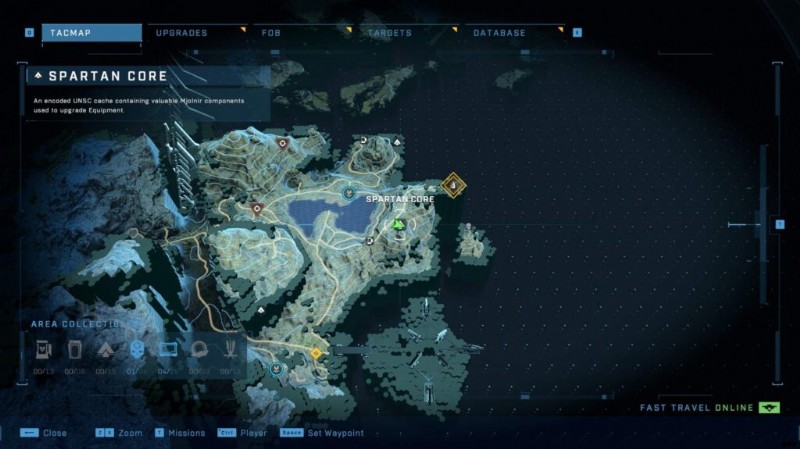
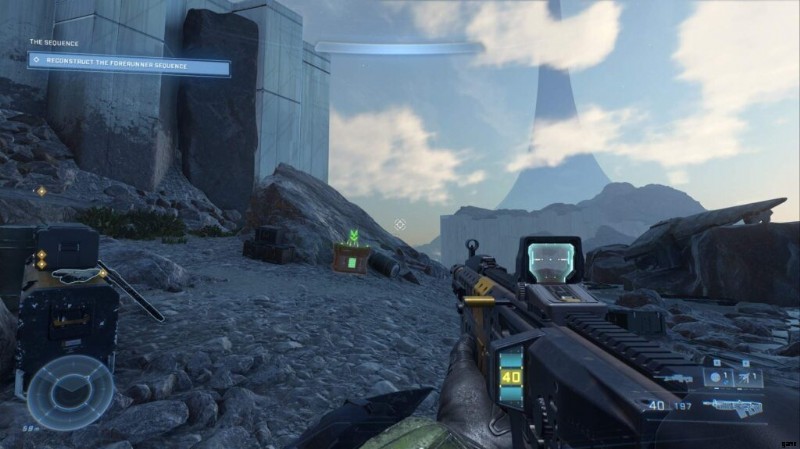
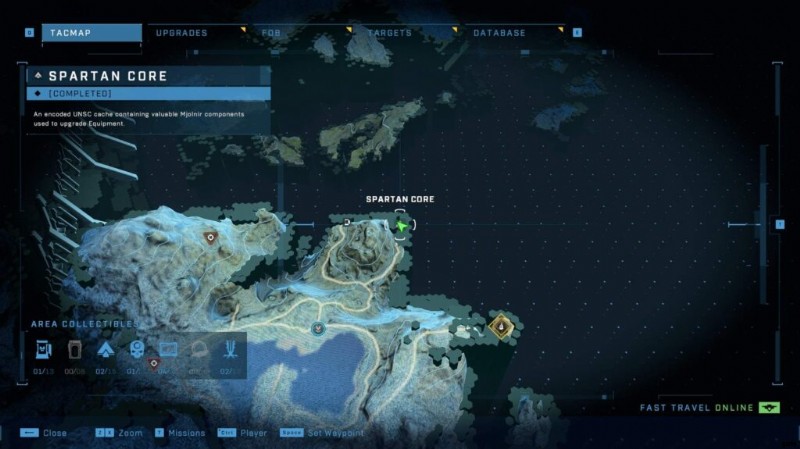
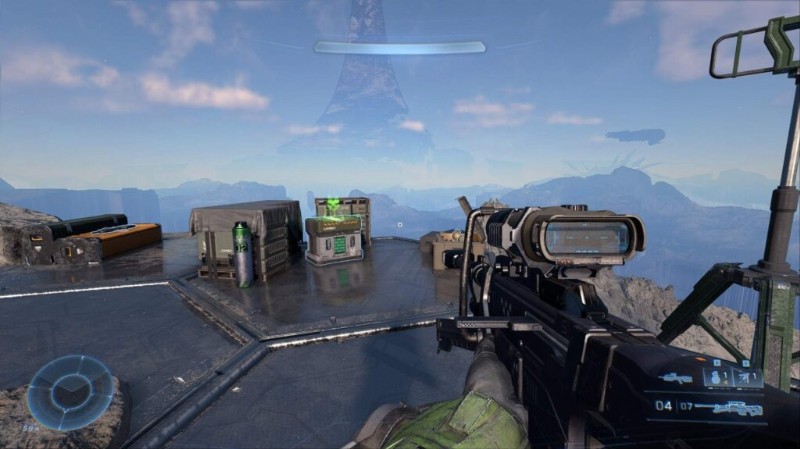
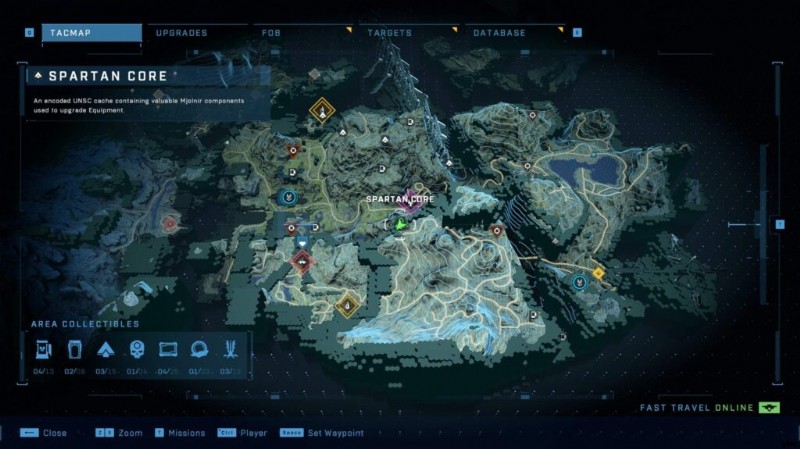
- Spartanische Kerne
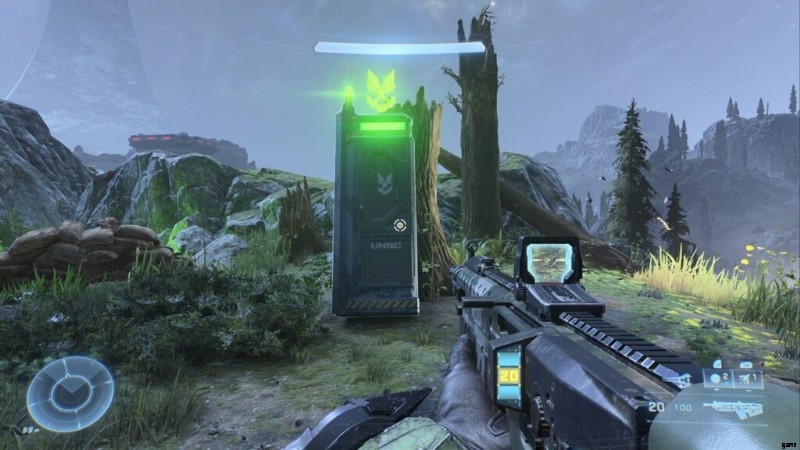
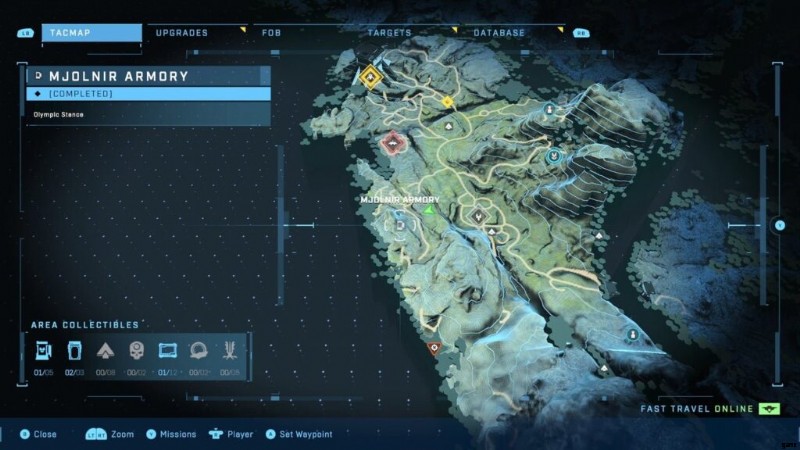
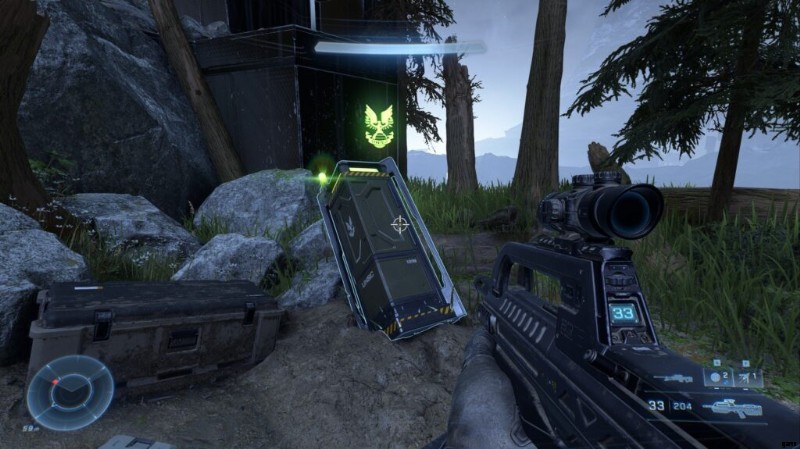
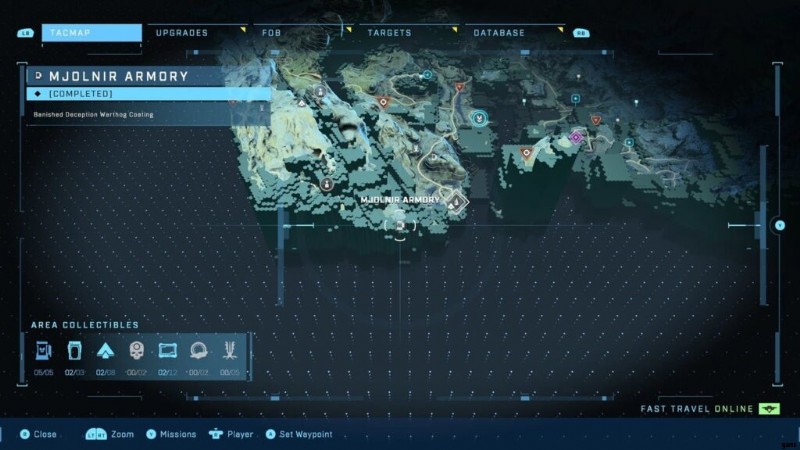
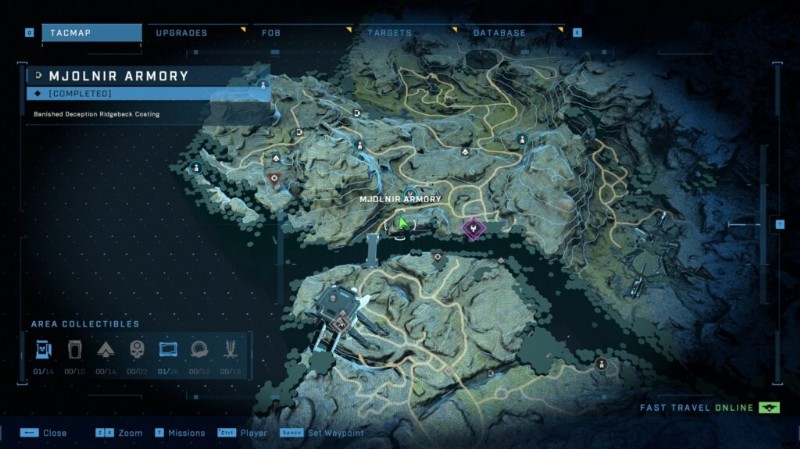
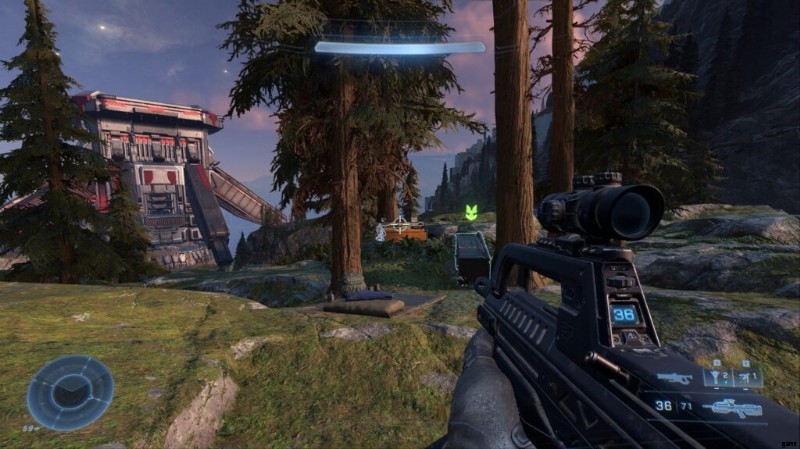
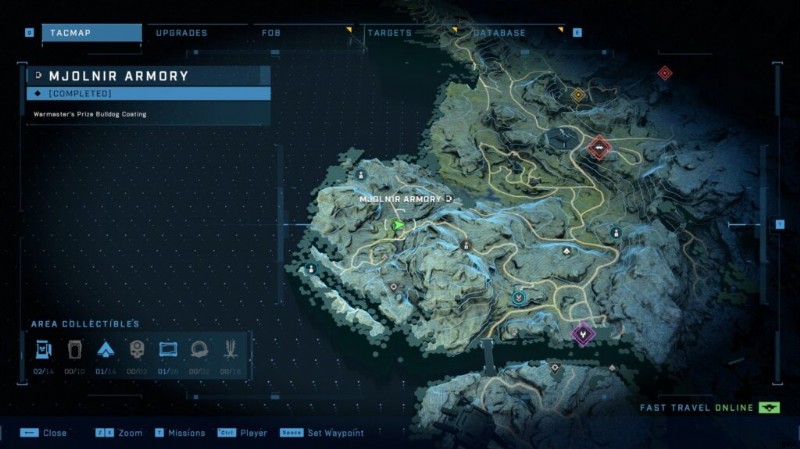
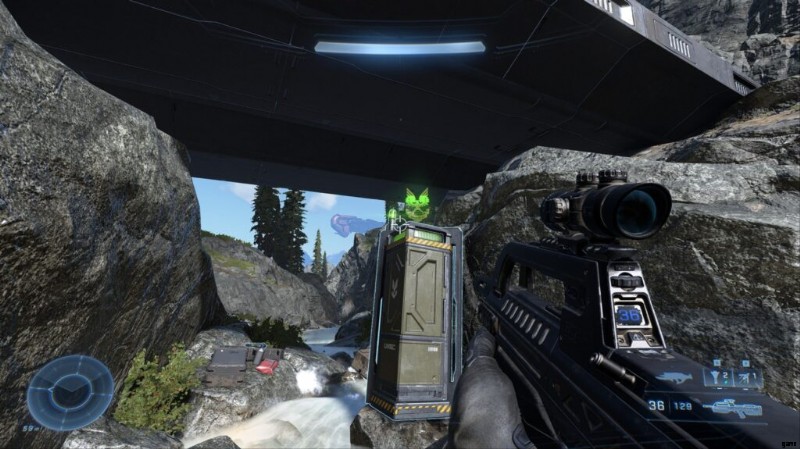
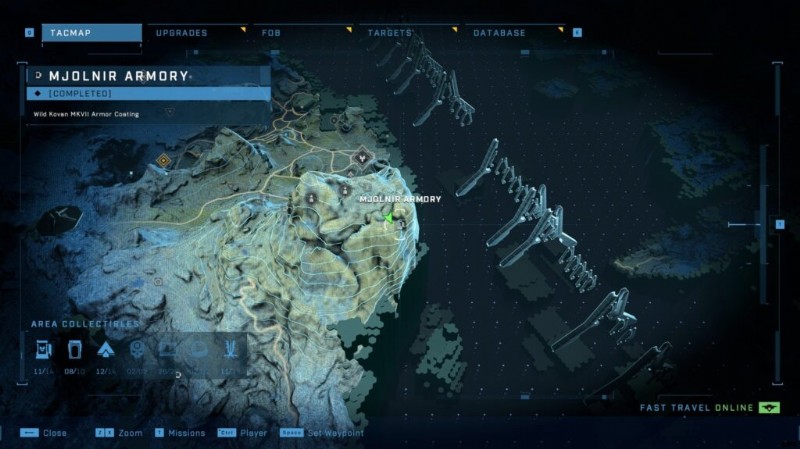
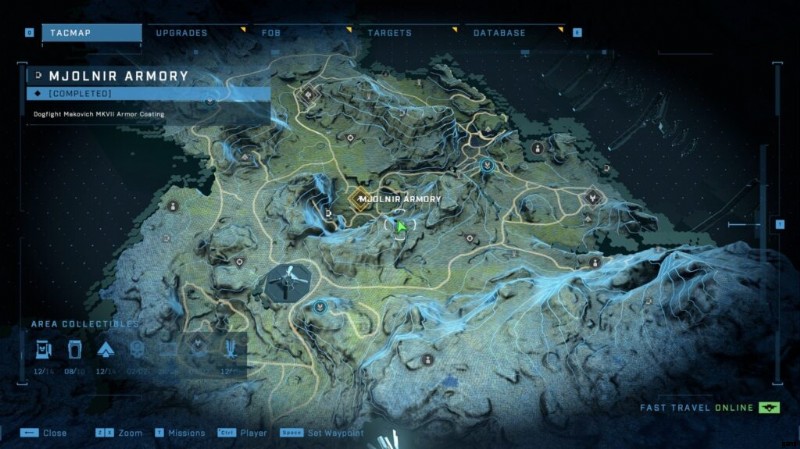
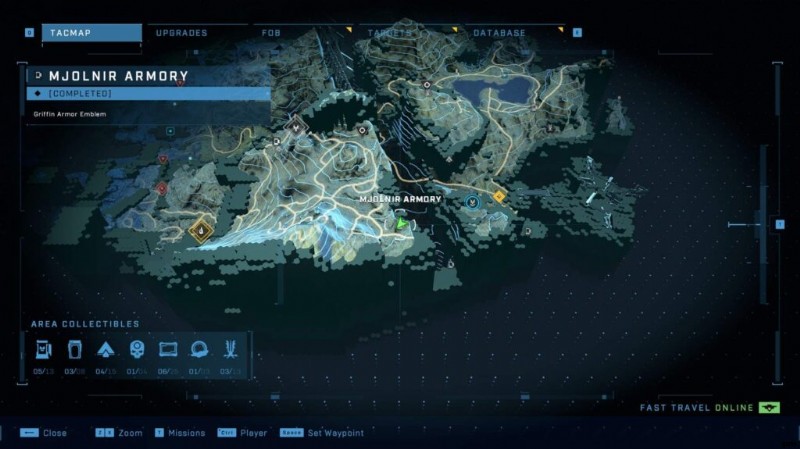
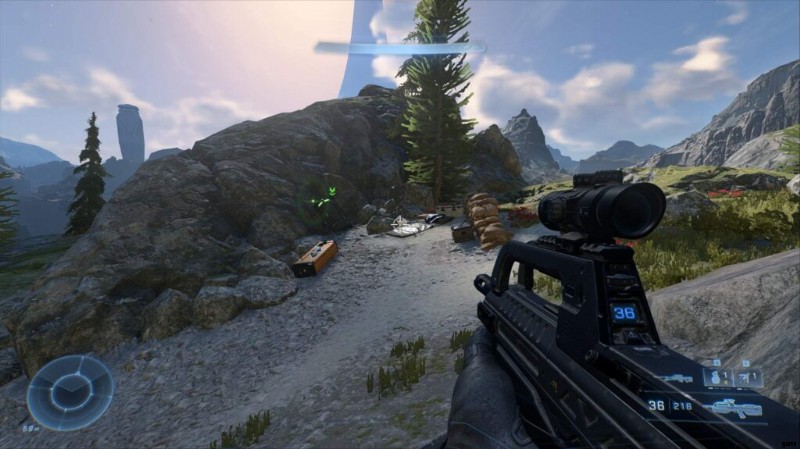
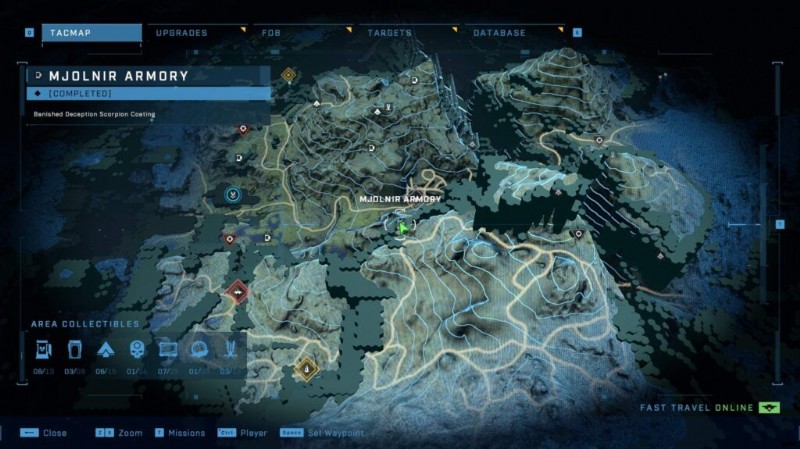
- Mjölnir-Schließfächer
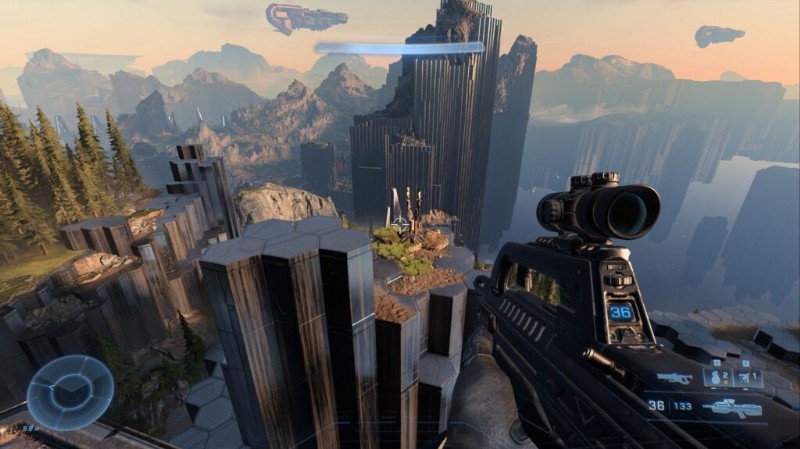
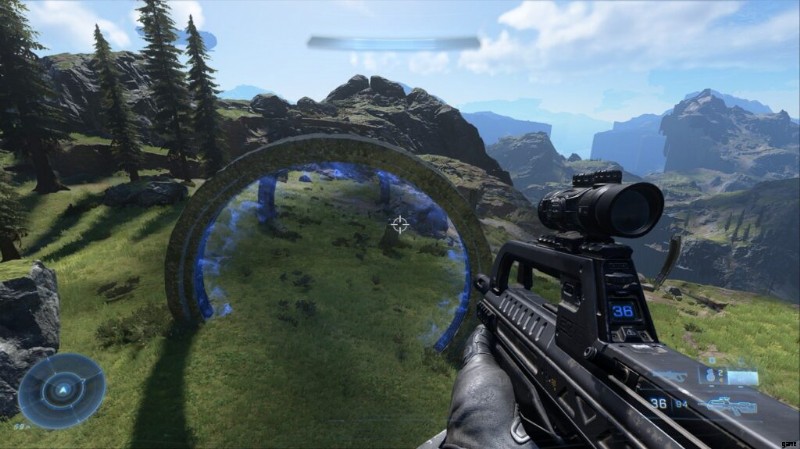
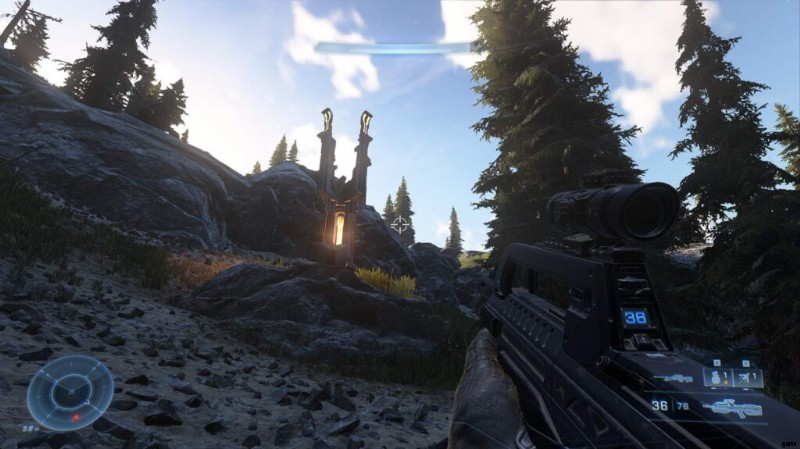
- Vorläuferartefakte
Der Index folgt einer strengen Regel:
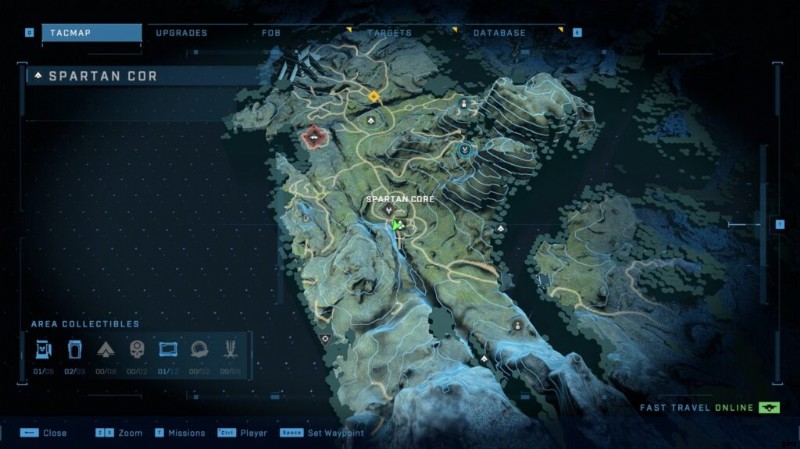
Die Hauptregion enthält die Gesamtzahl aller darin enthaltenen Missionen und Open-World-Sammelobjekte.
Die Missionen mit Bindestrich im Index stellen die Missionen selbst sowie die Open-World-Elemente dar, wenn sie in der Region enthalten sind (Region 1 hat beispielsweise keine).
Warnung
Zum jetzigen Zeitpunkt gibt es KEINE MÖGLICHKEIT, frühere Bereiche der Kampagne erneut zu besuchen. Sie müssen also sicherstellen, dass Sie sie alle bekommen, bevor Sie losfahren. Sie können mehrere Speicherungen haben, aber Ihr Fortschritt ist an Ihr Konto gebunden. Es werden also nur diejenigen angezeigt, die Sie noch nicht gefunden haben.
Wenn Sie glauben, dass Sie bei einer Mission ein Sammlerstück verpassen werden, ist es besser, neu zu starten, als das Spiel erneut spielen zu müssen. 343 haben bestätigt, dass sie sich damit befassen werden, erwarten Sie also später eine Art Missionsformat.
Ringfall
Die erste Reihe von Missionen in Infinite.
Dies gilt für die folgenden Regionen:
- Kriegsschiff Gbraakon
- Stiftung
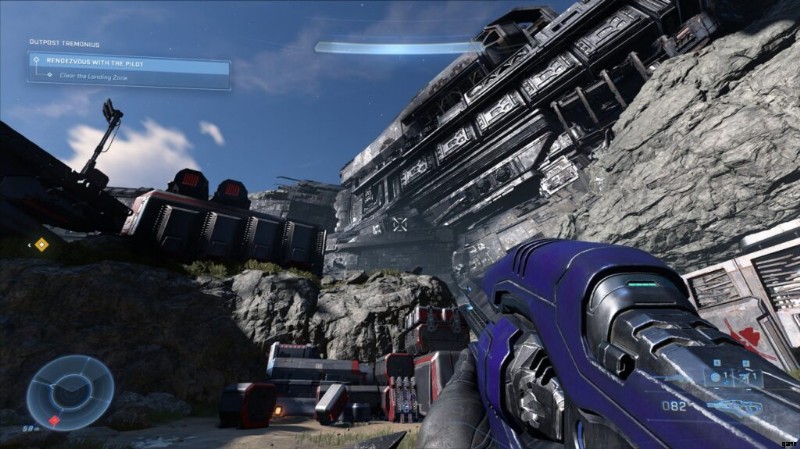
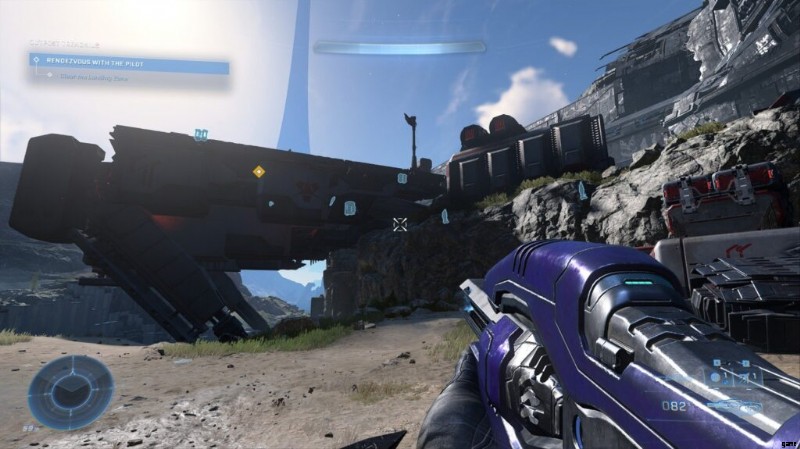
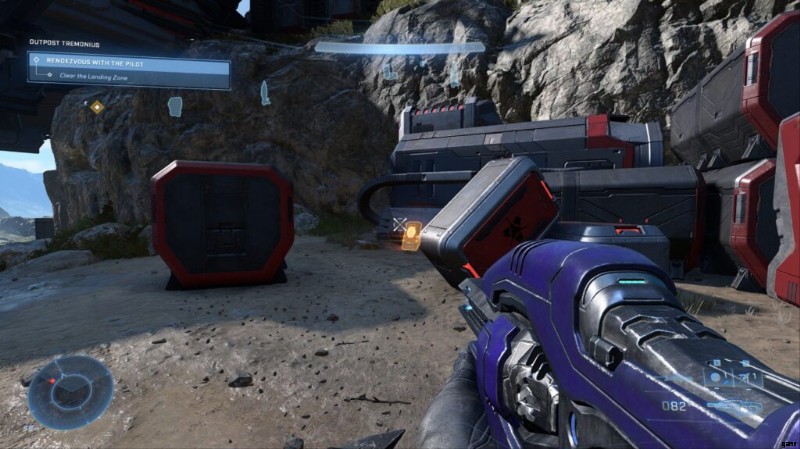
- Außenposten Tremonius
Die folgenden Gegenstände sind verfügbar:
- 1x Mjolnir-Schließfach
- 2x Schädel
- 3x Verbanntes Audioprotokoll
- 3x spartanischer Kern
- 4x UNSC-Audioprotokoll
Kriegsschiff Gbraakon
UNSC Audio Log Nr. 1 – Der Plan
Dieses Audioprotokoll sollte automatisch in Ihrer Datenbank erscheinen, während Sie durch das Level fortschreiten.
Audioprotokoll Nr. 2 – Infinity Down
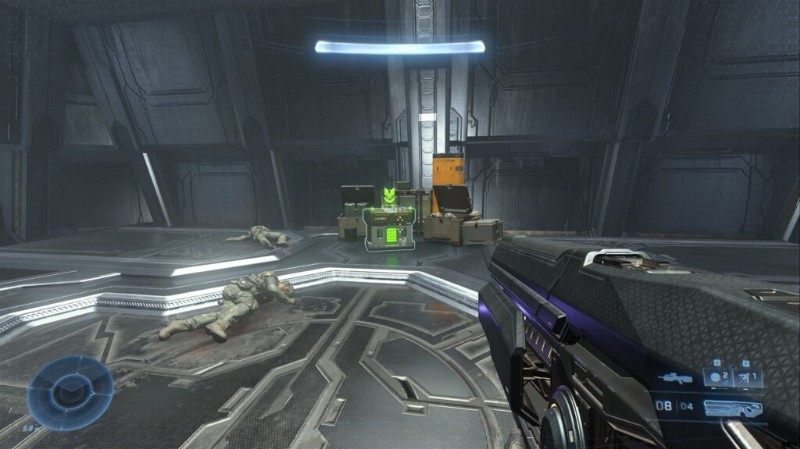
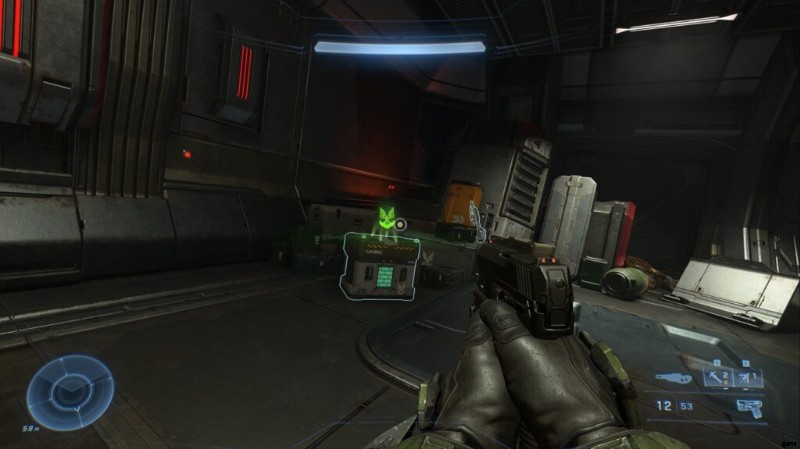
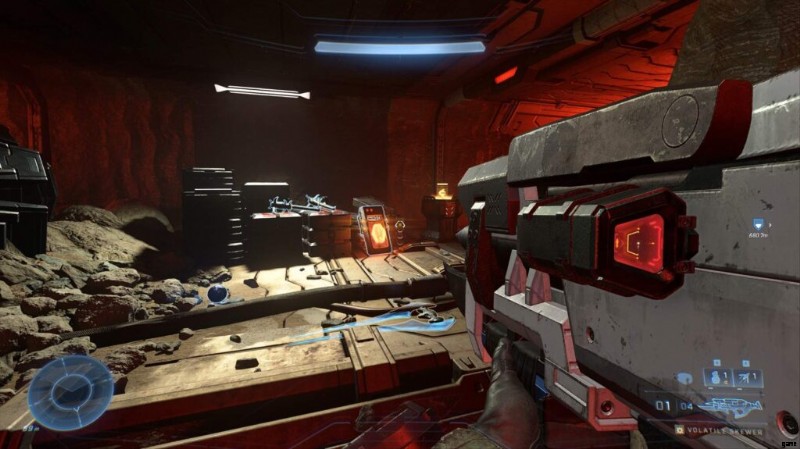
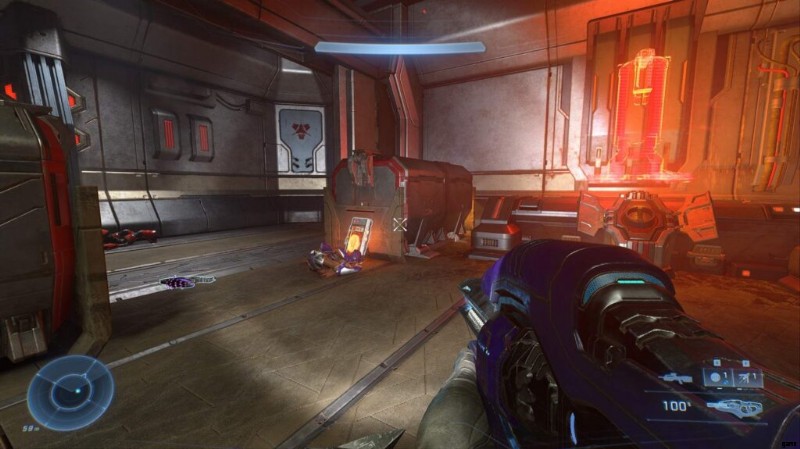
Gehen Sie durch das Level, bis Sie den ersten Aufzug erreicht haben, dies sollte nach dem Grappleshot-Tutorial sein. Oben im Aufzug befinden Sie sich in einem Raum mit einer Linkskurve. Dort, wo die Kurve im rechten Winkel ist, siehst du eine Sammlung von Kisten und Waffen auf dem Boden, darunter ein Audiolog.
Schädel Nr. 1 – Bumm
Nachdem Sie die Brutes durch den ersten Abschnitt des Levels angegriffen haben, erreichen Sie einen großen Aufzug. Gehen Sie geradeaus. Gehen Sie ein wenig weiter und Sie werden sich einige Spike-Granaten schnappen. Sie kommen in einem großen zweistöckigen Raum an. Zu Ihrer Rechten sehen Sie eine große Anzahl Förderbänder. Springen Sie auf den mittleren Behälter, während er aufsteigt; Achten Sie darauf, nicht vom Lasergitter zerquetscht zu werden. Sobald der Container anhält, solltest du den Schädel direkt vor dir sehen können.
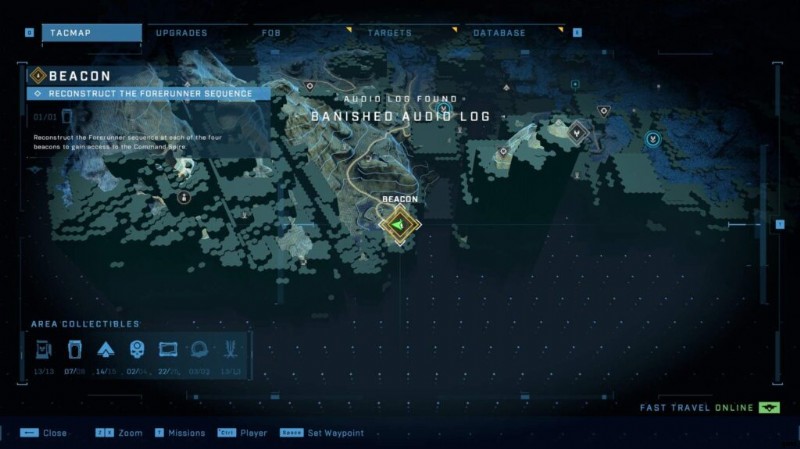
Banished Audio Logs Nr. 1 – Verlust
Wenn Sie weitermachen, werden Sie aus Chiefs POV herausgezogen und betreten eine Zwischensequenz mit Esherum. Bleiben Sie danach in der Nähe der obersten Etage, biegen Sie rechts ab, Sie werden dieses Audioprotokoll auf dem Boden sehen. Stellen Sie sicher, dass Sie das Protokoll greifen, bevor Sie die Reaktoren in die Luft jagen und den Schalter aktivieren, andernfalls müssen Sie die Mission neu starten .
Stiftung
UNSC-Audioprotokoll Nr. 1 – Die Frage
Dieses Audioprotokoll wird automatisch durch eine Zwischensequenz freigeschaltet. Nicht zu übersehen.
Schädel Nr. 2 – Kuhglocke
Während Sie durch das Level voranschreiten, holen Sie Ihren treuen KI-Begleiter ab und fahren dann einen Aufzug hinauf. Sie werden schließlich an einer Kreuzung mit einem durchsichtigen Fenster herauskommen. Gehen Sie diesen Korridor nach links hinunter, wo Sie von einigen Jackles und Grunzen angegriffen werden. Direkt darüber ist ein schmaler Vorsprung. Verwenden Sie Ihre Seilrutsche, um zum höchsten Punkt zu klettern. Der Schädel wartet oben auf dich.
Banished Audio Logs Nr. 1 – Cylix
Sammle die Waffe ein und durchquere den Raum mit der großen Hebebrücke. Dies ist keine der harten Lichtbrücken, denen Sie begegnen, sondern eine physische Brücke, die Stück für Stück aus dem Boden gehoben wird. Direkt am Ende dieses Raums, aber bevor Sie zum nächsten Bereich gehen, befindet sich dieses Audioprotokoll links von der Tür.
UNSC-Audioprotokoll Nr. 2 – Nicht meine Schuld
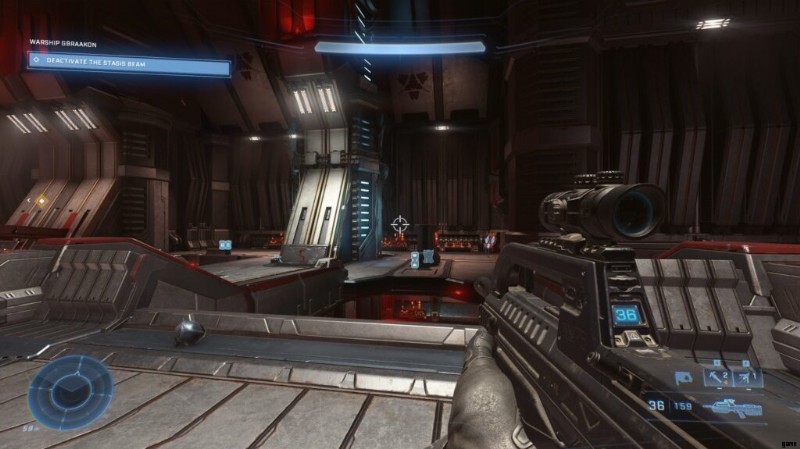
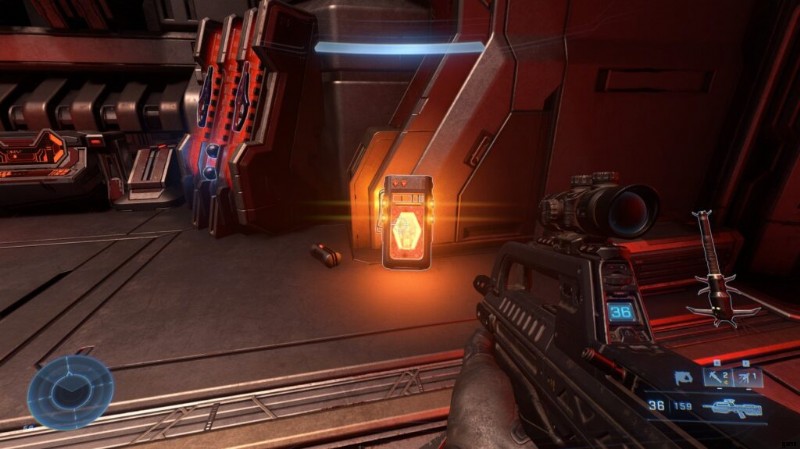
Im letzten Bereich des Levels, einem großen roten Raum, haben Sie die Aufgabe, einen Kraftsamen aus einem mit Cylix gefüllten Nebenraum zu holen. Sobald Sie das Ende des Flurs erreicht haben, werden Sie feststellen, dass ein zusätzlicher Kraftsamen erforderlich ist, um ihn zu aktivieren. Sie werden von der Waffe aufgefordert, in einen Nebenraum zu gehen, um einen weiteren Power Seed für den Schwerkraftlift zu holen. In diesem Raum, direkt links vom Ziel, liegt das Audiolog auf dem Boden.
Außenposten Tremonius
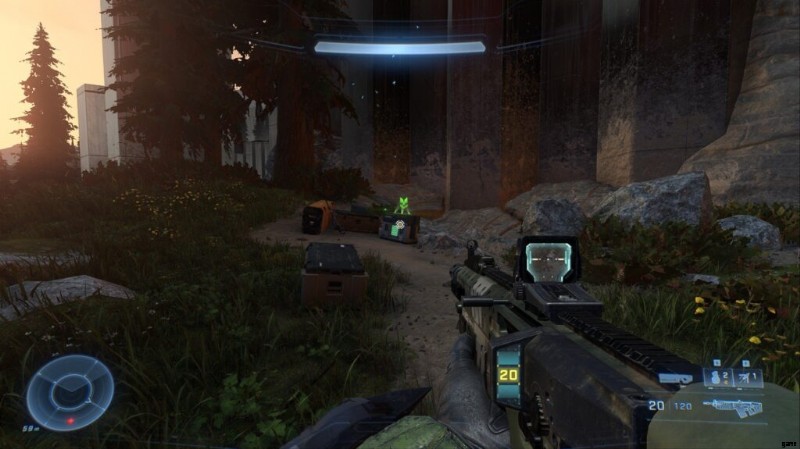
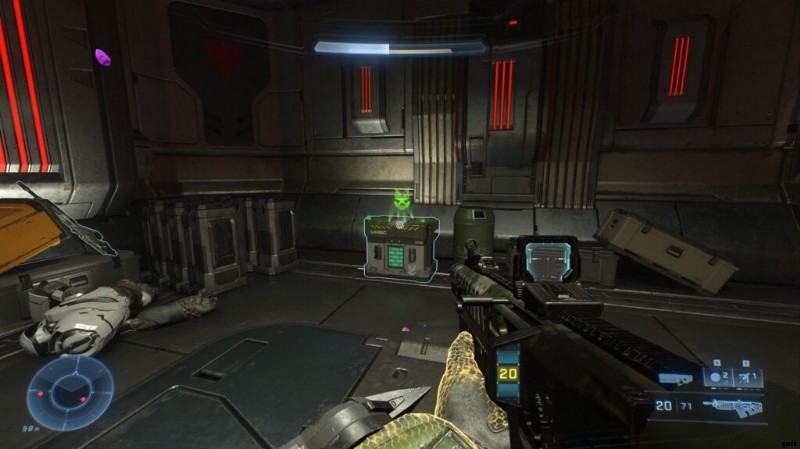
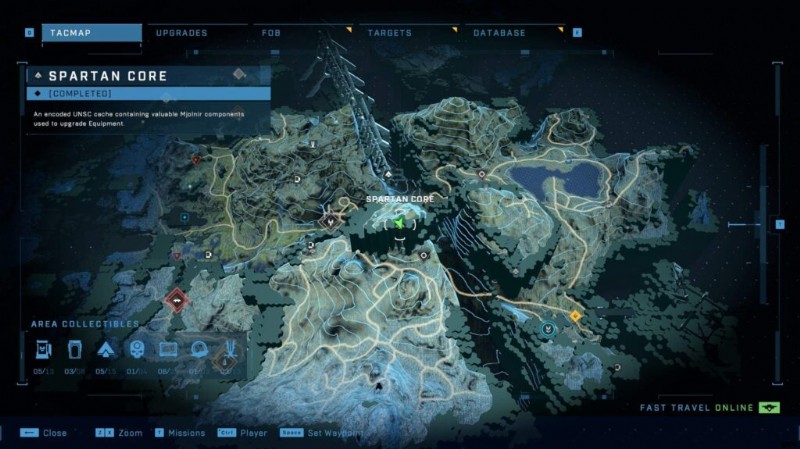
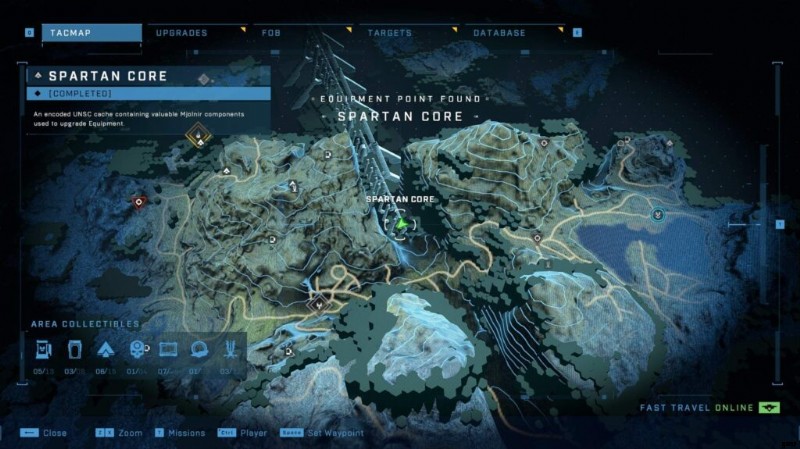
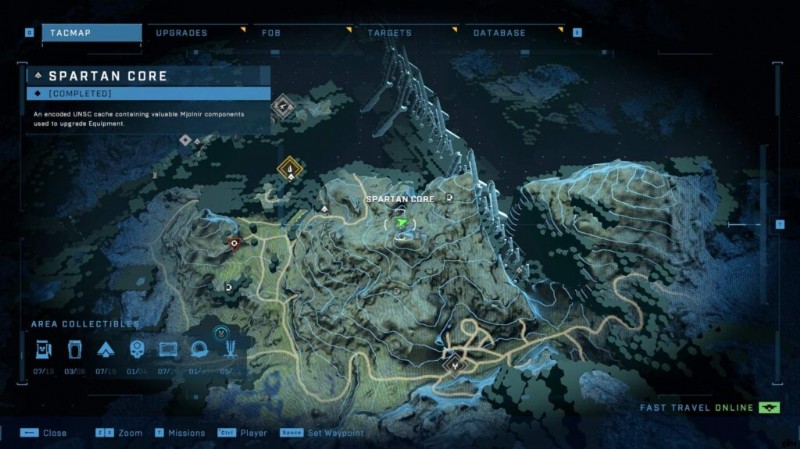
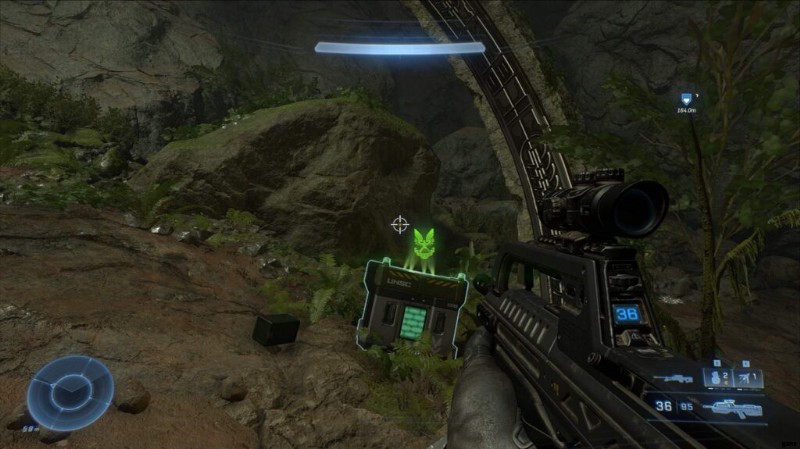
Spartanischer Kern #1
Sie werden dem ersten Spartan Core begegnen, wenn Sie zum ersten Mal die Spitze des Aufzugs erreichen. Fast unübersehbar.
Banished Audio Log Nr. 1 – Dir zu Ehren
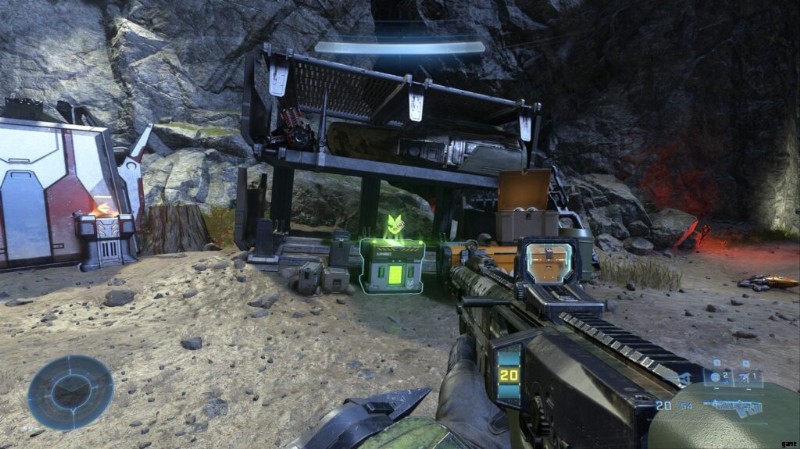
Outpost Inter – In Your Honour – Wenn Sie sich dem Outpost von Süden auf der Klippe darunter nähern, sehen Sie eine Sammlung von Kisten und Waffen. Unter all diesem Müll finden Sie das Audioprotokoll.
Rüstungsschrank Nr. 1
Nördlich des Outpost Tremonius-Markers finden Sie diesen Armor Locker. Dort trifft der Schmutz auf das Metall der Plattform, auf der der Pelikan landet.
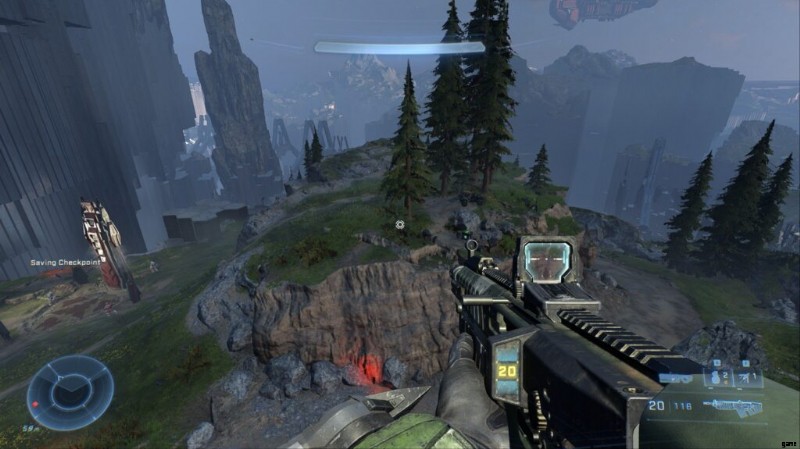
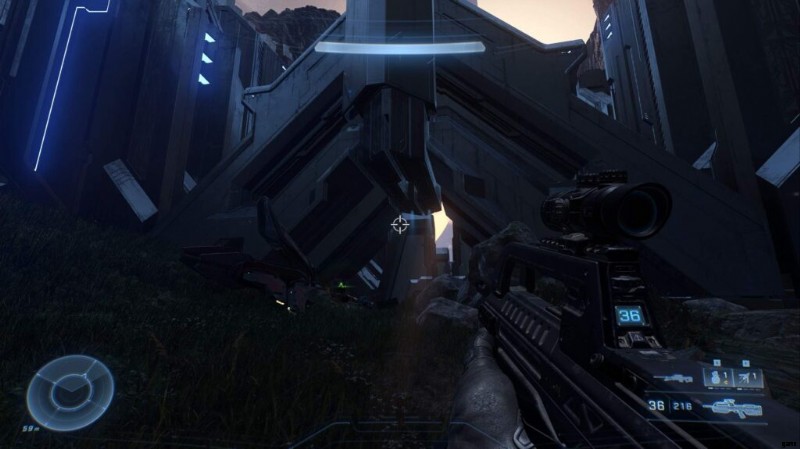
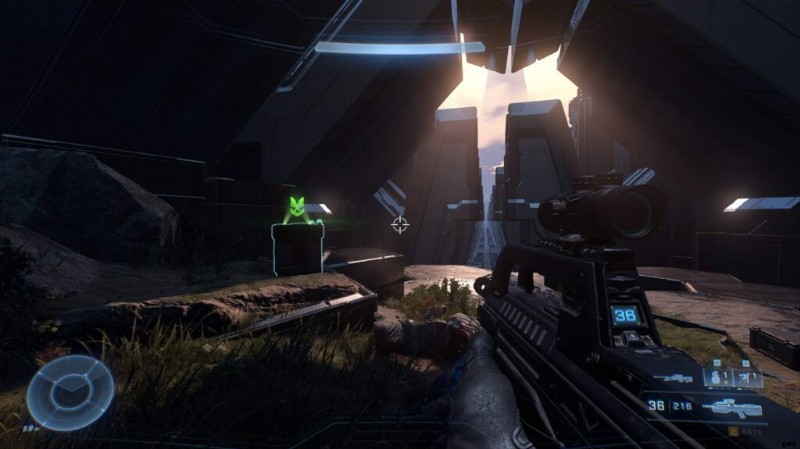
Spartanischer Kern Nr. 2
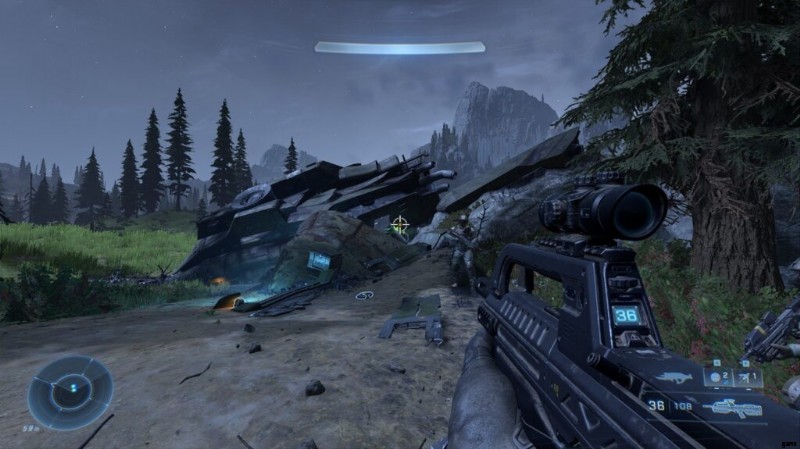
Nach Verlassen des Gebäudes mit dem Fahrstuhl im Uhrzeigersinn um das Gebäude herumfahren. Direkt dahinter siehst du ein Wrack mit einem Spartan Core.
Spartanischer Kern Nr. 3
Von dort aus, wo die Pelikanländer nach Südwesten blicken, sehen Sie eine kleine Hütte neben einem Gebäude. Den Spartan Core findest du hier.
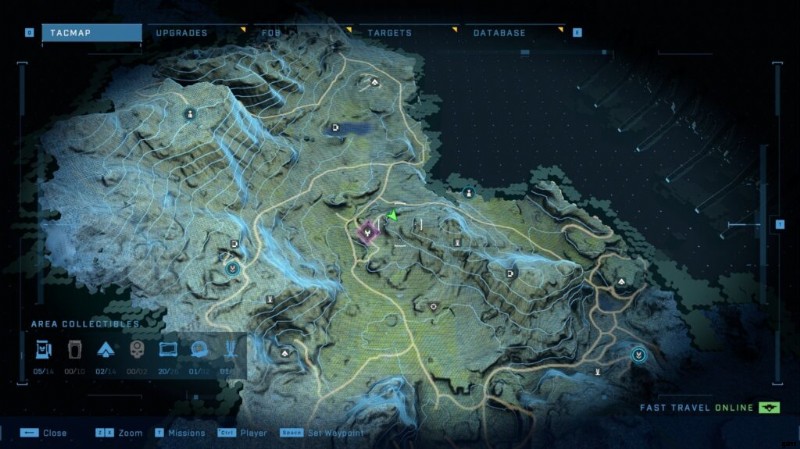
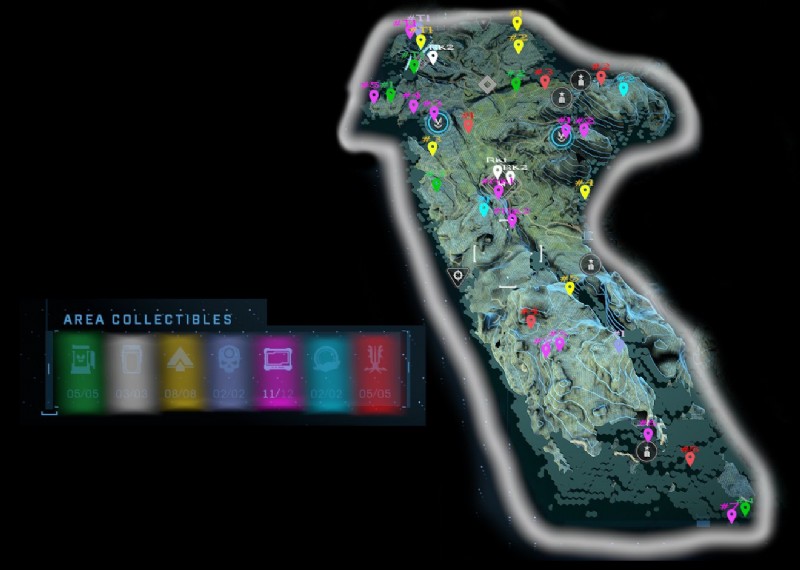
Abriegelung [Region 1]
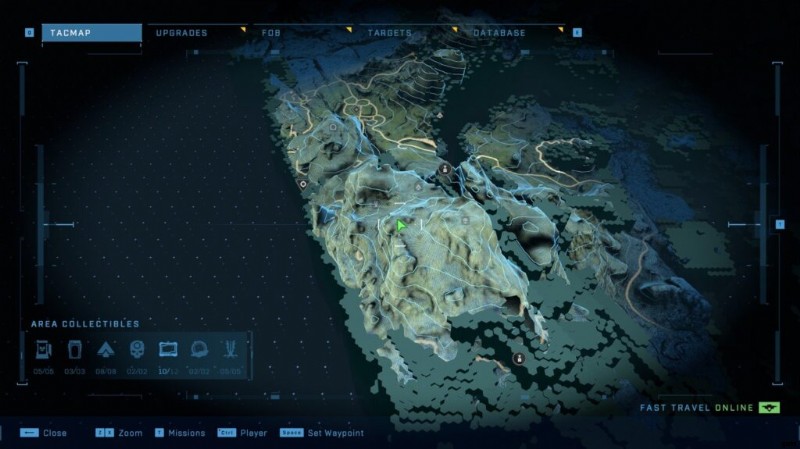
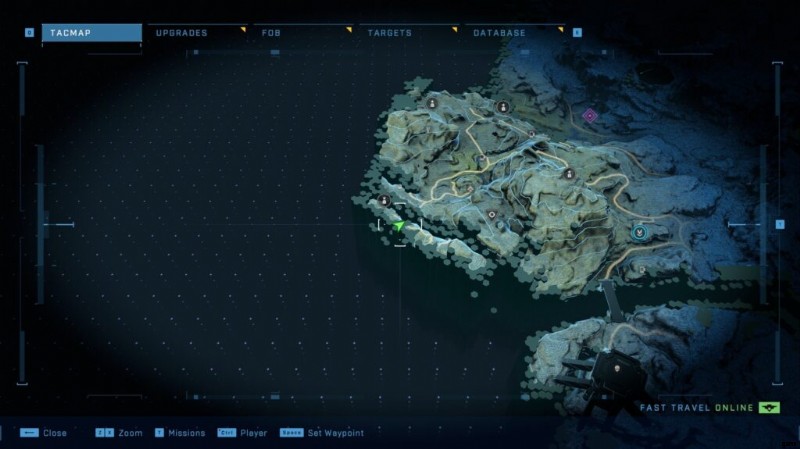
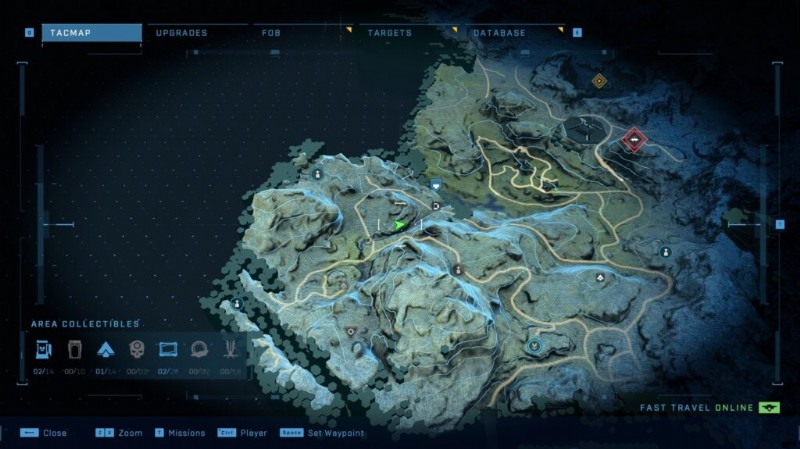
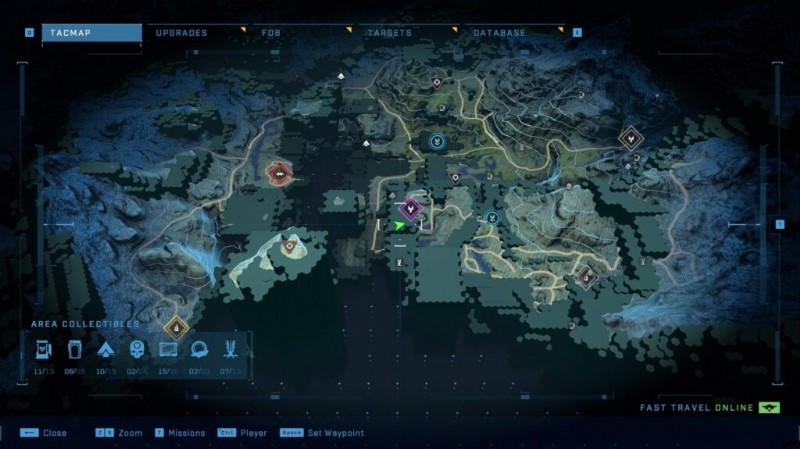
Die erste „offene Welt“-Region in Infinite. In dieser Region gibt es keine klassischen „Missionen“ im Halo-Stil. Nur Forts zum Erobern.
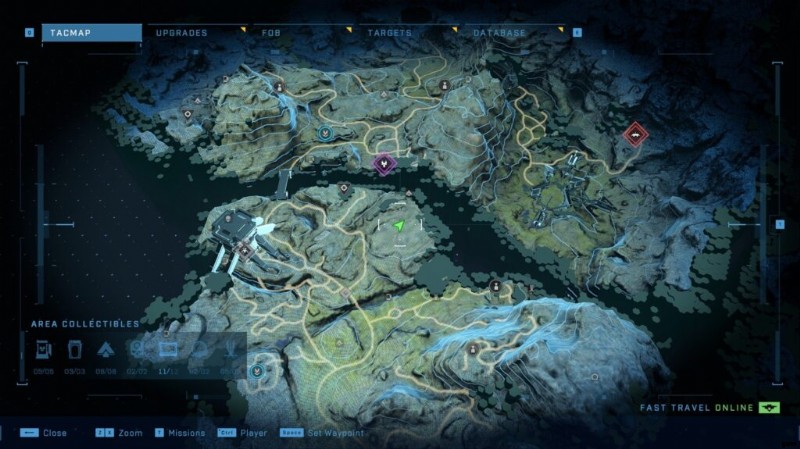
Zum Vergrößern klicken...
UNSC Audio Log Nr. 1 – Vorbereitungen
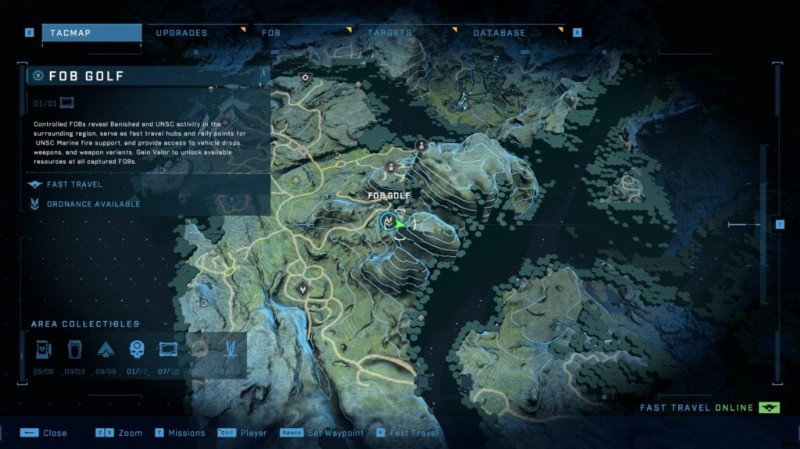
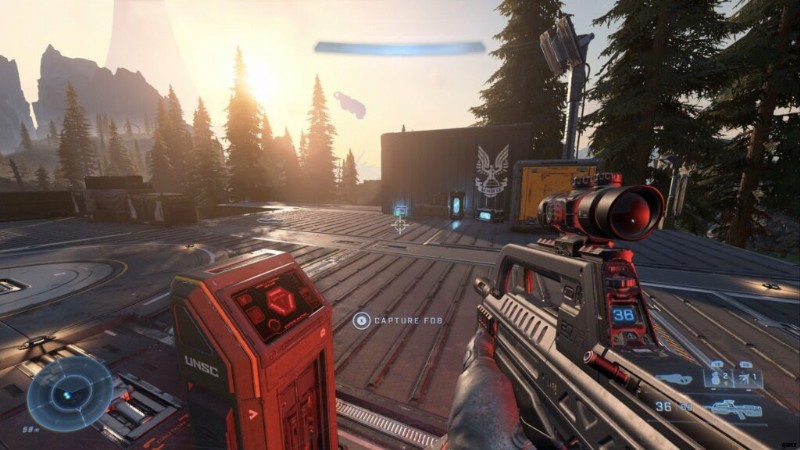
Nachdem Sie sich FOB Golf genähert und es geräumt haben, gehen Sie zum Kontrollpunkt, um den Ort zu aktivieren und zu sichern, und biegen Sie dann links ab. Sie sehen das Audioprotokoll, das an einem Haufen Sandsäcke am Rand der Plattform sitzt.
UNSC-Audioprotokoll Nr. 2 – Spartan Audio Log – Perfektes Zielen
Direkt neben FOB – Golf, an der Seite einer Vorläufer-Hex-Klippe.
UNSC Audio Log #3 – Captain’s Report – Infinity’s Approach
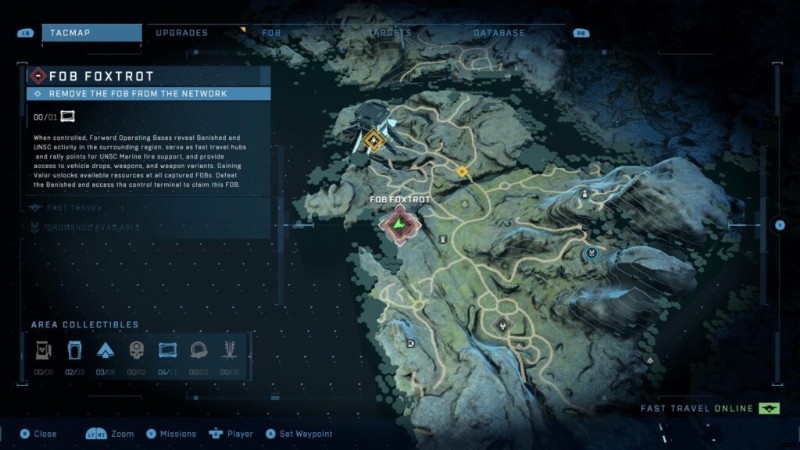
Biegen Sie direkt neben FOB – Foxtrot rechts ab und Sie werden sehen, dass es an einem UNSC-Versandcontainer lehnt.
UNSC Audio Log #4 – Spartan Audio Log – Overwatch
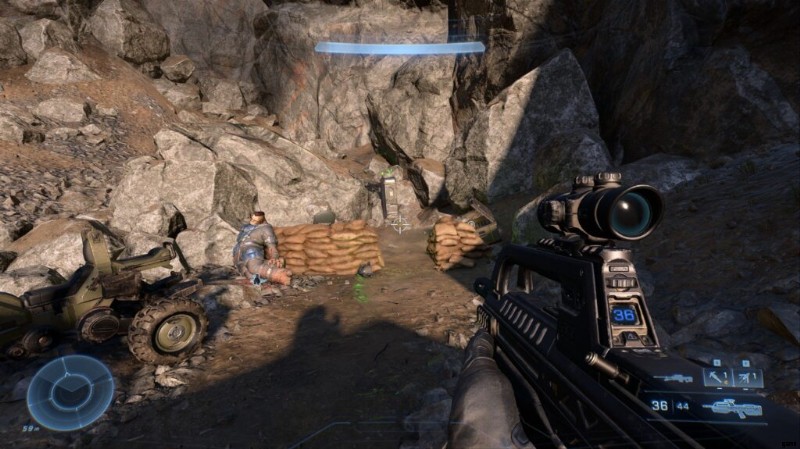
Nordwestlich von FOB Foxtrott. Von der Kante in die kleine Spalte springen. Du findest das Audioprotokoll auf dem Boden neben einem gefallenen Soldaten mit einem Battle Rifle.
UNSC Audio Log #5 – Spartan Audio Log – Zeit kaufen
Nordwestlich von FOB-Foxtrott. Gehen Sie von der Waffenkammer nach Westen zu den Klippen, um dieses Audioprotokoll zu finden, das neben einem gefallenen Soldaten und einer Kiste mit Granaten auf dem Boden liegt.
UNSC Audio Log Nr. 6 – Spartan Audio Log – Landung
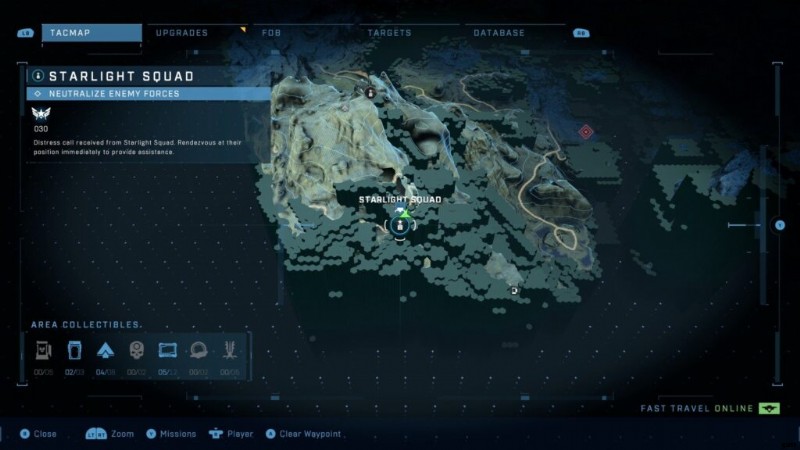
Wenn Sie den Starlight-Trupp retten. Das Audiolog liegt auf dem Boden, unter einer Rampe, die zu einer Maschinengewehrstellung führt.
UNSC Audio Log #7 – Spartan Audio Log – Enemy Territory
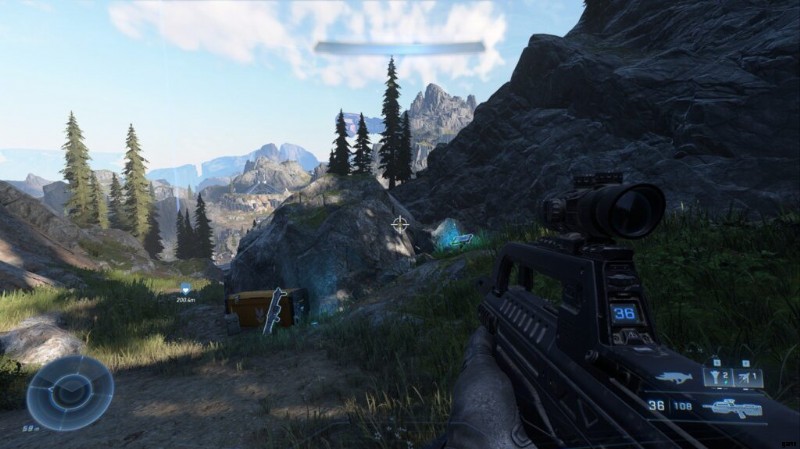
Auf den Klippen am südlichen Rand der ersten Insel. Biegen Sie von der Mjolnir-Box auf der Südostseite weiter nach Südosten ab und die Bergklippe hinauf. Sie finden eine UNSC-Box und einen Raketenwerfer sowie das Audioprotokoll.
UNSC Audio Log #8 – Spartan Audio Log – Intrepid Descent
Im südlichen Teil der Insel, auf dem Berg. Sie finden dieses Audioprotokoll in einem kleinen Bereich abseits des Hauptpfads.
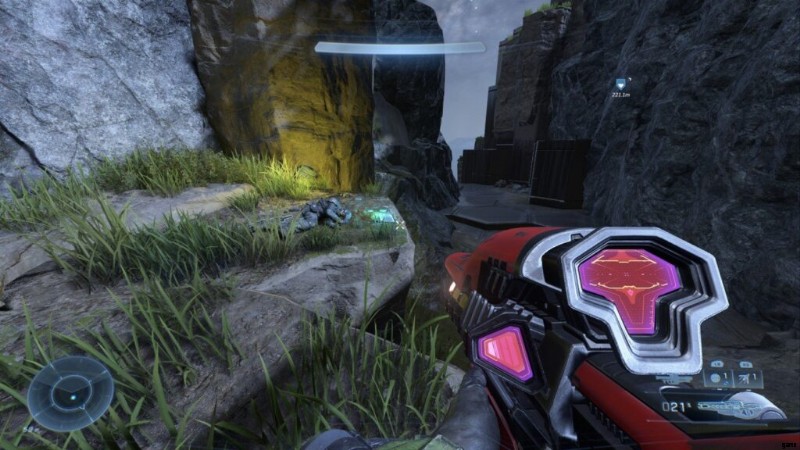
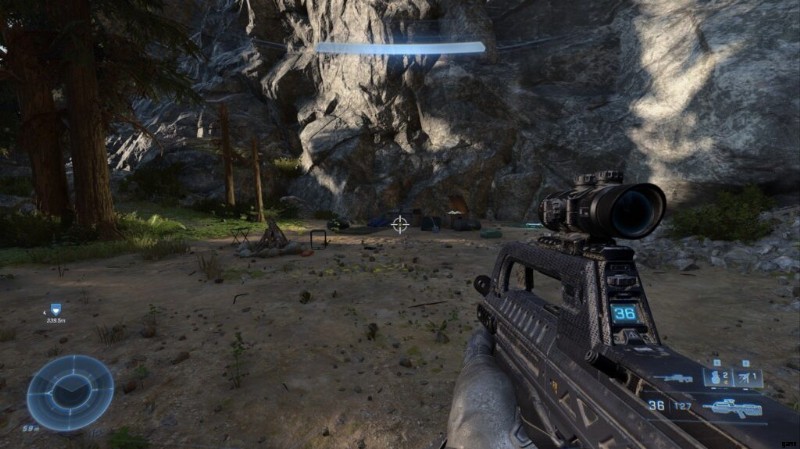
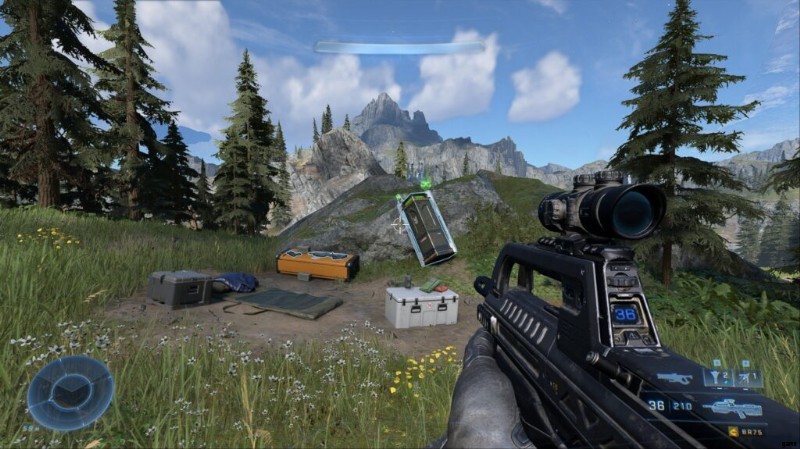
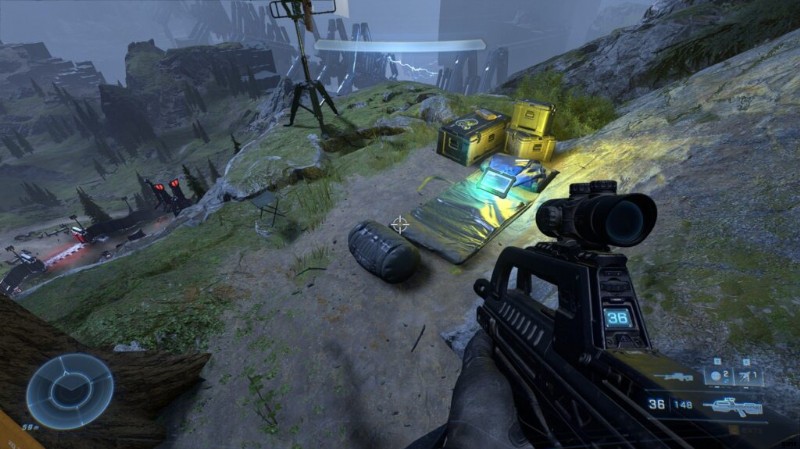
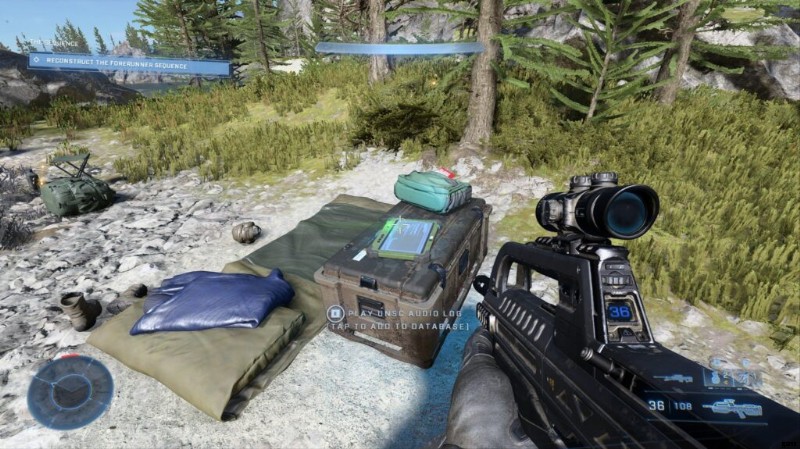
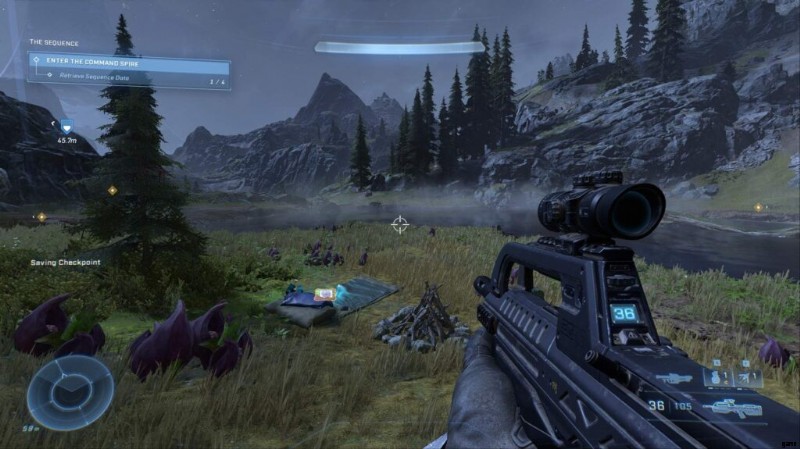
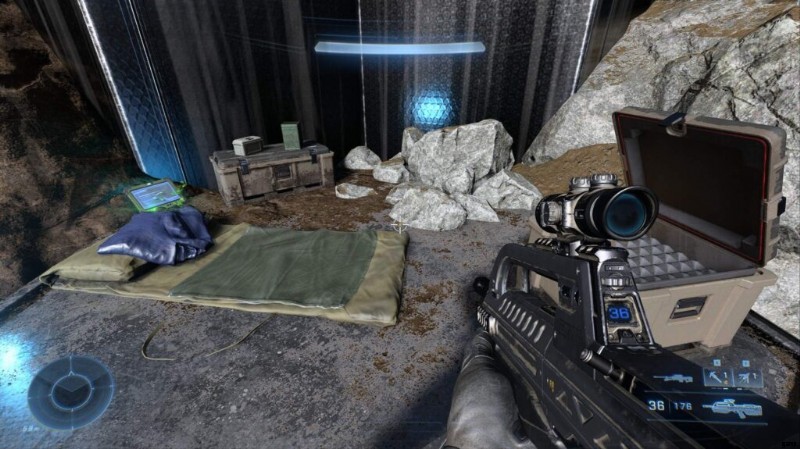
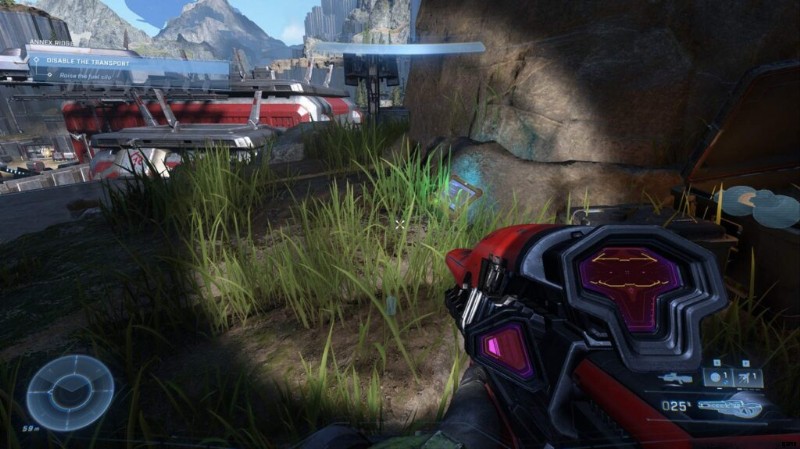
Finden Sie ein kleines, verlassenes Lager mit einem Lagerfeuer und einem Scharfschützengewehr. Das Audiolog befindet sich in der Nähe der Klippenwand und liegt auf einem Schlafsack.
UNSC Audio Log #9 – Spartan Audio Log – Intrepid Descent
Direkt südlich, auf halber Höhe des Berges, finden Sie ein kleines, verlassenes Lager mit einem Lagerfeuer und einem Scharfschützengewehr. Das Audiolog befindet sich in der Nähe der Klippenwand und liegt auf einem Schlafsack.
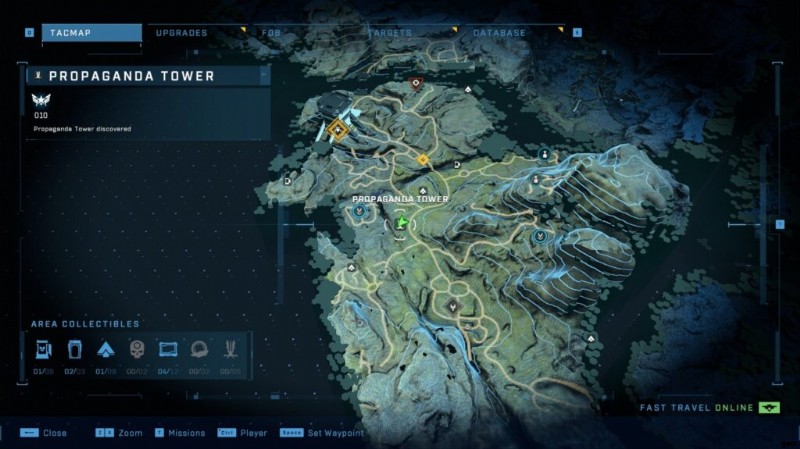
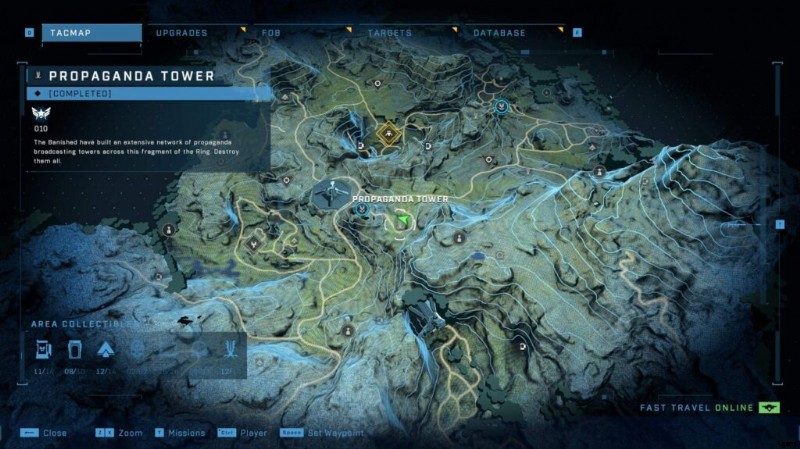
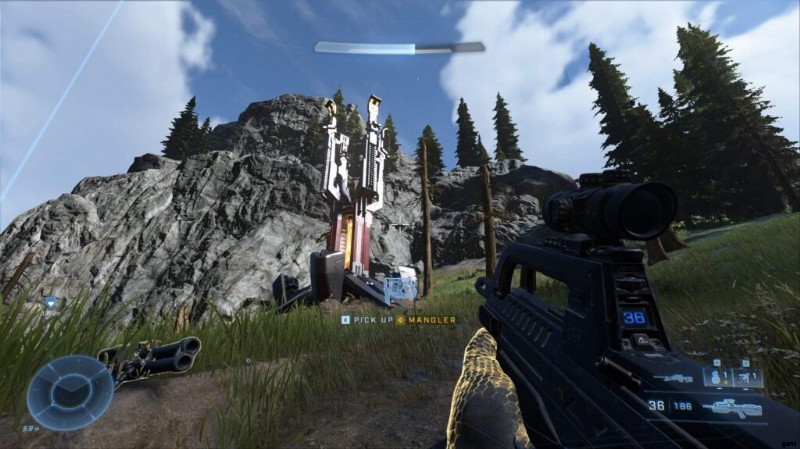
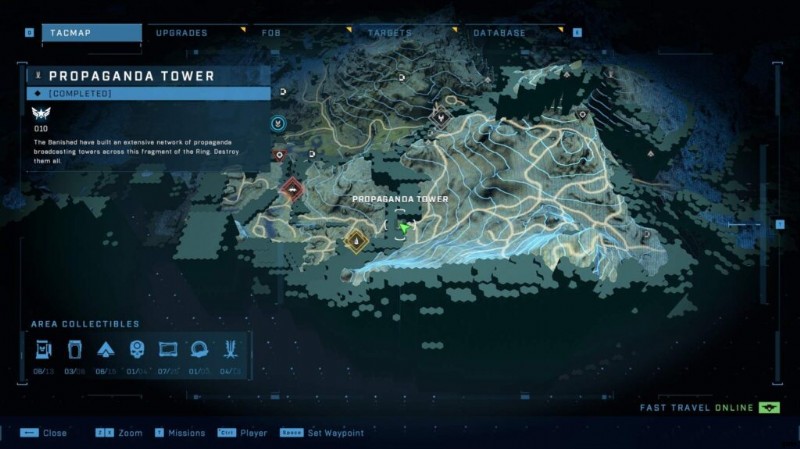
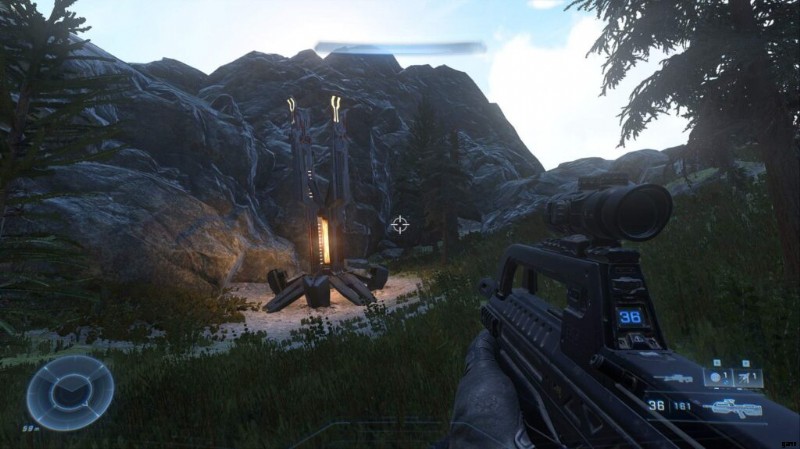
Propagandaturm Nr. 1
Gleich östlich von Fob Foxtrott.
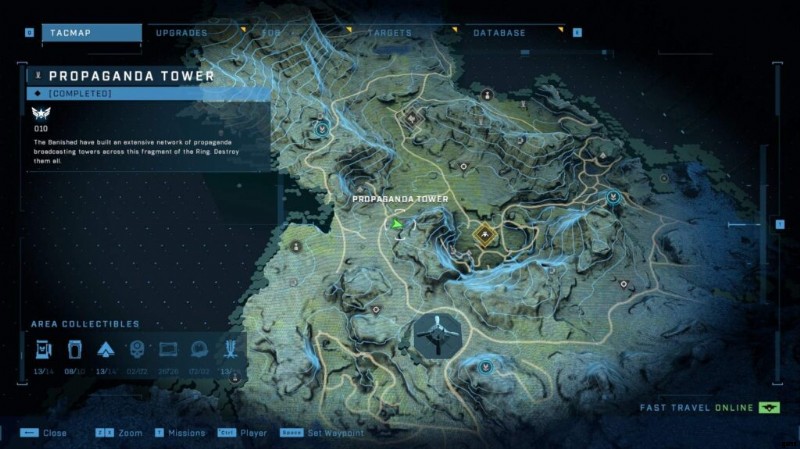
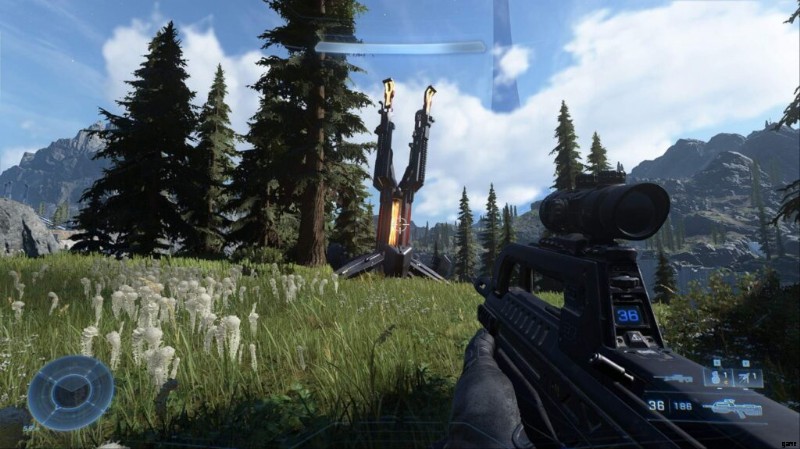
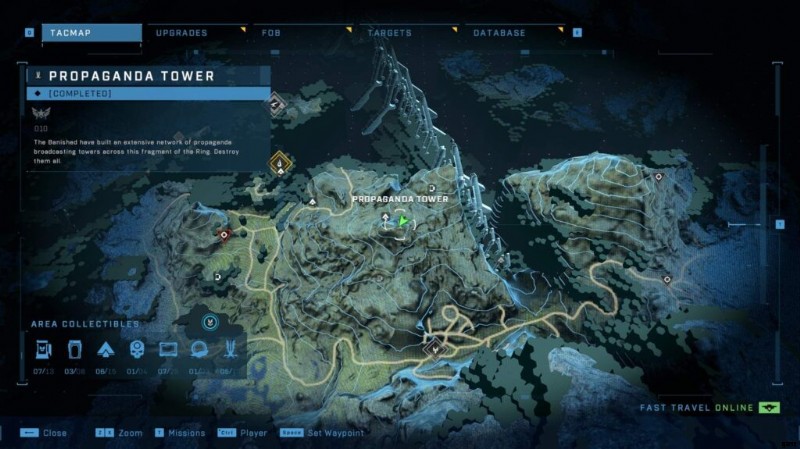
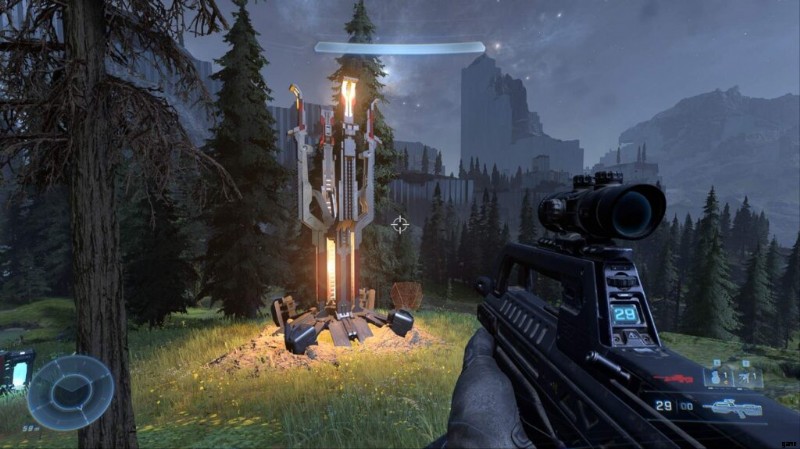
Propagandaturm Nr. 2
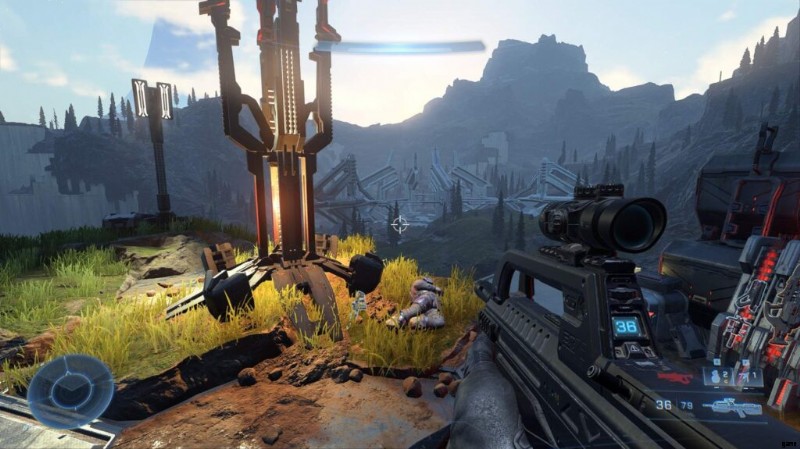
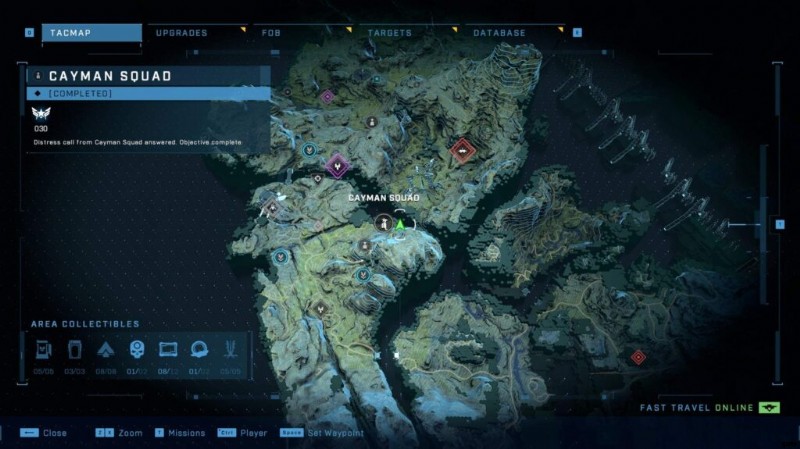
Unmittelbar östlich von Cayman Squad, an einer leichten Klippe. Leicht verteidigt.
Propagandaturm Nr. 3
Unmittelbar östlich der Markierung von Cayman Squad.
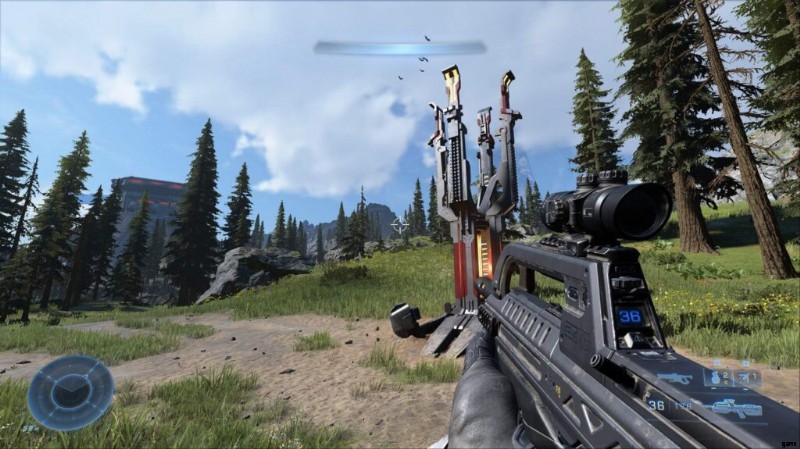
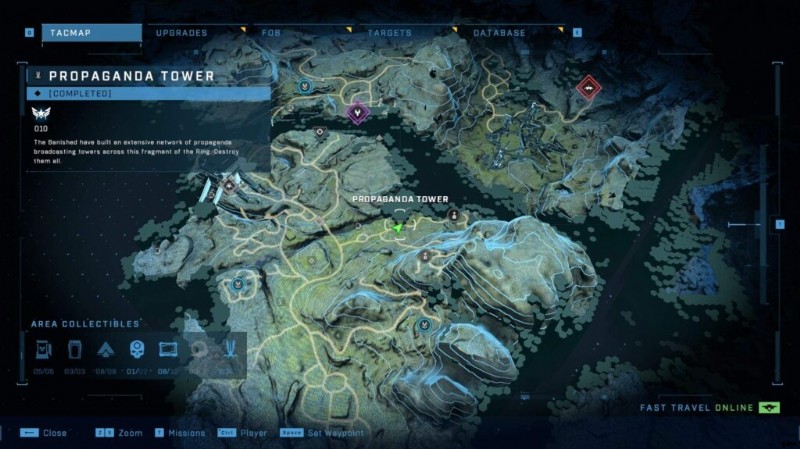
Propagandaturm Nr. 4
In den Bergen südöstlich über dem Attentatsziel. Dieser hier ist schwer zu finden, wenn Sie ihn nicht bereits verknotet haben.
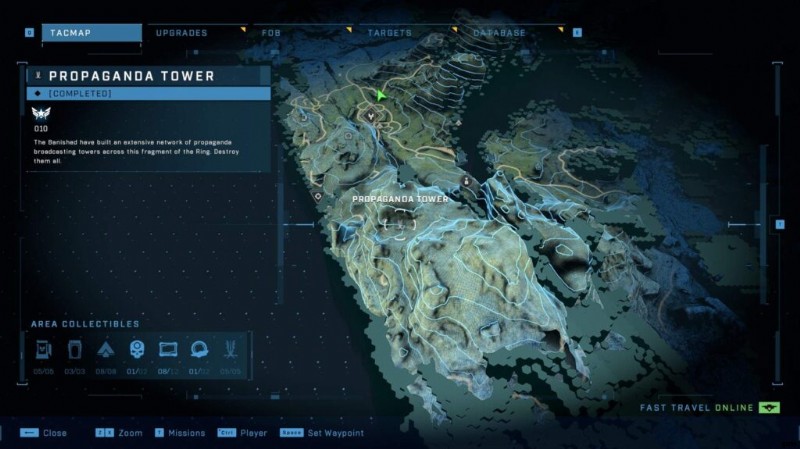
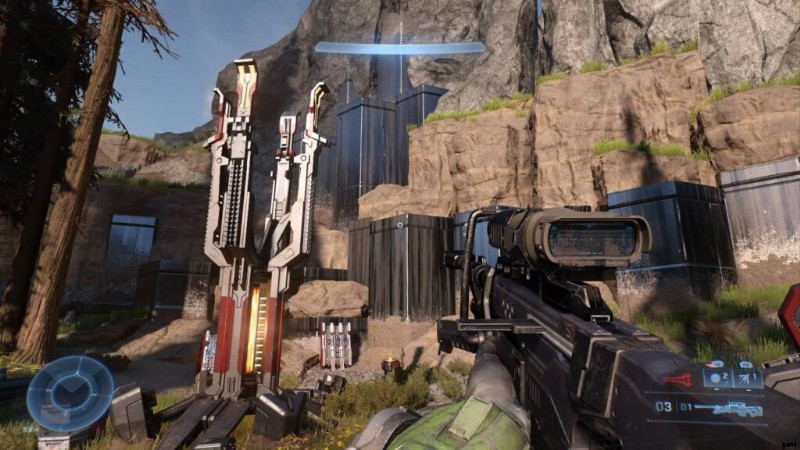
Propagandaturm Nr. 5
Dieser ist sehr leicht zu übersehen. Direkt am südlichen Rand der spielbaren Karte, direkt an der Position des Trupps East of Starlight. Es liegt auf einer kleinen schwimmenden Insel.
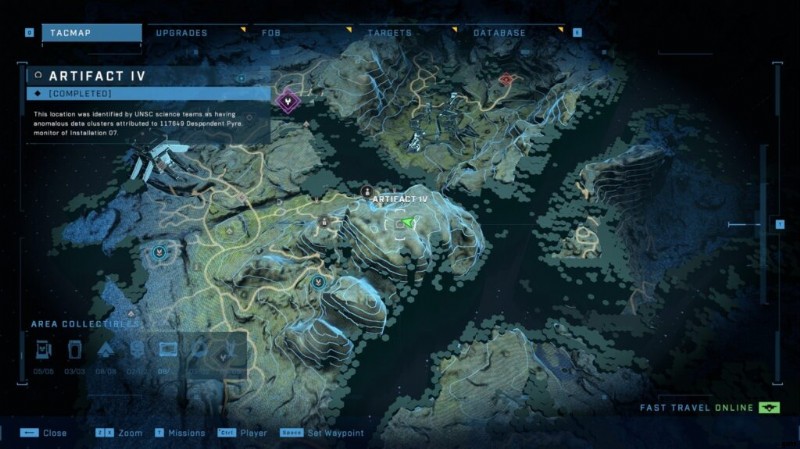
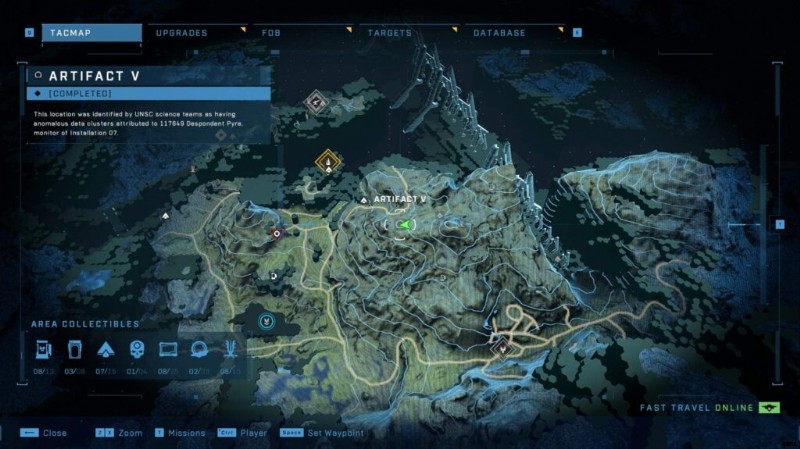
Artefakt #1
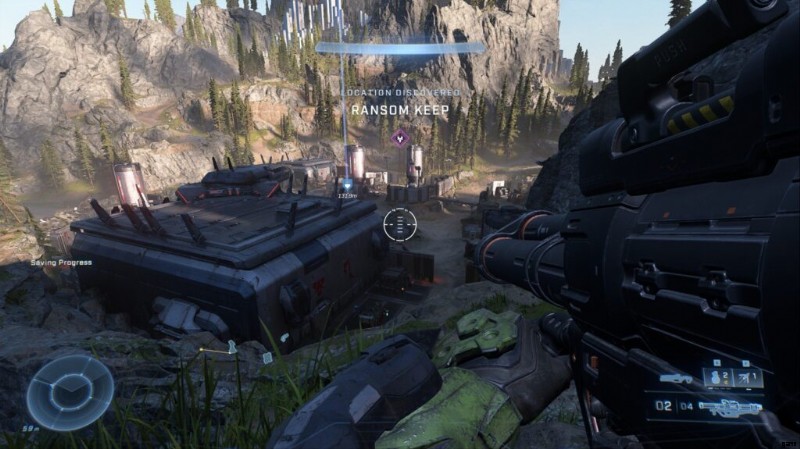
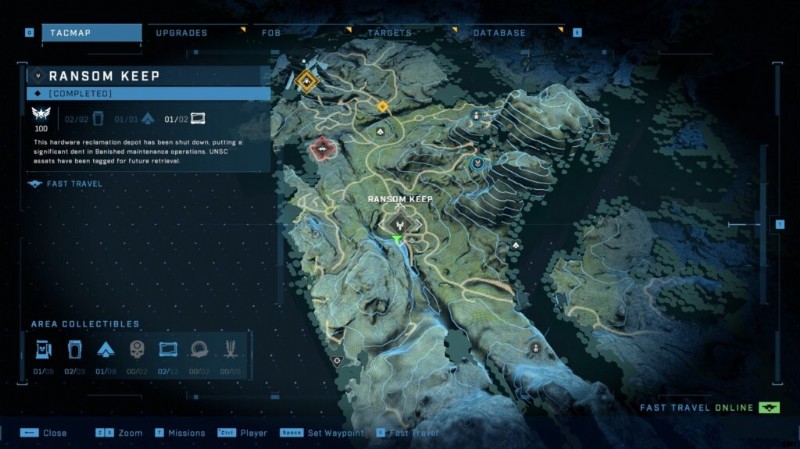
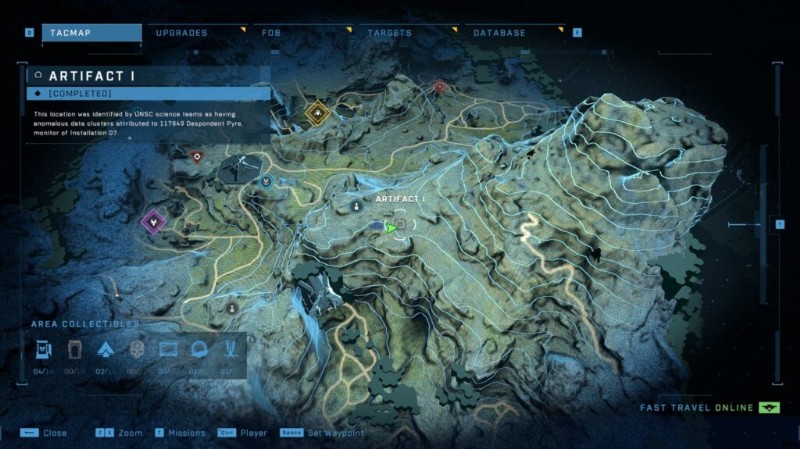
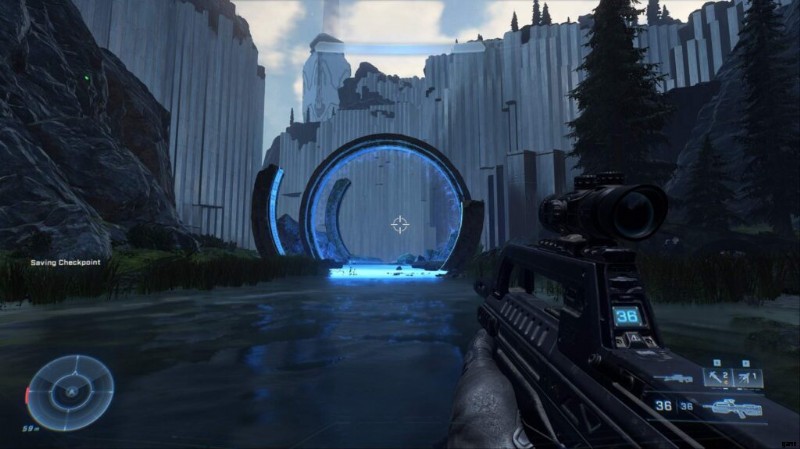
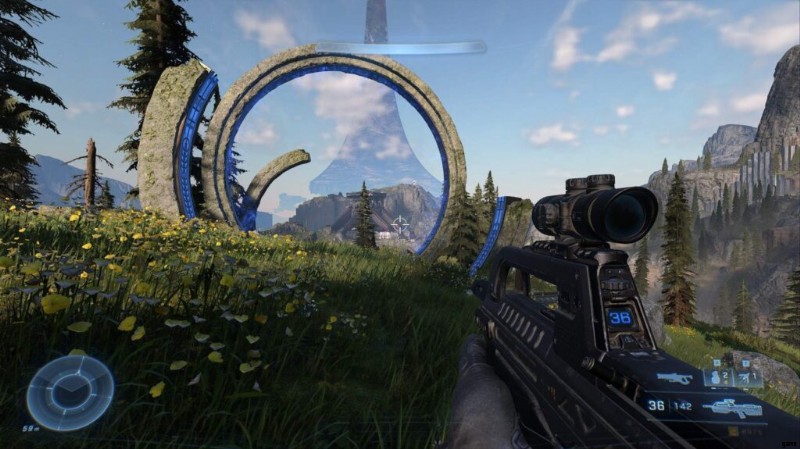
Direkt auf dem Hügel über Ransom Keep, genau nach Süden. Du kannst das Artefakt an den massiven kreisförmigen Strukturen erkennen, die aus dem Boden ragen.
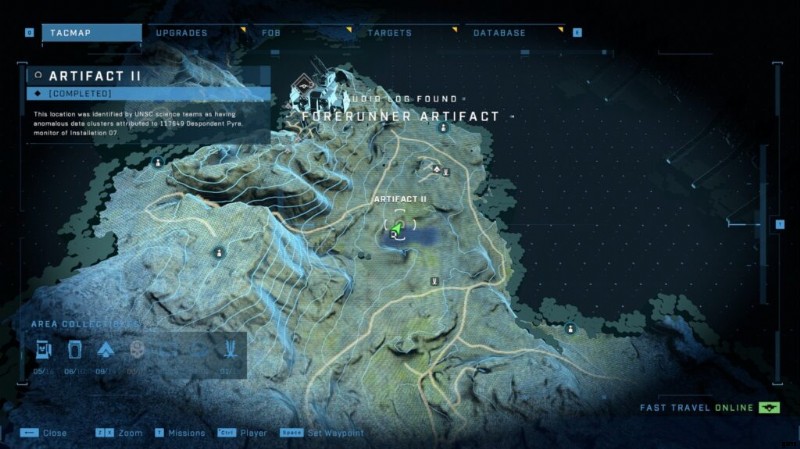
Artefakt #2
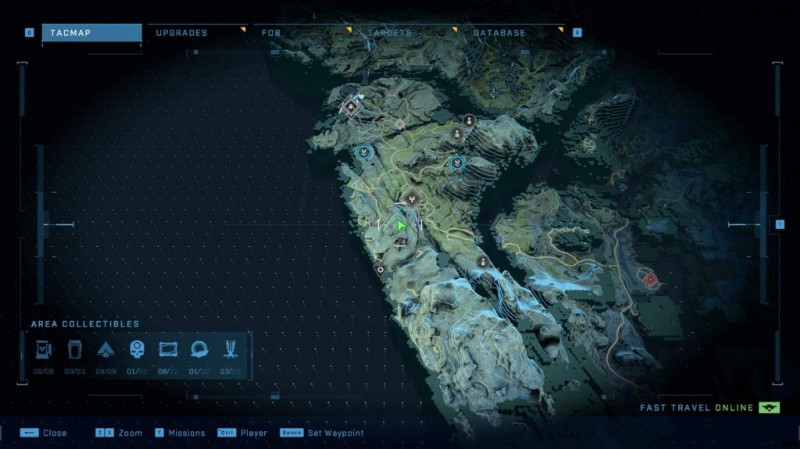
Auf der Ostseite von Region 1, auf dem größten Berg, fahren Sie bis zur Spitze, und Sie werden eine kleine Patrouille der Banished sehen. Direkt daneben befindet sich das Forerunner-Artefakt.
[P2] Schädel, Kerne, Mjolnir-Schließfächer
Schädel #1 – Blind
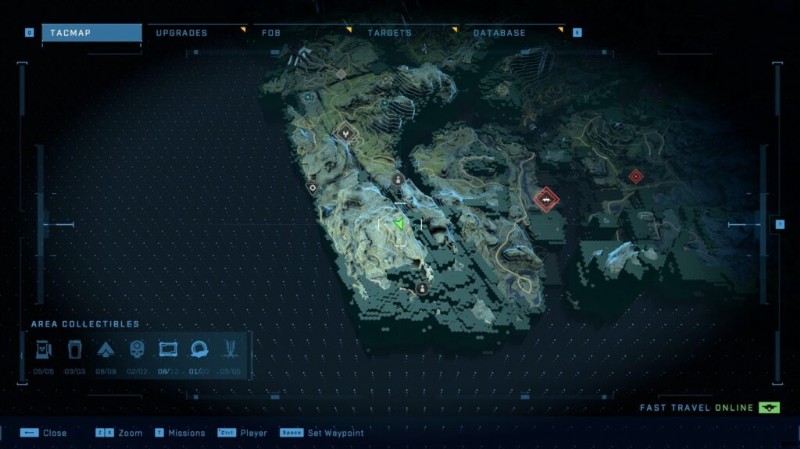
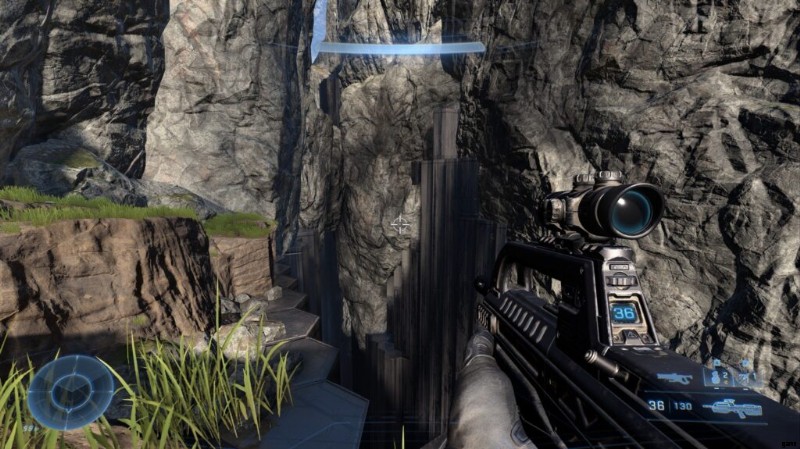
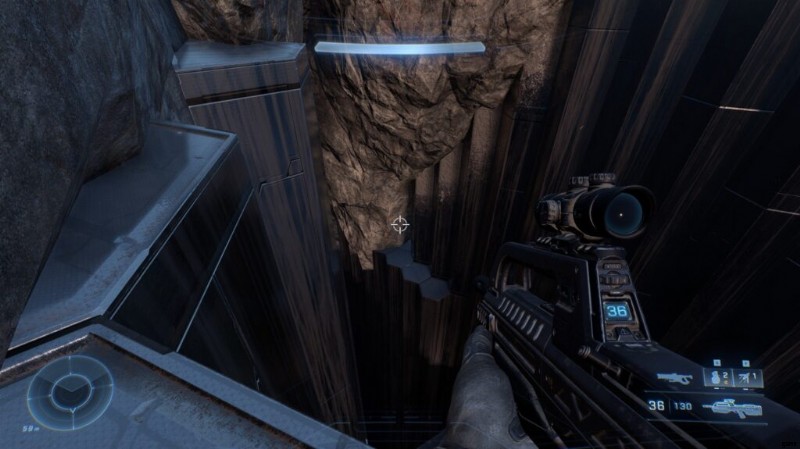
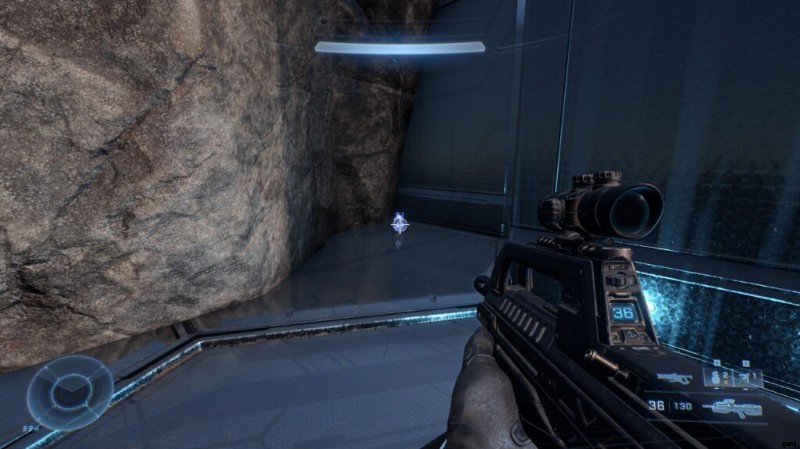
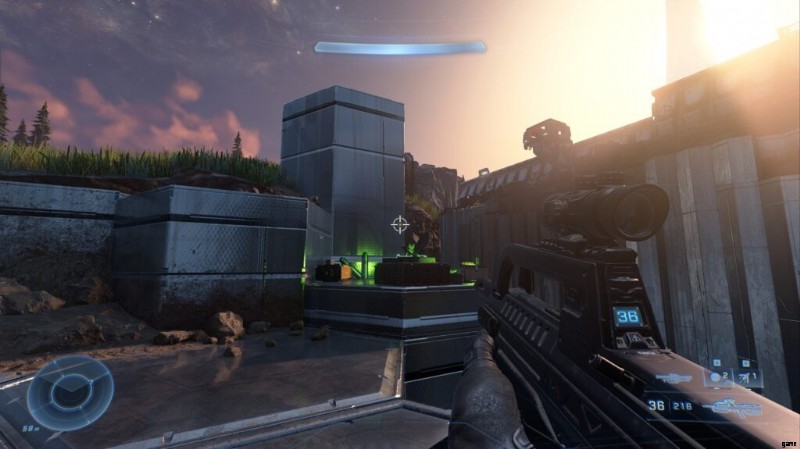
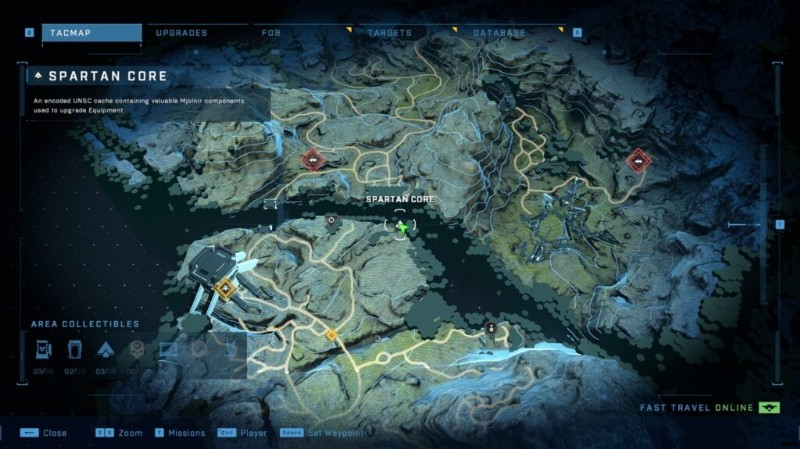
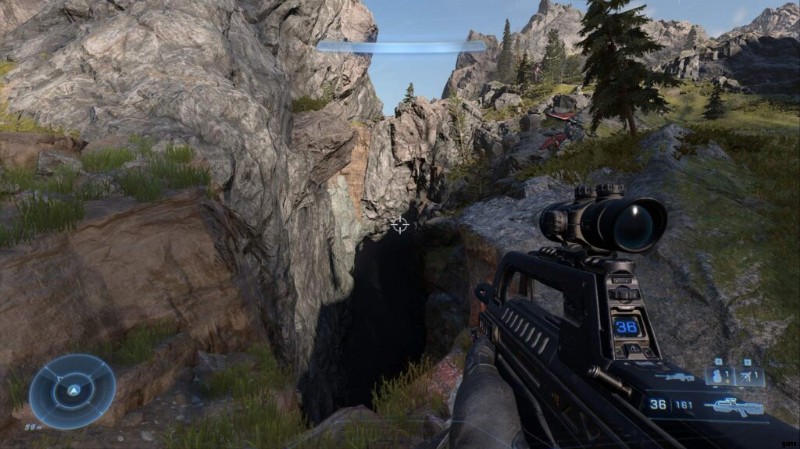
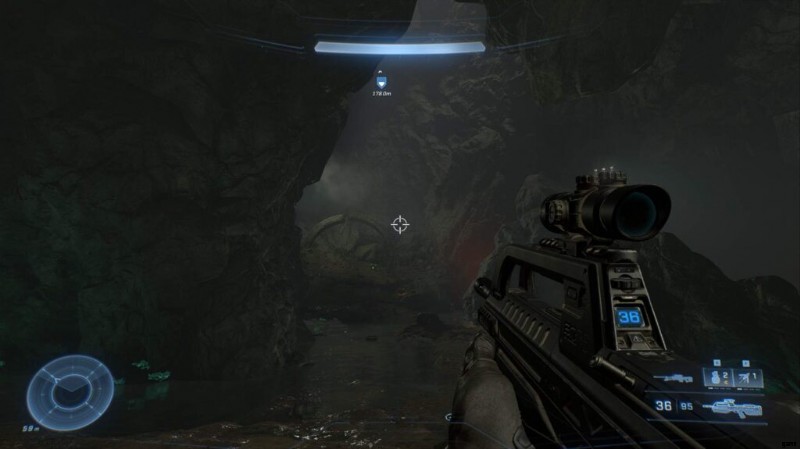
Direkt an der Südseite von Region 1, in den Bergen. Dieser ist ziemlich knifflig. Suchen Sie am Hang des Berges nach der Spalte, in der sich die Gipfel in zwei Teile teilen, und gehen Sie entlang der sechseckigen Formen, um in die beiden Gipfel zu gelangen. Gehen Sie langsam über die Lücke, bis Sie sich auf der rechten Seite des Berges festhalten können, auf einem kleinen Vorsprung, der einige Meter von der Stelle entfernt ist, an der Sie gesprungen sind. Der Schädel wird sich in einem Riss verstecken.
Spartanischer Kern #1
Spartanischer Kern Nr. 2
Spartanischer Kern Nr. 3
Spartanischer Kern Nr. 4
Spartanischer Kern Nr. 5
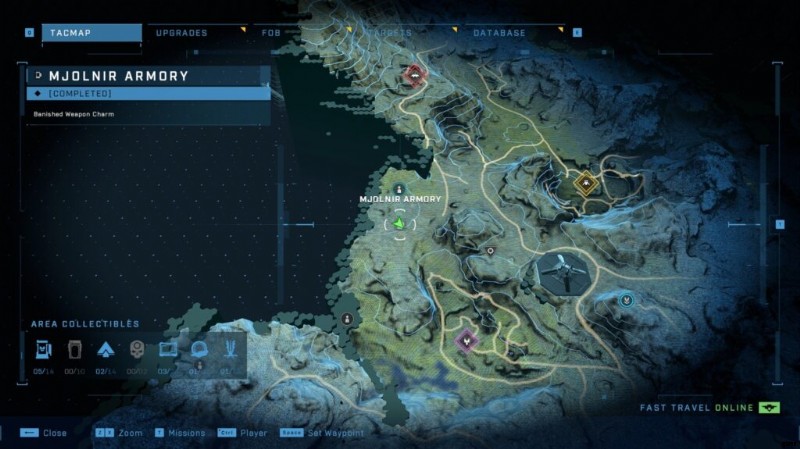
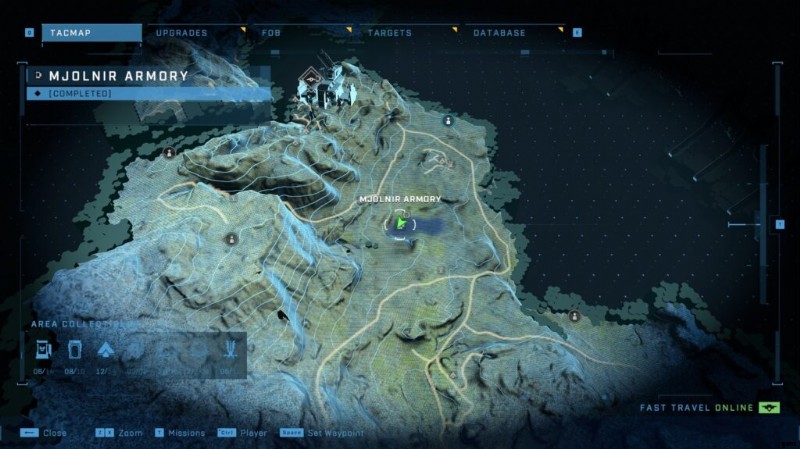
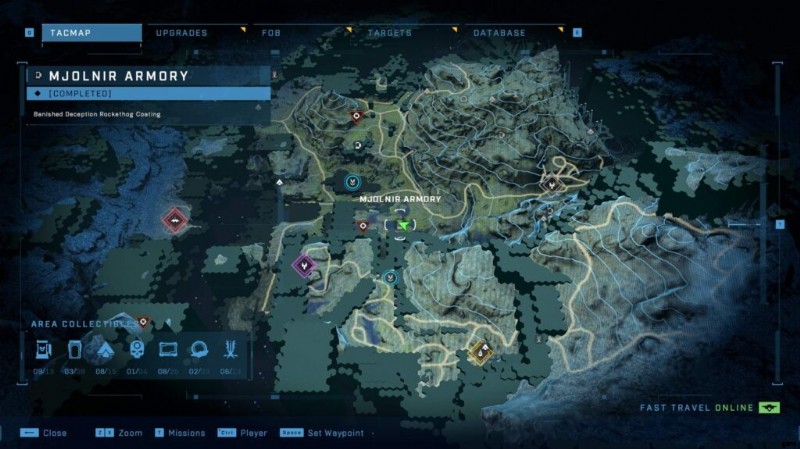
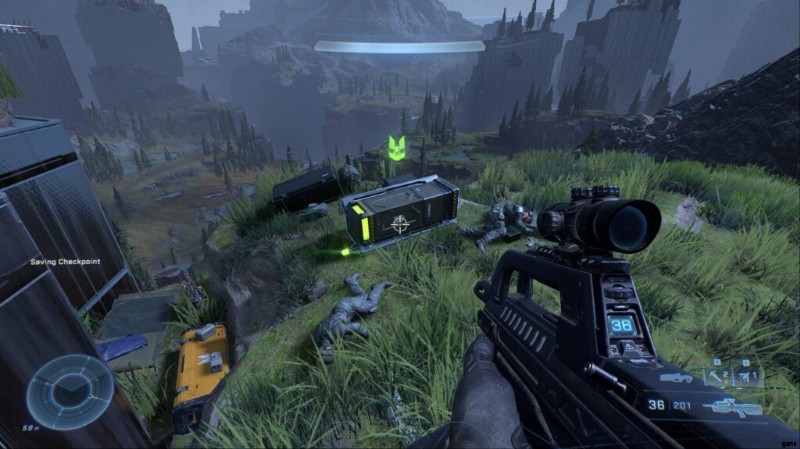
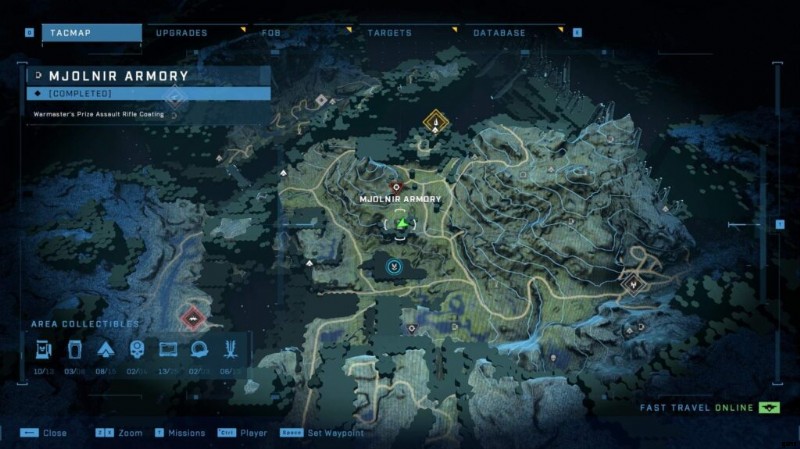
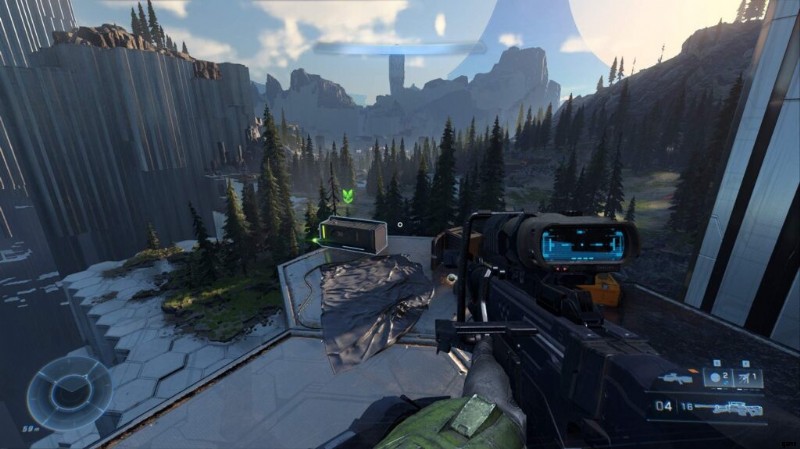
Mjolnir-Schließfach Nr. 1
Mjolnir-Schließfach Nr. 2
Mjolnir-Schließfach Nr. 3
Mjolnir-Schließfach Nr. 4
Lösegeldforderung
Banished Audio Log Nr. 1 – Der Traum von Atriox
Südöstliche Ecke des Silohofs direkt neben einer Barrikade. Wirklich leicht zu finden, wenn Sie den Erkundungsschlüssel spammen.
Banished Audio Log #2 – Unnatürliche Abwehr
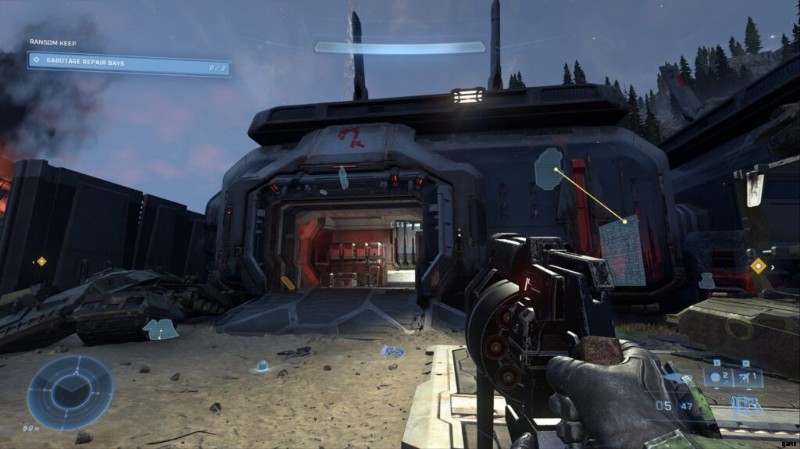
Nach der Zerstörung der vier Silos und der neuen Feinde, die im Norden auftauchen, ist nun ein Gebäude als Teil des nächsten Ziels geöffnet. Nachdem Sie das Gebäude betreten haben, biegen Sie links ab und es befindet sich auf dem Boden.
Spartanischer Kern #1
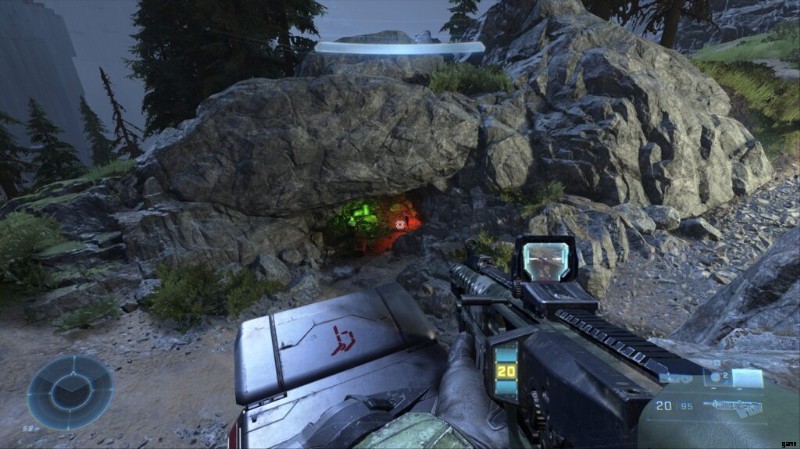
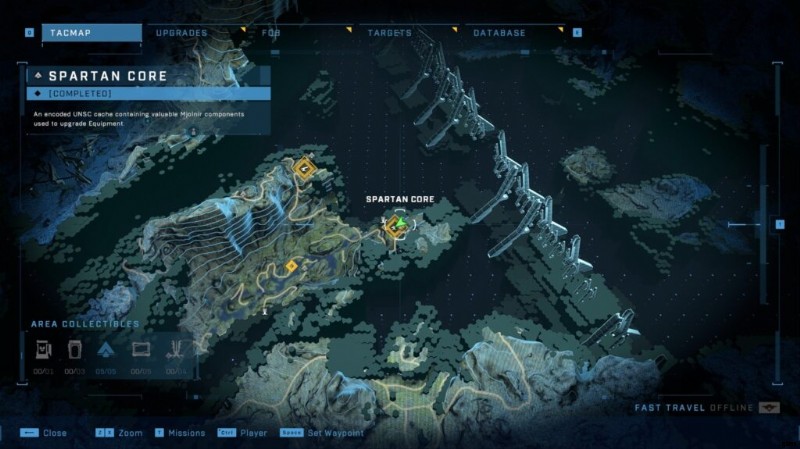
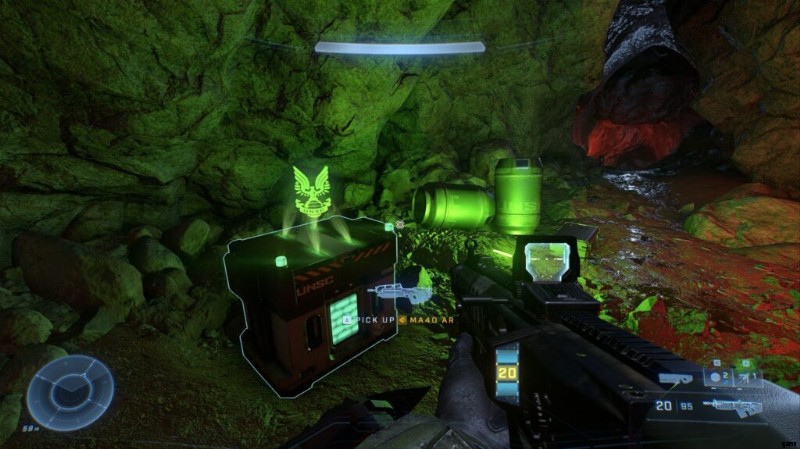
Dieser ist ziemlich verwirrend, da er tatsächlich außerhalb der Festung selbst liegt. Gehen Sie nach Süden, von der Brücke. Der Kern befindet sich unter einem kleinen Unterschlupf.
UNSC Audio Log #1 – Über die Runden kommen
Ganz in der Nähe des Spartan Core ertönt ein Piepen. Erklimmen Sie die Klippe direkt über dem kleinen Tunnel, um dieses Audioprotokoll zu finden.
UNSC-Audioprotokoll Nr. 2 – An Andrew Valleros
Ganz in der Nähe von Audio Log Nr. 1, direkt im Tal, finden Sie einen Elite in einem Ghost. Fahren Sie weiter nach Süden und Sie finden dies am Ende des Tunnels.
Der Turm
Mjolnir-Schließfach Nr. 1
Gehen Sie unter der Metallplattform südwestlich des Turms hindurch. Es wird einen kleinen felsigen Pfad geben, den du nehmen kannst, um dieses Mjolnir-Medaillon zu finden.
Banished Audio Logs #1 – Harbinger
Im Inneren des Turmkomplexes. Biegen Sie rechts ab, wenn sich der Bereich öffnet, und Sie sehen rechts einen kleinen Anhänger mit zwei Explosionsboxen und dem Audioprotokoll.
Spartanischer Kern #1
innerhalb des Tower-Komplexes, direkt neben einigen Soldaten, die angekettet sind – direkt in einem Haus.
Schädel Nr. 3 – IWHBYD
Klettere mit dem Greifer auf die Spitze des Turms. Dies ist relativ schwierig, wenn Sie nicht das Upgrade Nr. 3 für den Greifer haben, also finden Sie entweder zuerst einen Spartan-Kern oder beflügeln Sie ihn einfach. Der Aufstieg ist nicht allzu schwierig, wenn man sich an das Schaukeln gewöhnt hat.
Spartanischer Kern Nr. 2
Begeben Sie sich in den Turm und gehen Sie in den dritten Stock hinauf. Hier hätten Sie den Bosskampf mit der unsichtbaren Elite gehabt. Du solltest den Spartan Core hier finden.
UNSC Audio Log Nr. 1 – Was drin war
Im zweiten Stock des Turminneren, hinter einer der Säulen, befindet sich dieses Audiolog. Sehr schwer zu übersehen.
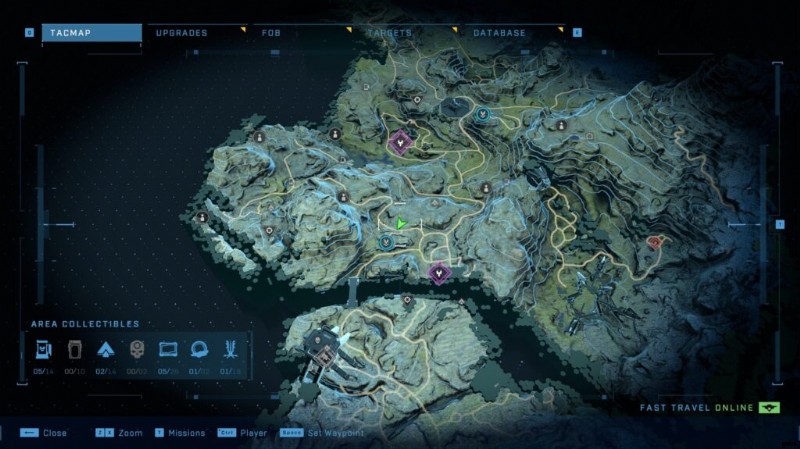
Verbindungen [Region 2]
UNSC-Audioprotokoll Nr. 1 – Duty Clearance
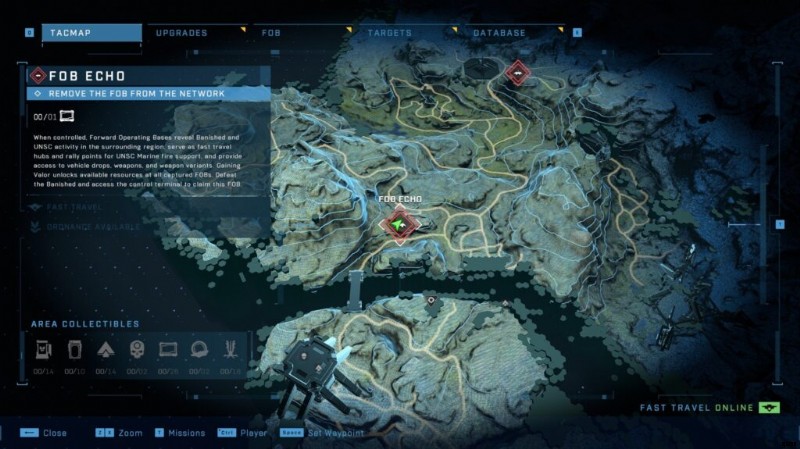
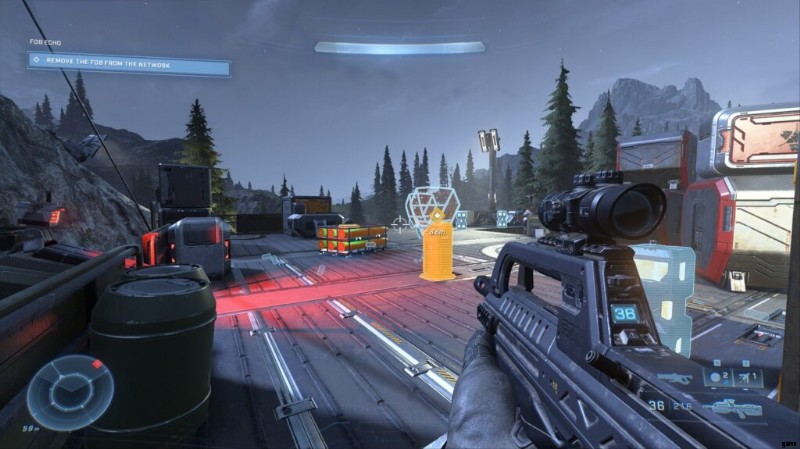
Links vom Fahrzeug-Spawnpunkt bei FOB – Echo
UNSC-Audioprotokoll Nr. 2
Ein bisschen abseits der ausgetretenen Pfade, südlich von Pyramid Squad. Ein toter Marine wird als nächstes einloggen.
UNSC Audio Log #3 – Spartan Audio Log – Enemy Territory
Kurz hinter dem FOB-Echo fahren Sie weiter nach Norden. Der Baumstamm befindet sich direkt auf einem Vorsprung auf der Klippe.
UNSC-Audioprotokoll Nr. 4
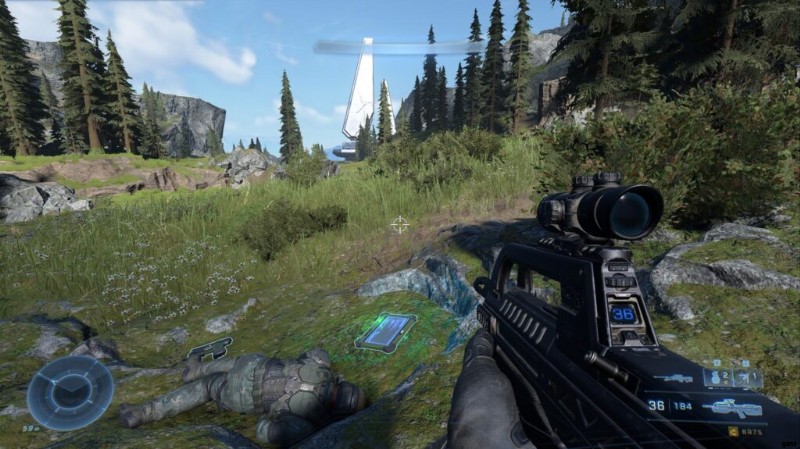
Nur den Hang hinunter, 100 Meter von Echo entfernt; neben einem toten Marine.
UNSC-Audioprotokoll Nr. 5
Springen Sie in einem kleinen Sumpf / See zur Vorläuferhalterung und Sie finden dort ein kleines Lager mit dem Baumstamm. Schöne Aussicht!
UNSC Audio Log #6 – Ankunft
Direkt rechts neben der Schaltfläche, um FOB Charlie zu stärken.
UNSC-Audioprotokoll Nr. 7
Direkt neben der gigantischen Vorgängerstruktur Spire, neben einem niedergeschlagenen Warzenschwein. Ein Energiekern befindet sich auch direkt neben dem Baumstamm.
UNSC-Audioprotokoll Nr. 8
So wie Sie Fob-Delta erfassen. Wirklich schwer zu übersehen.
UNSC-Audioprotokoll Nr. 9
Direkt links von der massiven Vorläuferstruktur (auf der Karte können Sie sie vom Boden aus nicht sehen. Der Baumstamm befindet sich auf einer kleinen Kiste neben einiger UNSC-Ausrüstung.
UNSC-Audioprotokoll Nr. 10
Oben auf einem Hügel, über einem Propagandaturm, in einem kleinen Lager. Du kannst dir diesen schnappen, wenn du hinter einen großen Felsen schaust.
UNSC-Audioprotokoll Nr. 11
Unmittelbar westlich von Thunder Squads LZ befindet sich ein abgestürzter Pelikan. Sie finden dieses Audioprotokoll im Backend. Es gibt hier ein beträchtliches Kontingent an Verbannten, also pack schwer.
UNSC-Audioprotokoll Nr. 12
Direkt in der Zone von Squad Foxhound neben einigen Kisten, Fässern und einem abgestürzten Pelikan. Nichts anderes als dieses hier.
UNSC-Audioprotokoll Nr. 13
Innen Fob-Bravo auf dem Boden. Ganz einfach.
UNSC Audio Log #14
Inside Fob-Alpha, resting on a container. Can’t miss it.
UNSC Audio Log #15
Quite far out from anything, on a mountain South East of Bengal Squad. This one is very easy to miss if you’re not careful. The log is in a small camp on the side of the mountain.
UNSC Audio Log #16
Quite far out from anything, on a mountain South East of Bengal Squad. This one is very easy to miss if you’re not careful. The log is in a small camp on the side of the mountain.
[P2] Mjolnir Armour Lockers
Mjolnir Armoury #1
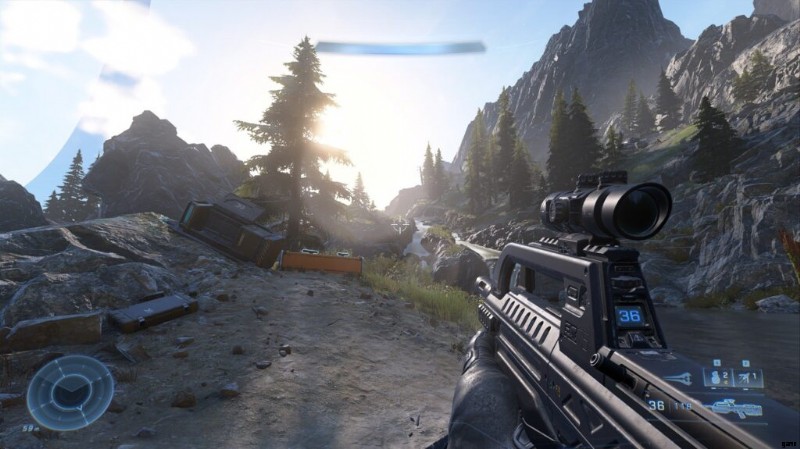
Due South of FOB Echo, jump up a hill overlooking the bridge.
Mjolnir Armoury #2
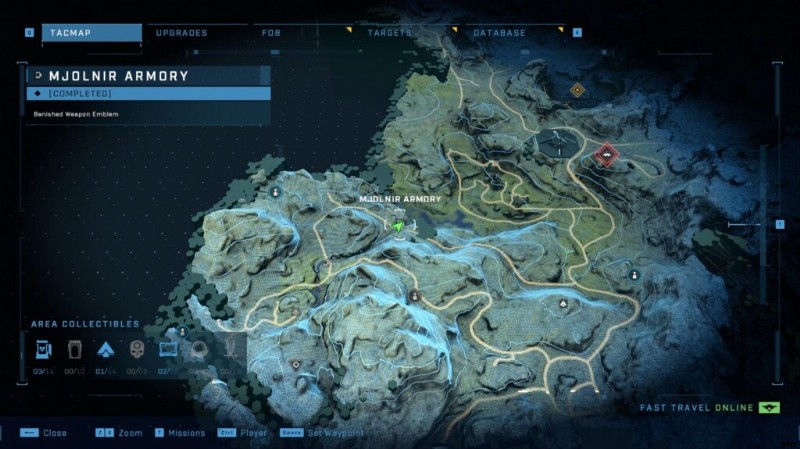
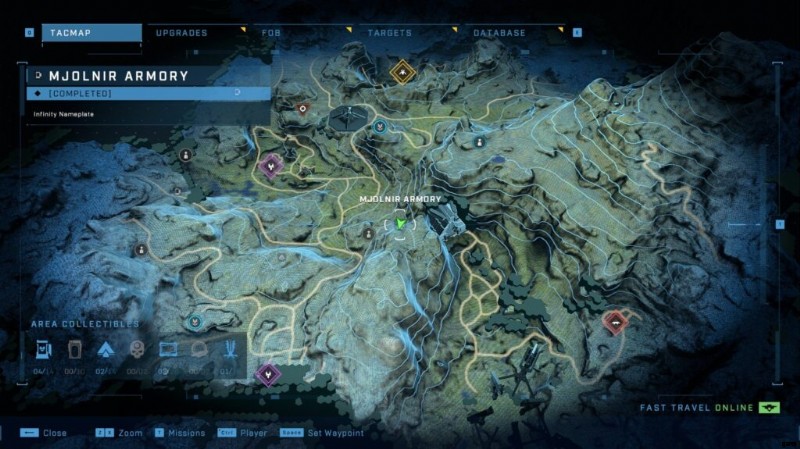
On an intersection of road due north of the assassination target, you’ll find a bridge. Under it is the Mjolnir collectible.
Mjolnir Armoury #3
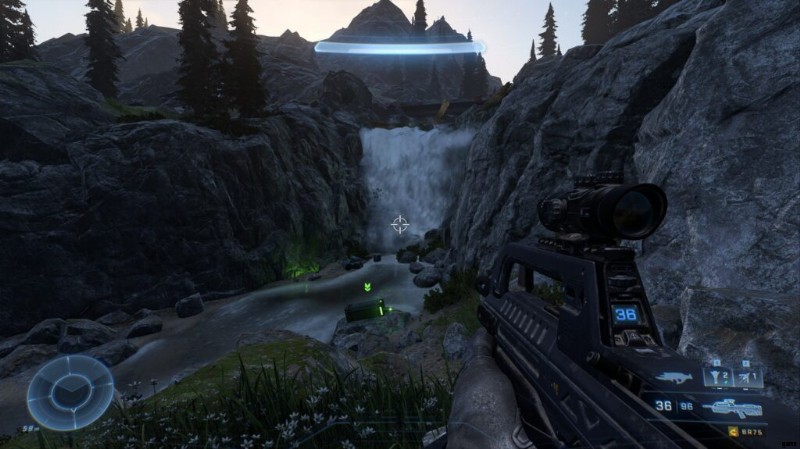
Again, just north of Spartan Audio log, head down a little more to a waterfall. The Mjolnir locker is in the river underneath.
Mjolnir Armoury #4
Just North East of the battle site of Courier Squad, the Locker is on the side of a mountain.
Mjolnir Armoury #5
Straight South from Lancer Squad’s position, the locker is situated next to a small human camp.
Mjolnir Armoury #6
Directly north of FOB Alpha. You will see the Armor Locker past some rocky cliffs in the pool.
Mjolnir Armoury #7
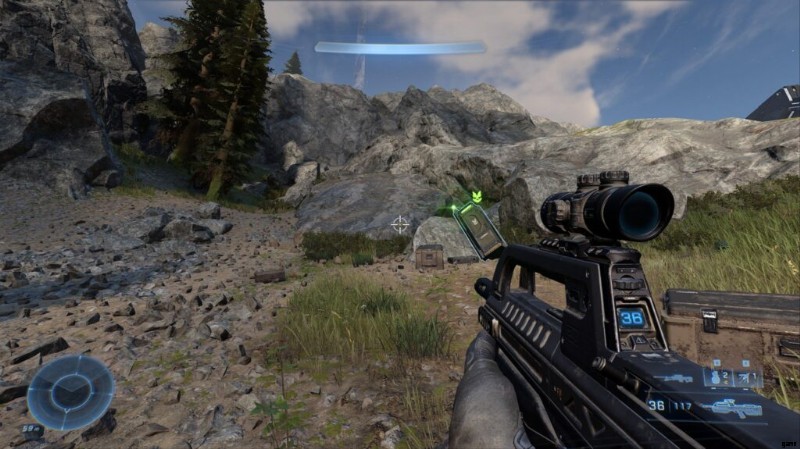
Scale the mountain to east of the Banished tower, and you’ll find this in a clearing on a rock.
Mjolnir Armoury #8
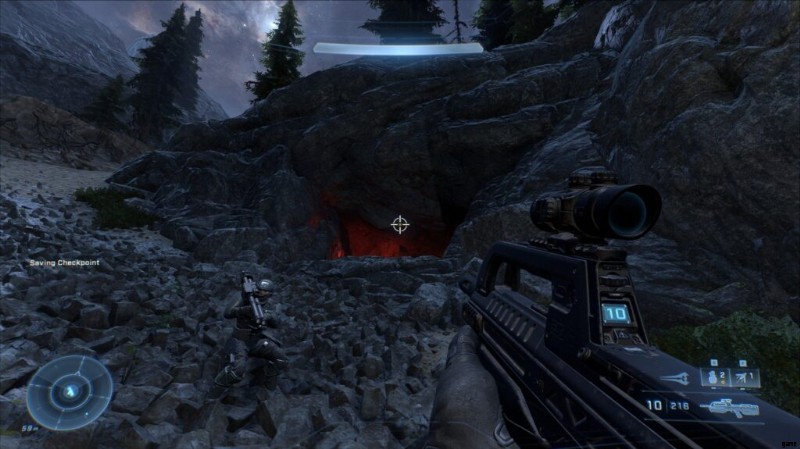
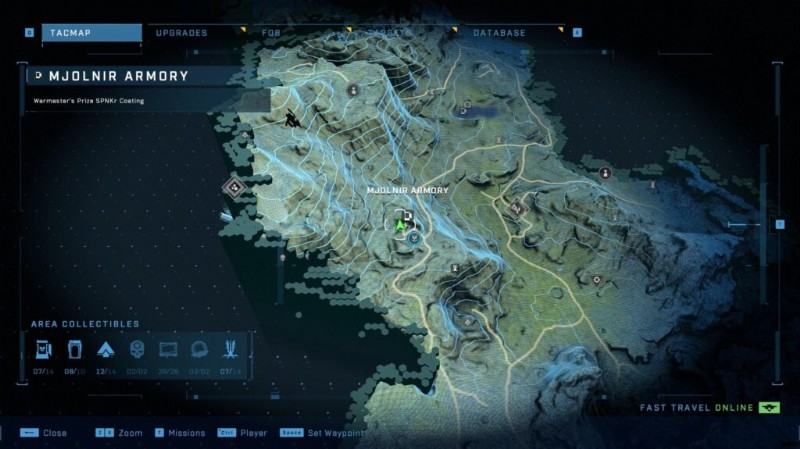
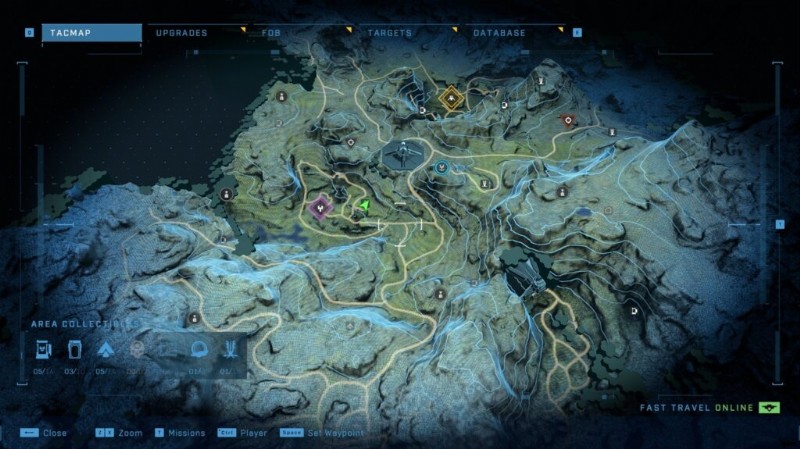
Literally 50m up from FOB-Alpha, just go North and you’ll see a cave entrance [Marked on map]. There will be Banished hiding in there, and the Locker is yours.
Mjolnir Armoury #9
Close to the Spire, and the other Spartan Core (next to the AudioLog). You’ll find a cave entrance. The Spartan Core is at the end of the passage.
Mjolnir Armoury #10
Go directly East of FOB Bravo and climb on the mountain ridge at the edge of the area. Then, drop down and you will see a small UNSC camp.
Mjolnir Armoury #11
On a mountain cliff edge close to FOB-Delta.
Mjolnir Armoury #12
North of FOB Delta. You’ll find this one at the very peak of the mountain next to Delta.
Mjolnir Armoury #13
South of the Excavation Site, in a small forest clearing.
Mjolnir Armoury #14
Just North of FOB-Delta, at the bottom of a mountain outcropping, with some Banished resistance next to it.
[P3] Propaganda Towers
Propaganda Tower #1
On the highest point of the mountain due South of Indiana Squad.
Propaganda Tower #2
Just North of outpost Tremonius.
Propaganda Tower #3
East of the Artefact in the little pool, this tower is stationed on the hill looking over the water.
Propaganda Tower #4
Straight North of Paladin Squad, up a really high mountain.
Propaganda Tower #5
Head south of Cobra Squad, on the far north side of the second island, and you’ll find this Propaganda Tower.
Propaganda Tower #6
In the mountains east of the Armory of Reckoning.
Propaganda Tower #7
East of Bengal Squad, next to a small Banished outpost.
Propaganda Tower #8
Just South-East of FOB-Alpha, on the edge of the mountain.
Propaganda Tower #9
Just South-west of FOB-Bravo, near a small Banished encampment.
Propaganda Tower #10
Just South of FOB-Bravo, carry on down the road into a fork in the road. The Tower is on a small cliff above.
Propaganda Tower #11
In the hills just East of Thunder Squad.
Propaganda Tower #12
East of FOB Charlie, you can’t miss this one.
Propaganda Tower #13
Just west of the Excavation site, over the mountain on the other side. You can’t miss this one if you just head West over the mountain.
Propaganda Tower #14
Straight East of Titan Squad, on a small hill.
Propaganda Tower #15
Overlook a banished tower thingy, just go north from FOB-Echo.
Propaganda Tower #16
South west corner of Region 2. On a section of Forerunner foundation plating. Easy one.
Propaganda Tower #17
Just North-East of Sundering, roll up the hill and you’ll be in sight of this tower.
Propaganda Tower #18
South of FOB-Delta, underneath a stone outcropping, with some Banished just milling around.
[P4] Spartan Cores
Spartan Core #1
Just North of the Assassination Mission IK’Novus, there is a classic Forerunner structure very reminiscent of Halo CE.
Spartan Core #2
Just due North of ‘Redoubt of Sundering’, on a hill. The Core can be found on a rescue pod crash side.
Spartan Core #3
In the centre of the Spire, next to the Audio Log.
Spartan Core #4
This one is quite hard to find, regardless if you’ve had the icon pop. Go to the hexagonal cliff edge, look down, and you’ll hopefully see some more 1×1 hexagonal squares. Make your way down, land on the tiles, and you should be able to scan your way to finding the entrance to the little cave with the Spartan Core.
Spartan Core #5
Inside a Banished camp. You’ll have to clear out the camp, jump into the hole with lots of Banished automated turrets. Sooner or later you’ll see a grav lift going up into the building with the Core in.
Spartan Core #6
The core is on the west side of the map, on the side of a hill. Surrounded by Banished forces.
Spartan Core #7
Right at the Northern peninsula of the map. The Core is inside a small Forerunner bunker which is located in a small cave [Map marker indicates the cave entrance].
Spartan Core #8
Probably one of the most confusing secrets in the entire game. You’ll first find this secret just North of Jester Squad, and can be identified by the monolithic Forerunner structure, under which is the Core itself. To get down there you need to jump down to the bottom of the mountain and find the red door. Then move down the path to the right until you reach a small Banished outpost. On the left is a door leading down a corridor [See the map pic for where the door is]. You’ll find considerable size of Banished troops here. Clear them out, and you’ll find one more Elite Brute next to the Core. Kill him, and the Core is yours.
[P5] Skulls, Artefacts, Targets
Skull #1
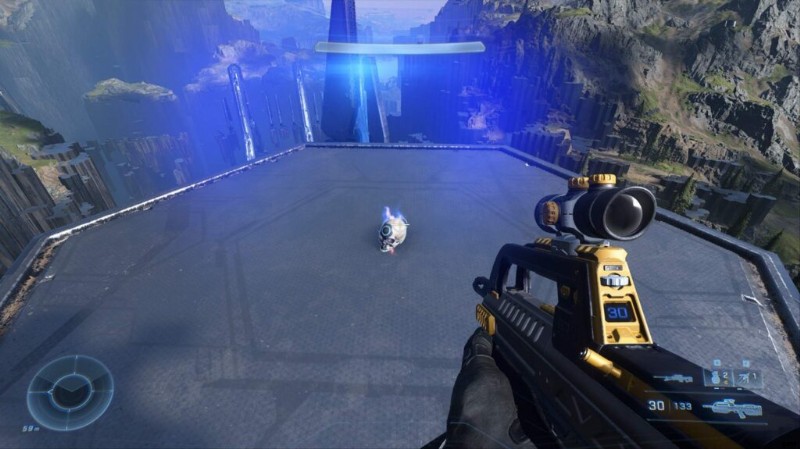
Just to the west of FOB Alpha. Walk along the cliffside, until you see a little outcropping which you can walk through.
Once you see the doll on the ground you know you’re on the right track.
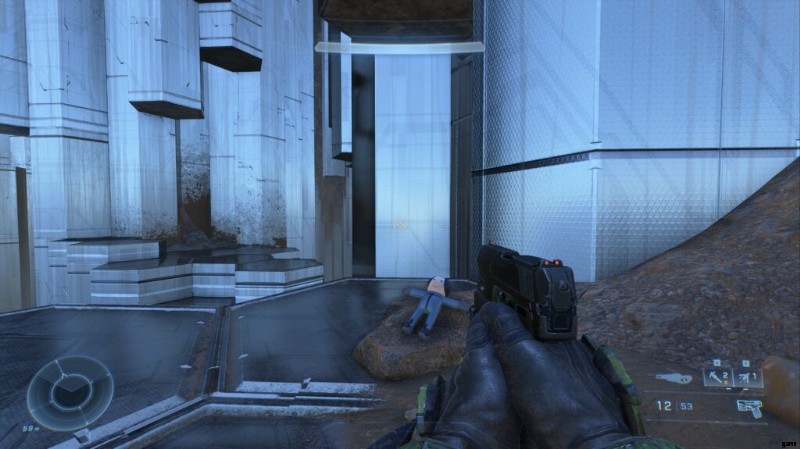
Swing to the pillars until you get to the opening of the platform at the top. There you’ll see one final jump and an opening. The Skull is inside there.
Skull #2
On the far Northern island, which you can get to via grapple, or Wasp. The Skull is defended by a large contingent of Banished, as well as two Hunters. These things will blow you away in seconds, so It’s highly advised to jump from the cliff, grab the Skull, and make a run for it.
Assassination Mission:Thav ‘Sabarim
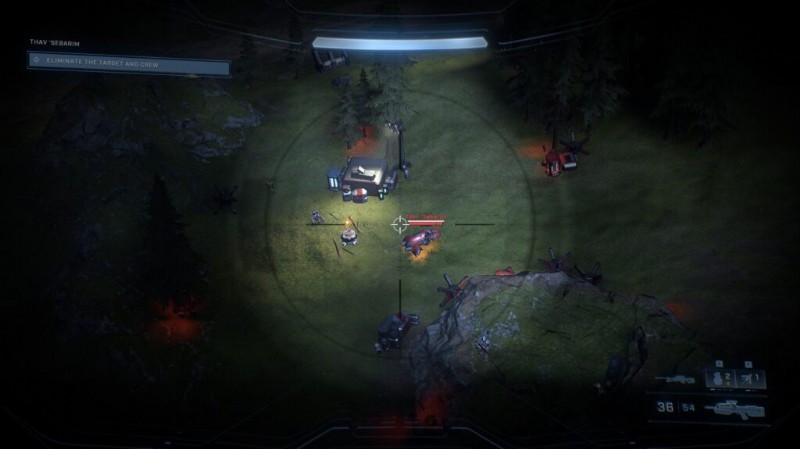
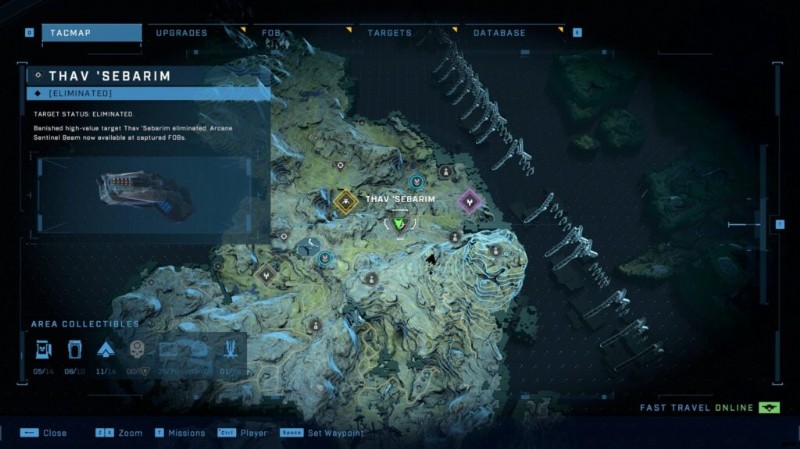
This target is in a ghost and surrounded by Grunts. The easiest thing to do is just jump on the top side of the hill and snipe him out.
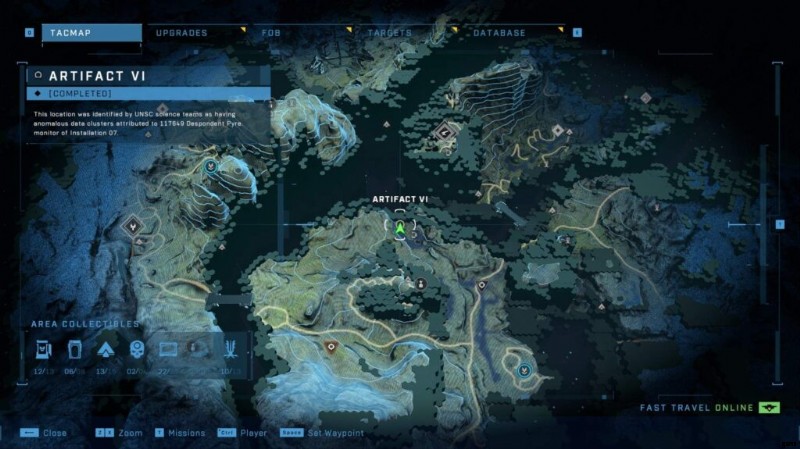
Artefact #1
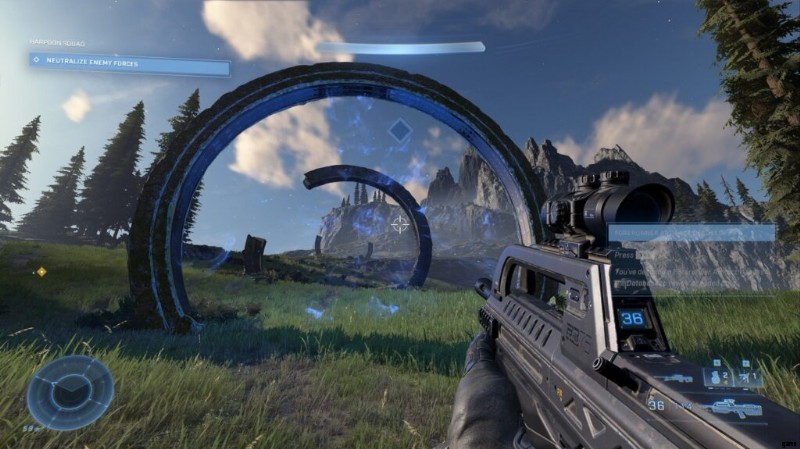
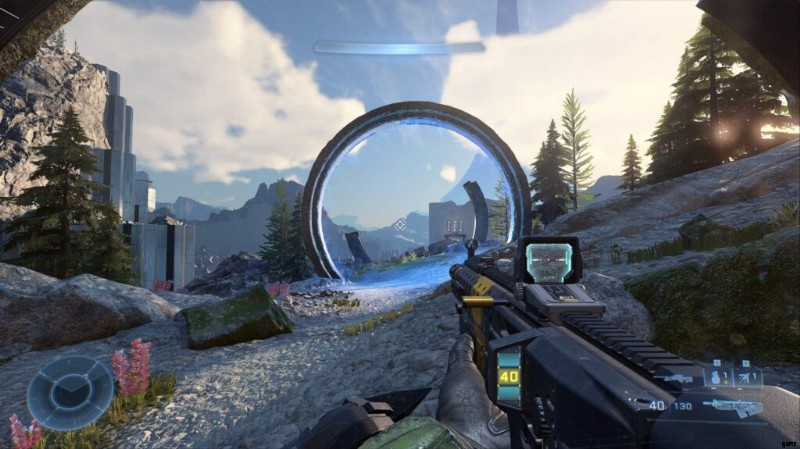
Just east of Harpoon Squad, up on the side of a hill. The Forerunner architecture will be easy to spot from a distance.
Artefact #2
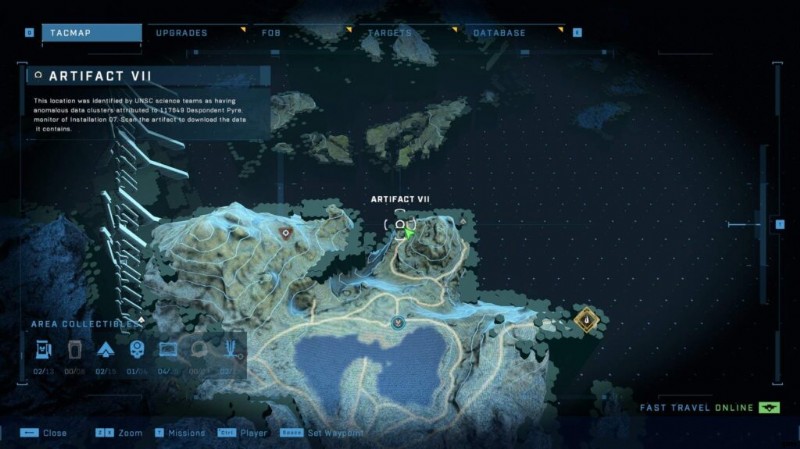
On the North side of the map, in the middle of the small bed of water. Pretty easy to find, even if you’re not paying attention.
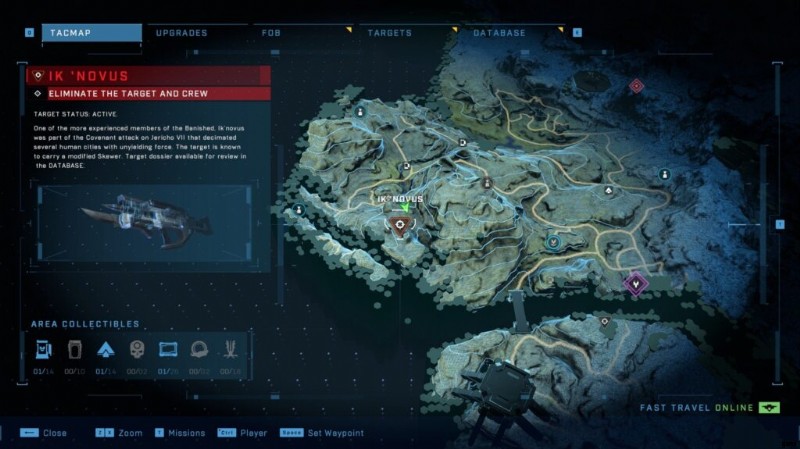
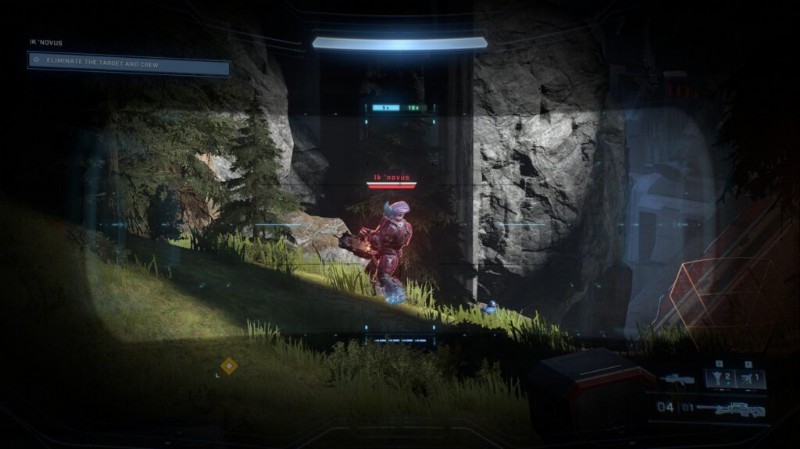
Assassination Mission:IK’NOVUS
Really easy target. IK’Novus fires the scrap launcher which is super innacurate, so just camp up on a hill, kill the sniper Jackals, and pump him full of lead.
Assassination Mission:Inka ‘Saham
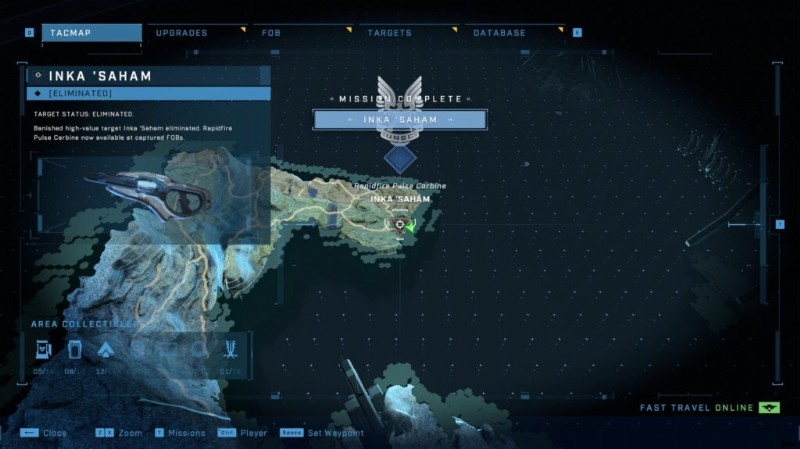
On the far Northern Island, you’ll have to fight a large Banished force and the leader himself, who has a pumped up Pulse Rifle. This thing will shred your shields quickly, so a vehicle is strongly advised.
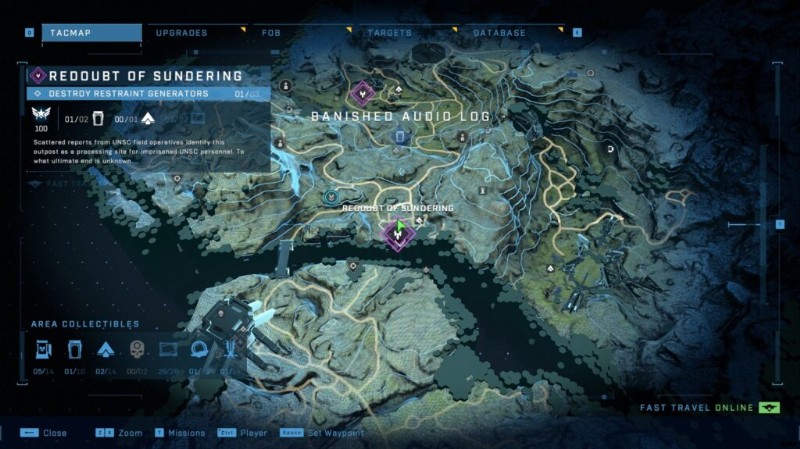
Sundering of Redoubt
UNSC Audio Log #1
Right outside the Sundering of Redoubt fort, the log is on a cliff right next to the Northern wall.
UNSC Audio Log #2
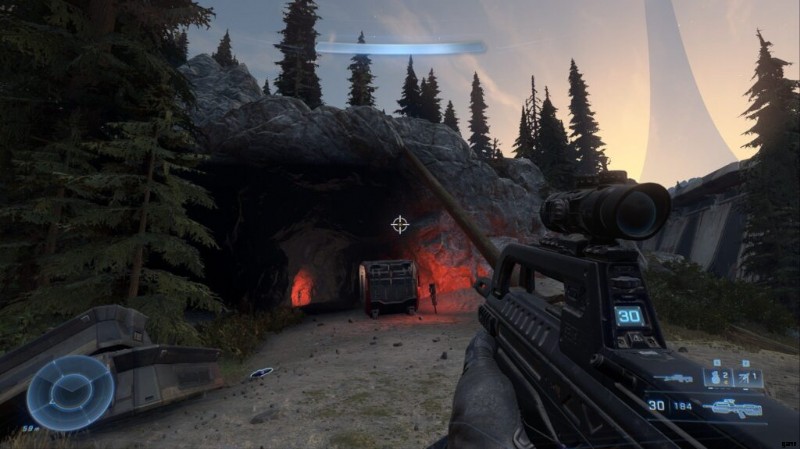
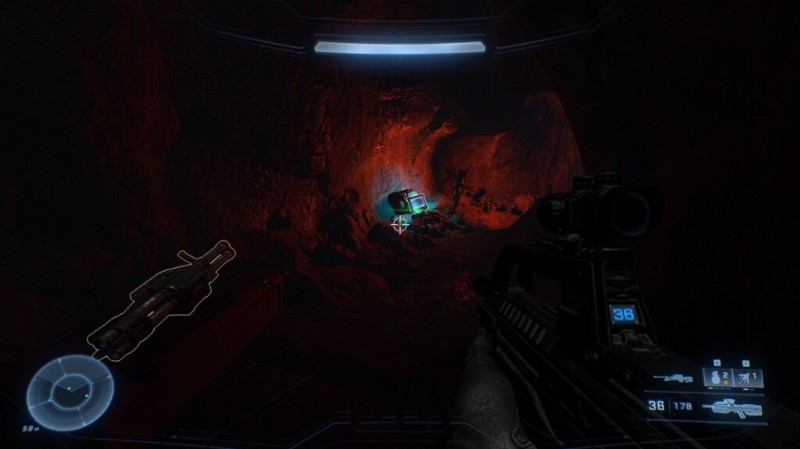
Just outside the fort itself is a small cave at the southern most point. Kill the enemies inside, and the log will be at the back of a cave under a red light.
Banished Audio Log #1
Inside the Redoubt fort, you’ll see a large building with some ammo refill stations. The Log is just inside next to it.
Banished Audio Log #2
Inside one of the buildings inside the fortress. You must free the Marines before you may enter. Once you have done this, you can grab the Log. Be very careful upon entering, as a Brute Chiefton with a hammer will ambush you.
Spartan Core #1
Inside the Redoubt fort, just outside the south entrance you’ll see the Core right next to the wall.
Forge of Teash
UNSC Audio Log #1
On the eastern section of the hill overlooking the south side of the Forge, you’ll find a small UNSC post with this audio log.
UNSC Audio Log #2
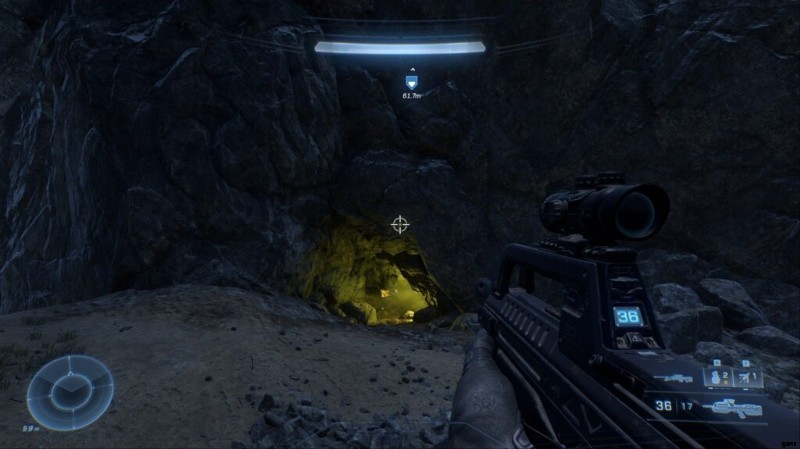
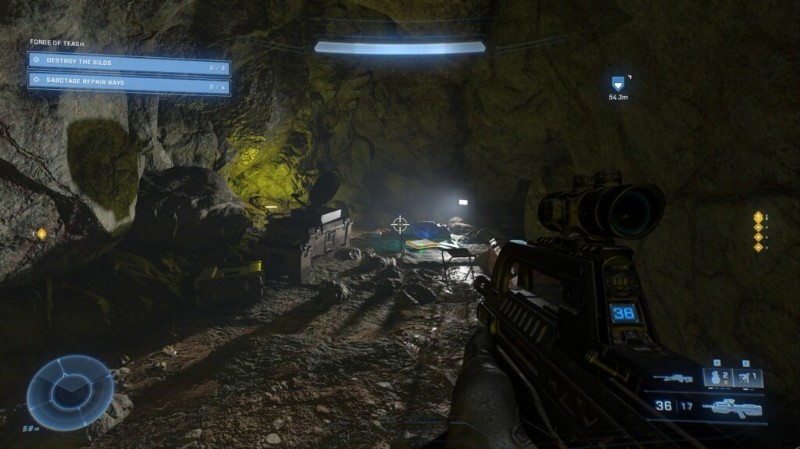
Northeast of the Forge of Teash, look for a cliff. Around halfway to the top (or bottom if you’re descending). You’ll find a small cave with green light emitting from within. Crawl through the tunnel to find a hideout for a UNSC troop, and the audio log is sitting on a sleeping bag.
Banished Audio Log #1
Just inside the Forge itself, once you’ve unlocked the door you can roll in and grab the Log.
Banished Audio Log #2
Inside a banished silo. Carry on down the ramp and you’ll see the Audio log at the bottom of the stairs.
Spartan Core #1
Right next to Banished Audio Log #1, just upstairs.
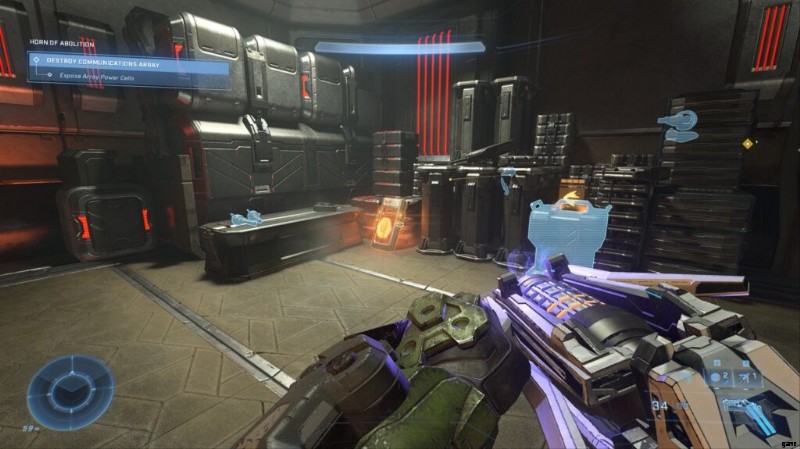
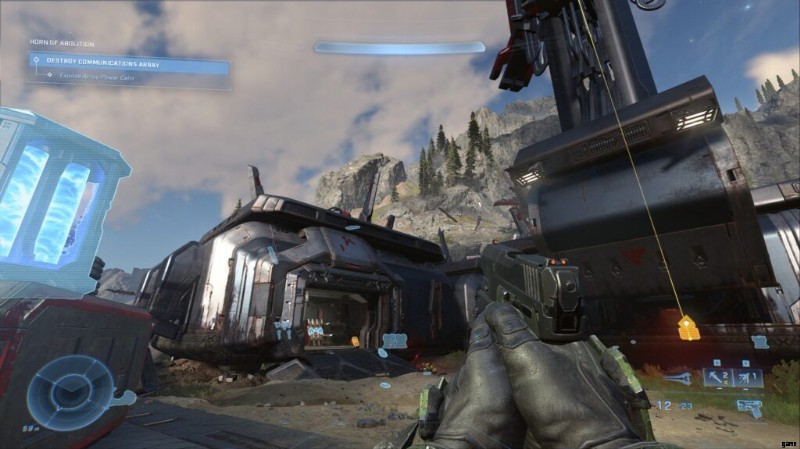
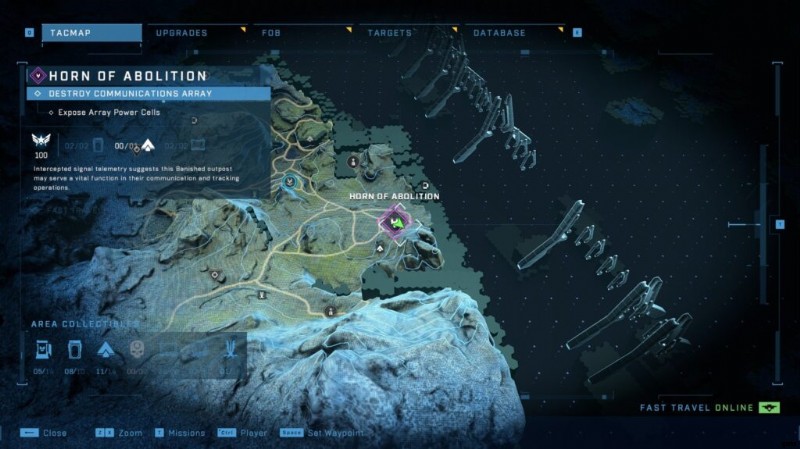
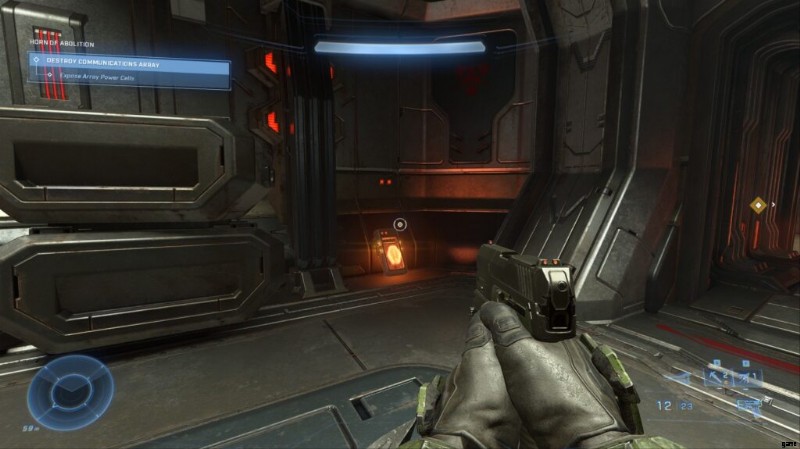
Horn of Abolition
UNSC Audio Log #1
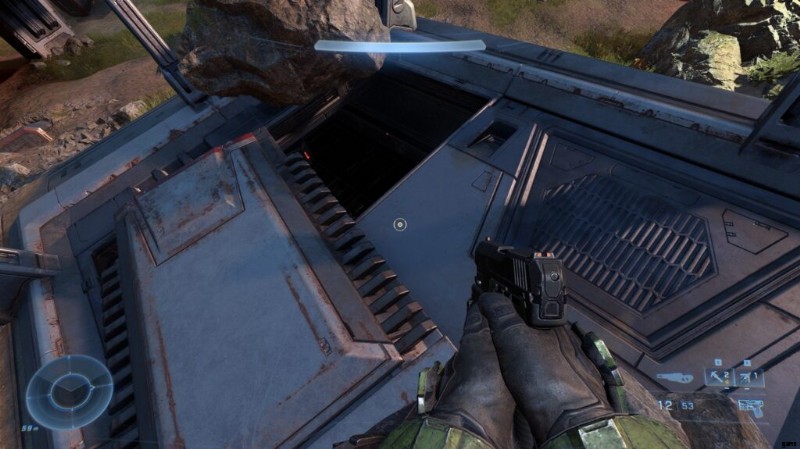
On the south side of the outer Fort. The Core is inside a sunken building with broken doors. You can’t just run in through here; just jump on on the roof and enter through the broken grate. The Core is at the bottom.
UNSC Audio Log #2
High above the Fort on the southern mountain is a little tactical UNSC with a rocket launcher and mongoose. The Log is next to it.
UNSC Audio Log #3
In contrast, the next log is on the North East outer wall, just under a grassy hill outside the base.
Banished Audio Log #1
Straight inside the Fort on the West side. You’ll have to unlock the door to gain access to the log.
Banished Audio Log #2
In the building by the large Banished tower. You’ll have to unlock the door before you can get this Log. Inside is a Elite Ultra with a sword, so watch out.
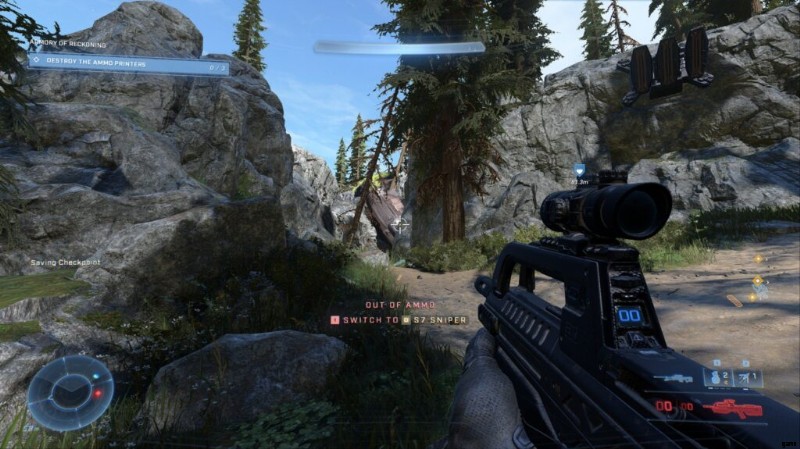
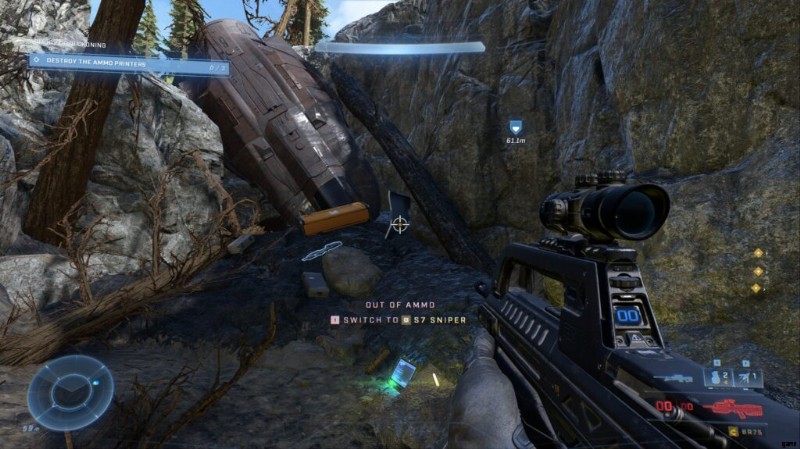
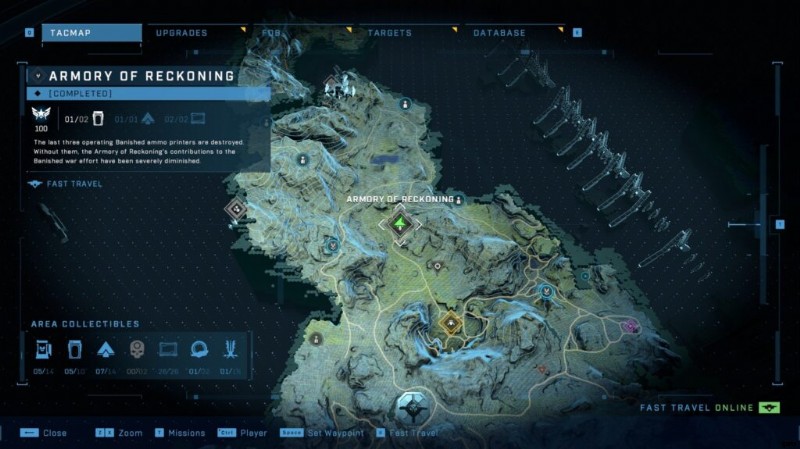
Armoury of Reckoning
UNSC Audio Log #1
In the northeast side of the Armory of Reckoning, there is a small mountain pass between the rocks. You’ll find the audio log on the ground near a destroyed UNSC pod.
UNSC Audio Log #2
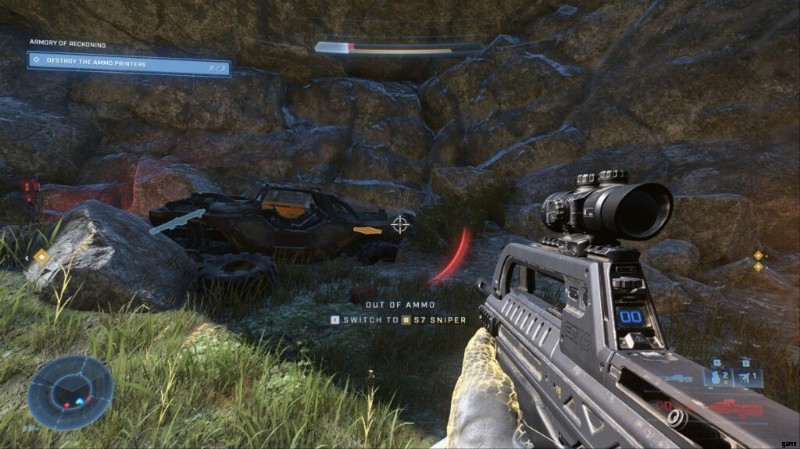
Inside the fort itself, you’ll find a jutting rock overhang near a Banished building. The log is inside a destroyed Warthog underneath the overhang.
Banished Audio Log #1
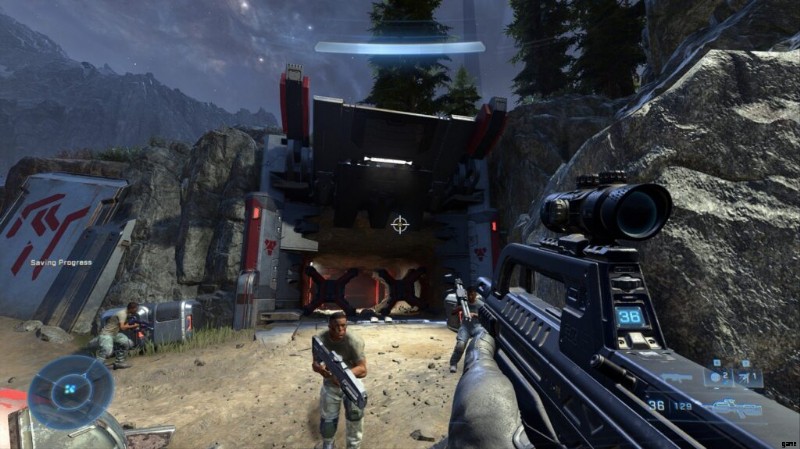
Just inside the East side of the Armoury, you’ll find a small hanger with a lazer grid door. Once you’ve de-activated the door you can enter. There will be a few Marines trapped in there, along with the Banished Log.
Spartan Core #1
Inside a Banished underground bunker. To get in, look for some barricades over the door and squeeze through them. Follow the ramp and you’ll find the intersection with some enemies at the bottom. Clear them out, and the Core is at the end.
Banished Audio Log #2
This one is inside the locked house. This will be the last building that you’ll get into, which you’ll need to get into via the bunker which has the Spartan core in. Continue up the grav lift and the Log will be on the floor.
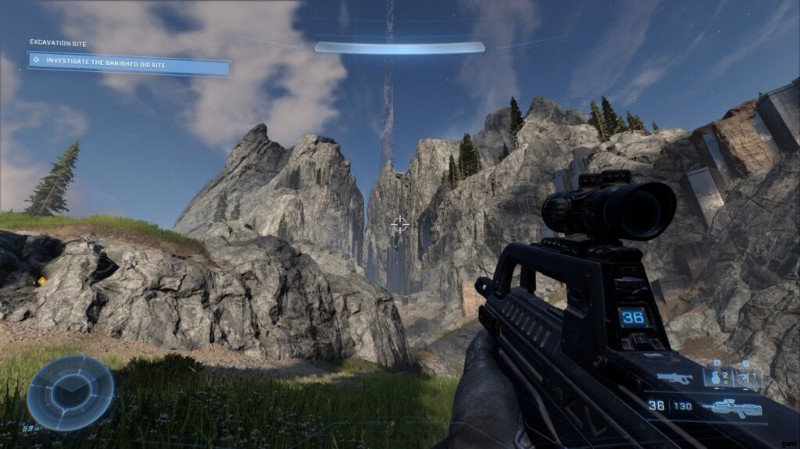
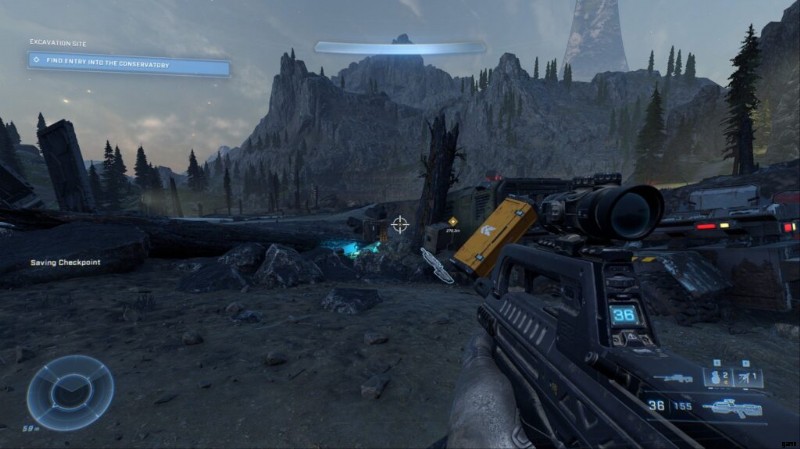
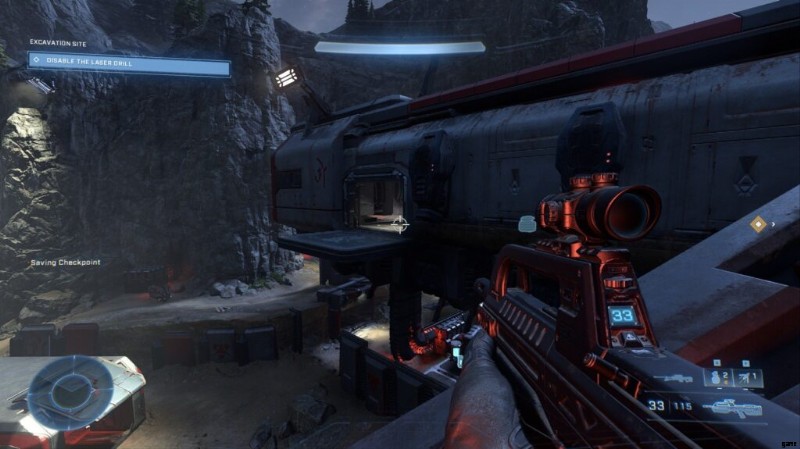
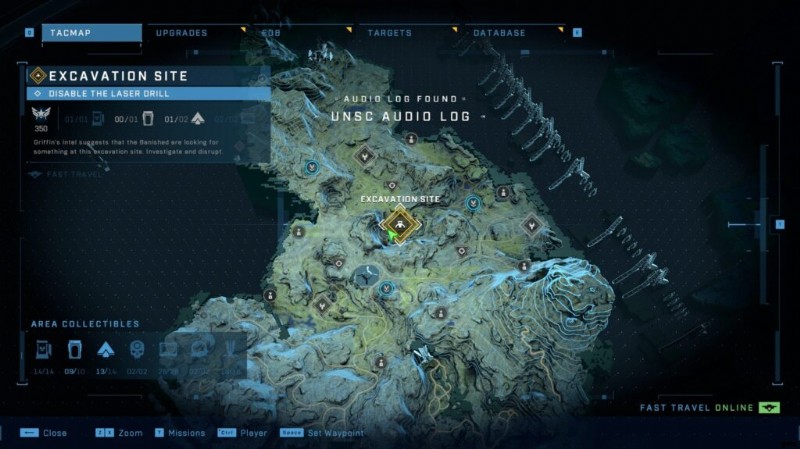
Excavation Site
UNSC Audio Log #1
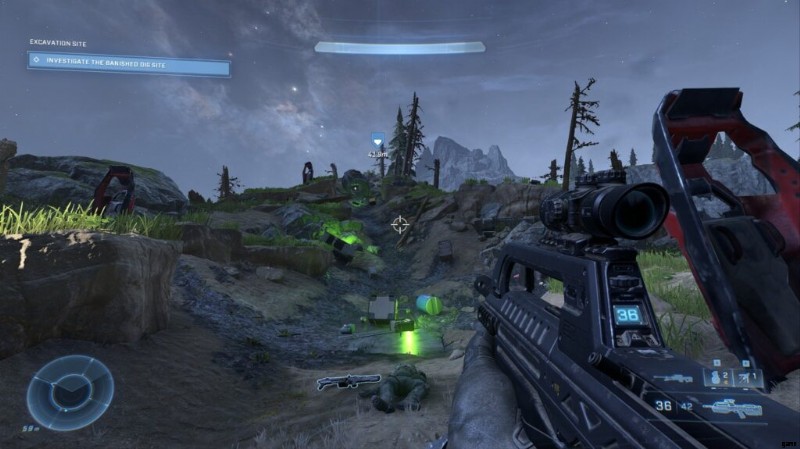
Inside the blasted wasteland; there is a destroyed truck. Next to it is the Audio Log.
UNSC Audio Log #2
Can only be accessed by continuing on through the level. Once you’re inside the drilling platform, look in one of the legs, and the log will be on the floor.
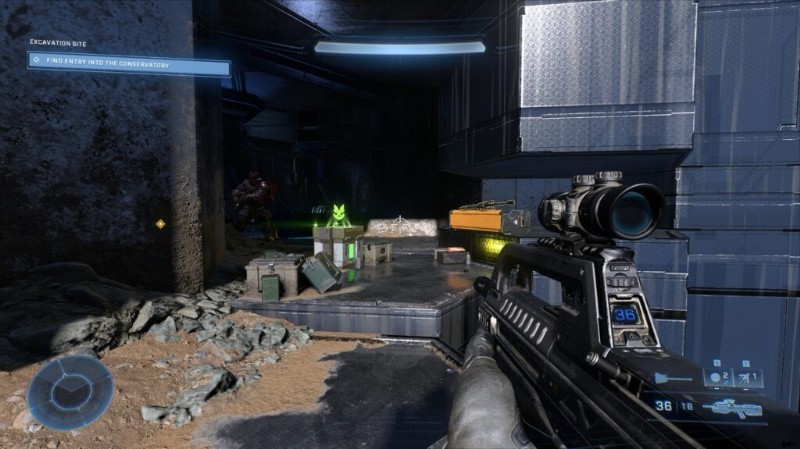
Spartan Core #1
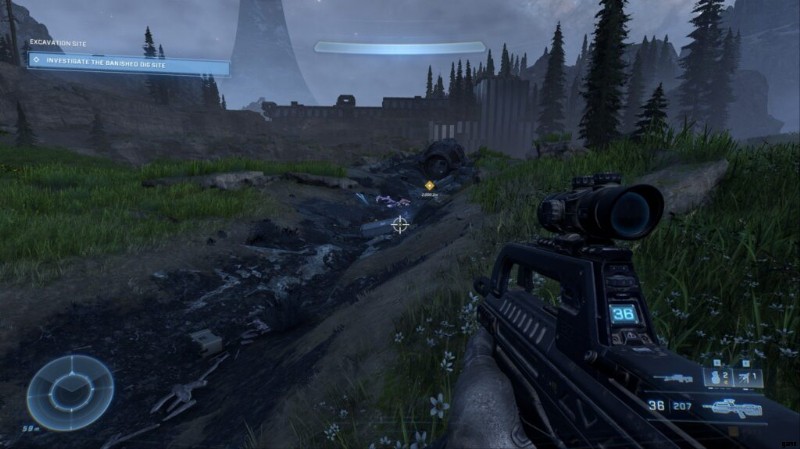
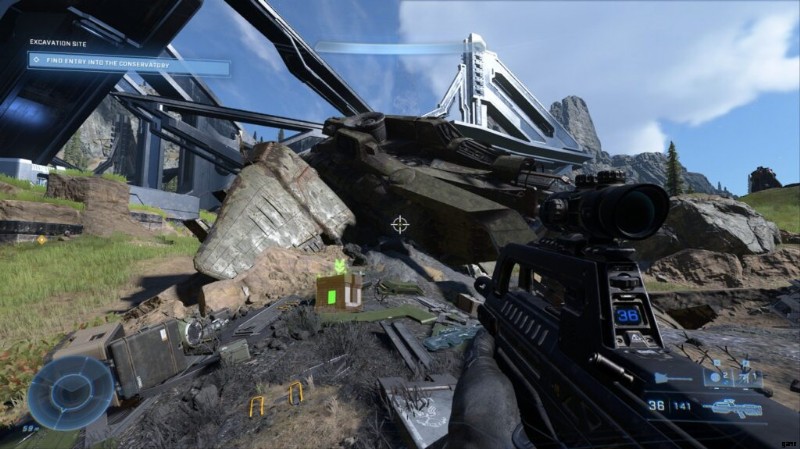
In the centre area of the site, jump up on a hill, and the core is at the top, overlook the giant gun/drill.
Spartan Core #2
On the South side of the complex inside a little building. Just roll in, and the Core is on the grating above.l
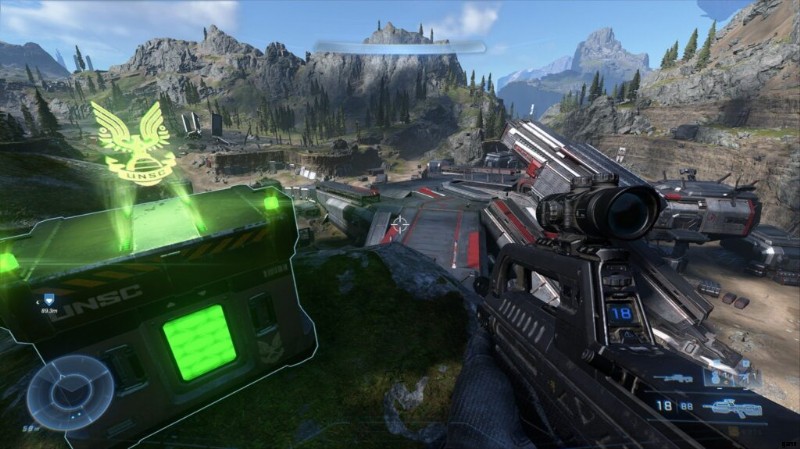
Mjolnir Armoury #1
Right next to the core, on the left. Jump down and you’ll find the Locker right in the corner of the dig site, up against some stone.
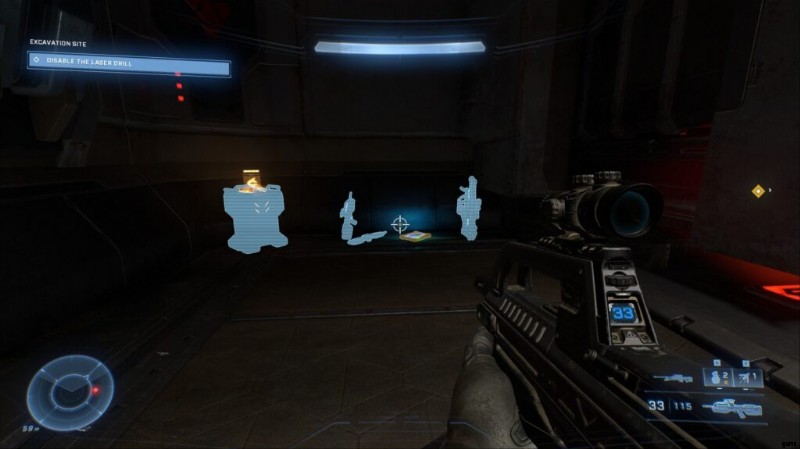
Banished Audio Log
Can only be accessed by continuing on through the level. Once you’re inside the drilling platform, look into the central control room, and do a 180 degree turn. You’ll find the log behind the laser window.
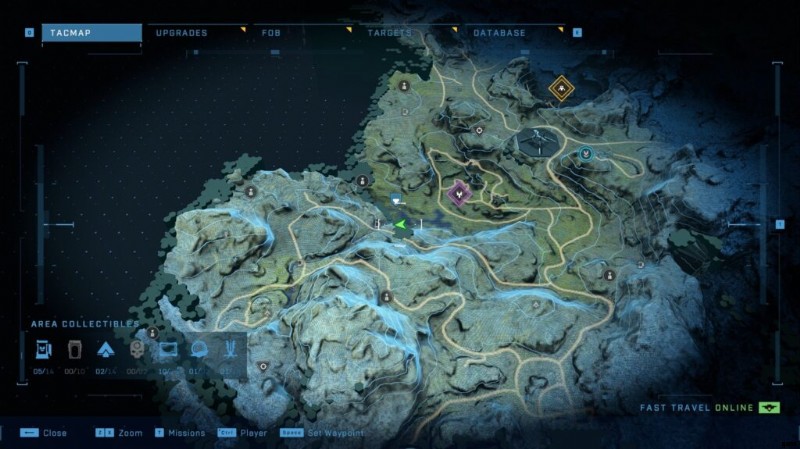
Graveyards [Region 3]
Spartan Core #1
Near the beggining of when you get to Region 3, just head east, fighting through the Banished forces until you see some more Infinity/Random UNSC ship wreckage. The Core is on there.
Spartan Core #2
Make your way to the west-mot Anti-Air gun. Look to the left of the giant elevator, and you’ll find the crate.
Spartan Core #3
Either go up a long trail from the Northern AA gun, or just grapple up the mountain. Either way, you’ll find the Core at the top of the rock face.
Spartan Core #4
Inside the camp with the Northern AA gun. Head past the gun itself and into one of the far buildings.
Spartan Core #5
The last Core in the region lies right inside the Eastern AA Gun and it’s camp. Just past the hill with the gun on, you should see a small tunnel leading into a shaft with the Spartan Core in it.
Mjolnir Armoury #1
Banished Audio Log #1
Banished Audio Log #2
Banished Audio Log #3
UNSC Audio Log #1
UNSC Audio Log #2
UNSC Audio Log #3
UNSC Audio Log #4
UNSC Audio Log #5
[P2] Propaganda Towers
Propaganda Tower #1
Propaganda Tower #2
Propaganda Tower #3
Propaganda Tower #4
Reformation [Region 4]
Banished Audio Log #1
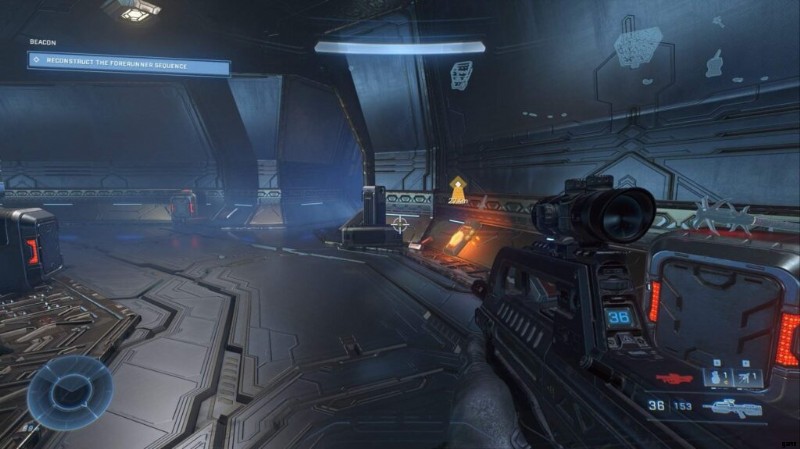
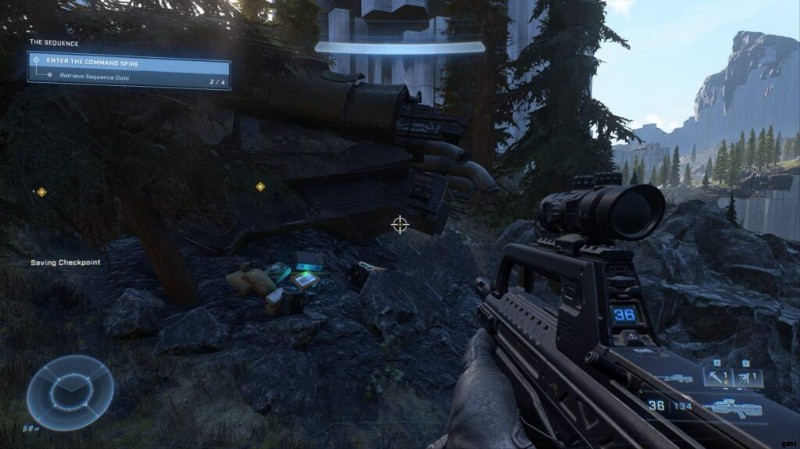
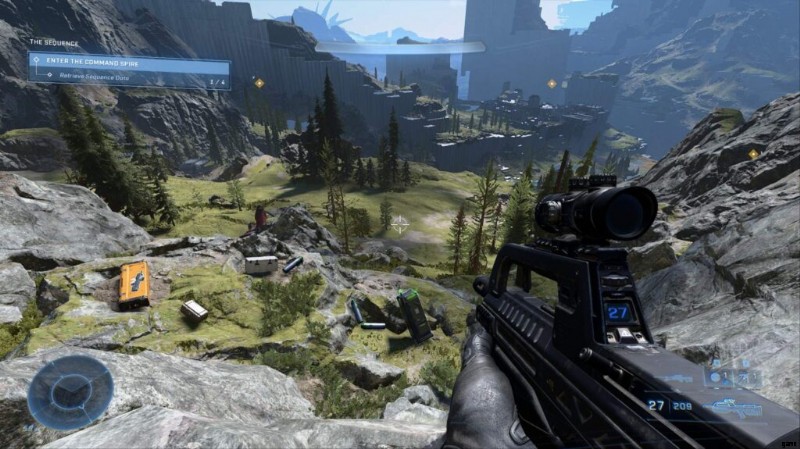
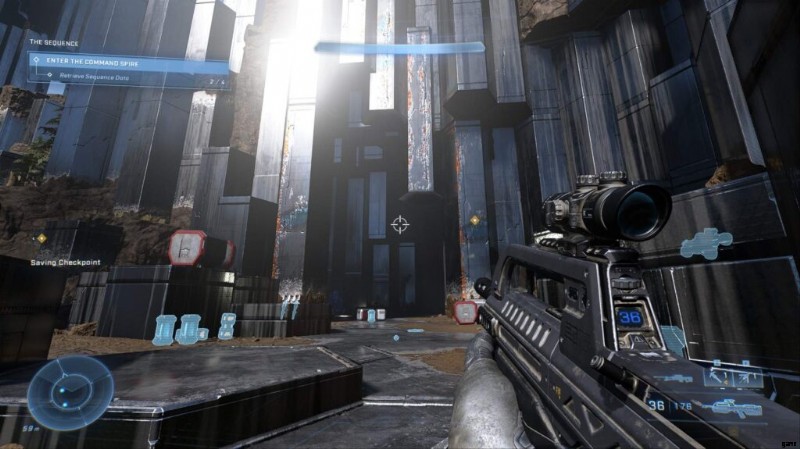
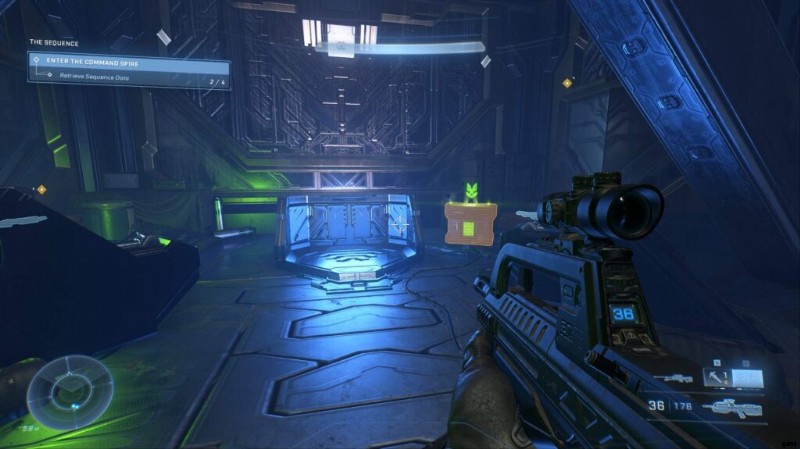
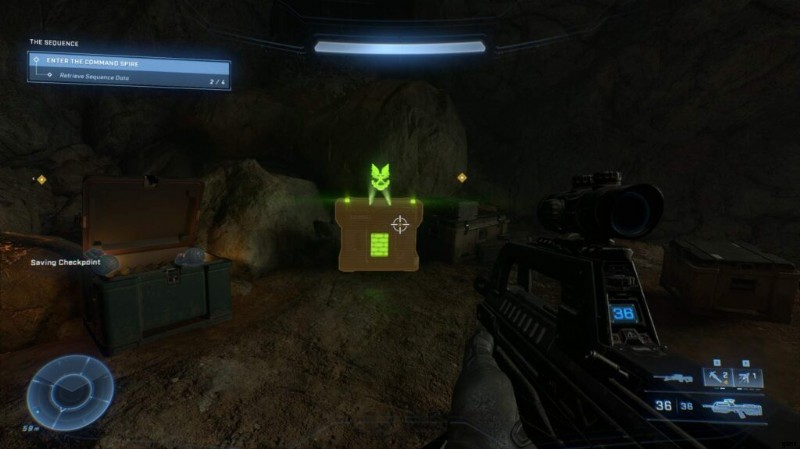
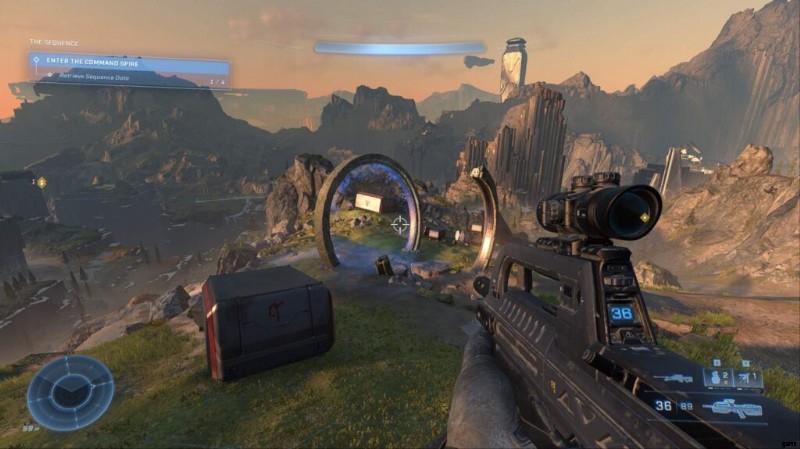
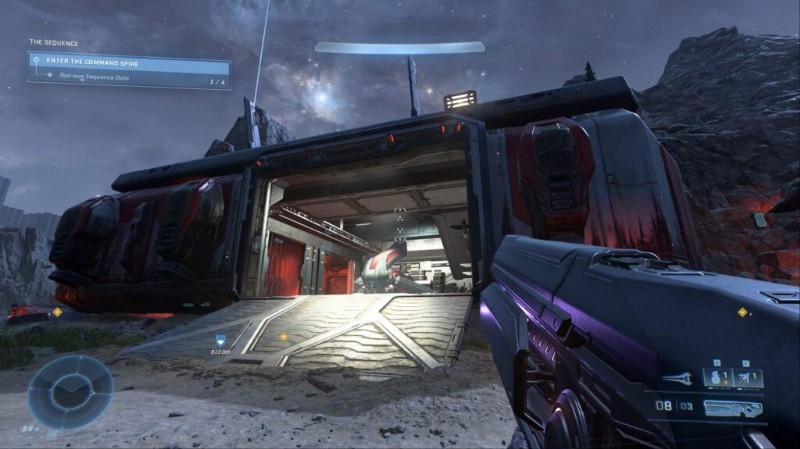
During the mission:The Sequence, you’ll have to gain access to the structure on East end of the map. Once you’re in the building, the Log will be on the side of the wall.
Banished Audio Log #2
Likewise, during the same mission:The Sequence, run over to the South-most objective market. The Banished Log is in the building, next to a dead Brute.
Banished Audio Log #3
Also, during the same mission:The Sequence, run over to the South-East objective market. The Banished log is also inside the building, like the rest in this mission.
Banished Audio Log #4
The north objective in The Sequence. The Banished log is also inside the building.
UNSC Audio Log #1
Just South of FOB-Lima, nestling against the rock face.
UNSC Audio Log #2
Right inside FOB-Lima, on the left side of the landing pad.
UNSC Audio Log #3
In the middle of Region 4’s first section, in the shallow lake. The Log itself is in the middle.
UNSC Audio Log #4
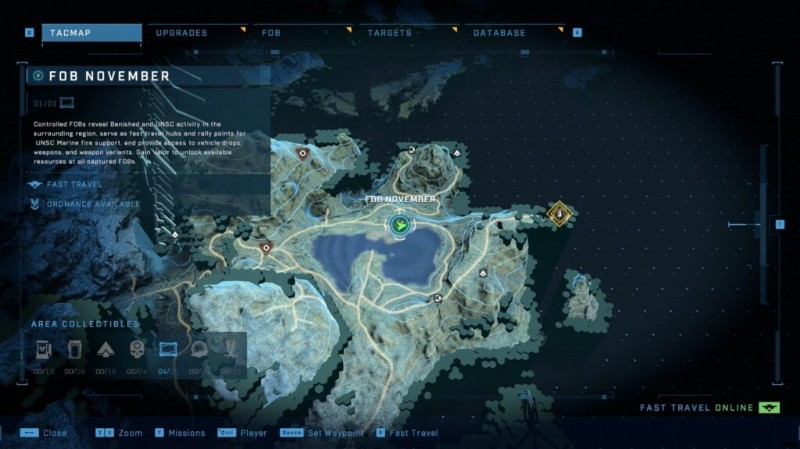
On FOB-November’s main template.
UNSC Audio Log #5
Inside the Forerunner canyon structure dividing region 4 up. This one is right next to Spartan Core #4. Just walk away from the massive structure, and look down a small shaft going down off the ring. There is a small overhang at the bottom, with the log at the bottom.
UNSC Audio Log #6
This one is IN the mountain north of Riven Gate. Just get to the top of mountain, and find the massive split in the earth. Drop down, fight the Banished force inside, and you can find the Log down the a small corridor.
UNSC Audio Log #7
On FOB-Kilo’s station. Can’t miss it.
UNSC Audio Log #8
South East of FOB-Kilo’s location, just behind the mountain.
UNSC Audio Log #9
Next to the Black Eye skull.
UNSC Audio Log #10
Inside FOB-Juliet.
UNSC Audio Log #11
South of FOB-Juliet, on the cliff edge overlook it.
UNSC Audio Log #12
Southwest of FOB Kilo, at the bottom of the corner of the elevated area.
[P2] UNSC Audio Logs
UNSC Audio Log #13
NorthWest of FOB-Juliet, in a little swap. There’s a small Banished force with a ghost guarding it.
UNSC Audio Log #14
Just north of the massive drop, directly opposite that you’ll see a mountain. The Log is resting in a small camp next to it.
UNSC Audio Log #15
Northwest of FOB Juliet, you’ll find a crashed Pelican on the edge of a large hill. This audio log is lying on the ground beside it.
UNSC Audio Log #16
At FOB-Hotel.
UNSC Audio Log #17
On the same section as the Target Writh Kul, grapple your way down to the lowest level of the map. On a muddy ledge near the bottom of the pillar, you’ll find the audio log on a crate near a sleeping bag.
UNSC Audio Log #18
North of FOB-Hotel, there’s the remains ofa pelican that’s been split in half. The Log is in there.
UNSC Audio Log #19
At the very top of a highest mountain.
[P3] Mjolnir Armour Lockers
Mjolnir Armoury #1
Under the massive bridge, south of FOB-November.
Mjolnir Armoury #2
Right at the Northern end of the map. On the left side of the outer mountain, next to a Spartan Core.
Mjolnir Armoury #3
On the far Southern edge of the region.
Mjolnir Armoury #4
Very difficult to get if you don’t have a Wasp/Banshee. Just fly to the far South West corner of the region and fly down to the Forerunner stuff way down below. On the side of the mountain is a small alcove with a little UNSC camp in it. The Locker is in there.
Mjolnir Armoury #5
Way down at the bottom of the map, South of FOB-Kilo. You’ll find this one hiding on the side of a rock.
Mjolnir Armoury #6
South of Riven Gate, behind a large rock. Just grapple up the mountain, and you’ll find this easily.
Mjolnir Armoury #7
North of Riven Gate, on the mountain overlooking it.
Mjolnir Armoury #8
At the very Northern point of the region 2’s second half, of on top of the mountain.
Mjolnir Armoury #9
North of FOB-Kilo, and right next to the Assassination Targets.
Mjolnir Armoury #10
South of FOB-Juliet, and directly North of the Target:Skimmer Alpha.
Mjolnir Armoury #11
On the south Southern edge of the map, and south of the Beacon on the bottom edge of the map.
Mjolnir Armoury #12
Just North of FOB-Hotel, past the assassination target.
Mjolnir Armoury #13
The last locker in the game is just southwest of FOB-Hotel. Follow the road and then you will see a mountain pass.
[P4] Propaganda Towers
Propaganda Tower #1
Just South of the pool in the middle of region 4.
Propaganda Tower #2
North East of FOB-November.
Propaganda Tower #3
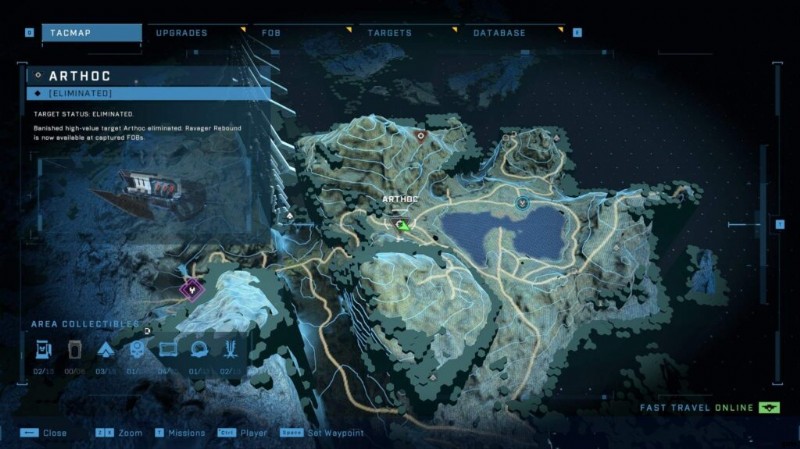
Right next to the Target mission:Arthoc. The Tower is on the hill next to him.
Propaganda Tower #4
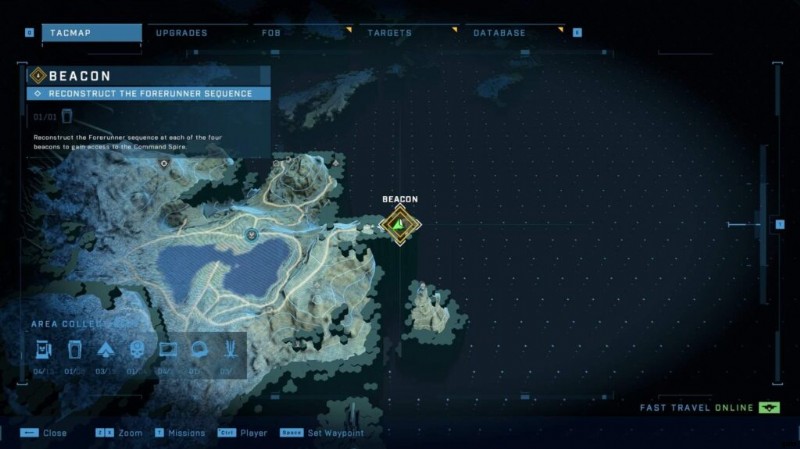
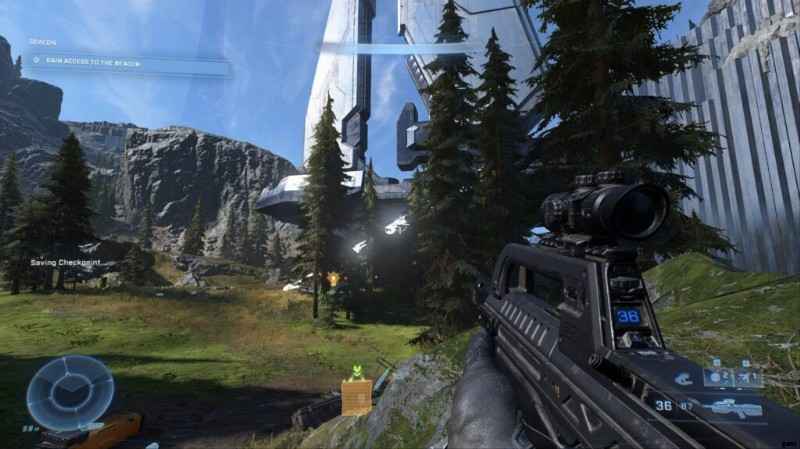
Right of the main mission:‘Beacon’, on the side of the mountain.
Propaganda Tower #5
On the mountain north of Riven Gate. Right at the peak, you’ll find a small dip, and there you’ll find the Tower.
Propaganda Tower #6
Straight East of FOB-Juliet.
Propaganda Tower #7
There’s a mountain southeast of the bridge that goes into region 3, go round the mountain, and the Tower is in a little outcropping.
Propaganda Tower #8
Just South of Annex Gate, right on the edge of the map.
Propaganda Tower #9
South of the bridge going to Region 3, on top of the mountain.
Propaganda Tower #10
On the West side of the of the mountain overlooking the second half of region 4.
Propaganda Tower #11
On the West side of the map, under the mountain which leads off the edge of the map.
Propaganda Tower #12
Right next to Tower #11, head northeast and you’ll find a tower along the northern edge of the island.
Propaganda Tower #13
The Tower in the game (hopefully). SouthWest of FOB-Hotel, up the mountain closest to the large Forerunner cliff.
[P5] Spartan Cores
Spartan Core #1
Just South-East of FOB-November, under the shadow of the command spire.
Spartan Core #2
At the Northern point of the map, under the mountain. The Core is inside a small camp.
Spartan Core #3
On the same mountain as the assassination target:Barroth; but higher. You’ll find the Core at the top of the mountain, next to a small camp.
Spartan Core #4
Inside the Forerunner power structure which devides the pieces of region 4. The Core is on the ground, under triangular monolithic structure, and just next to the Audio log found in the same place.
Spartan Core #5
A really interesting one. This one is IN the mountain north of Riven Gate. Just get to the top of mountain, and find the massive split in the earth. You can drop down into a massive hollow spot in the mountain, which has a few things inside, including the Core; and a large Banished contingent. Find the core next to the broken Forerunner artefact.
Spartan Core #6
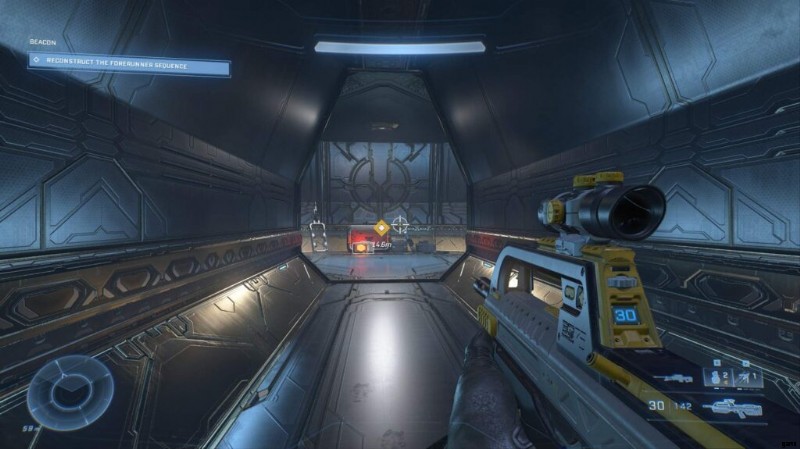
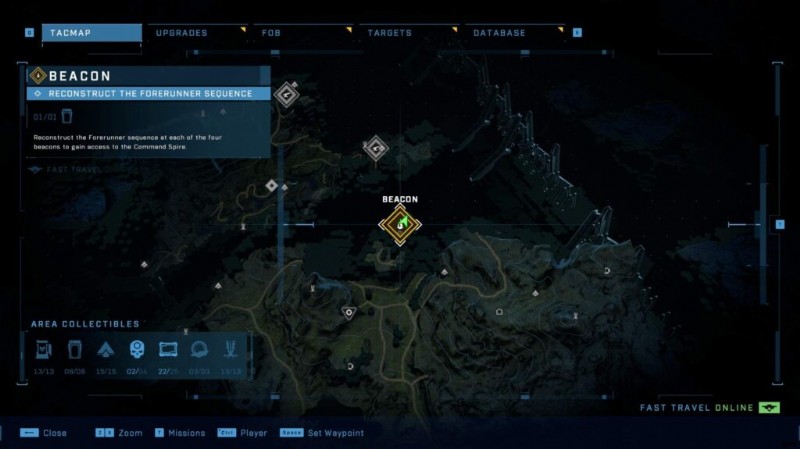
Just South East of the ‘Beacon’ mission. Just head away from the area and you’ll see an opening in the mountain (map pic related).Go inside, kill the Banished, and grab the Core at the end of it.
Spartan Core #7
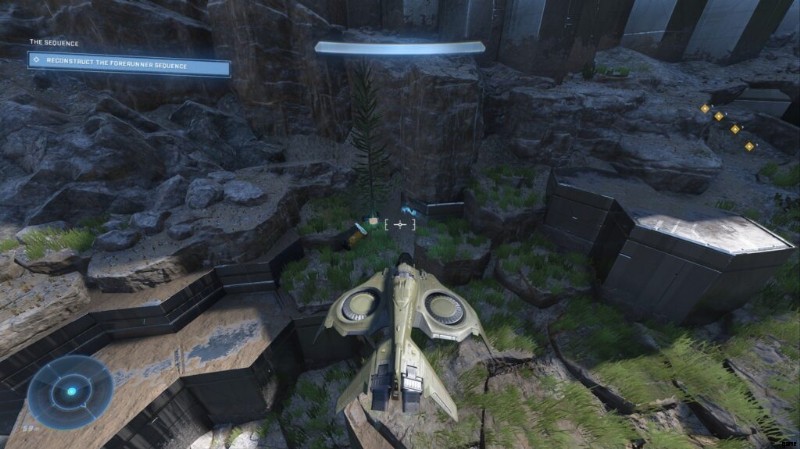
In the Southern objective for ‘the sequence’, you’ll find one of the beacons. Just behind the structure is the Core.
Spartan Core #8
Just over the cliff, west of FOB-Juliet, under the mountain. This can be found through a little door in a hollowed part of the mountain. To get to this you’ll need to fight through a sizeable Banished outpost.
Spartan Core #9
The very north end of region 4, inside a piece of crashed UNSC warship. Just run inside the wreckage and grab it.
Spartan Core #10
Just inside the mountain where you save Fortune Squad. Jump down from the battle, then go into a little hole, which will lead straight to the Core.
Spartan Core #11
You’ll find the last core inside the Southern most objective in the mission ‘the sequence’. Just next to the Forerunner structure, go a little further out of the perimeter and you’ll it next to some trees.
Spartan Core #12
North objective in the mission ‘the sequence’. Just on top of the Forerunner structure.
[P6] Skulls, Artefacts, Targets
Skull #1 – Famine
One of the easiest Skulls in the game. Just on the far right of the map, on a lone island mountain floating out on the Eastern region. The Skull is on the side of the mountain, in the grasp of a dead Elite.
Skull #2 – Black Eye
Follow the waterfall to its base then look up at it. About midway up on the right of it is an opening which you can fit through.Just grapple onto the waterfall, and you’ll see the opening quickly. Just crouch through and you’ll find the Skull in a red lit room.
Skull #3 – Thunderstorm
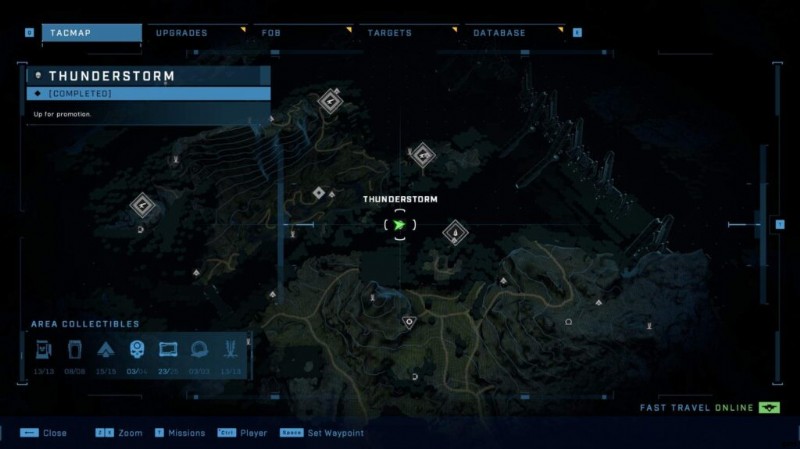
Very easy to grab if you have a flying vehicle. Just fly off to the Northern most point in Region 4, on a mountain that also has an audio log on the top. Fly down a little, and you’ll find a small pillar, with the skull on it.
Artefact #1
On the top of the Northern-most mountain on region-4. Right next to a Core, and Mjolnir locker.
Artefact #2
Artefact is on the western side of the mountain directly east of FOB Juliet. Northwest of Riven Gate.
Artefact #3
North of FOB-Hotel, at the very edge of Region 4’s map connecting to Region 1. In a little dip of the intersecting mountains.
Assassination Mission:Arthoc
Right next to the Propaganda Tower. This dude is a push over. Just blast him with some Fusion coils and he’ll go down by headshot.
Assassination Mission:Zeratus
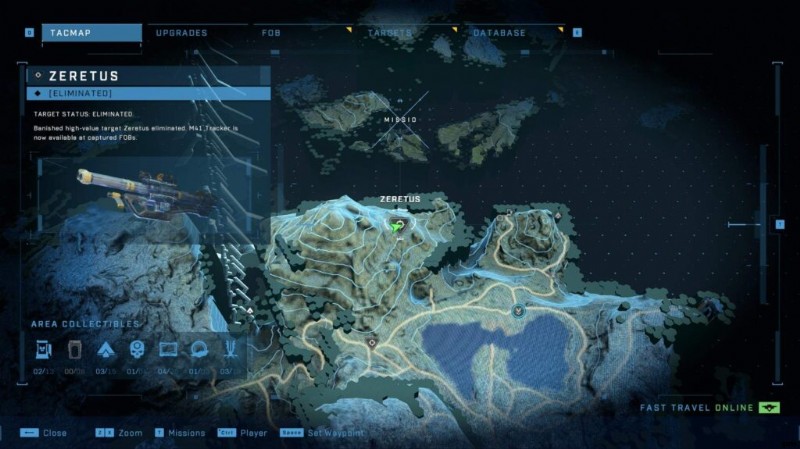
On the hill just North of the other Target. Zeratus’ rocket launcher homes in on your, so it’s a good idea to take him and his squad out at range.
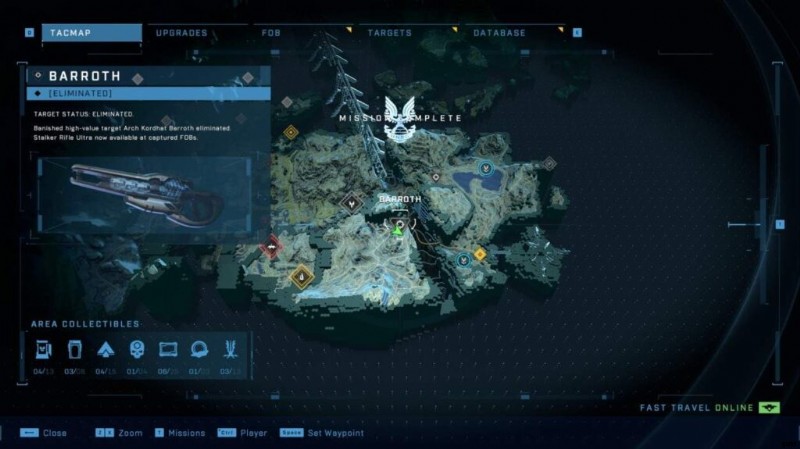
Assassination Mission:Barroth
Just west of FOB-Liima. Barroth is a sniper Jackal, with a nice gun. Das ist alles. Just mow him down anyway you see fit. Easy one.
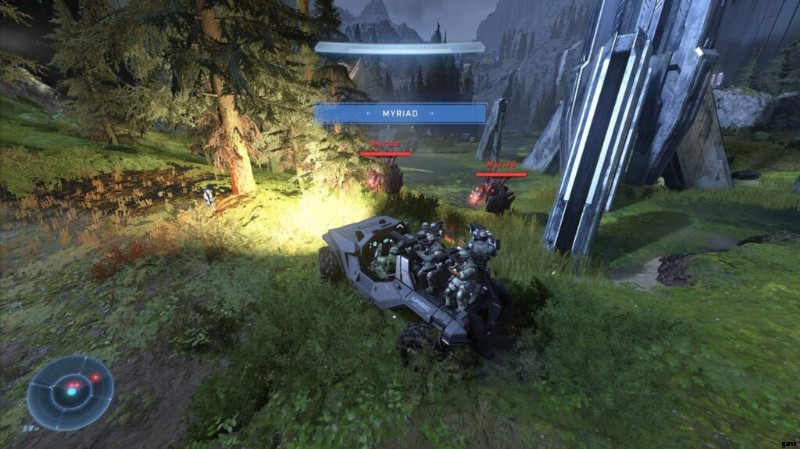
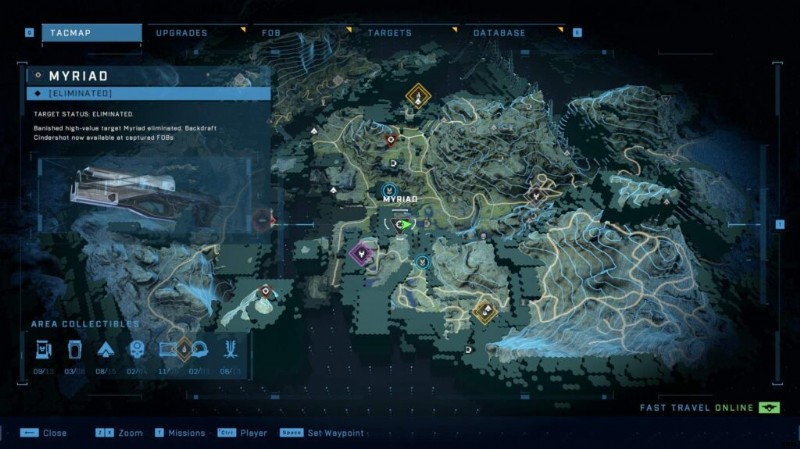
Assassination Mission:Myriad
Two Hunters hiding in the swamp, south of FOB-Juliet.These guys are brutally powerful and will wipe you out in seconds. The best way to deal with these guys is load up a razer back full of marines, and use them in a Razorback, combined with some Skewer/other long range guns to blast them from far away.
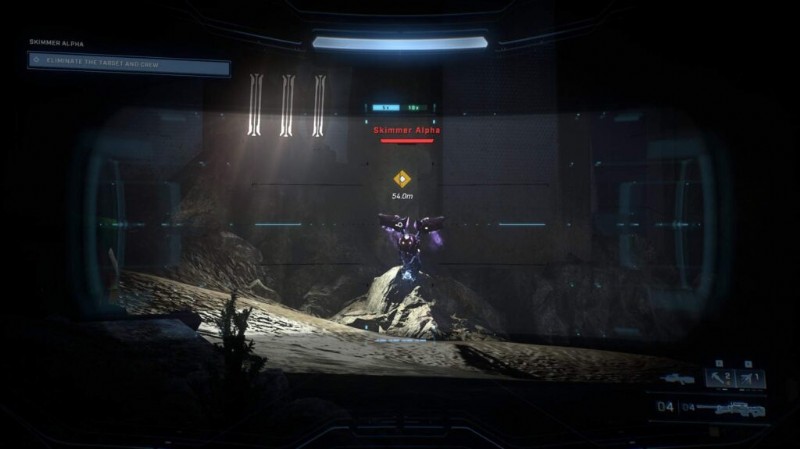
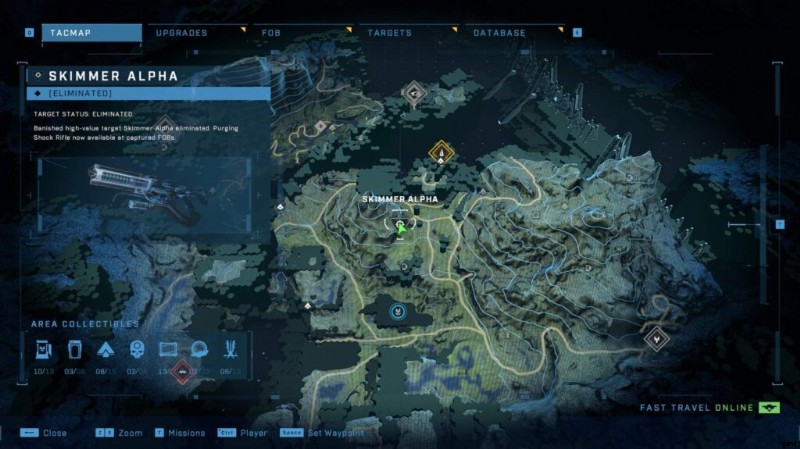
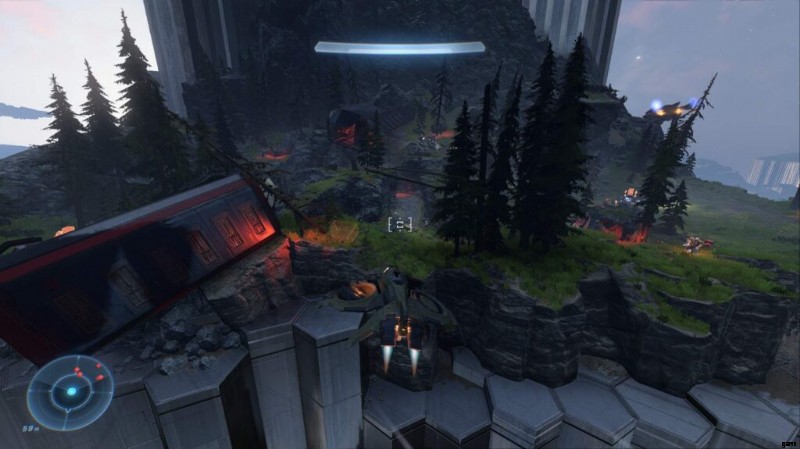
Assassination Mission:Skimmer Alpha
Just north of the FOB-Juliet. This one is barely a challenge. Just imagine this as a normal Banished incursion.
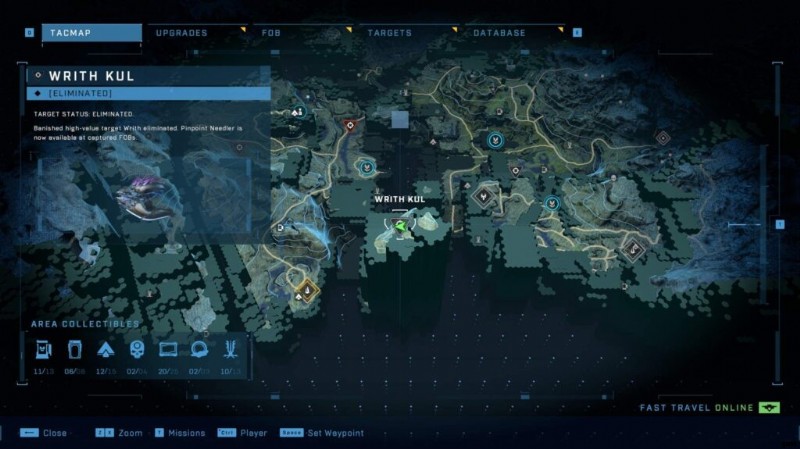
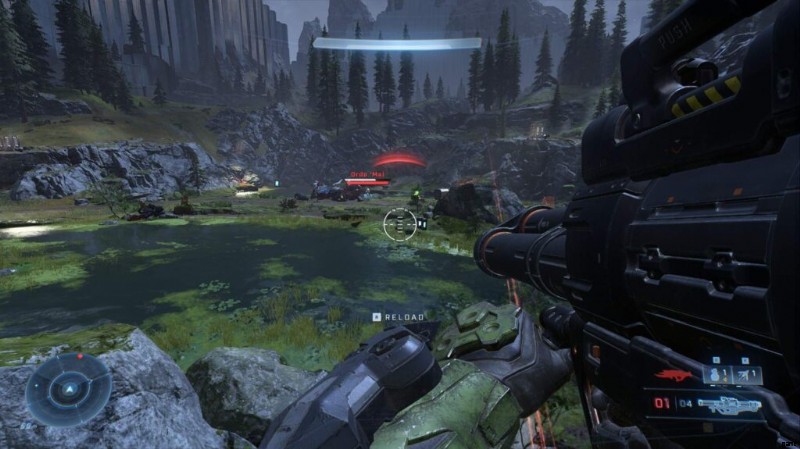
Assassination Mission:Writh Kul
Just north of the FOB-Juliet. This one is barely a challenge. Just imagine this as a normal Banished incursion.
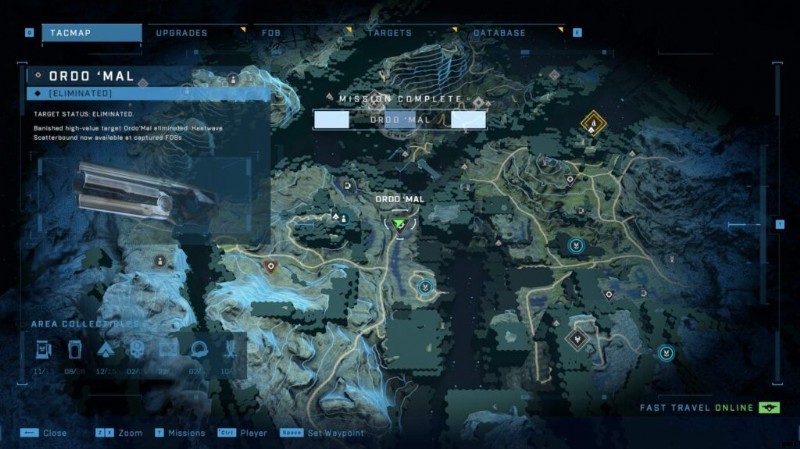
Assassination Mission:Ordo ‘Mal
North of FOB-Hotel, you’ll find this dude hanging in a giant pool, in his gigantic Wraith; along with a small army of Banished. You can decimate Ordo ‘Mal pretty easily; just blow up his Wraith with some heavy equipment. He’ll quickly jump out and you can finish him off.
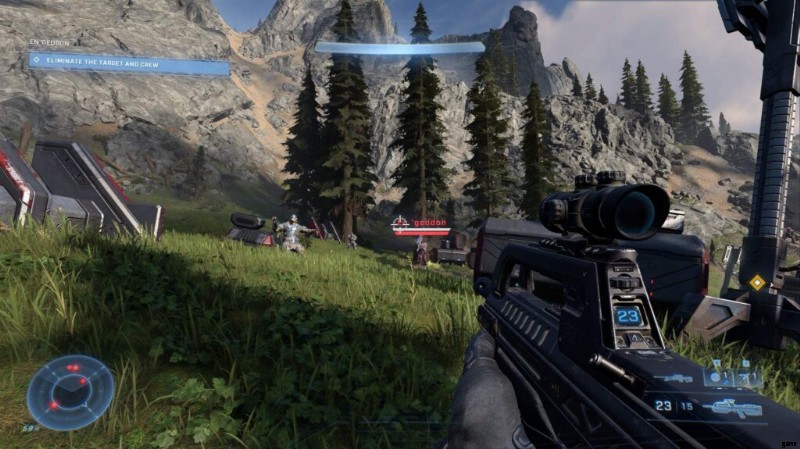
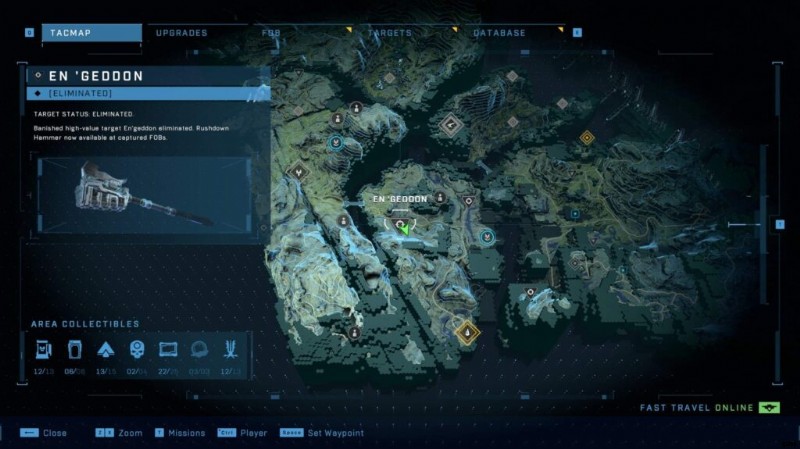
Assassination Mission:En ‘geddon
West of FOB-Hotel. This dude just has a grav hammer and upgraded shields. He isn’t the danger; his squad of sniper brutes are. Clear them out, and he’ll be easy pickings.
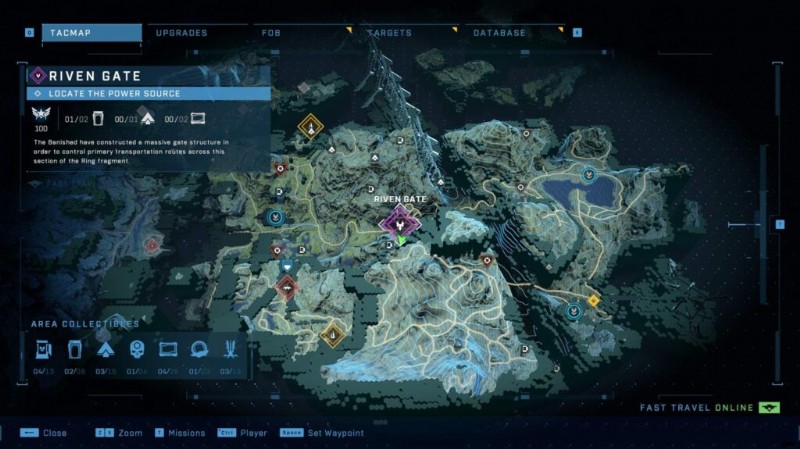
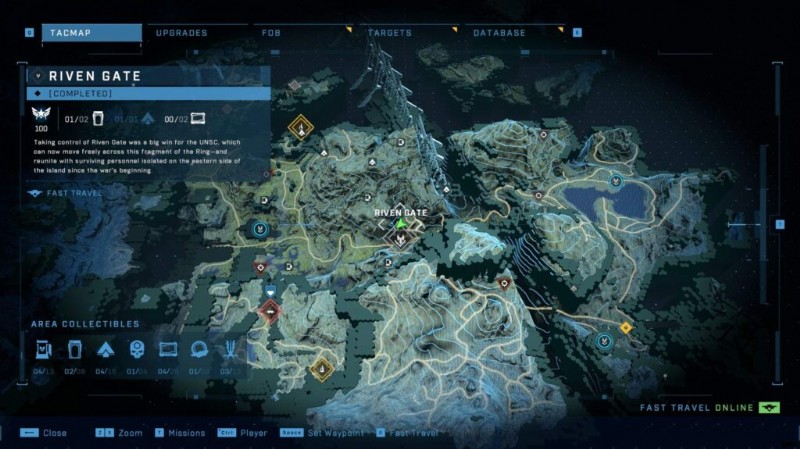
Riven Gate
UNSC Audio Log #1
Just to the east of Riven Gate, outside the entrance, you’ll find this audio log. Climb the cliffs on the south side of the road to find a sniper’s perch and the audio log, lying on the ground next to a sniper rifle.
UNSC Audio Log #2
Northern edge of Riven Gate, you’ll find a small scouting post. Located near the westernmost gate, you can grapple up to the ledge from near a gravity launcher and a small tunnel in the cliff.
Banished Audio Log #1
Head to the cliffside along the southern edge of the area and head inside the building on the right. Previously, there was a gate blocking the way, but now the way is open, and you’ll find the audio log sitting just inside the tunnel at the back of the building.
Banished Audio Log #2
Near the gate on the eastern side of Riven Gate, there is an upper ledge with a tower, a locked building, and some captive marines. Open the building by activating the terminal in the tower, then drop down and head inside and you’ll find this audio log leaning up against a counter in the back right corner of the room.
Spartan Core #1
Annex Ridge
Banished Audio Log #1
In the centre of the base, there’s a bunker which leads through the base. Next to a grav lift, which leads up into a control building, the Log sits next to it.
Banished Audio Log #1
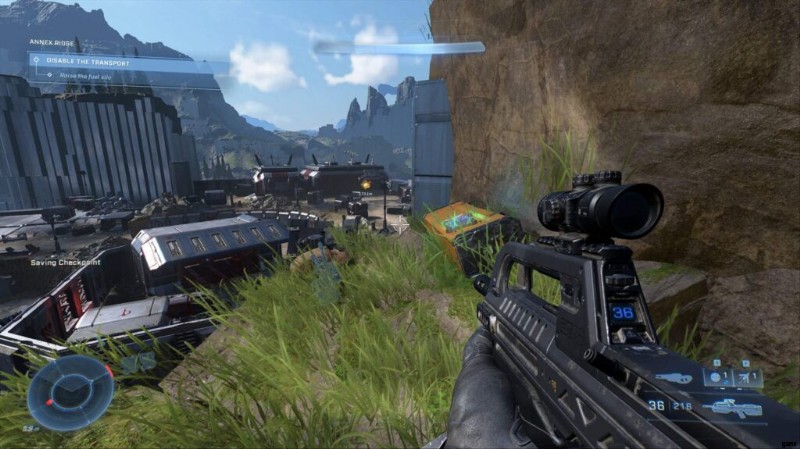
After you’ve lifted the lockdown from the fort, you’ll access the building to the North. The Audio Log itself it on the floor.
UNSC Audio Log #1
In the northeastern corner of Annex Ridge, there is a small cluster of metal spires. This audio log can be found near a sniper rifle on the first level of the spire.
UNSC Audio Log #2
There is a small cluster of metal spires; the log can be found near a crate of grenades on the first level of the spire closest to the Banished buildings.
Spartan Core #1
Outside the building containing the Banished Log #2, go outside, and the Core is inside a little hut.
Nexus
Note:This level’s collectibles count towards the wider Region 4 Map summery. You cannot miss these if you want to 100% the game in one playthrough.
UNSC Audio Log #1
Unmissable. Unlocked through a cutscene.
UNSC Audio Log #2
When you get down to the bottom of the level, after MC and Weapon have had their little tiff, you’ll have 3 different avenues to take to grab the power seeds. The middle avenue is longer than all the others and on the left, has the Log you’re looking for.
Skull #1 – Mythic
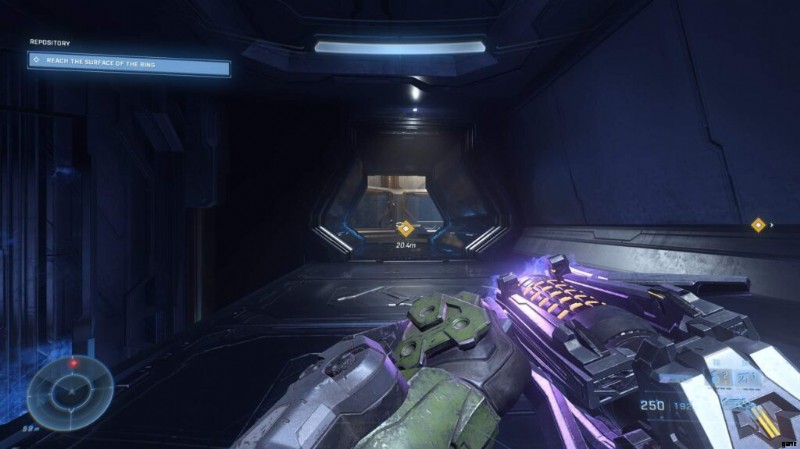
Repository
UNSC Audio Log #1
Unmissable. Unlocked through a cutscene.
Skull #1 – Grunt Birthday Party
To grab this, continue through the mission until you reach the section where there are 3 locked doors. After a cutscene all will open. Find the one that has a power-seed in, and take it through the door you need to go through to continue the quest. You’ll find the core on the left.
After you’ve done that, continue through the level until you reached a large ramp like object. Grapple over it and through a window. The Skull is through there, guarded by 3-4 Sword wielding Elites.
UNSC Audio Log #2
After you’ve find out what Cortana did to the Brute’s homeworld, continue on. Just before you reach the entrace, you’ll go through a hallway with some cases on tables. The Log will be on the side, next to a hologram of Zeta Halo.
The Road
- No Collectibles.
House of Reckoning
UNSC Audio Log #1
On the first Banished survival course, on the right against a small weapons table.
Banished Audio Log #1
On the third survival course up against a Banished table. Difficult to miss.
Banished Audio Log #2
Just before you fight Escherum. In his boss arena. Before you rescue Esparza, run over to the side and grab the last log in the game.
Silent Auditorium
Skull #1 – Bandana
This one is quite annoying, especially if you’re playing on Legendary. You have to go through the entire level WITHOUT killing any Sentinels. They only show up about 1/2 way through the mission, and there’s only one or two large engagements with them. Just ignore them and try and run past the fights with them in.
If you manage to avoid killing them, you’ll be able to get the Skull. Just before going along the long bridge leading to the final boss, divert to your right through a door (which would be closed normally). Go through the area, and the Skull will be there.
W.I.P.

